
We will tell what material to take for crafts, and show the basic methods of manufacturing buds.

Paper buds:
How to apply
How to place on the wall
What to do
Methods of manufacture
Among the simple ways to decorate the room with popularity of the decor from the remedies. Made with their own hands Flowers from paper on the wall look exquisitely, do not require special skills and skills.

Scope of application
On any holiday, the photowon uses success, where the elegant guests can take pictures for memory. Such a zone can be ordered from the designer, but it is better to build it yourself. This is a wonderful reason to show creative fantasy. In the child's birthday, paper bouquets are drawn up Candy Bar. It is not as familiar as balloons, so perceived by all parties to the party.
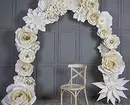
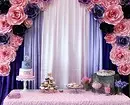
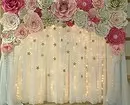
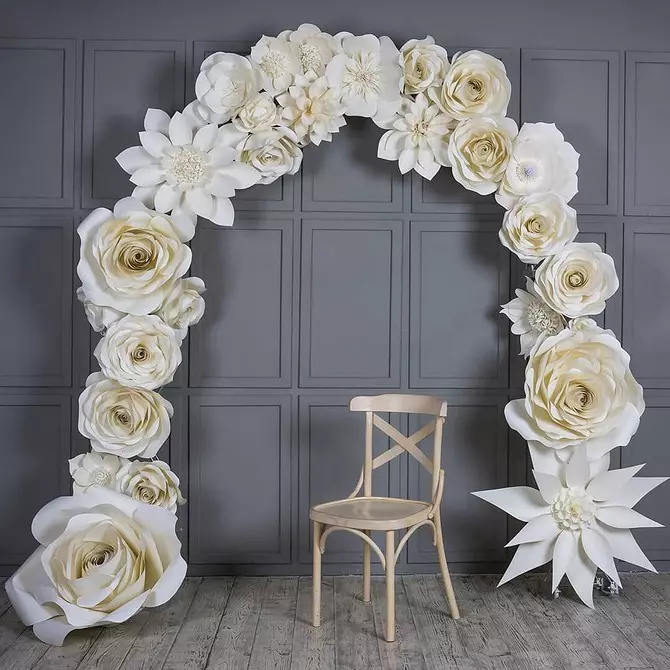
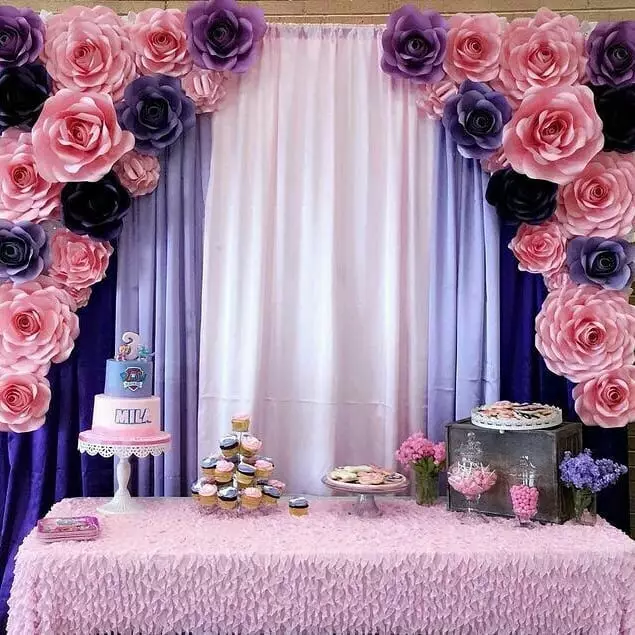
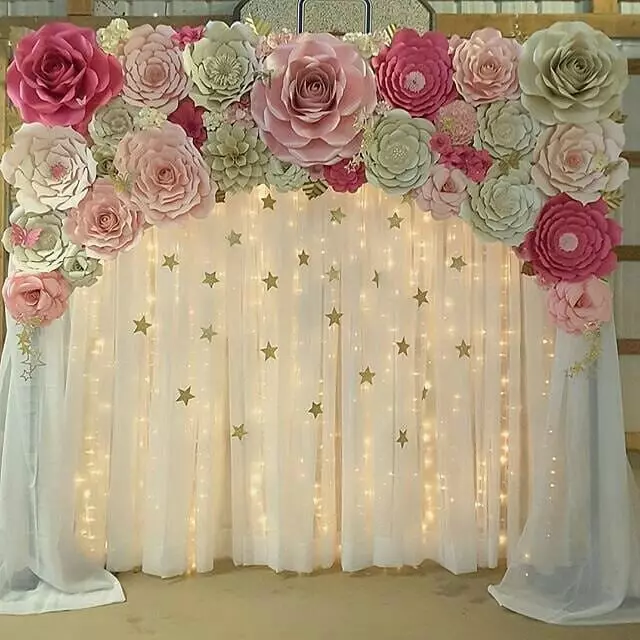
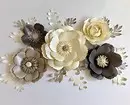
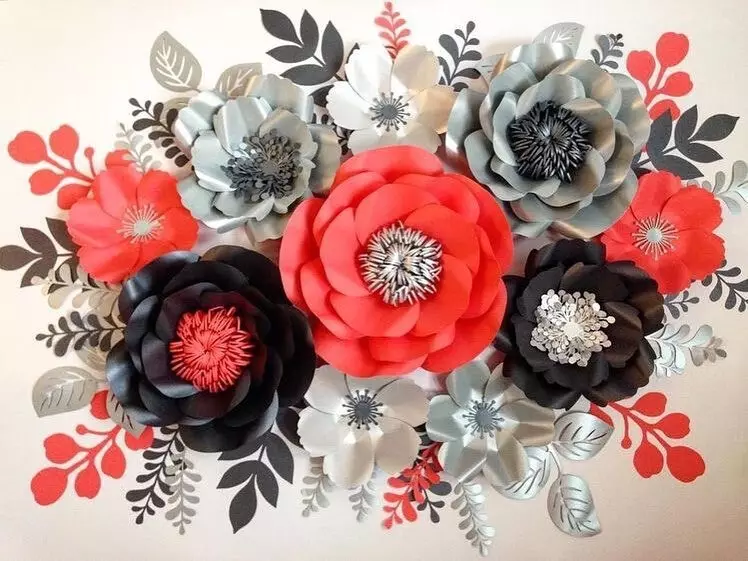
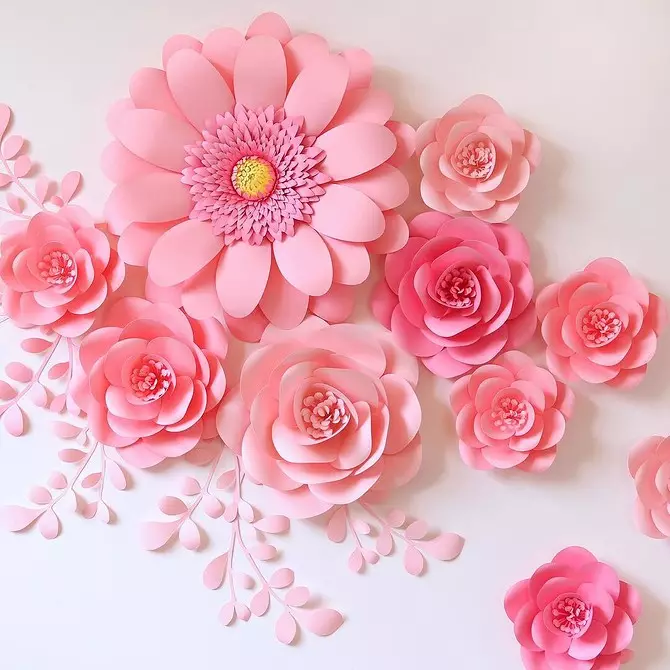
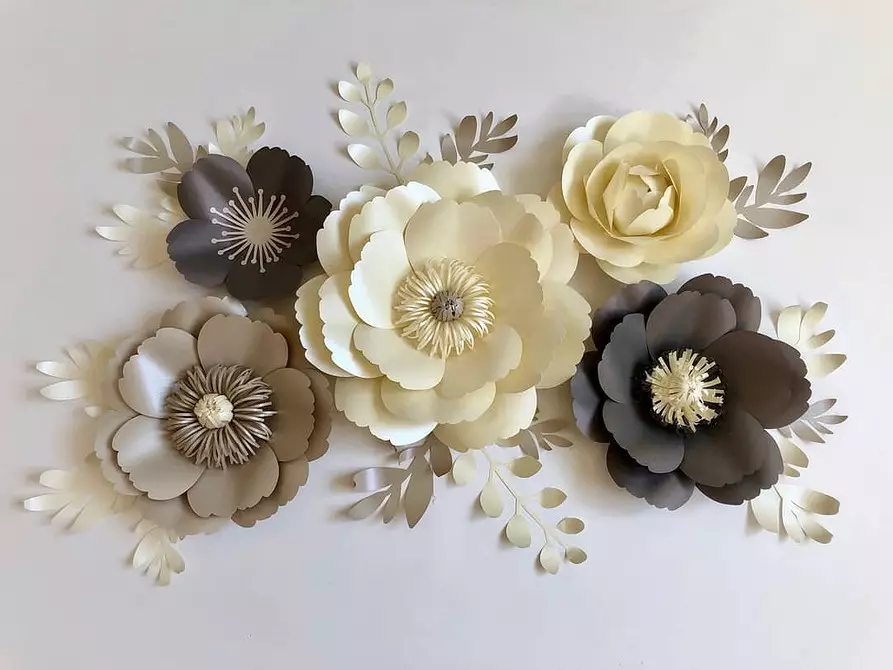
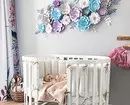
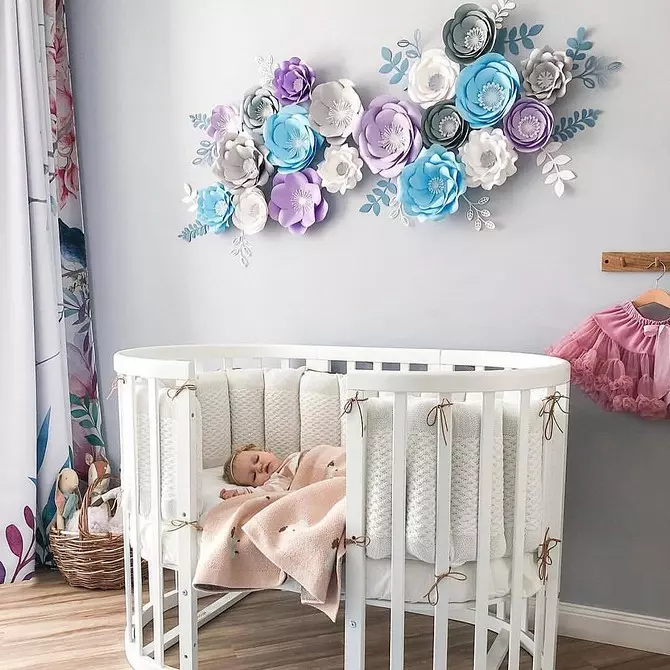
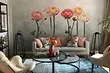
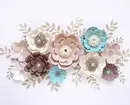
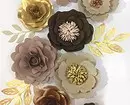
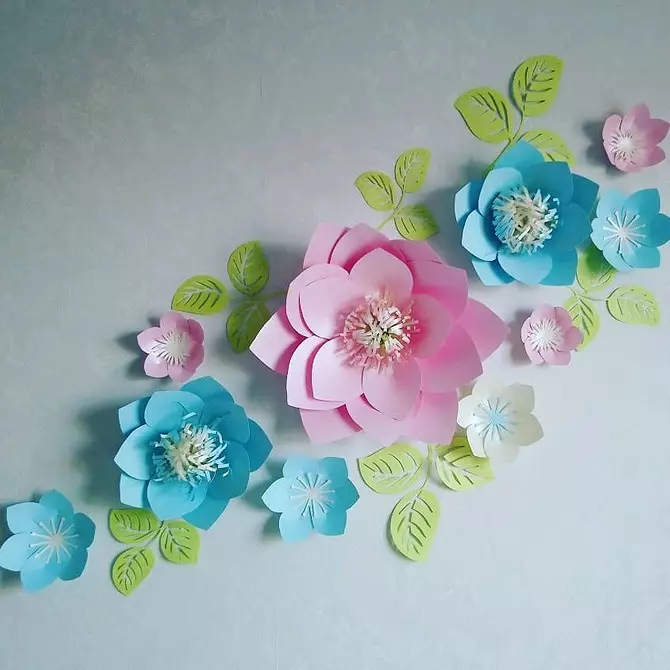
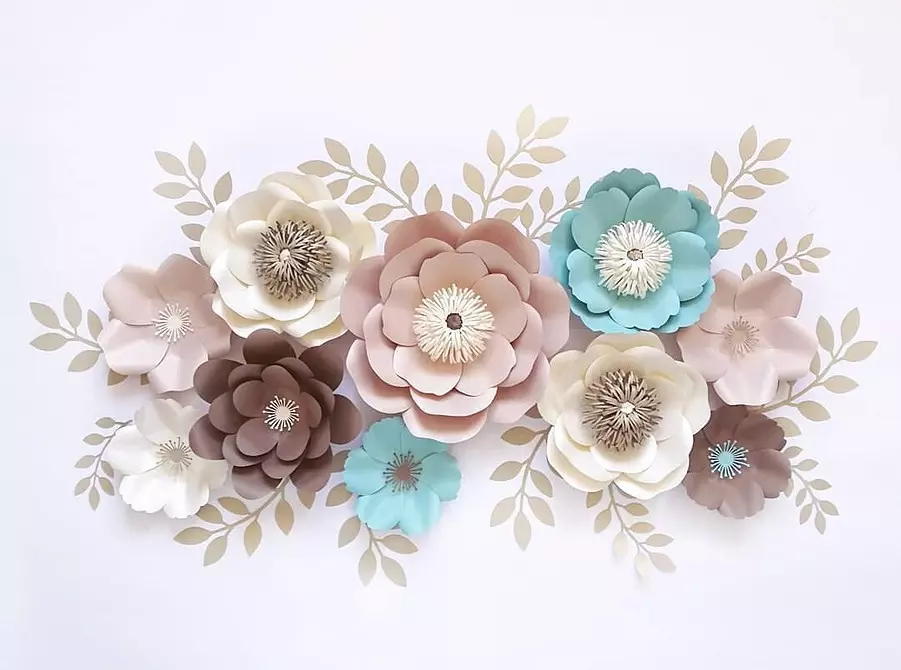
You can make a decoration constant, harmoniously pick up the color gamut to the rest of the interior. Most often decorated bedrooms, children's rooms, but also in the living room or corridor such compositions will look good. They look bright, serve a long time and do not appear in contrast to living plants. With the help of such a decor, you can disguise small cosmetic wall defects.
We plan the layout of volumetric paper on the wall on the wall
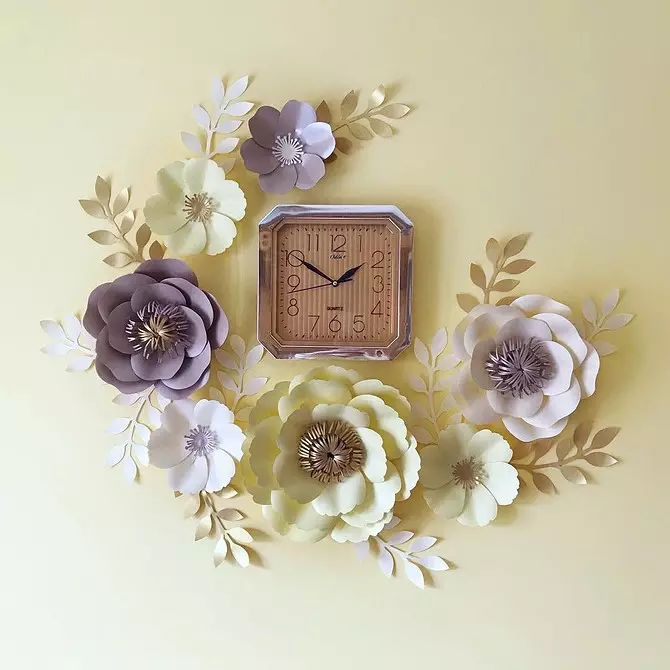
First of all, you need to find a suitable place for the future composition. Then determine its size. The placement scheme can be different: a circle, flying loop, heart, chaotic figure. Boots can surround the inscriptions, numbers, interior items (clock, paintings). You can fix the models on the wall using double-sided tape.


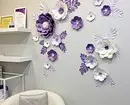
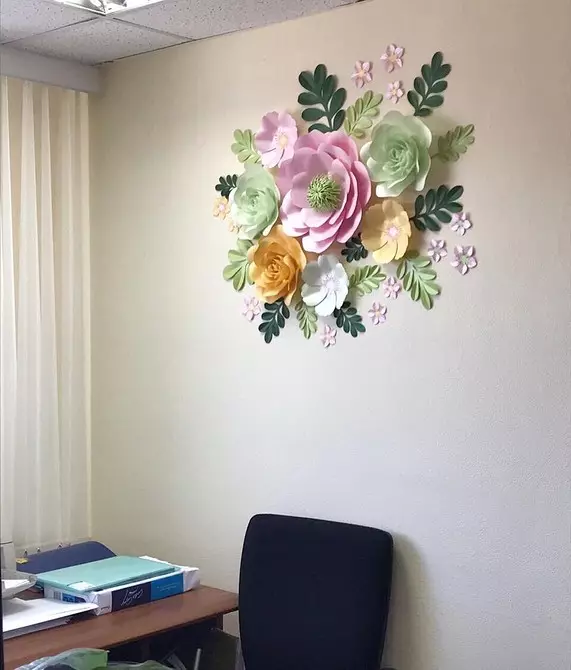
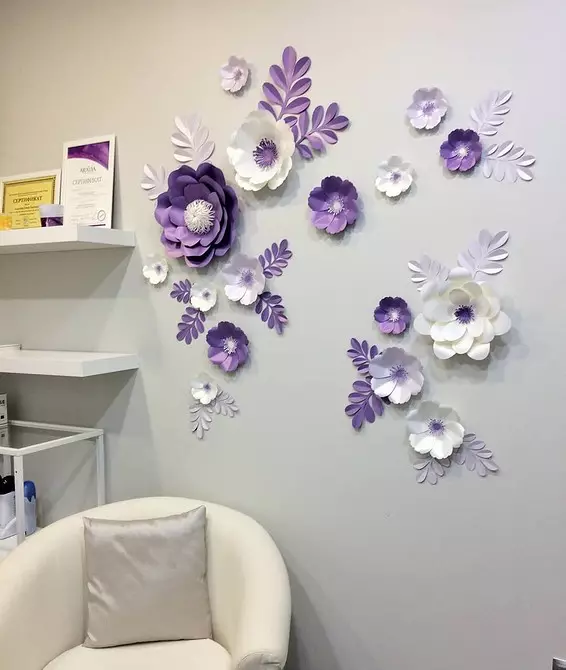
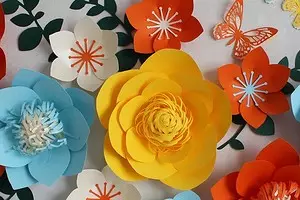
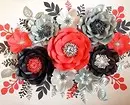
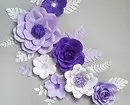
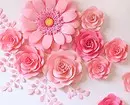
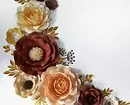
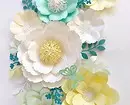
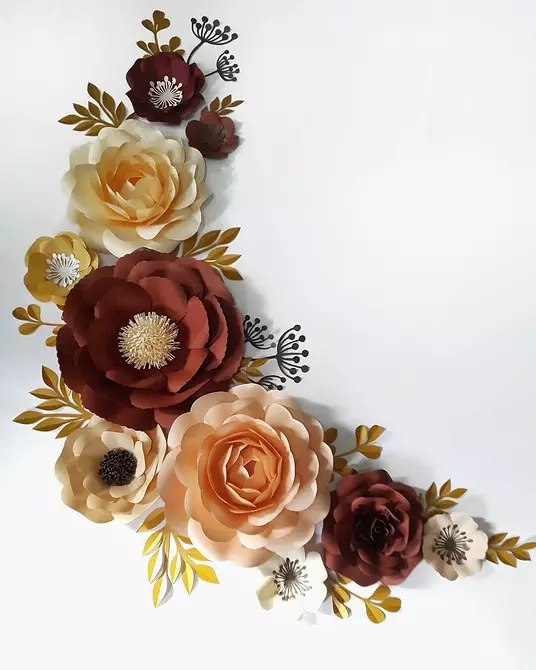
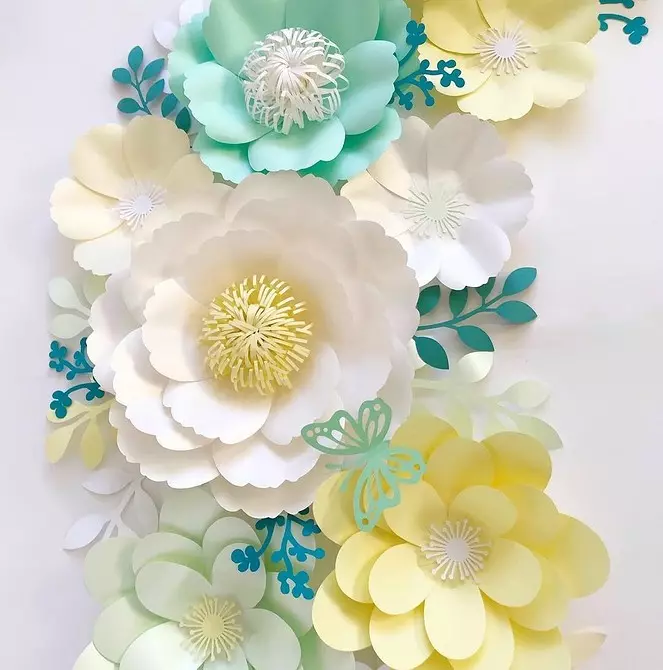
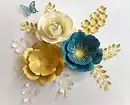
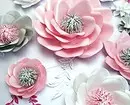
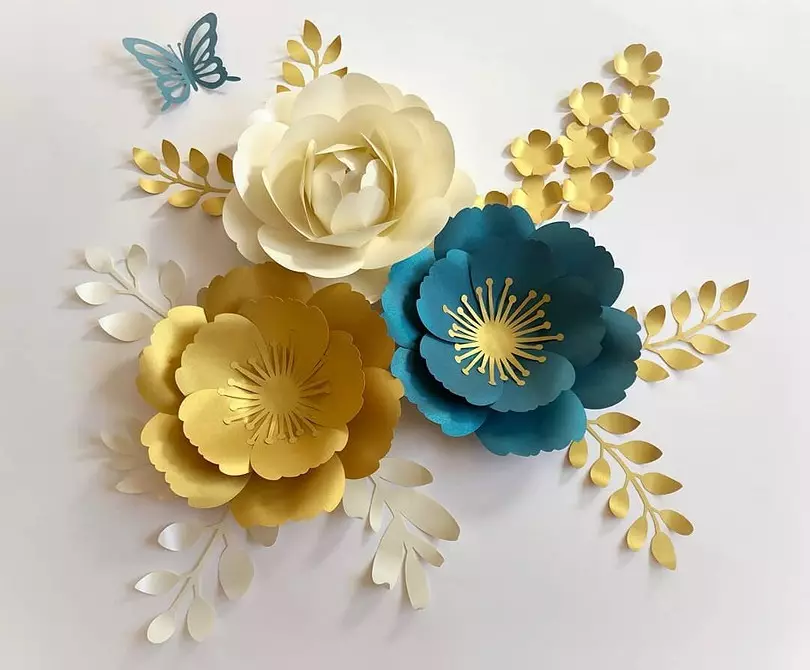
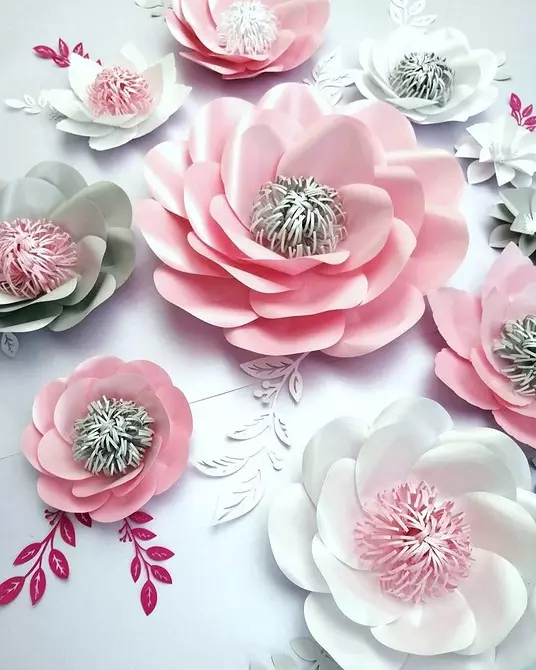
The general type of composition depends on the placement density. The carpet of tightly arranged multilayer models is usually made from simple billets of one shade. Their charm - in quantity and homogeneity. Another option is flowers made of beautiful paper, which are characterized by a complex shape and abundance of parts. They are located at a distance to emphasize the beauty and uniqueness of everyone. Bouquets with different flowers look harmoniously, especially if you add them with unscrewd buds.
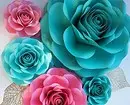
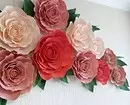
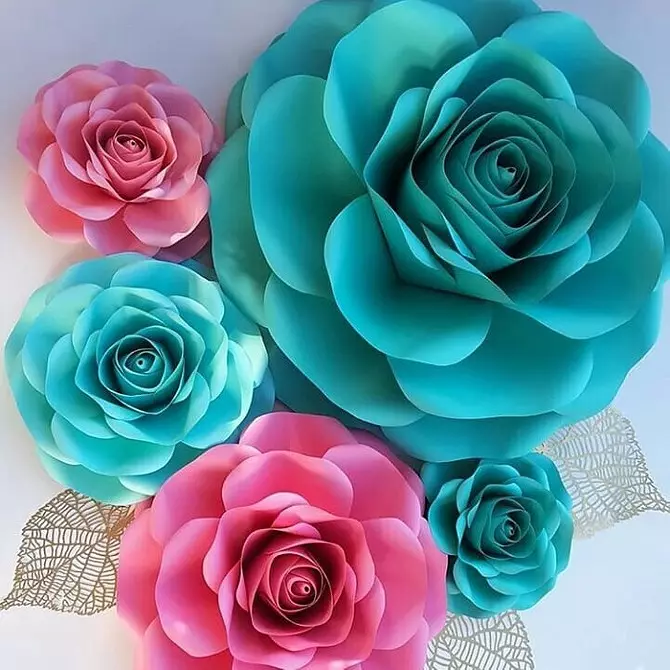
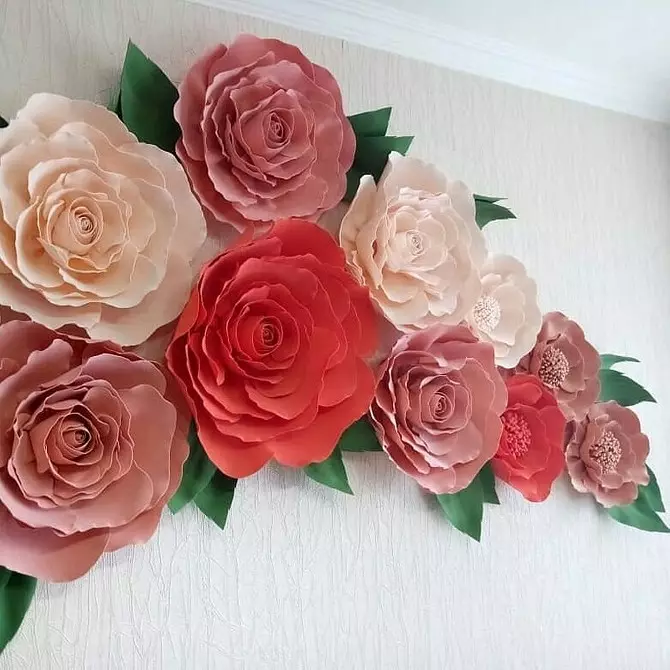
Choosing a hue, rest on the theme of the upcoming holiday or the overall design of the room. If you are planning to take one-photo sheets, experiment with color depth. For example, a good option will be pink with coral and red. If you need a bright motley bouquet, look at the color circle first to find a good combination of shades.

We select suitable material
Corrugated, craft, packaging or ordinary office paper is suitable for work. If it is color models, it is better to take a bilateral (painted on both sides).
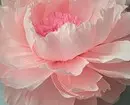
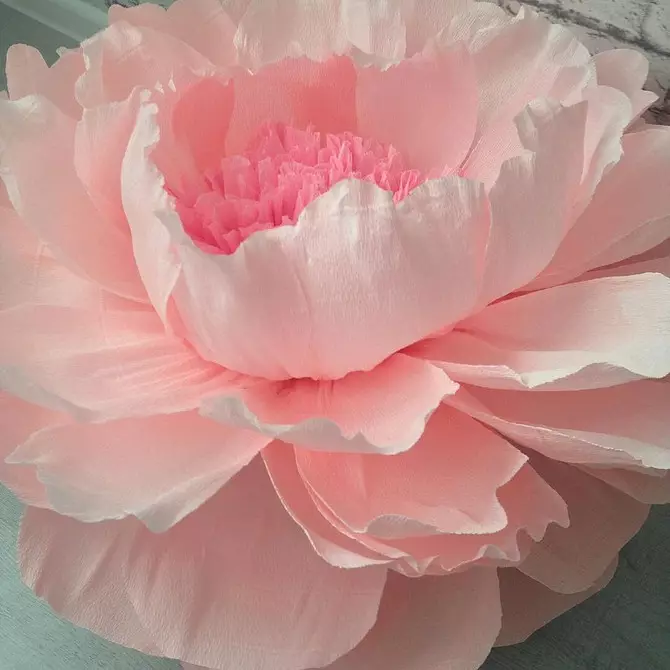
Corrugated has a different purpose. For our purposes, floristic (with a density of 120 to 180 g / sq. M). It is denoted by Crepe Extra and allows corrugating the most realistic inflorescences. This is an affordable inexpensive material having a large selection of shades (monophonic, gradient, metallized). Particularly successful peonies, carnations, dandelions are obtained.
Krafts - dense brown wrapping paper. Due to the hardness, it keeps the form well. For decorating the resulting buds, sequins, varnish, rhinestones are used.
Designer differs from the usual high density (from 150 to 290 grams) and different effects (embossing, pearl, glitter). Crafts from it look expensive and do not lose a beautiful appearance for more than a year.
Before buying, it is worth considering the desired amount of material. For this, the circuit of one template can be drawn to a square and calculate how many such patterns will fit on one sheet. Then determine the total number of petals and calculate how many sheets will be required for one flower.


Getting to work
We will need: paper, cardboard (for the base), scissors, glue (hot, second or pva), stapler, wire. For tuning the petals, a pencil is useful or a round marker without faces. To clarify the essence of the process and practice, it is better to start with small-size buds. It will save time and material. Then, realizing the principles by correcting errors, you can start making large models.Method "Harmoshka"
With it, you can make flowers from corrugated paper on the wall: peonies, carnations, chamomile and other fluffy views. Sheets fold in harmonica. So that they do not unfold, fasten them with a clip or stationery. Cut the harmonica to the desired size - we reduce each 2 cm. The edges of the billets give the form of petals (sharp or oval). Now we will deploy all rolls and put sheets on each other, starting from the largest. We turn the resulting accordion and bandage the wire in the middle. Gently straighten each layer up, leaving the wire below. The edges of the opposite ends of the harmonica fasten the stapler or glue. To close the core, cut out a small rectangle, on the long side we make cuts, parallel to the side twist in the harness and glue into the center. For the design of the middle, beads, buttons, rhinestones are also suitable.
Method of one petal
So make roses, tulips, lilies. To do this, we prepare several patterns of the same form, but of different sizes: the smallest for the center and large on the edges. How many sizes of petals are so many templates. Then out of the main material cut out the desired number of parts. The edge of each figure cut into scissors to give naturalness. If paper is corrugated, you can make a blank volume - stretch it in the center and exacerbate. If the usual, we make an incision at the base, the edges of the clutch are sticking one to another, providing volume. All parts glue on the cardboard basis. The assembly starts from the edge of the cartons in a circle. Each next layer shift to the middle. The core can be masked in the same way as in the first way.Multilayer method
With it, you can make an arrest or peony. On the colored double-sided sheet, we draw the circle of the desired diameter (in the size of the flower). Cut out more circles, reducing the diameter of each by 8 mm. For small buds, five items are enough. We put every circle in half, then again, getting a quarter. Cut it from the edge to the center, stopping in the middle. Two petals that came on one workpiece are spinning to oval shape. It turned out the semblance of a heart. Deploy the circle and every leaf bend along. The whole process repeat with the rest of the items. Then we take the largest circle and put the remaining parts in the degree of decrease in the center. Petals can be given different shape - bending the inside, as described above or vice versa, turn outward with the scissors blade.
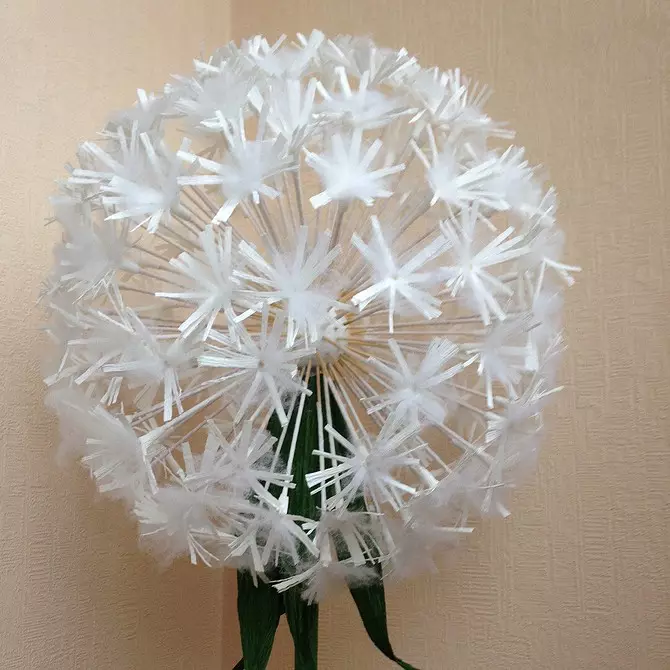
Method "Noodle"
In this way, not only the sedocks can be made, but the flowers themselves, for example, a white dandelion. Rectangular strip bend in half along. Side with a fold cut in parallel to thin strips, slightly reaching the opposite edge. In needlework stores you can find special scissors who have parallel blades. They allow you to get several cuts with one press. Now we turn the billet into the roll, gluing the unrelated edge. For dandelion, many such buds will be required. Fix them on the skewers and stick to the base. Other fluffy flowers are also made, only without spamps.
Knowing the basic principles of the structure, combining and fantasizing, you can create your own compositions. We hope our article will help you make your own hands paper flowers on the wall and implement new creative ideas.