It is believed that even the walls are very simple and even a beginner will cope with work. We tell about the nuances that need to be taken into account so that the result does not disappoint.

How to put the walls: detailed instructions
About materialWhat kind of varieties are
Choose tools
Surface preparation
Start and finishing
So, repairs are nearing its logical conclusion. Black works are completed. The supporting structures are covered with plaster, the rooms are erected between the rooms, and the ceiling decorates the massive multi-stage frame, covered with sheets of GVL. The holes for lighting devices have already cut into them, all communications are laid according to the project. The apartment is ready for finishing. It remains only to eliminate small irregularities, with whom the trowel did not cope and the rule is a special rail to align plaster. To cope with the problem, it is necessary to perform the putty of the walls, the ceiling and corners.
About material
The putty is a paste-shaped mixture of white color that uses for eliminating small irregularities before painting or bleaching wallpaper. It may vary in composition, consistency and strength characteristics.
You can work on metal, concrete, wood, plasterboard as well as any other solid and dry base.
The mixture is sold in the form of a dry powder, but it is more often diluted to a sour cream-like consistency in the factory conditions. In such a state it is suitable for applying. It is not necessary to breed it, but in some cases it makes sense to dilute it with water or another solvent.
Classification of spacure
There are many varieties of putty. They may vary in composition.Oil
Produced on the basis of olifa, chalk and additives accelerating the drying process. Suitable for rooms with high humidity, such as kitchens and bathrooms. It is suitable for places in contact with the external environment - window boxes, window sills, outdoor doors. It has high strength.
Glue
Contains 10% glue that increases its adhesiveness - the ability to adhere to the base to which it is applied.Oil-glue
It has a more complex composition. When producing plasticizers and acrylates are introduced into it. Thanks to this, it is better filling emptiness and does not let the fluid.
Gypsum
It is afraid of moisture, so it is better to use it for dry well ventilated rooms.Epoxy
It is produced from epoxy resin and filler - crushed fiberglass and metal chips. The material is resistant to an aggressive medium, grasps quickly, and gives a minimal shrinkage.
Latex
Suitable for interior decoration, but moisture and temperature differences transfers not very good. In window openings and near the entrance door it is better not to use.Acrylic
As it follows from the name, it contains acrylic with high moisture resistance. It is characterized by the fact that it is also suitable for whitewash. Works are made using a brush. Universal mixture for all occasions. When it acquisitions it disappears the need to pick up the compositions for aligning pipes, corners, wooden or concrete bases. Perfectly protects against dampness. Thanks to good adhesion, it is kept on the walls and the ceiling, even when applying a large layer, which makes it possible to apply it when restoring damaged plaster.
Cement
The best assistant in the sealing of cracks and chips.PVA-based mixture
The material contains antiseptic additives. They prevent the spread of mold. The optimal solution for sealing the joints and cracks, where water can accumulate.
For the purpose of putty are divided into several species.
Starts
For draft work. It is usually stacked by a layer of 1-3 mm, so applying them, for example, it is not recommended for brick walls - they must first be aligned with plaster and then primed.Finish
To create a perfectly smooth surface under the finite coating. The layer thickness does not exceed 1 mm. According to its physical properties, they are not inferior to starting, but they are more expensive. They are needed only when it is planned painting.
Universal
Contain the properties of both varieties.
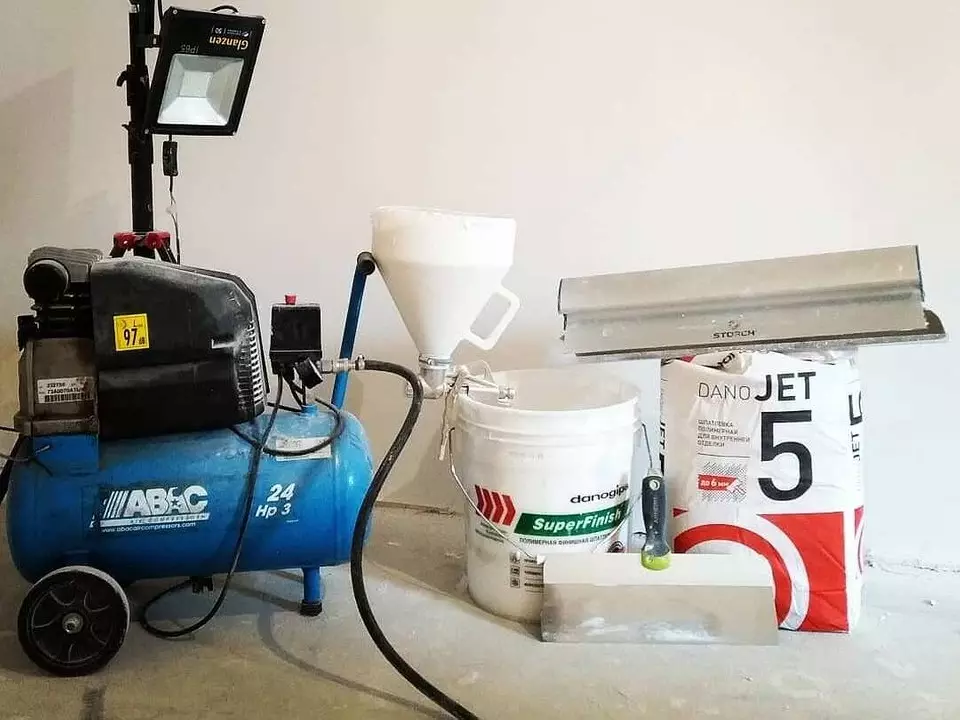
Choose tools
To understand how to put the walls with your own hands, it does not need a lot of time. We must first of all sort out the tools. Works are carried out with spatulas, which are flat metal plates with a handle. They differ in form and sizes.Types of spatulas:
- The largest - facade - 30-60 cm wide is intended for the exterior decoration, which does not interfere with the use of it in indoors. In addition, he will serve as a convenient "easel". To constantly do not reach the container, where the mixture is located, the plastic mass can be placed on a wide plate, armed at once with two tools. The blade is made of carbon steel, so it does not bend;
- Malarny - it is for them that they will have to be wrapped in the distribution of the mixture along the walls and the ceiling. It is made of stainless steel and nits well, while not breaking;
- Corner - he has a plate bent at right angles.
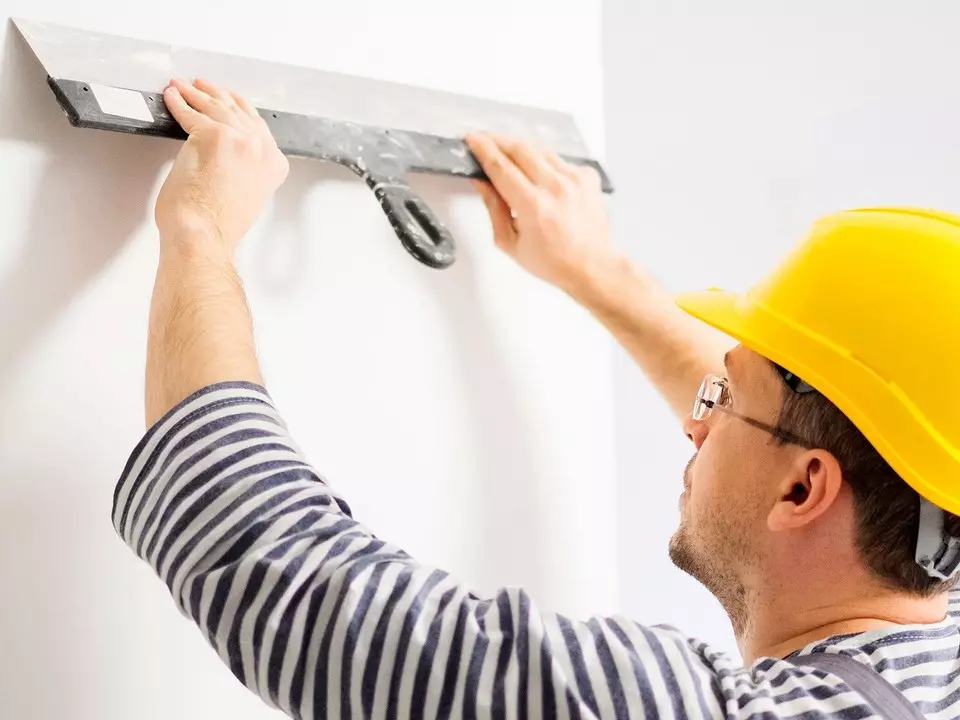
Better at first work with a paint spatula. To master them, you don't need much time. It has a small mass and is very comfortable. In addition, the newcomer will be easier to master one tool than three.
Surface preparation
Before screaming the wall, you should make sure that it is quite smooth. It may be necessary to plaster it or close the plasterboard sheets. If the depth of irregularities does not exceed 5 mm, you can proceed to preparatory work. Cracks need to expand so that their edges do not appear. Bugs are removed with chisel or perforator.The base is cleared of dust, dirt and old finish. It is then processed by primer, improving adhesion and waterproof. The most commonly applied the following varieties.
Universal polymeric or acrylic compositions
They have no smell, they are environmentally friendly and dry pretty quickly. For complete drying, they will be needed from 2 to 12 hours.
Deep penetration made on the basis of acrylic
They penetrate into the depth of several centimeters and closed the pores tightly, without leaving moisture a single chance to leak out.Adhesive
Creating a rough surface, providing better grip between materials. The effect is achieved due to the chopped mineral filler. In addition, its sharp particles enter the concrete, allowing it to consolidate in it.
They are sold at a finished form or in a concentrated solution. Application is performed twice with a brush or roller. The procedure must be repeated before laying each new layer of pasty mass. It is desirable that the primer and the mixture be from one manufacturer. This will be a guarantee of the durability of the coating.
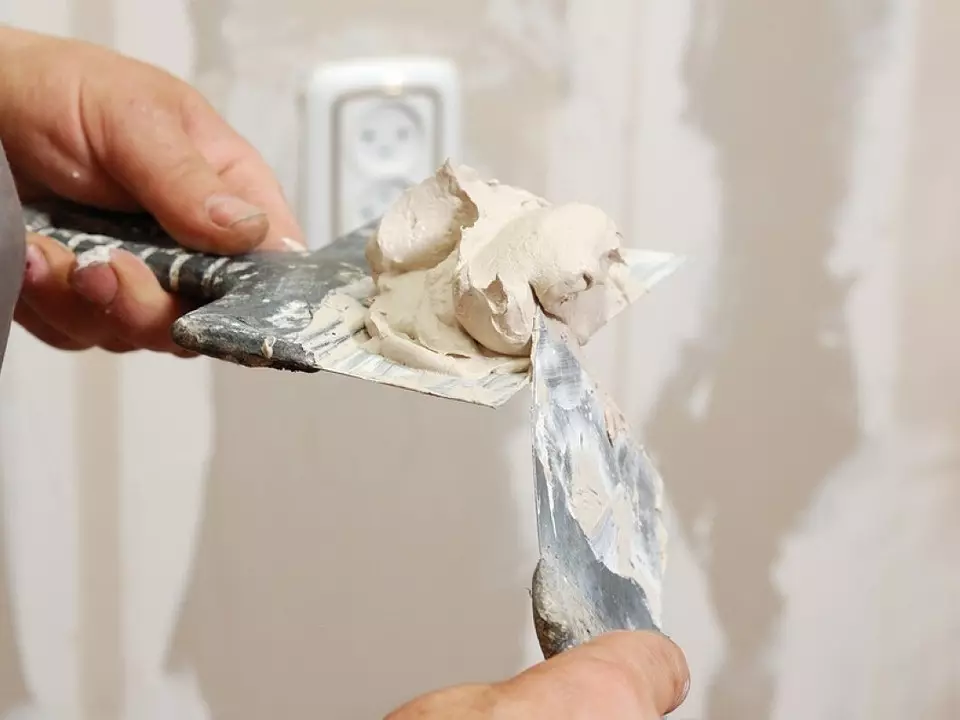
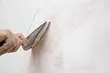
How to put the walls
This stage of repair seems the most simplest of all other "technological converters" that have to go. A certain difficulty represents the preparation of dry material, but, if you pour into the water exactly as much as indicated in the instructions, everything will pass without a bitch without a zadorinka.
For mixing it is more convenient to use the electromyer. The number directly depends on the timing time. What they are shorter, the less need to do it to catch it to fully work out. Usually it takes about forty minutes. To determine the catching time, you need to study the packaging or take a small trial knee first.
You can work a narrow painter spatula, however, experienced masters prefer a wide facade. Malyary serves to apply putty on him. With this method, it will be necessary to attach much more effort, because the area of contact with the base will increase, but for the same reason the process will go much faster.
It is important to control the pressure. If you move, recesses will appear. If you put on one side stronger than another, characteristic sharp grooves will arise.
You need to go from the corner, moving from top to bottom, passing each square meter.
To understand how much the putty is driving on the walls, you can look into the instruction. Drying time depends not only on physical and chemical properties. The impact has moisture and temperature indoors. With good weather and sufficient ventilation, this time is noticeably reduced. On average, it is two days.
For the starting layer it is better to use a thin reinforcing grid that increases its stability resistance. With it, the fragile material acquires elasticity and is better held on the surface under mechanical exposure. The following varieties are applied:
- wide grid of fiberglass;
- Serpenta;
- "Pautinka."
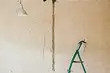
When the laid solution clutches, it is necessary to check the plaster rule, whether it is smooth enough. The rule is a direct rail with a length of about 1.8 m, with which the laid placed plaster is aligned. The depressions are additionally put on, and the bulges are maintained by small emery or eliminate by other means. The aligned surface is cleaned of dust, it is ground, and the finishing layer is applied to it. It is only needed in case of painting. Before sticking wallpaper, it is not necessary to arrange it. It stacked the same as the starting.

The final stage is grinding. You can apply an abrasive grid or emery zero fraction paper. To protect yourself from dust, you will need a bandage on the face or respirator. The material is environmentally friendly and does not cause allergies. It is not toxic, but dust is harmful in itself. When grinding should not be pressed too much - otherwise irregularities will appear.
For detailed instructions for finishing, see the video clip: