
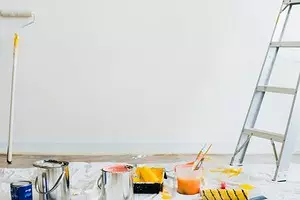
We tell how to choose a good plaster and self fix wall curves.

Align the wall of plaster paste
Why choose a plaster mixVarieties of material
detailed instructions
- Preparation
- Alignment
- Finish under putty
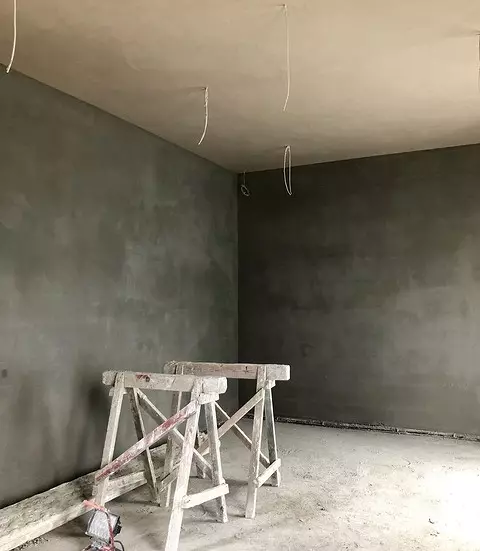
In the process of construction, unfortunately, attention is not always paid to the leveling of surfaces. Especially if a multi-storey house is erected. Owners have to solve these problems independently. It is possible to align the walls of the walls with the plaster. It is not as difficult as it may seem. We will analyze all the subtleties of the process.
Why choose plaster
The irregularities of the foundation are different and work with them is also different. Small bulbs and dents are closed with putty. Most often this is quite enough. But if the plane, as the builders say, falls around, do not do without plaster mixtures. They are used to remove significant deviations of the wall from the plane and correction of its curvature. It is allowed to level the drops of about 50 mm and even a little more. If it is necessary to work with a significant deviation, several layers of plastering mixture are superimposed. To make a quality result, the height of each of them should not be more than 7 mm. For the formation of a total height of more than 30 mm, reinforcement, otherwise, inevitably, the detachment of the material will inevitably begin.
In the most difficult cases, when deviations are significantly more than 50 mm, the plaster does not apply. The risk is too great that over time the material will be sucking. In such cases, plasterboard are chosen.
What plaster is better for wall alignment
Fixes of two types are used for alignment.Gypsum pasta
Natural mineral binder solution, so the composition is completely safe and environmental. His main advantage is plasticity. Pasta is well laid on the basis, reliably holds and easily smoothed. Having some skill of working with plaster as a result of plastering is obtained by surfaces that do not need to be subsequent spitting before decorative trim. The material is light, does not give a significant burden on the design. It does not sit down and does not crack. Crashes and hardened quickly. It requires significantly less time to complete drying than for cement mixtures.
The main lack of gypsum pastes hygroscopicity. They absorb moisture that accumulates and gradually destroys the material. For this reason, the gypsum is not used on the street, in wet premises.
Cement solutions
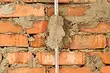
The most durable, resistant to almost any mechanical stress, which distinguishes them from gypsum mixtures. Cement is durable, does not destroy under the influence of moisture and temperature fluctuations. Therefore, such compositions are separated by rooms with high humidity and facades of buildings. The price of their low, the preparation method is very simple. Often, cement solutions are prepared independently.
From significant drawbacks to be noted a significant mass. If a thick leveling layer is assumed, it will give a noticeable load on the base. Low plasticity makes it difficult to laying the masses. It is impossible to align it to the perfect state. Under the finishing finish, the spaciousness is required. Cement paste seats, possibly the appearance of cracks. She grashes slowly, the process of drying lasts for a very long time.
Fillers that increase plasticity are added to the cement mixtures, reduce the core time, etc. Most often it is lime or gypsum in various proportions, which changes noticeably changes the properties of the composition.
Detailed instructions for alignment
Sticking the tiles, wallpaper or painting is possible only on the aligned base. Otherwise, the quality of the finish will be extremely low. Therefore, before facing the wall inspects and, if necessary, the alignment is carried out. You can make it yourself, but subject to accurate fulfillment of all recommendations. Consider how to align the wall with plaster.
Preparatory work
Start with the preparation of the foundation. First remove the old finish if she was. If there is a plaster coating, it is carefully examined and closed. The deaf sound in the individual sites suggests that the facing here penetrated and need to be removed. Even if it looks strong and reliable. It is impossible to leave such sections. Sooner or later, the material will fall together with the new layer.Sequence of work
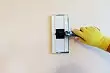
- Thoroughly rinse the purified surface. We wash off fat and dirty stains, remove dust. Cracks or chips gently increase so that they subsequently completely filled the solution. If metal fasteners are drunk in the wall, we remove them or cut. All sockets and switches are removed. Wires are isolated and hardened in special recesses. Now you need to once again estimate the degree of curvature of the surface.
- In case of detection of significant protrusions, we remove them with a perforator or chisel. Too big potholes close up. Now you can proceed to the next step: priming. The primer decides several problems at once. It closes the pores of the base and improves its clutch with the plastering. The primer composition is chosen, focusing on the type of base and mixture.
Apply a primer with one or more layers. After applying the primer, you must wait until it is dry. Such a base is considered to be prepared for plastering.
Surface leveling
To get the perfect result, the level of alignment technology is used. So called the guides put strictly in the same plane.Views of Mayakov
- Metal. This is usually a T-shaped galvanized profile. If the elements are high-quality, they are not taken out of plaster. Dubious details better remove, otherwise the coating will quickly come into disrepair. The lack of metal profiles is the price that significantly increases the cost of repairs.
- Wooden. Smooth brins of small thickness are used. Leave such beacons in the wall can not be left. Intrained the moisture tree will definitely behave, which will affect the plastering.
Sometimes beacons are made from a solution that laid strips. Each of them is guided and aligned strictly by level. This method is the cheapest, it is the most labor cost. Properly set profiles much easier and faster.
How to set profiles
- Departing from the angle of no more than 0.3 m and install the first beacon. It can be put on the solution or fasten on the self-tapping screw. First, fix the top and bottom of the guides, then throughout the length of the part. The distance between the attachments is not more than 0.4 m. Levels check the accuracy of the installation.
- Similarly, we put the beacon from the opposite edge of the wall. They will become landmarks for other profiles. We stretch the twine between the lower and the upper edges of the guides. Another rope stretch in the middle. Focusing on the cords, fix the rest of the profiles. The distance between them should be less than the length of the rule that will be used for alignment.
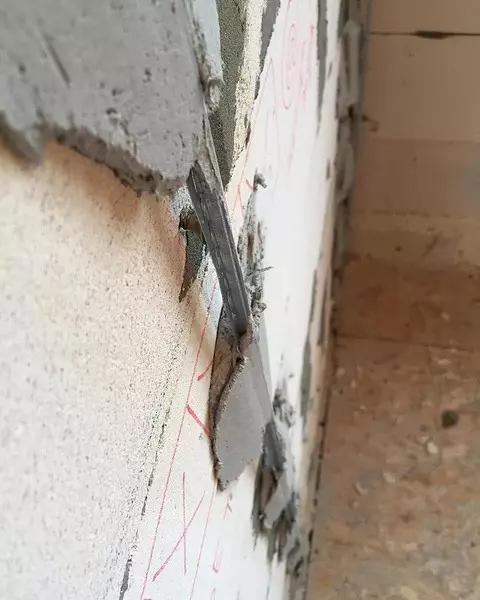
Installing each beacon be sure to control the level. In addition, check the reliability of fixation. If the profile falls or shifted, the work will have to redo.
After the beacons are exhibited, the plaster mixture is bred. It is necessary to do this correctly, in exact accordance with the manufacturer's instructions. The too liquid paste will not hold on the base, too thick will stick badly. The dry powder is measured, falling asleep into the prepared container, poured with water. Construction mixer or drill mass is smelted until homogeneous. She is given to stand a little and wash again.
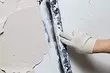
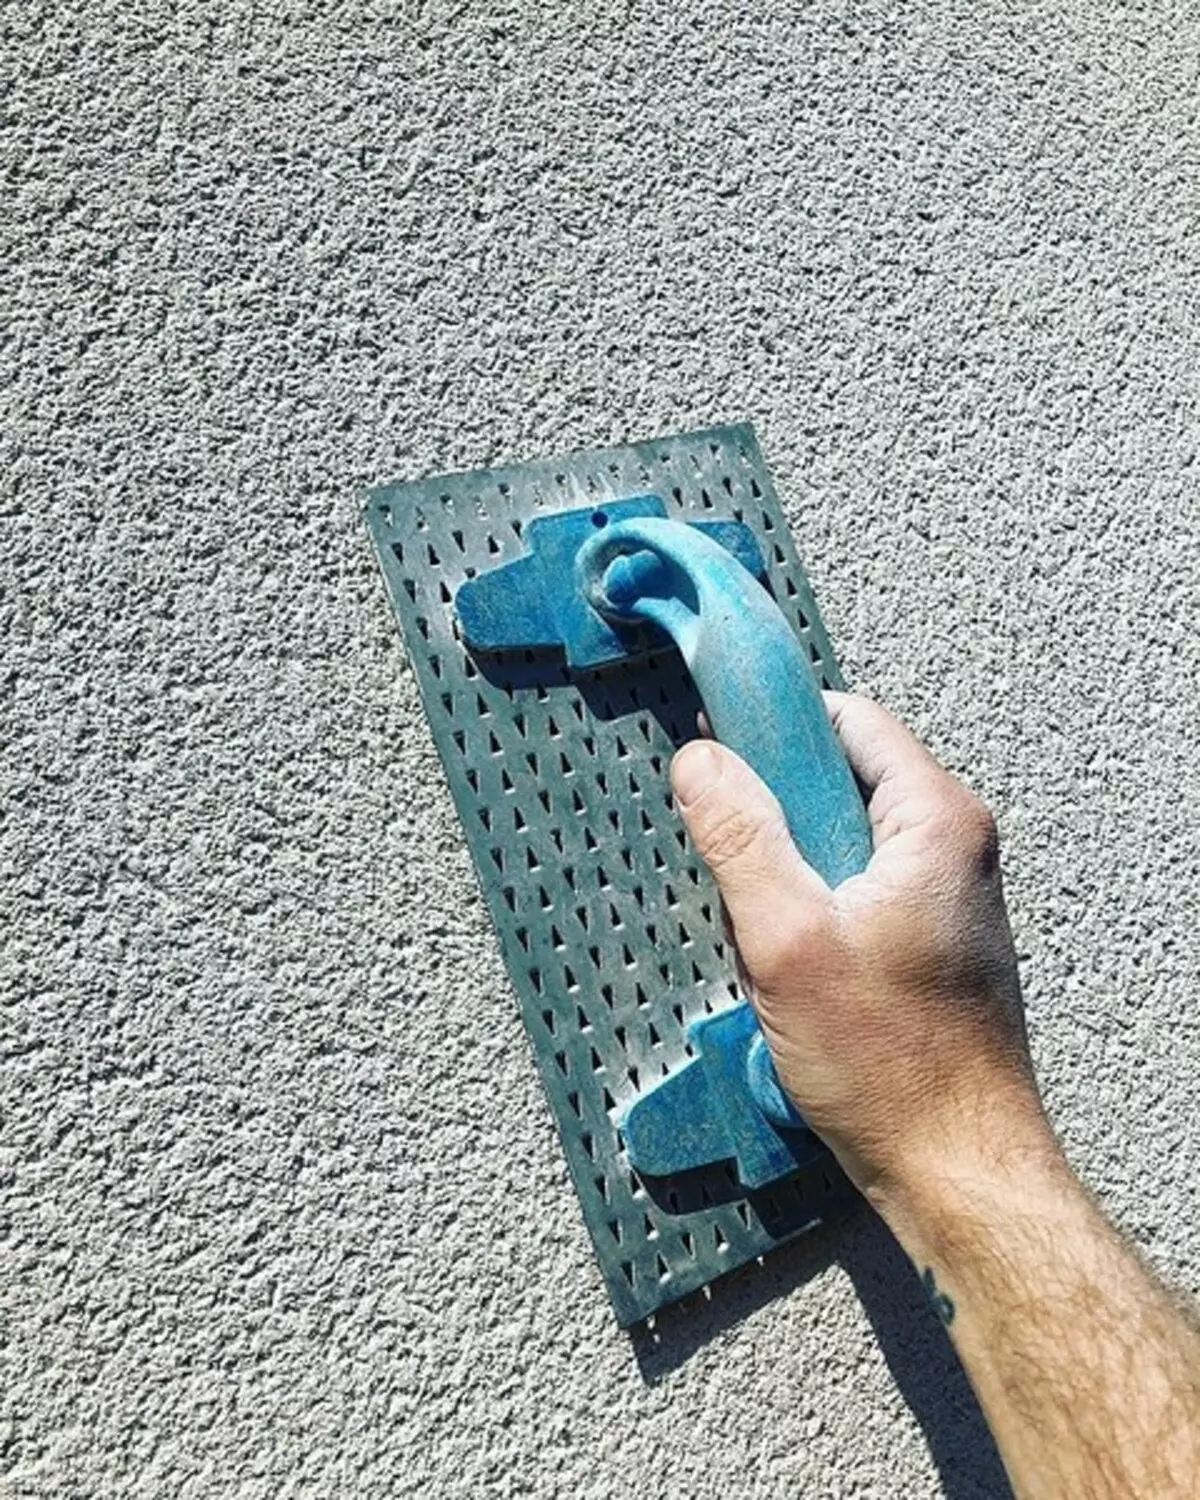
Prepared pasta pounce on the base. It is pounce with a little effort so that it adhesions. To do this, use a wide spatula or raw bucket. In any case begin to bottom. At first, approximately half the base height is filled. Then the rule is taken, put down the walls. Tightly pressed the ends to two adjacent beacons. With a support for profiles, the tool is pulled up, while slightly shake. Thus, several passes perform, as long as the base is not well aligned. Putting a rule, the mixture is removed by a spatula. You can sample it on the basis.
After half the band is ready, they pounce the composition on the upper part. Less her rule. When work on the strip between two beacons are finished, proceed to the next.
Finish under putty
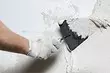
At this stage, the surface seems to be even, all significant differences are eliminated. But small irregularities are still present. They need to be removed. To do this, the portion of plaster with a little big than the amount of water is required. The liquid mass is smoothed by a wide spatula, then again pull it out by the rule. So get the most smooth surface.
It remains to take out beacons. Do it when the plaster mass is almost frozen. If at this moment you press it with your finger, it will drive like plasticine. Each profile is approaching with a screwdriver, then neatly pulls out. When all guides are extracted, they take the rule and stretch them the surface in different directions. An uncomfortable mass is easily cut into the tool, the plane is aligned. Traces from the beacons are immediately close. In the video, the process is shown in the most detailed as possible.
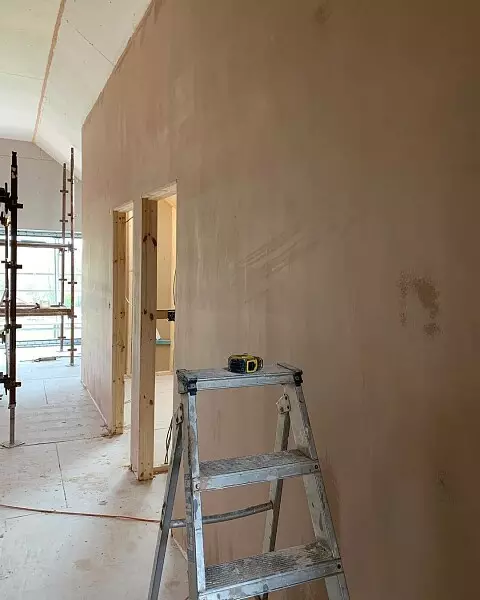
Alignment of a woven wall with a time-consuming plaster, but a fairly simple process. It does not require special skills and experience. Even a novice master will be able to align the surface with his own hands. This requires accuracy and accurate compliance with all instructions and rules.