
With the help of plaster, you can not only align the ceiling, but also decorate it by creating a decorative relief or drawing. We tell how to choose the mixture and apply it to the ceiling.

How to plaster ceiling:
Advantages and disadvantagesWe choose the composition
Plastering
- Surface preparation
- Materials based on minerals
- Polymer base
Technologies stepped far forward, but so far, preference is often given to traditional plastering compositions that have not lost their competitiveness. Today, a variety of combinations can be applied for decorative purposes. The choice of standard finishing materials is due not only to the available price. Plastering ceiling is still convenience, aesthetics and even saving space.
Advantages and disadvantages
pros
Budget, compared with tension or suspended structures. If, of course, not to consider his decorative varieties, which would be more appropriate to allocate in a separate group - because they are used for finishing finishes that do not require painting, and according to the composition may relate to another category.

Conventional mixtures are made on the basis of plaster and cement. They are safe and not cause allergies.
Another distinctive feature is the possibility of applying a thin layer from 5 mm - allows you to save space, especially relevant for small apartments with low ceilings.
Minuses
Negative quality are limitations in thickness. Experts advise not to do it more than 5 cm. The multi-sentimeter layer has a significant mass, and than it is more, it is more difficult for it to resist the ceiling. There is a risk of detachable of individual pieces. When falling, they are capable of injury.The difficulty lies also in the fact that it is not quite clear how to plaster the ceiling with your own newcomers - after all, it is not so simple without experience. We understand with the nuances.
We choose the composition
Cement
Cement are absolutely universal and used for any surfaces - whether it is a wall or ceiling in the kitchen, a bathroom or a living room. There are no restrictions. The coating is obtained lasting and durable, and good adhesion with a concrete surface compensates for its greater mass.
Gypsum
Gypsum is afraid of moisture, therefore, if the composition does not include water-repellent additives, it should not be used in the kitchen and bathroom. Supplements lead to the appreciation, making material unresoluteing for buyers. The advantage lies in the ability to be well captured even with a smooth base, for example, plasterboard sheets. The surface turns out so smooth that it can not be placed. To achieve such a result, you need to have certain skills. The newcomer may not have time to work out the entire damage due to rapid grasp, so it is recommended to knead a small amount of powder with water.


Decorative:
- mineral - based on cement containing a dye or particle of minerals used during finishing;
- acrylic - from acrylic resins, various additives and sand serving as a filler;
- silicone, where the binding component is silicone;
- Silicate based on liquid glass, preventing the penetration of bacteria and formation of fungus.
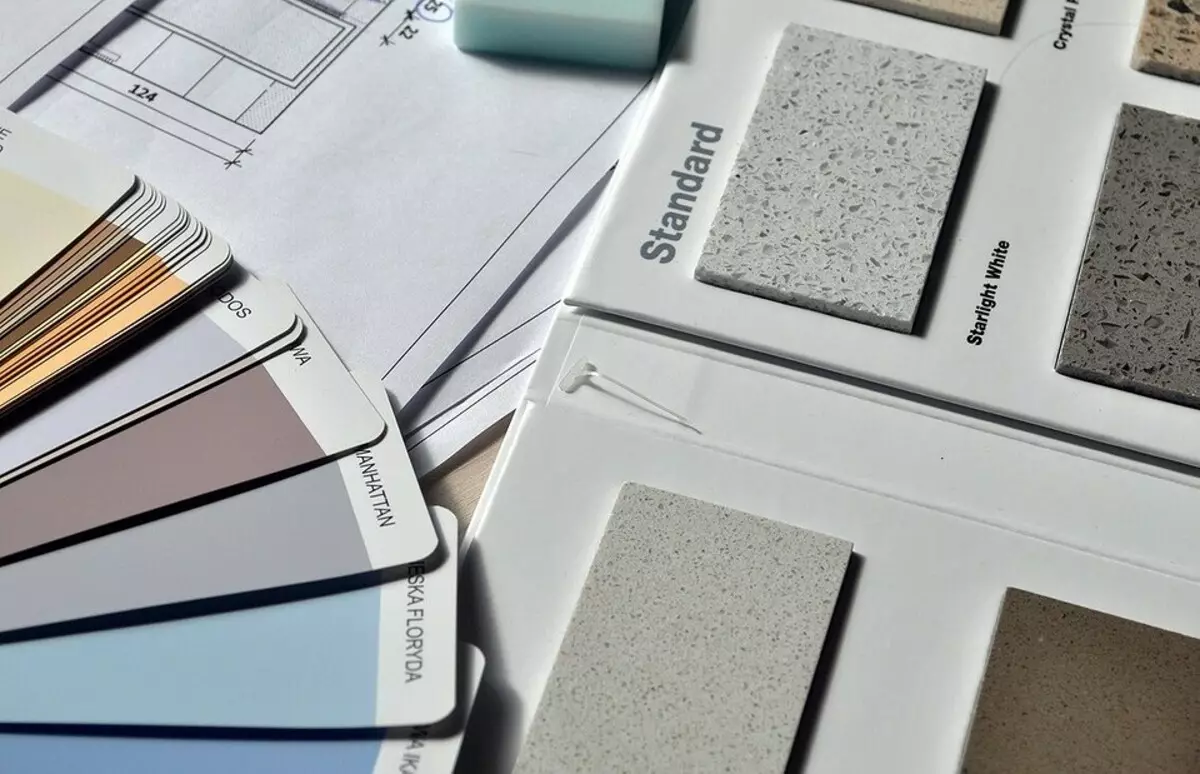
What mixtures to choose
Use gypsum compositions for rooms and hallway, and cement for kitchen and bathroom. In this case, the plaster of the ceiling will require effort and the first time it may not happen even if the instructions are followed. But the price of such blends is lower.
If it is not easy to align the concrete surface, but the creation of a special texture or relief, give preference to decorative polymeric materials.
Plastering
Stages
- Surface stripping and, if necessary, its processing of primer and antibacterial agents;
- Detection of curvature and the device of beacons, on which their leveling will be produced;
- applying a solution;
- Grinding after drying.
Preparation Plate of overlapping
First you need to understand how great irregularities. During the height of the drops from 5 cm, the first layer is made from drywall sheets. If their value is insignificant and is within 5 mm, or the whole problem is small cracks, it is possible to do only with putty.In order for the solution to fix on a concrete base, it must be carefully cleaned and make notches at a distance of 5-10 mm from each other. You can make it a hammer and chisel, but a perforator will cope much quickly with the task. Well, if there is a sandblasting device or boharda - a special hammer with teeth. Dust must be removed with a rag or a wet sponge. After drying, an antiseptic should be applied, and then the primer. It is necessary to process the entire area, and not just plots affected by mold.
How to plaster ceiling with mineral makeup
To correctly calculate the desired layer, it is necessary to make a preliminary measurement. Using the level, determine the lowest point of the room. From this place is postponed with 1 cm on the wall, and a pencil mark is made. From it will be further geometric constructions. With the help of the level and rope, the distance from the floor to the mark is transferred to the remaining corners, and then on the walls. Experienced masters rub the rope with colored chalk, stretch and fasten on two opposite marks along the walls, then delayed and released. When you hit the cord leaves a noticeable trace to which you can navigate with further work.
Before starting to prepare a solution, you need to endure or hide the furniture and all objects that remained in the room. Spray will be much, so clothes will have to choose the appropriate.
When all the necessary lines are applied, perforated metal profiles are superimposed on them from two opposite sides, and the threads are stretched into several rows between them. For attachment it is not necessary to use screws - it is enough to make two slaps of plaster around the edges.
Threads are made from the solution with a maximum step to 1.8 m. The distance is taken along the length of the rules - rails to equalize the applied material constituting on average 2 m. The mixture is covered in a shallow tank and is poured by the amount of water necessary to give it a thick consistency. Then she stacked small tubercles on the ceiling. A profile is inserted into it and on threads is located so that its upper edge notes the thickness of the layer. Guides are exhibited throughout the perimeter.
When the markup is ready, the plaster is stirred with water in the proportions indicated on the package. Stir more convenient to a building mixer or a drill with a mixing nozzle. Application is made with an embroider of the resulting mass on the overlap, not occupied by beacons. Usually using a middle-length spatula. Processing in the indicated way is better than 1 m2.
Masters advise with a large thickness to lay layers maximum 2 cm. Each subsequent is thrown after alignment and drying the previous one. High strength is achieved if the reinforcing grid is applied. It is slightly intermitted in the applied solution, then the mass is put on top of the mass in the water and drag it so that it is inside. The width of the allen should be 10 cm.
On the surface there should be a small excess material, protruding in height beyond the border, designated by the profile - emptiness will remain without it - noticeable or hidden from the eyes.
Next Stage - Alignment using the rule. Whether it is necessary on a zigzag trajectory, moving on itself.
After drying, the beacons and guides are removed, and emptiness is filled with a mixture. When the moisture finally goes, it is aligned using emery paper or other available methods. The gypsum surface is grinning until it becomes perfectly smooth, the cement will have to bring a putty, but this will not need this for decorative mineral compositions.
For detailed instructions, look at the video.
Polymer materials
If the question is how to plaster a concrete ceiling, a drywall or wooden base - it is solved in favor of expensive decorative polymer-containing compositions, the working algorithm is significantly simplified, but only if the base does not have significant drops in terms of the level, convexities and pridins - after all, the layer must be no more than 3 mm . For each of its varieties, the manufacturer has developed the appropriate primer, indicating its type on the package, so that it does not have to pick it up.
The overlap must be cleaned, degreased and aligned with the need for sheets of GBL or by another method, which gives you the opportunity to eliminate significant differences.
After drying the soil, the main material is stacked. It is not necessary to fill it with water - it is sold in the finished form. It is allowed to dilute up to 10%. Application is carried out with a spatula. After drying, grinding is required.