Plywood shelves are a stylish and budget addition of the interior. Offered different options for making to make it possible to choose from!

If you still consider Phaneur a draft building material, then it's time to discard these prejudices. Efficiency, strength, versatility - only a small part of the reasons, thanks to which it is increasingly appearing in the interiors as an independent unit. In this article - step-by-step guide with photos, how to make the shelves from plywood with their own hands. And 6 models who like everyone.
Making plywood shelves
Features of the materialStep-by-step instructions for shelves of different types
- for storing logs
- paddle with shelves
- Original storage system
- Stellazh
- suspension organizer
- Volumetric Stellage
Features of the material
To begin with, we will understand why plywood? The answer is simple: characteristics, thanks to which a compressed veneer can be an excellent alternative to wood, MDF or chipboard.
- Flexibility due to small thickness, lightness and strength.
- Resistance to temperature drops.
- Simple installation - trim, glue and mount this material can be without special skills.
- Efficiency - the cost of the plywood sheet is significantly lower than the natural tree.

The main disadvantage of the material is not suitable for zones with high humidity. Since the material is made from a specially prepared veneer, which glue between themselves, there may be harmful evaporation from glue under the influence of water.
But for residential rooms or corridor, this material is suitable as it is impossible. Therefore, if you want to quickly and without excess spending to equip the home, read our advice, how to make a plywood shelf with your own hands.
Different options for shelves with detailed instructions
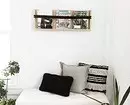
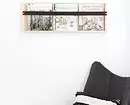
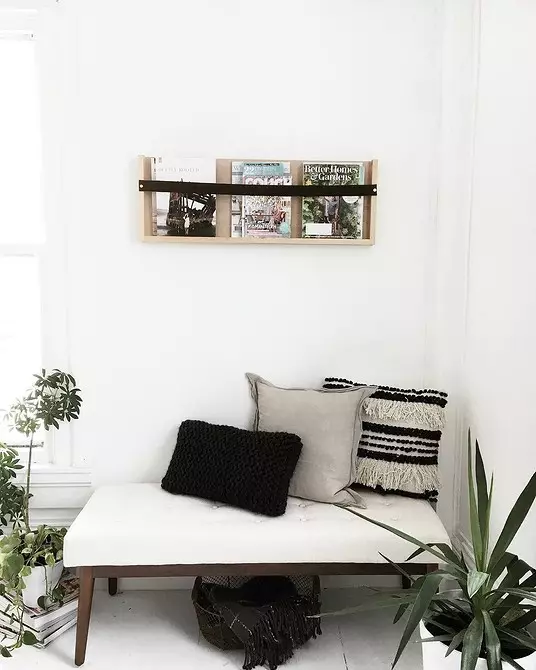
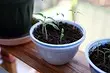
1. For stylish storage of logs
Let's start with a compact and simple solution for the living room or bedroom. The magazines are not necessary to lay out on the coffee table - they can be turned into a decor element, placing on the wall in a mini-organizer. Show how to make a plywood shelf a few steps.
You need
- Plywood sheets.
- A circular saw.
- Drill, screwdriver.
- Roulette and pencil.
- Leather belt.
- Scissors.
- Decorative cloves.
- Fastening (to choose from)
Progress
- We choose the desired size and cut the sheets of plywood: we will need 3 narrow long parts for the shelves and one rectangular for the wall.
- From the edge of the side and from the bottom of the future wall, measuring about 9.5 mm and we drill holes for screws.
- With the help of screws, we mount the three horizontal boards for the basis - these are the boundaries of our shelf. In order for the design is more durable, you can additionally secure the angular mounting screws.
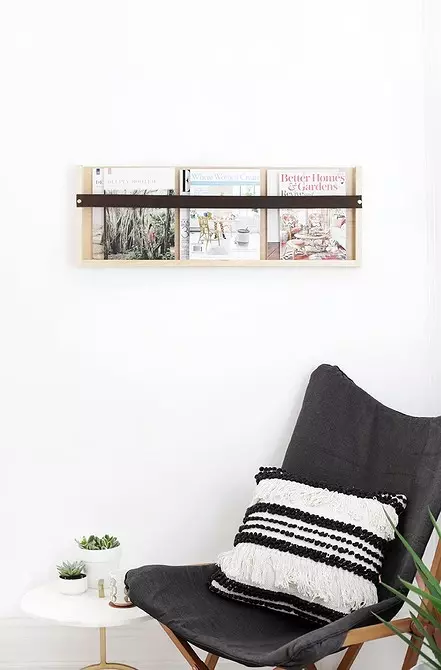
- We make two parallel holes for the leather strap on vertical bars. We apply it to holes, fasteners and close with decorative cloves.
We hide the resulting shelf from plywood with your own hands on the wall with any hidden installation. To do this, we note on the surface of the wall the length of the shelf and the place where the mounts will be. Serve holes and insert fastenings in them. The most popular options are metal rods or hidden loops. Then, when the attachments are already kept in the wall, we mount our shelf on them.
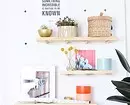
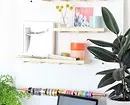
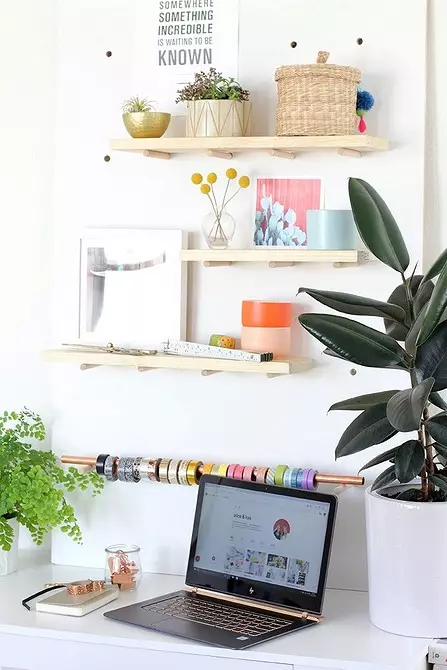
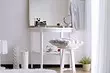
2. Organizer with asymmetric shelves
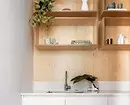
A simple and beautiful version of furniture in the work area. Especially relevant for those who are engaged in creativity. And make it very simple!
Materials and tools
- Thin plywood sheet.
- Wooden or plywood boards that will be shelves.
- Lobzik, if you need to cut the shelves.
- Perforator.
- Sandpaper.
- Fasteners for the shelves. In the example, these are short rounded sticks.
- Paint (optional)
Step-by-step mounting
As always, first prepare the drawings. Select the desired wall panel size and think over the location of all items. We are preparing the shelves (we fit into size if necessary).
- We drill the perforator parallel holes in the plywood along the diameter of the sticks and sanding them. You can do more to then change the position of the shelves.
- At will, paint plywood base. Either leave it in natural form.
- Insert the base sticks into the holes and put on top of the board on them - this is our shelves.
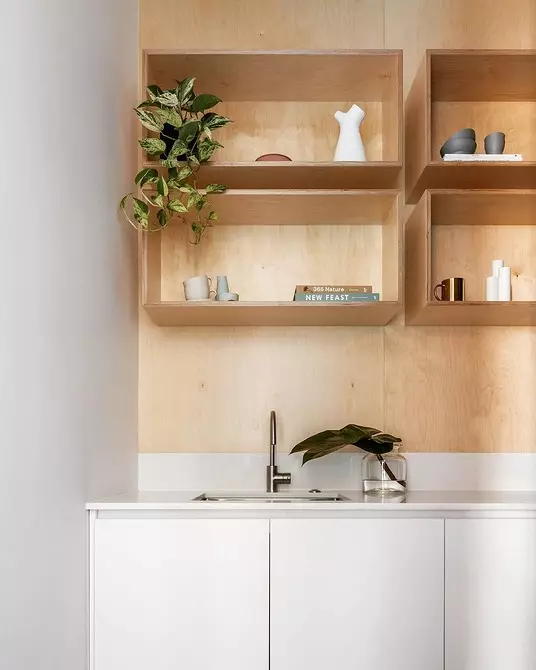
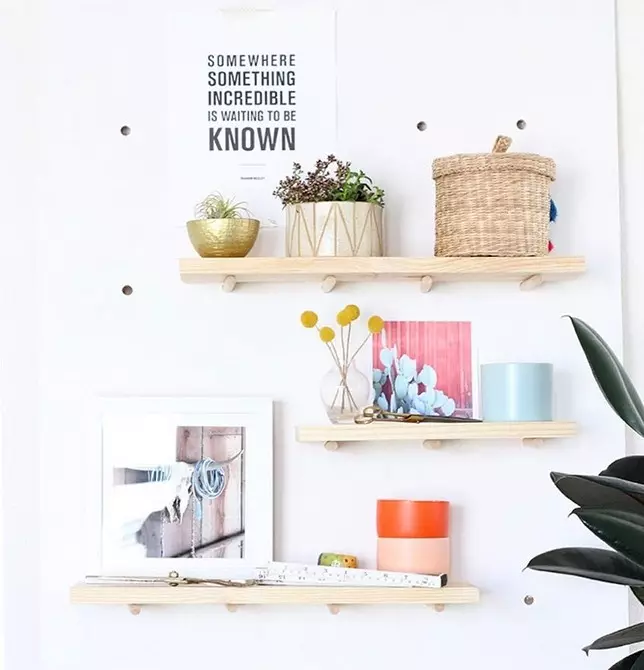
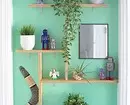
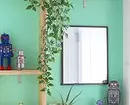
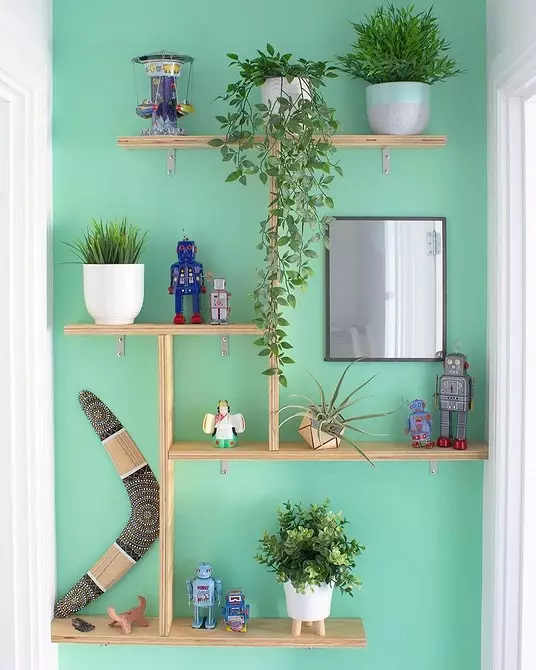
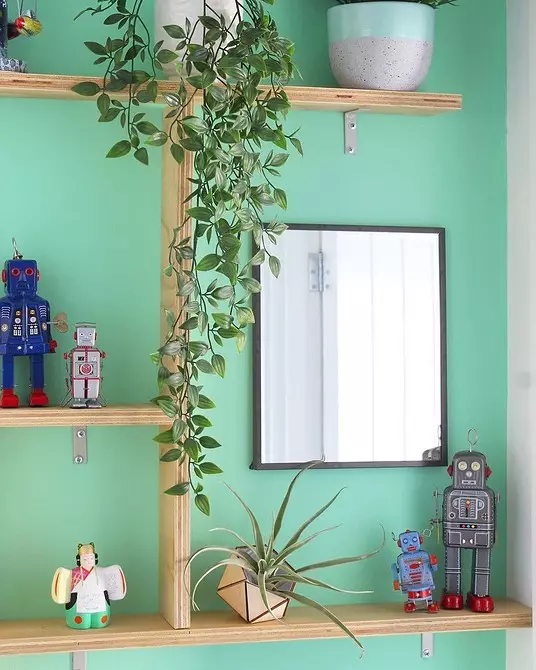
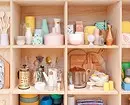
3. Original storage system
If there is a small free space in the house - for example, an empty wall of the corridor - it can also be used rationally. Namely, instead of a picture or lamp, decorate the wall with an unusual composition of the shelves.
What is necessary
- Plywood sheets.
- Hacksaw or jigsaw.
- Sandpaper.
- Paper and pencil.
- Centimeter.
- Brackets.
- Saws and dowels.
Progress
Decimat design plan for wall size. So that the shelves look more interesting, you can make them different size and arrange asymmetric.
We cut the plywood sheets under the desired size, after which it is carefully sanding the edges.
We note on the wall of the place of attachment of the shelves, then with the help of screws, we attach horizontal parts of the brackets on the blanks.
Apply the shelf to the wall, drill holes for brackets. In order for the design to withstand heavy loads, further enhance the mounting of the dowels and screw the screws into the velocked holes.
We place books, plants, decor items and any other things on the shelves, and admire the result!
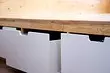
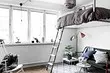
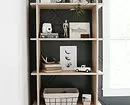
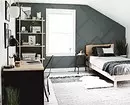
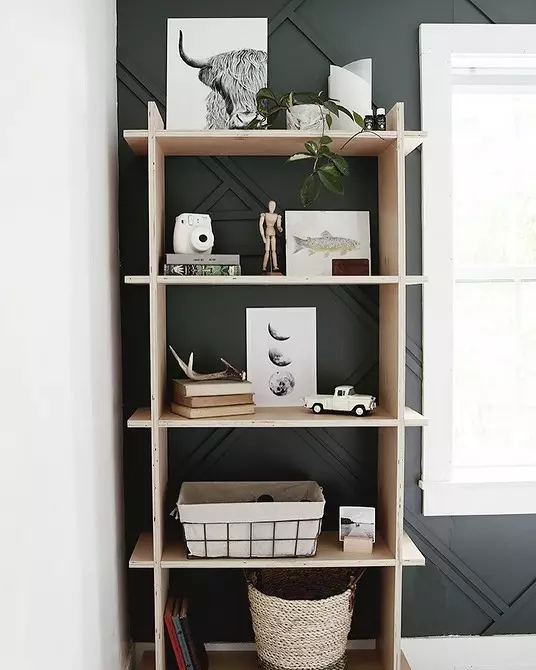
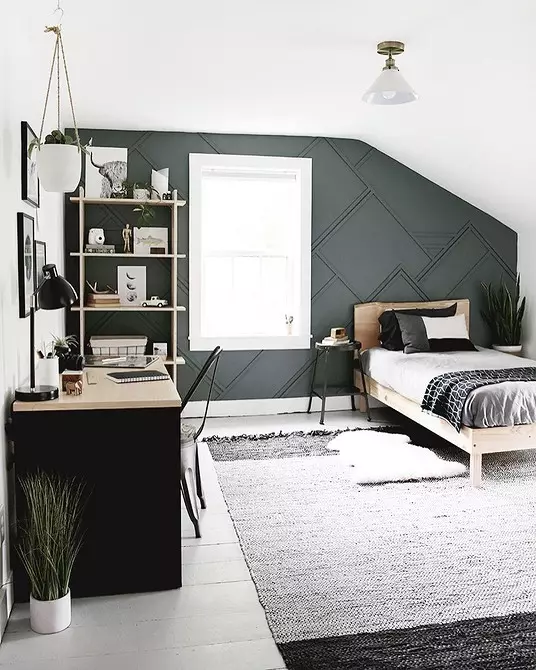
4. Plywood rack with their own hands
This is an option for those who do not like complex fasteners and drill a lot. A roomy rack, the details of which are assembled as a constructor.
Materials and tools
- Plywood sheets 244x122 cm.
- Circular saw or jigsaw.
- Paper and pencil.
- Corolnic
- Sandpaper.
- Varnish (optional).
Step-by-step assembly
- Draw a rack plan.
- Cut the workpiece under the base: two vertical and 5-6 horizontal rectangles. It can be done with your own hands or contact the master who breaks the available sheets.
- At the front edge of the side racks, placing the intersection places with horizontal elements. Then, in front of the narrow side, we make cutouts in these points in the size of horizontal boards.
- Sand cuts and edges of all elements, and then simply insert horizontal boards into the design of the rack, like the details of the designer. Optionally, vakham the finished product.
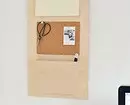
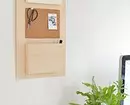
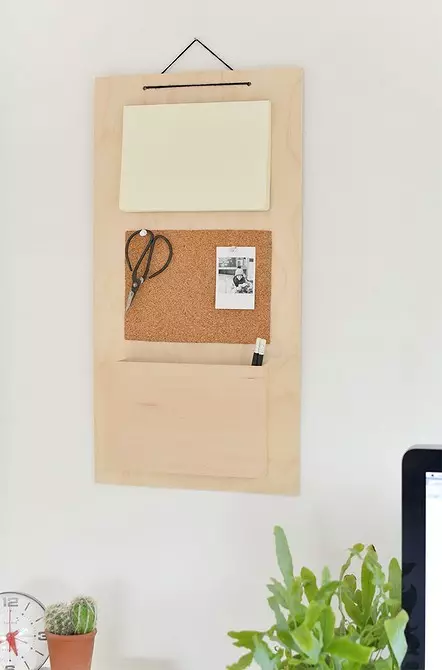
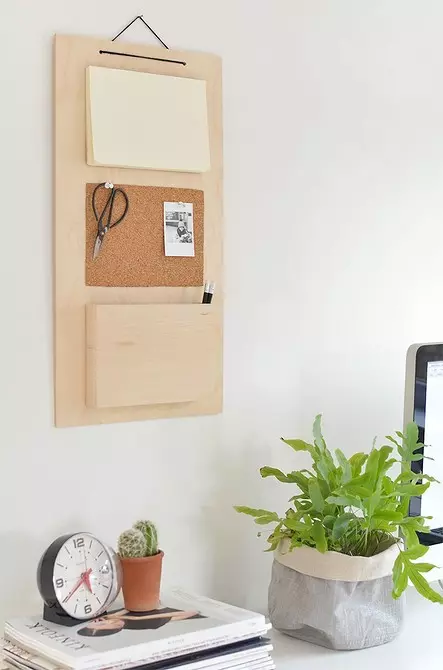
5. Suspended organizer for trifles
Stylish and easy to manufacture a multifunctional organizer: In such a thing, it is possible to store the little things, and make records, and keep in mind important notes or a list of cases.
You need
- Plywood sheets 30x60 cm.
- Drill.
- Cork board.
- Nothing book.
- Glue for wood.
- Mounting knife.
- Line.
- Strong rope or leather lace.
Step-by-step instruction
Drill two holes in the top of the plywood blank in advance.
Cut the cover from the notebook cover, be sure to leave the external root - so that the sheets do not fall apart.
From the cork board, we cut a rectangle in the size of a notebook (approximately 15x21 cm), we glue into the center of the structure, pre-tallowing the desired place in the pencil. We give traffic jam.
Cut from residual material 4 rectangular parts: 21x15 cm, 21x3 cm and 15x3 cm (2 pieces). We connect the parts of the pocket between themselves and freamed them to the base of the tree glue.
We produce a rope or leather strap in advance drilled holes in the board - it will be our fixture.
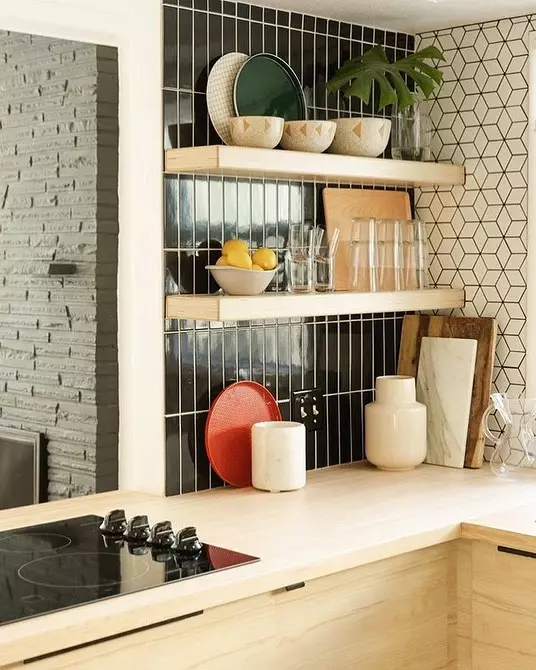
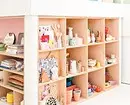
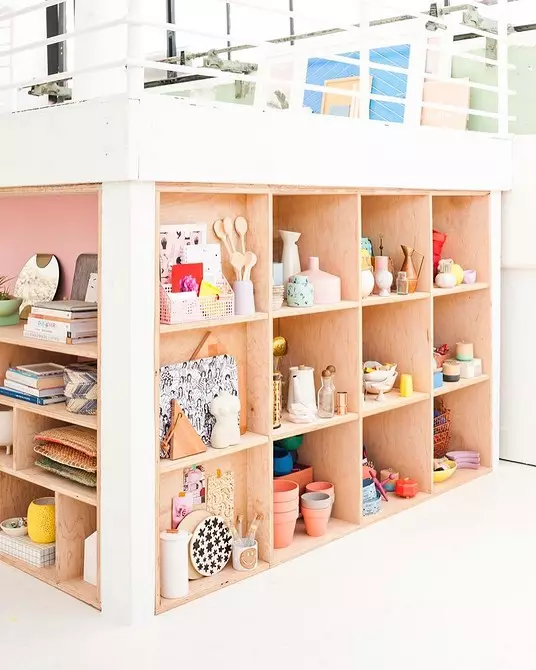
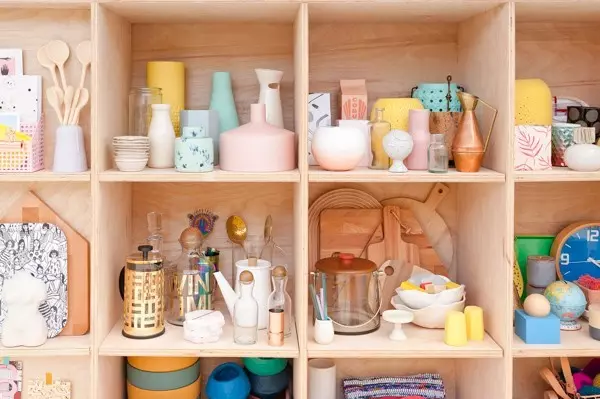
6. Rack on 9 or 12 branches
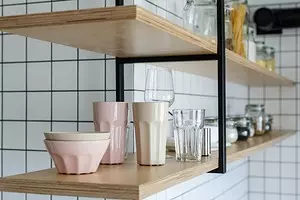
This is an option for a spacious open storage system for books, small things, dishes or decoratives. The rack can be put on the wall or embed in a niche.
You need
- Plywood sheets 244x122 cm.
- Circular saw or jigsaw.
- Ruler and pencil.
- Corolnic
- Saws.
- Drill.
- Level.
Progress
First of all, we are determined with the size of the cells and draw the design of the rack with all sizes. Design depth chosen under your needs. Then we are cutting the Fanur with a jigsaw or circular saw on the workpiece of the desired size.
So that there is no distortion, placing the wall using a level. After that, go to the creation of a frame of the rack. Correct the corners.
Before assembling the frame, we pre-drill the holes for the shelves, then mount them into the frame from the bottom up. Shelves are better attached to each other with self-draws so that the whole design will fall apart when the rack will be filled. Places for holes in advance are placing on the billets with the help of the square so that there are no distortions.
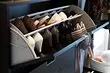
By the same principle, you can make it possible to make a shelf for shoes with your own plywood hands, adjusting the size and making rectangular blocks instead of square.