
We tell how to independently replace the usual countertop on the tile.

Alone change the kitchen countertop on the tile
Selection of material: tile or porcelain stoneware?Do it yourself with your own hands: Step by step instructions
- Tools for work
- Preparation of the foundation
- Processing of the base
- Laying tiles
- Facing the end
- Shutkish seams
- Installation of the hob and sink
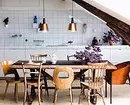
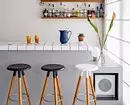
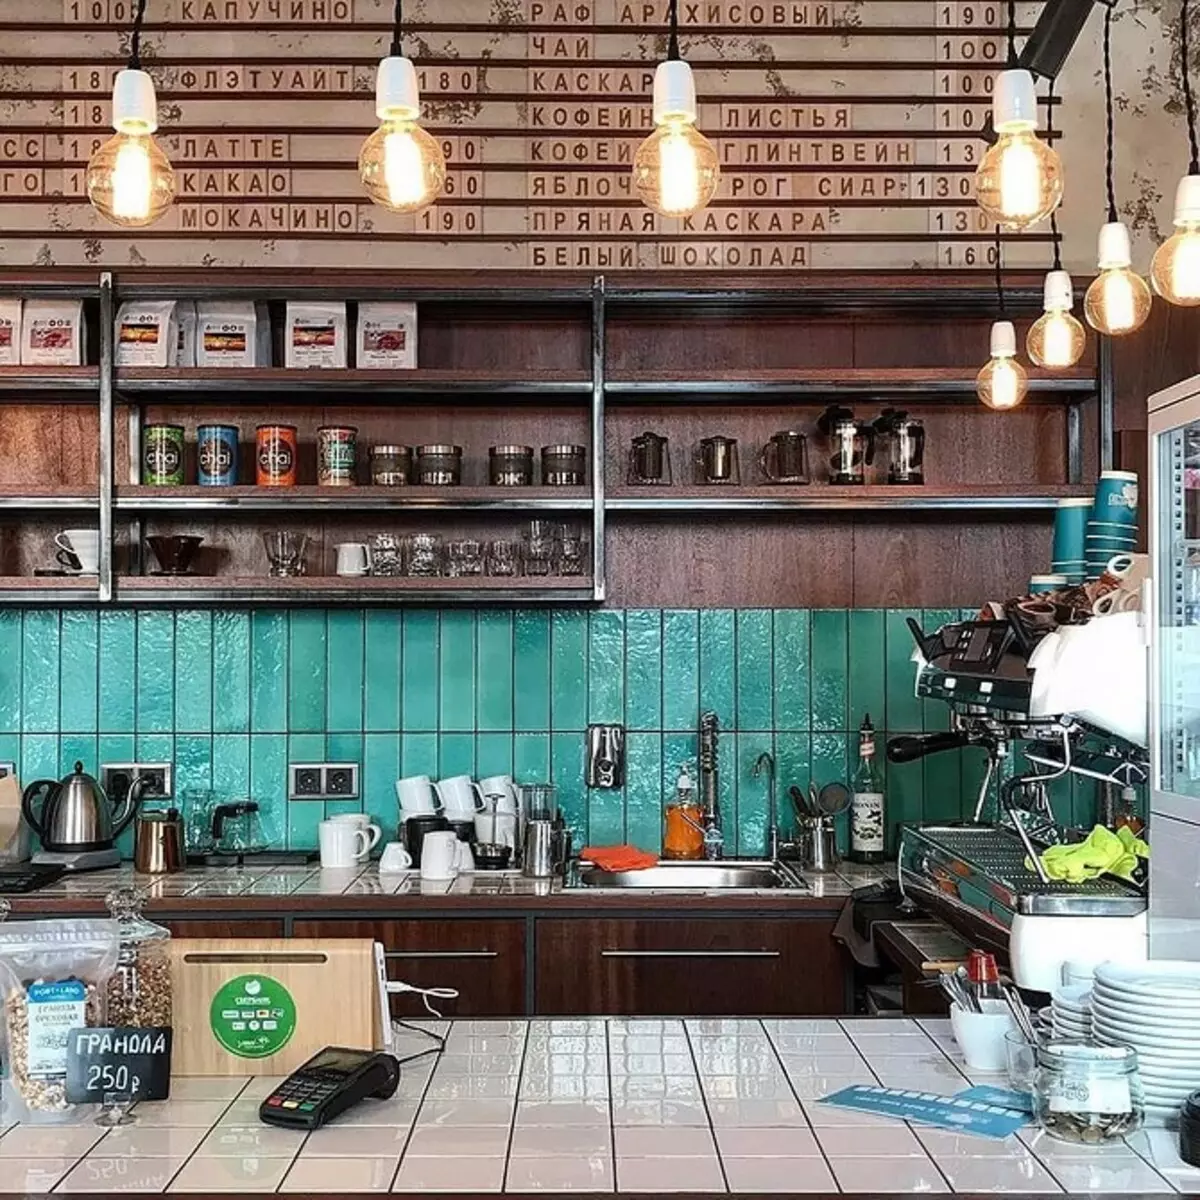
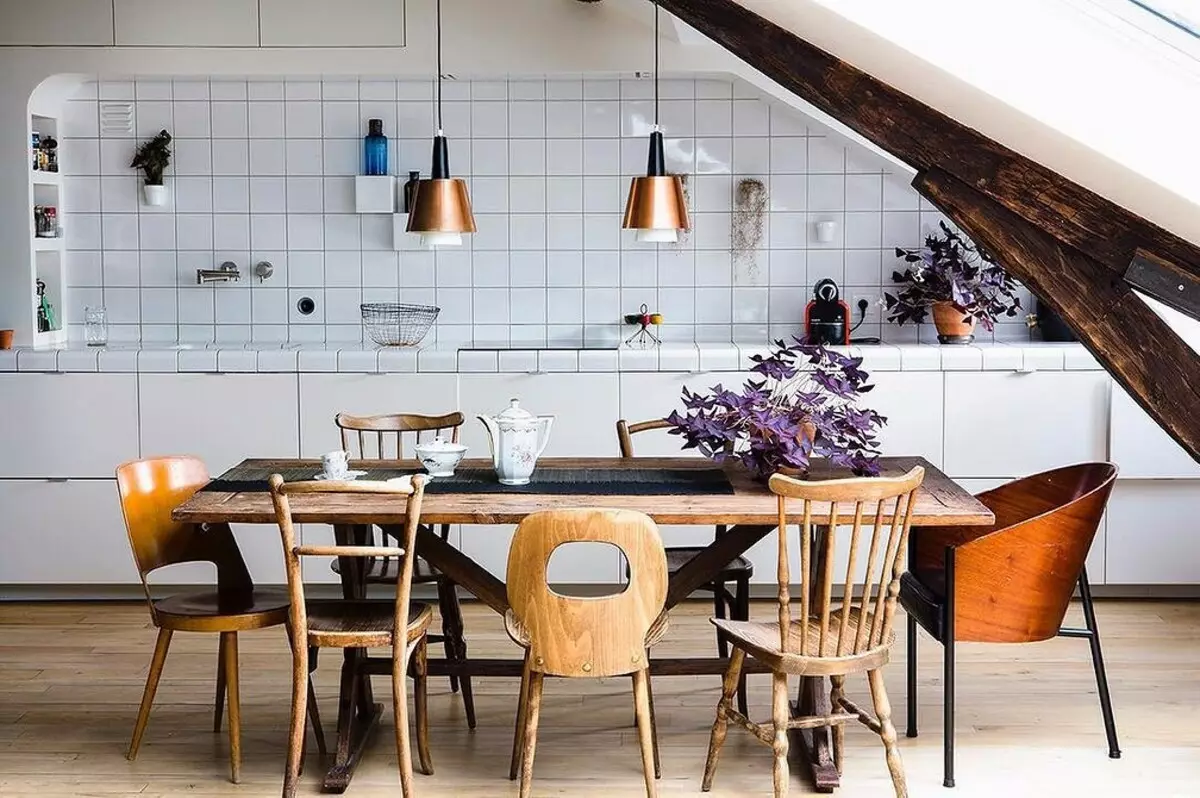
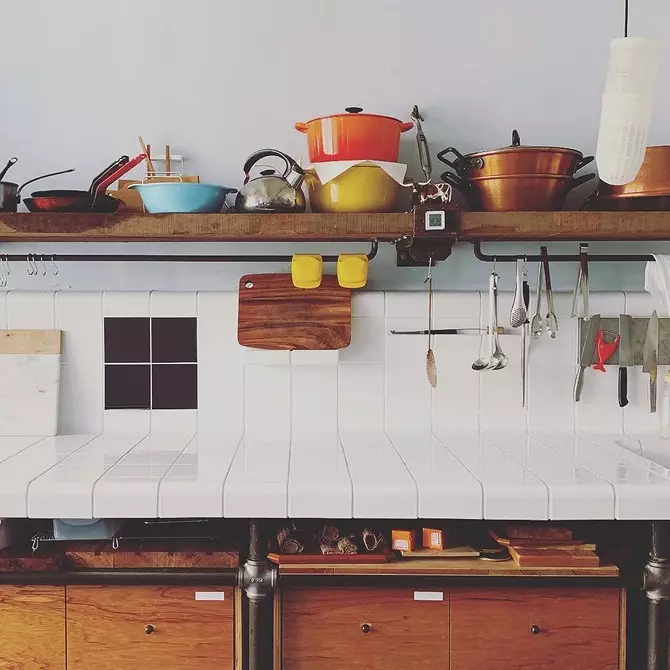
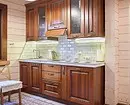
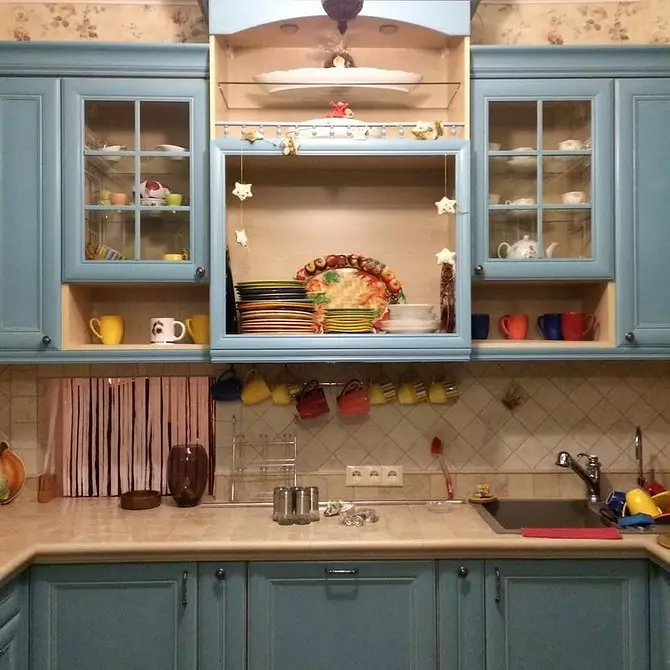
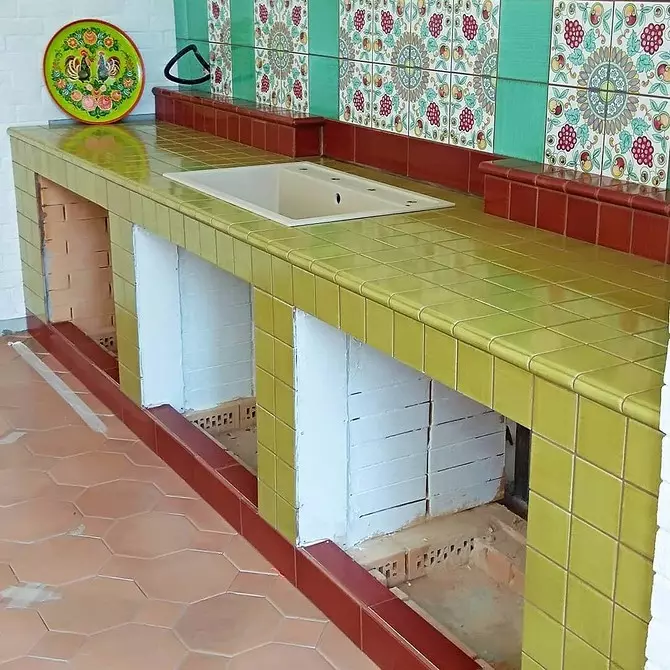
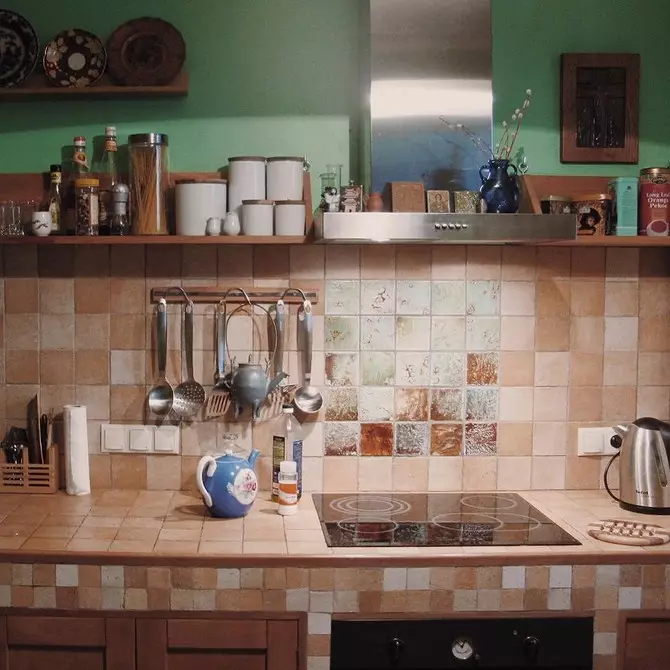
The tabletop from the tile do it yourself is an excellent solution for rooms with an aggressive environment, that is, for the kitchen and bathroom. Increased humidity, constant exposure to water, temperature differences and hot steam - not all materials are able to withstand such conditions. Tile can. The main thing to make the right choice.
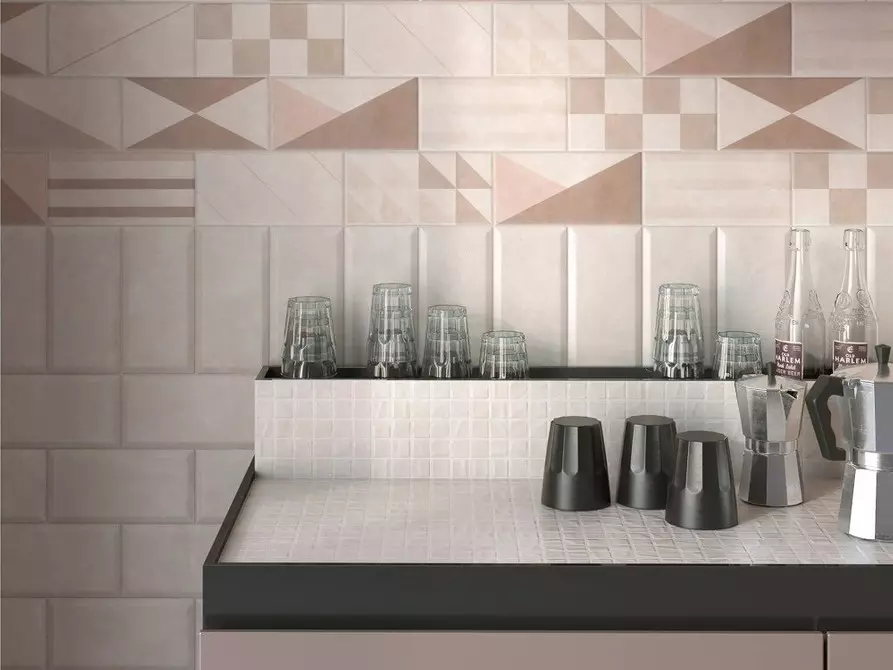
Countertop from tile on the kitchen: tile or porcelain stoneware?
The first thing to determine is the material from which the surface of the table will be made. Today manufacturers offer two options: ceramic or tiled and porcelain tile.
Their composition is the same: granite, field spat, kaolin and illite clay. The main difference is in the production process. Porcelain stoneware is pressed under high pressure and is burned at a temperature of about 1300 degrees against 900 - 1200 degrees of firing ceramics. This leads to the fact that much less pores are formed in the material. And this directly affects waterproofability, wear resistance and light sensitivity of the final product.
- Ceramic granite absorbs approximately 0.05% water, while ceramics - about 10-20%.
- For strength, it is comparable to natural stone. But still not worth risking: do not beat meat on the table surface, use the board for this.
- Tabletop from tile, with constant exposure to it of sunlight, can be faded. This is due to the fact that the icing pattern is applied to the surface of the material. In the production of porcelain stoneware, coloring pigments are added to the main clay mass, as a result it turns out uniform color throughout the thickness.
- Ceramic granite is resistant to alkaline and acid reagents, it can be cleaned by any detergent and rub even with a rigid sponge.
- The texture plays a role when cleaning: it is more difficult for relief surfaces to care.
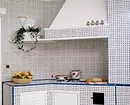
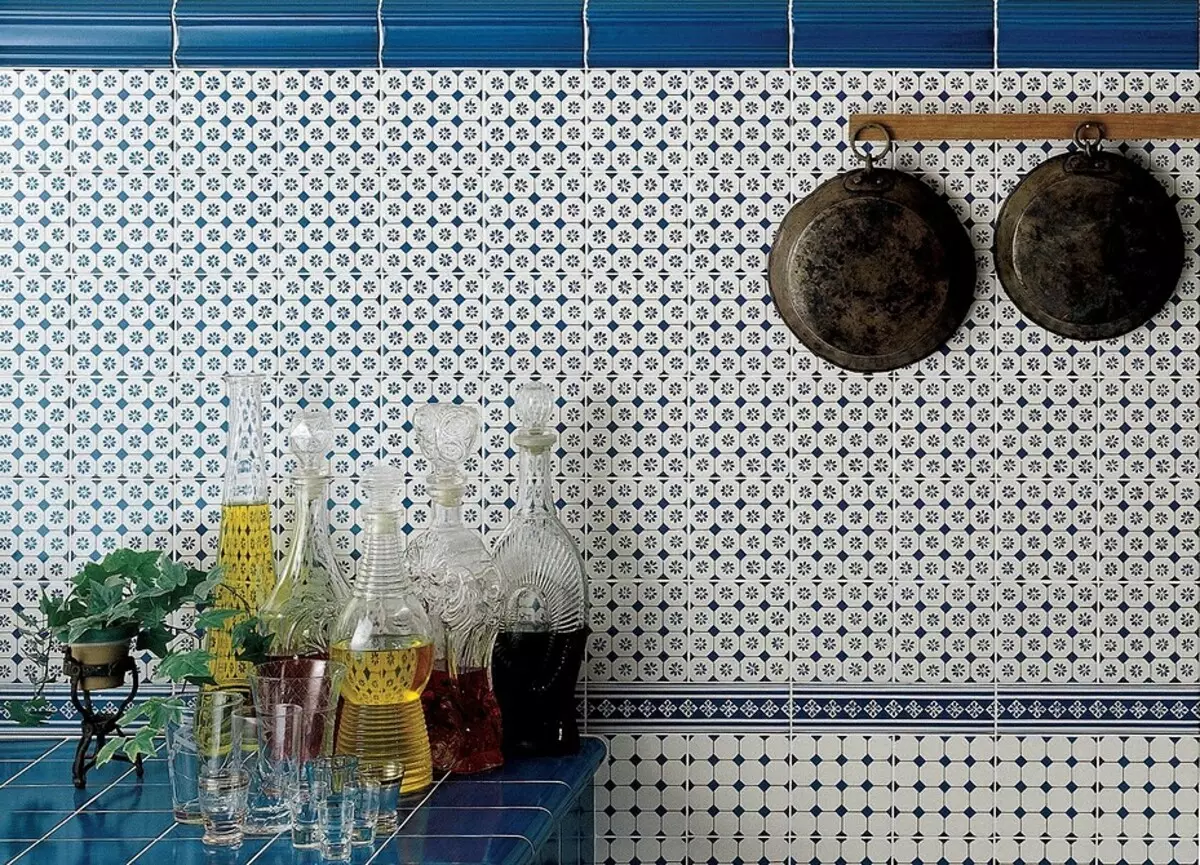
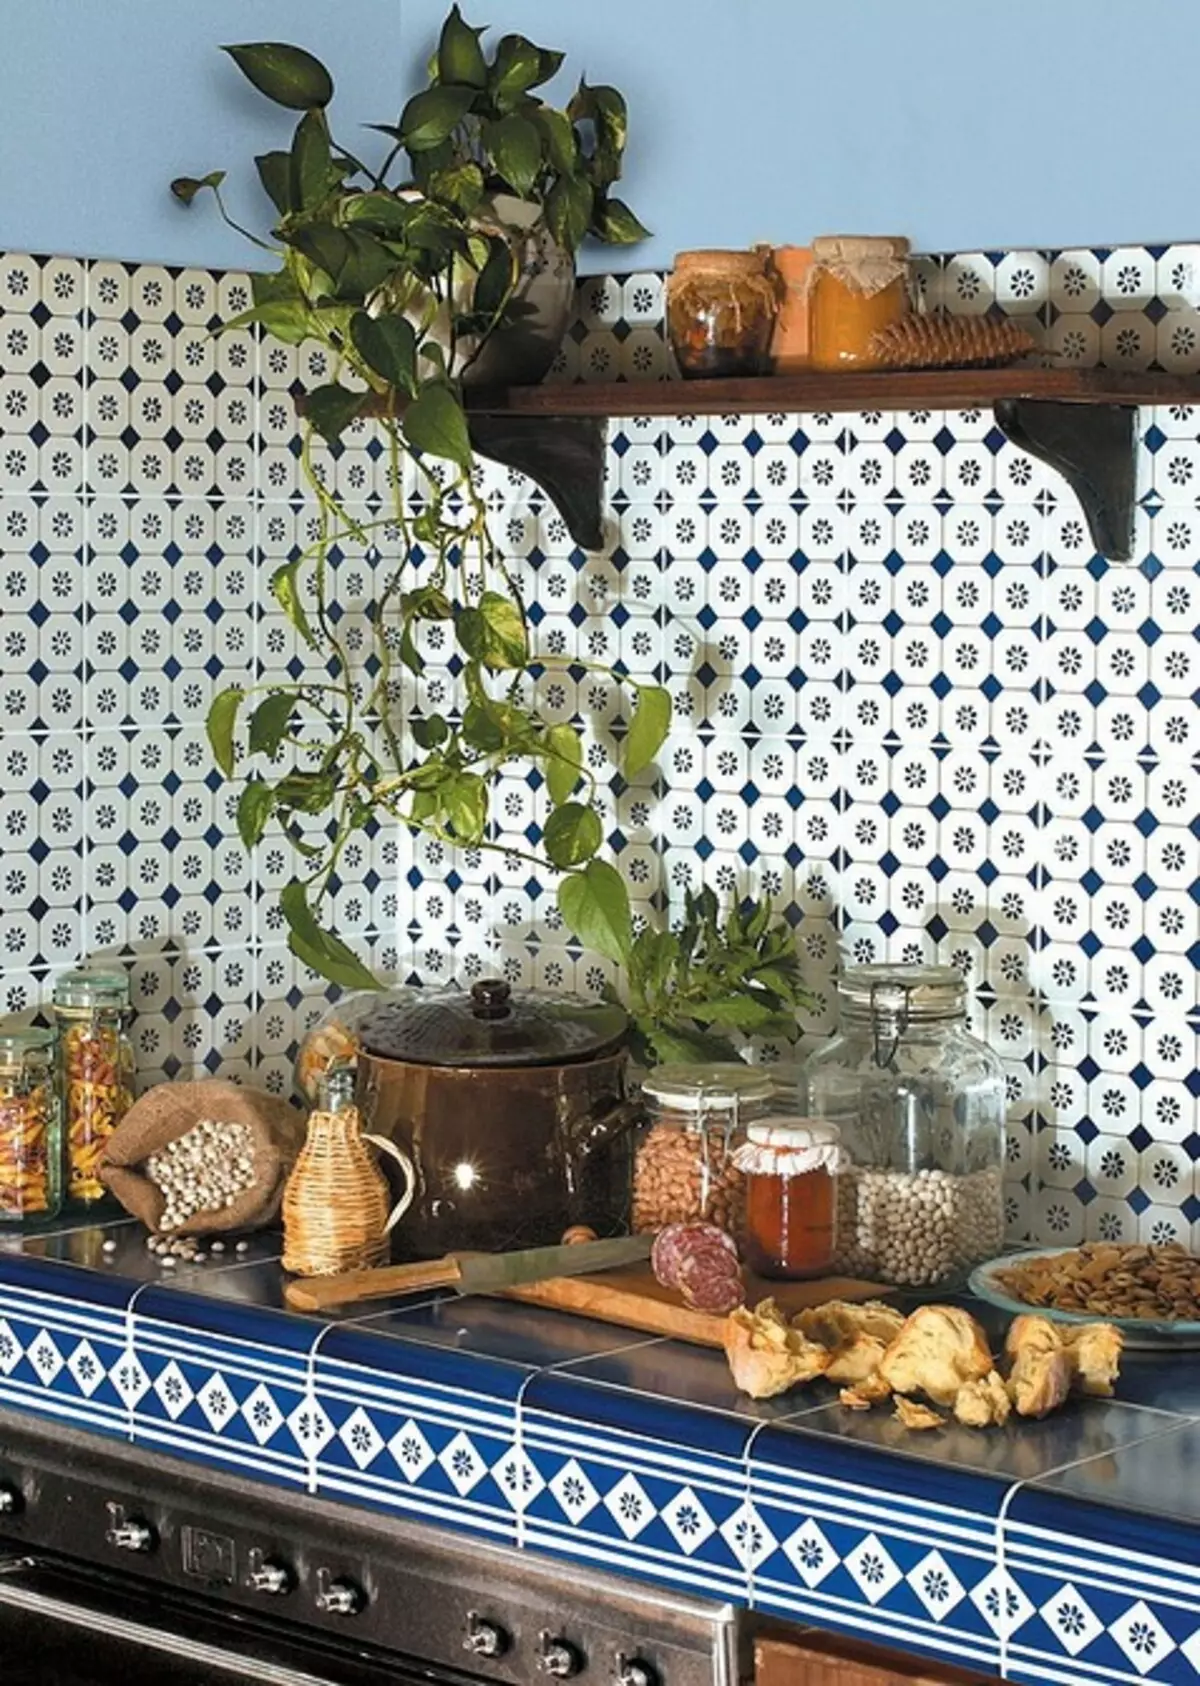
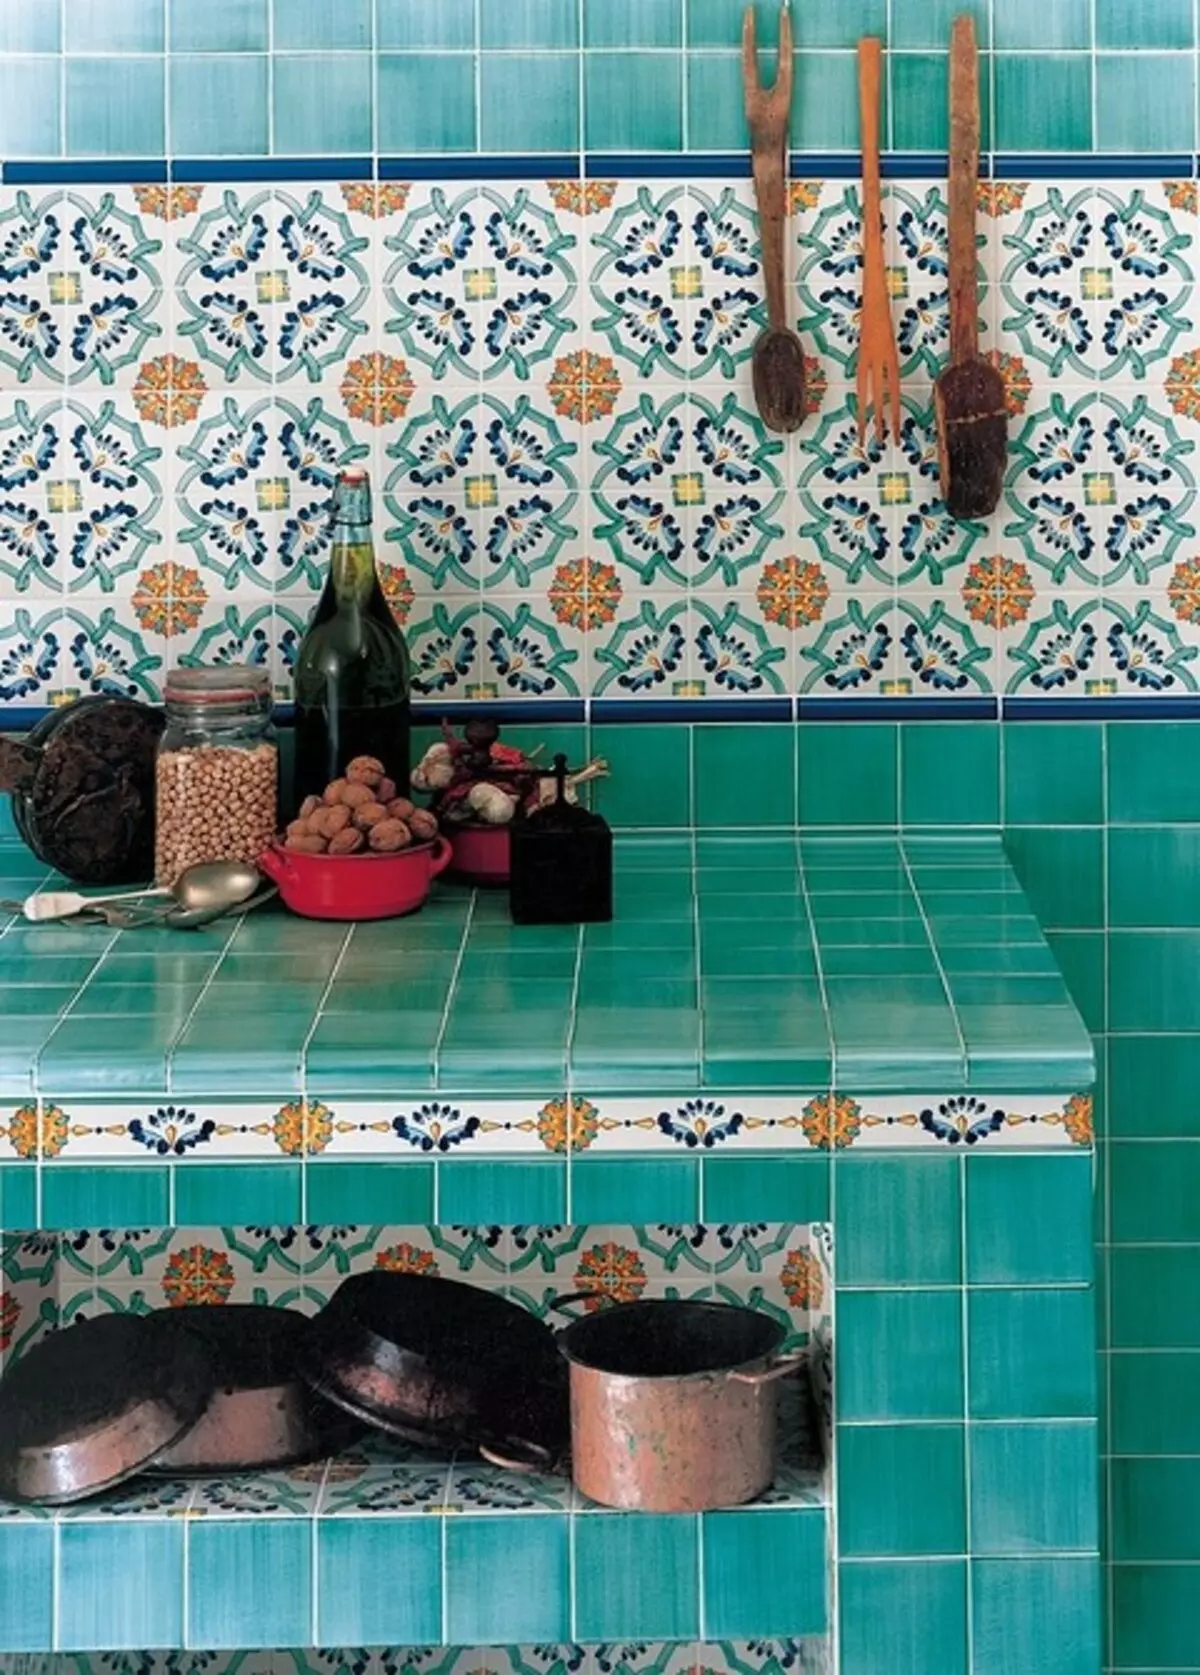
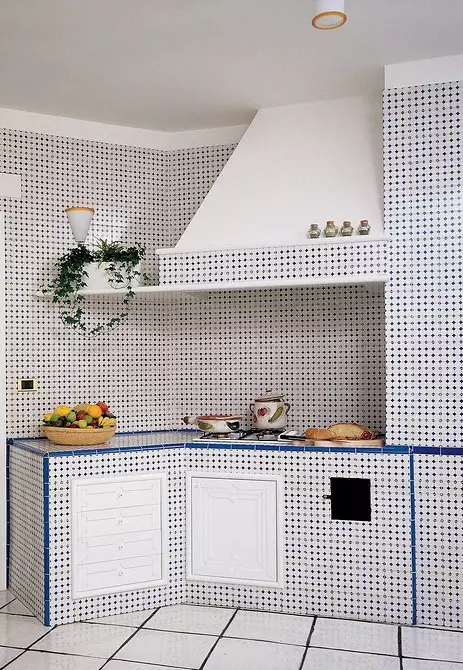
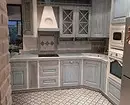
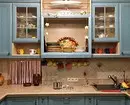
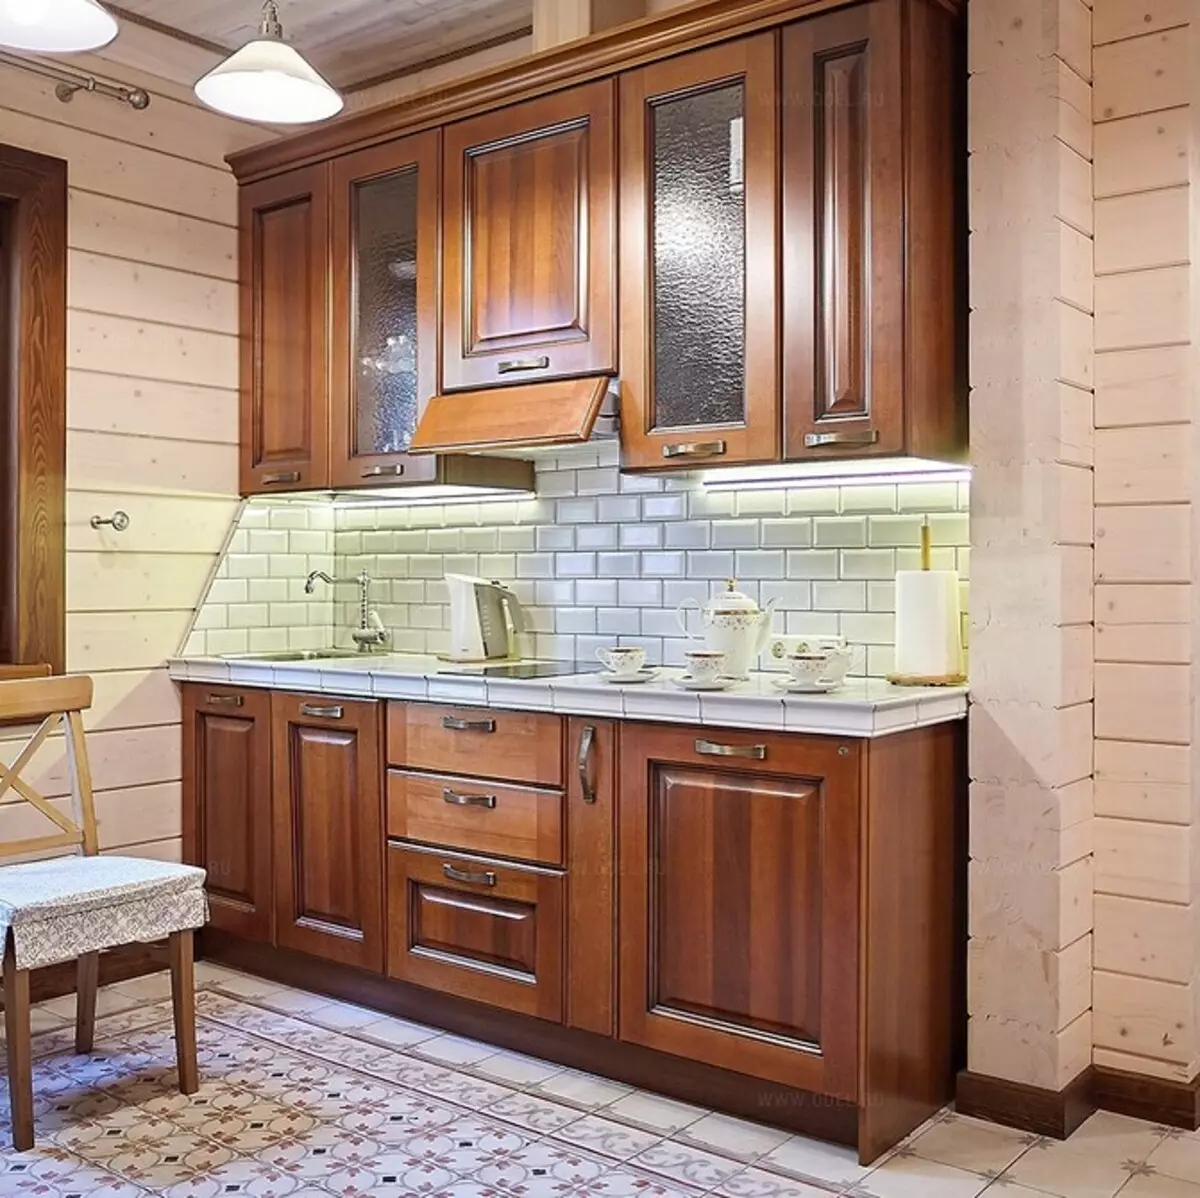
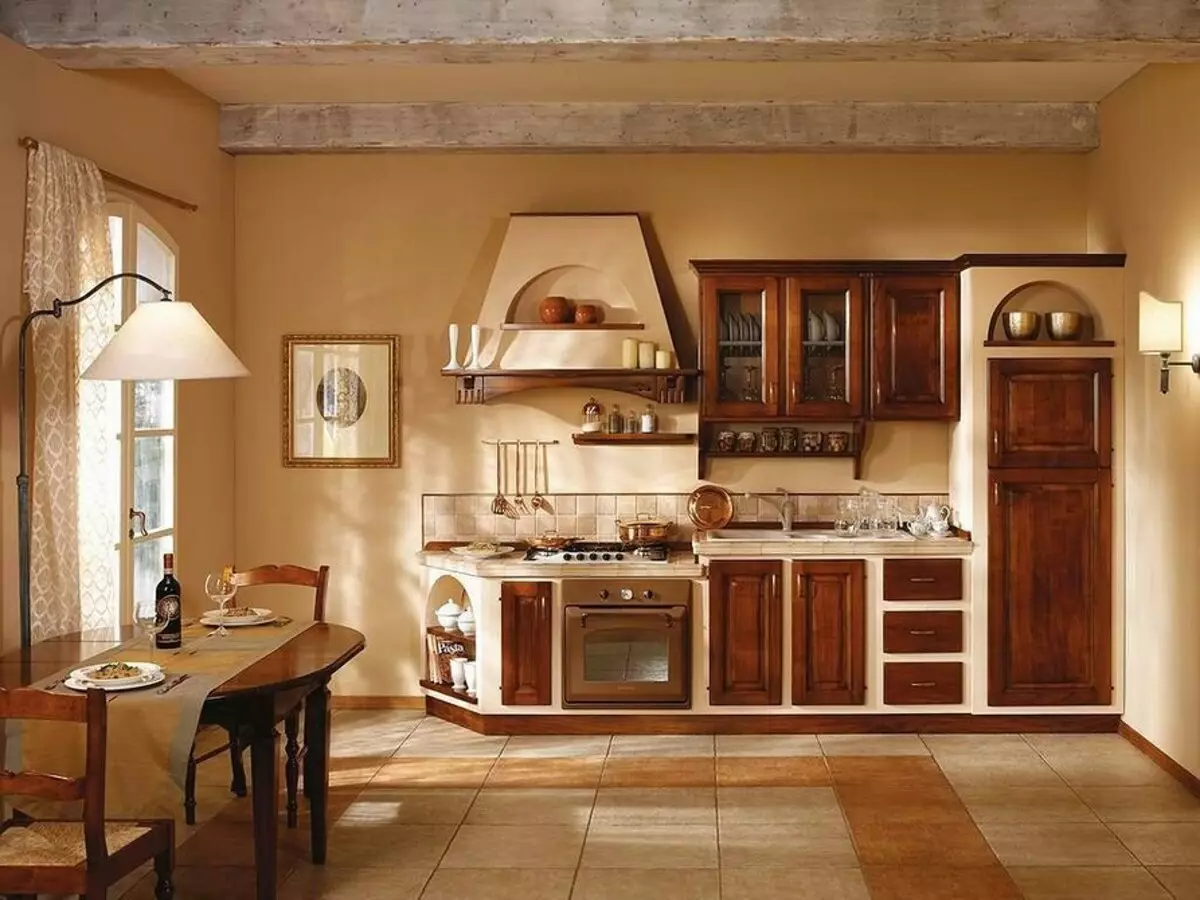
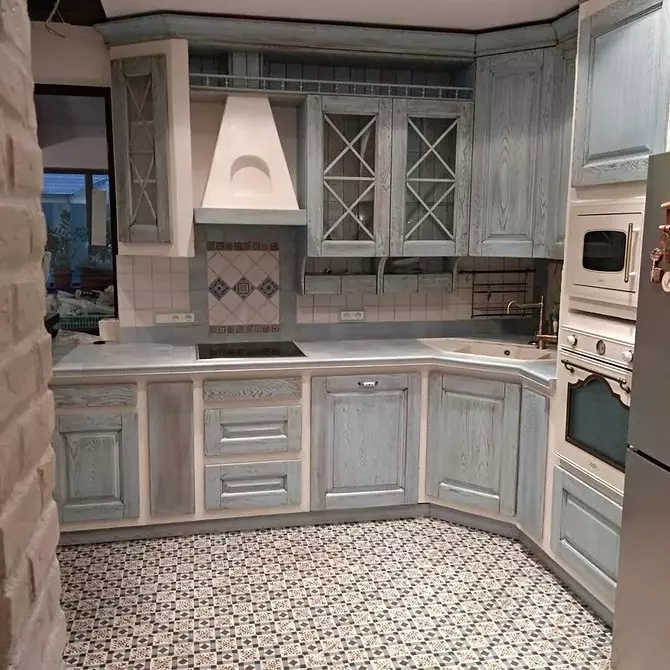
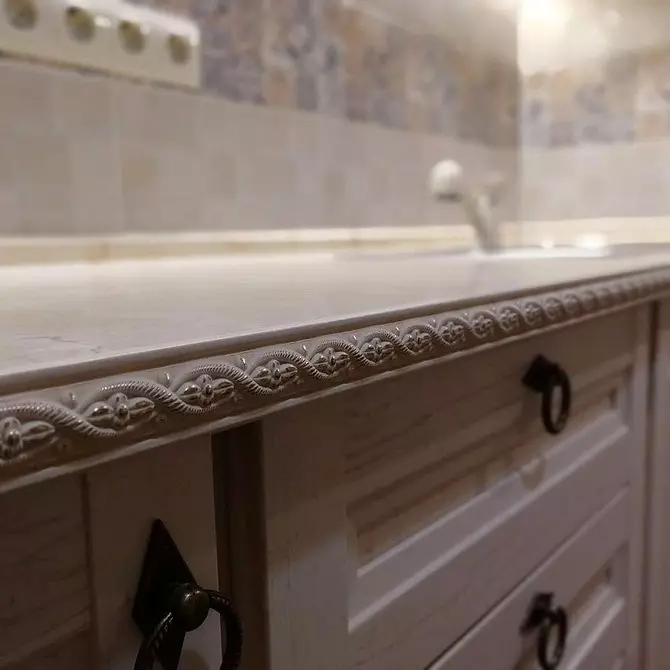
- Picking out the material, do not forget about the border. It will add decorativeness and facilitates the design of the end part of the headset. It can be made from the main array or from the tile of another design. Another option is a wooden or aluminum profile.
- If an apron is provided or it already is already available, pay attention to the color combination and harmony of styles.
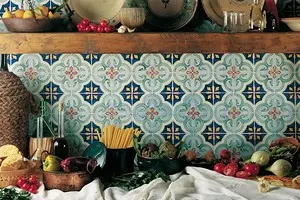
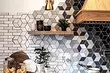
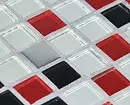
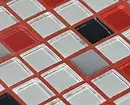
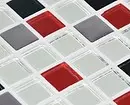
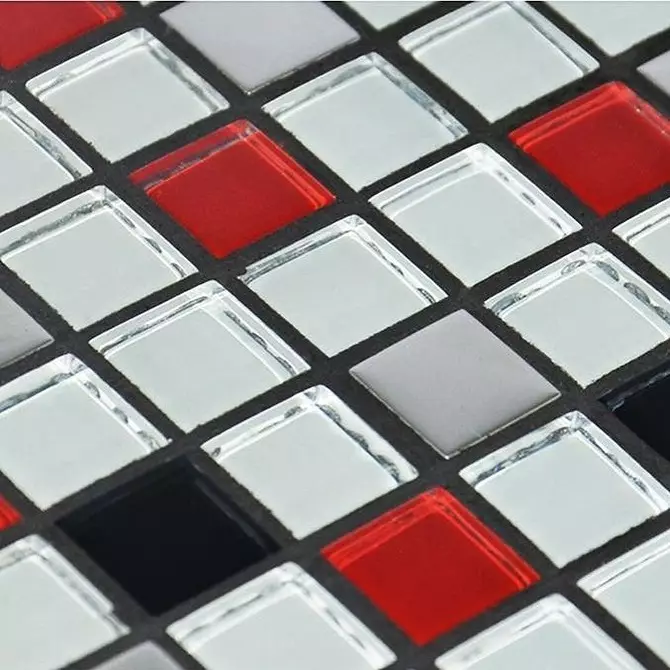
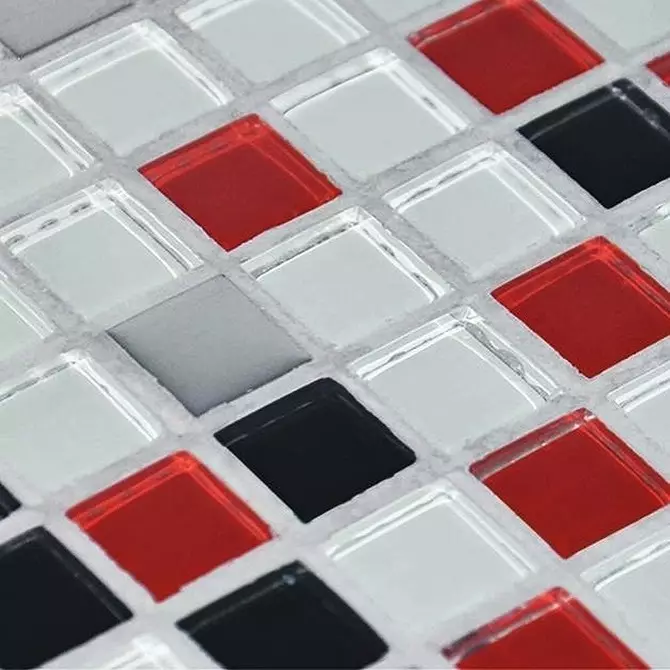
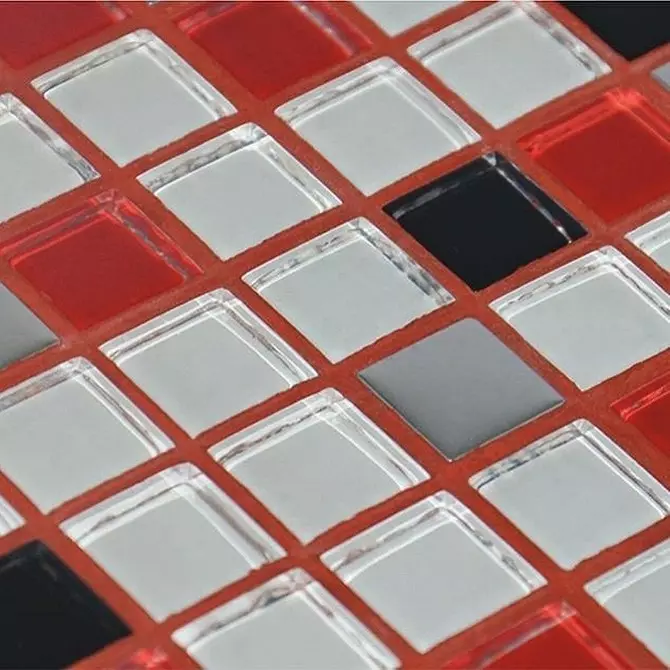
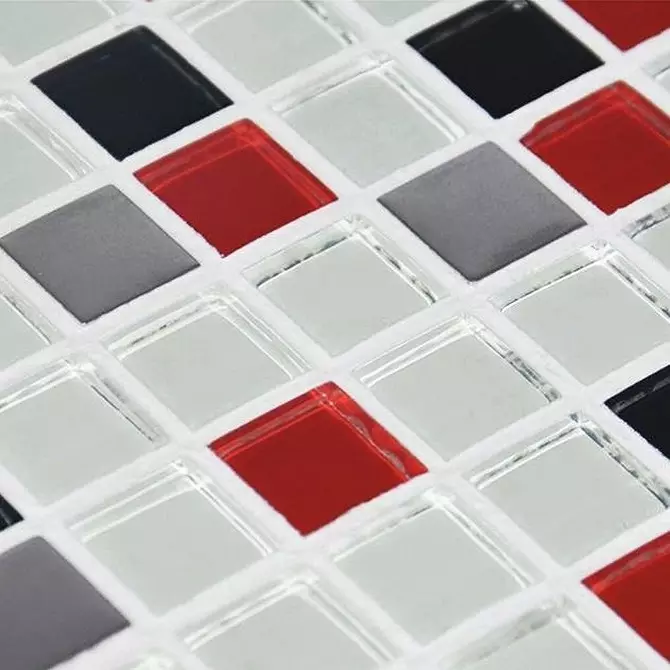
When choosing a tile, consider the room size. Large briquettes with a side of 30 cm will be organically looked in a spacious kitchen. If the area is small, it will suit 10x10 cm or 15x15 cm. Option for the most courageous and cuisines in a modern style - a sideways of 60 cm.


How to make a tabletop from tile: step-by-step instruction
The optimal and easiest option is to replace the tabletop on the headset that already exists.Before proceeding with the work, it is necessary to calculate the number of briquettes, including for the end, and the apron, if it is intended. Make it is not difficult, knowing their size. Rent another 10-15%, the stock is needed in case of damage or chipping.
Be careful: crop out the porcelain stoneware, if it does not fit completely on the surface, it will not be possible without a special stoveture. Even glass cutter, it copes only with the cafeter. If the tile is already purchased and replaced its capabilities, it is better to rent a professional tool.
To work, you will need:
- Epoxy tile glue, toothed spatula
- Grout, rubber spatula
- Water-repellent transparent primer
- Stainless selflessness
- Electrical Roof, Electrolovik, Bulgarian, Stovetur
- Chipboard or plywood sheets

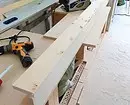
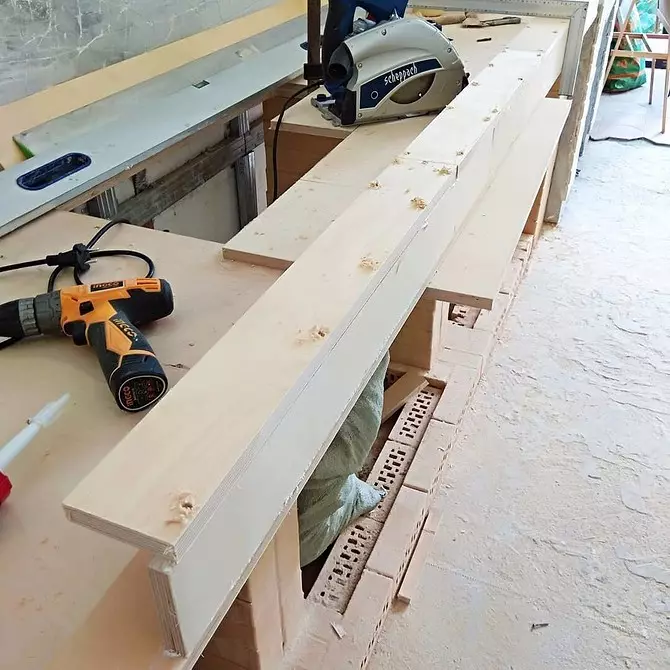
Preparation of the foundation
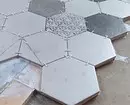
- As the basis, you can take a waterproof faeer - type of FSF or FB with a thickness of at least 10 - 15 mm, it is placed in two layers. The option is simpler - moisture-proof chipboard with a thickness of 22 mm to 38 mm, then a layer in one sheet is sufficient.
- According to the sizes of the countertop, keep in mind that it should go beyond the edges of the cabinets: 1 cm on the front side and 2 cm - from the side. Its standard width is 60 cm.
- It is very important to estimate the final headset height, especially if the stove is not a cooking panel, but it is separate. Is it regulated by her height of the legs? Is it possible to align them?
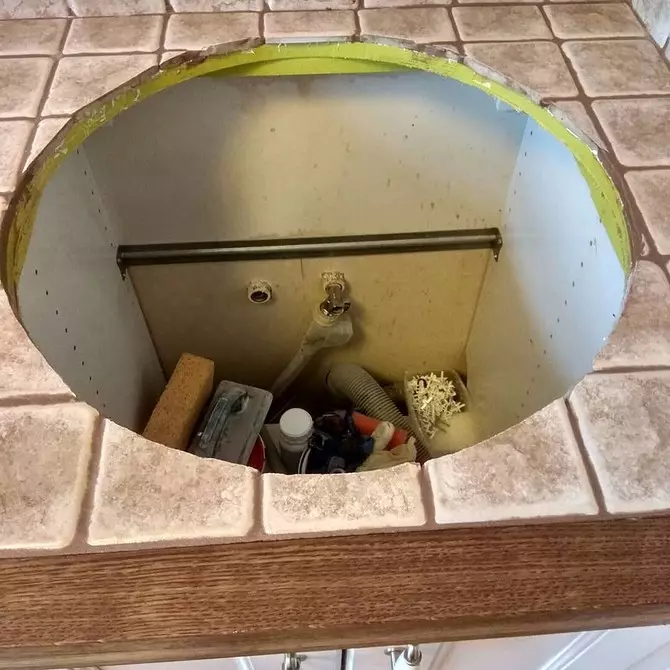
- Next, the locations are calculated under the sink and the panel, if there is such. The holes are neatly cut with an electric bike.
- Before assembly, all materials from wood are additionally soaked in waterproofing, dried. Cutes are carefully processed, several times.
- If you are dealing with plywood, the first layer is attached to the stands of stainless self-reserves, the optimal length of which is 38 mm. Hats must be completely immersed and treated with putty. The second sheet is glued to the first with a joinery of joinery or moisture-resistant PVA. At the edges, the layers are fastened with self-draws at a distance of 15 - 20 cm.
- In the case when the lengths of the sheets of plywood did not have enough for the entire headset, try to arrange their flashes in such a way that the joints do not coincide. Memia of the halves are fastened by side screeds.
- The frame from the DSP board is attached to the self-tapping screw with a step of 10 - 15 cm.
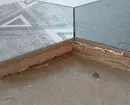
Processing of the base
In order for the tabletop from the tile to the kitchen with their own hands, it is hydrochlorized, it is treated with waterproofing means. Silicone or acrylic sealant is applied to the existing joints and sections.As a substrate for lining in case of insufficient thickness, 10-millimeter sheets of the gypsum or cement-chipboard are used. They are fixed on tile glue, which is distributed over the surface of the base with a toothed spatula. However, this is not necessary, proceed from the thickness of the lid. It is not worth weighting the design and make it above 4 cm.
The key moment before facing is the processing of the base of moisture protection primer.
The video below shows the process of one of the possible installation options:
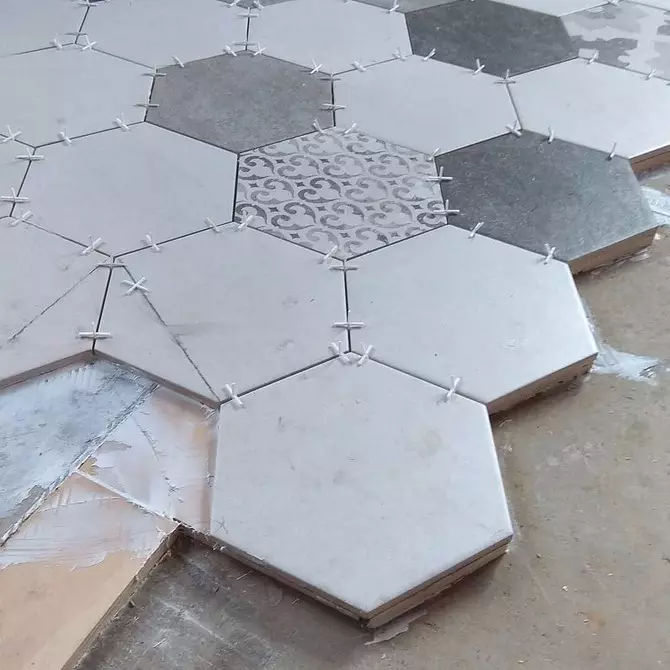
Laying tiles
Before sticking the porcelain stoneware, spread it, count it, how the rows will be located.
- Through the center of the canvas are carried out vertical and horizontal lines. The layout can begin with it, if there are cutouts - from them or from the very prominent angle.
- Incomplete rows with trimmed tiles are better placed in the top row at the wall.
- The optimal version of the fastening of porcelain stoneware to the base is epoxy tiled glue. It is applied with a toothed spatula on the base, it is not necessary to smear it on briquettes.
- Divide it in a small amount, especially if construction experience is a bit. The glue is easily folded, so at a low pace of work, it quickly loses its properties.
- After installation, each tie slightly presses to the surface. The space between neighboring is denoted by the dividing cross. The width of the seam is selected depending on the size of the product, as a rule, it varies in the range from 1.5 mm to 4 mm.
- Control uniformity and installation quality can be using a construction level.

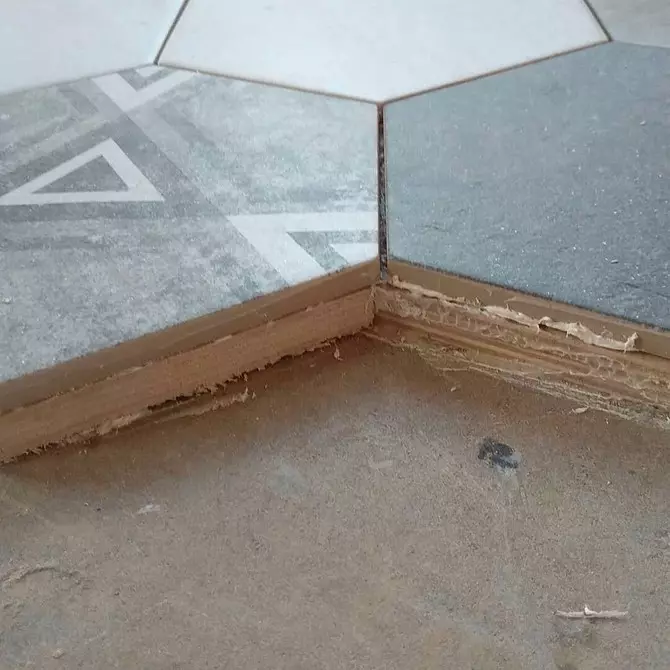
Facing the end
In order for the countertop from the porcelain tile with their own hands to look truly professionally, you need to carefully process the end parts. There are two options for their design.
- Using crops. In this case, the product in the extreme row of the table covers is set at a distance of about 10 mm from the edge. So that the end overlap their height. So the angle will be neat, without protrusions.
- Purchase a porcelain border or furniture profile. The installation principle is the same - you need to overlap the height of the base.
Fasten materials on the border with the same epoxy glue or liquid nails.


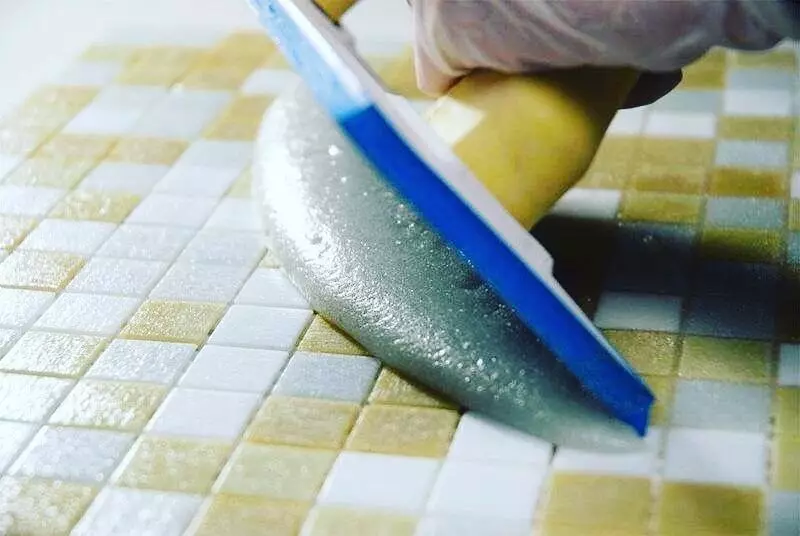
Shutkish seams
The remnants of the adhesive are recommended to be removed immediately after the end of working with it. When he hardens, make it harder.
Fully glue dries, depending on the manufacturer, for 1 to 3 days. After that, you can proceed to the grout of the seams. The usual grout in this case does not fit, it will quickly deteriorate. It is better to acquire an epoxy resin based on epoxy.
- Apply a substance with a rubber spatula at an angle of 30 degrees, move diagonally. Excess immediately removed with a sponge.
- What grouting to choose: contrast or under the color of the tile - to solve you. Remember that light joints during operation will quickly darken. However, any seams require periodic updates.
After the grout dried, the joints can be treated with water-repellent soil. Do not be lazy to do it twice with an interval per day.
Seam between the wall and the table pass hemrartic on silicone basis.

Installation of the hob and sink
As indicated above, all sections should be treated with a water-repellent means. The cooking panel is installed in a cut-out using a sealing tape, which is usually included in the components.
It is important not to just attach a ribbon cutout, but to do it without cuts, in the corners neatly bending the seal.
Additionally, protect the panel and the countertop from moisture is preferably using silicone sealant. It is applied to the horizontal base next to the joint of the panel.
The sink is established by the same principle. After the installation is completed, you can once again pass by silicone on the junction - the more gaskets from the water, the better.
Fix the cooking surface with special plates and self-drawing.
The video is represented by the process of installing a gas cooking panel in the worktop: