
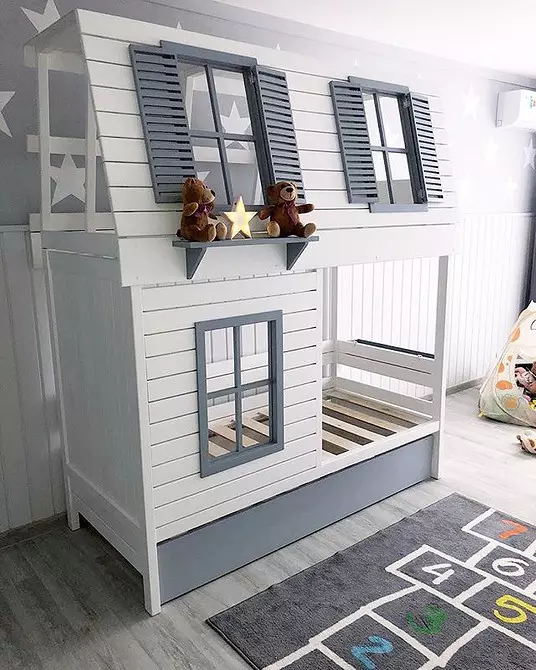
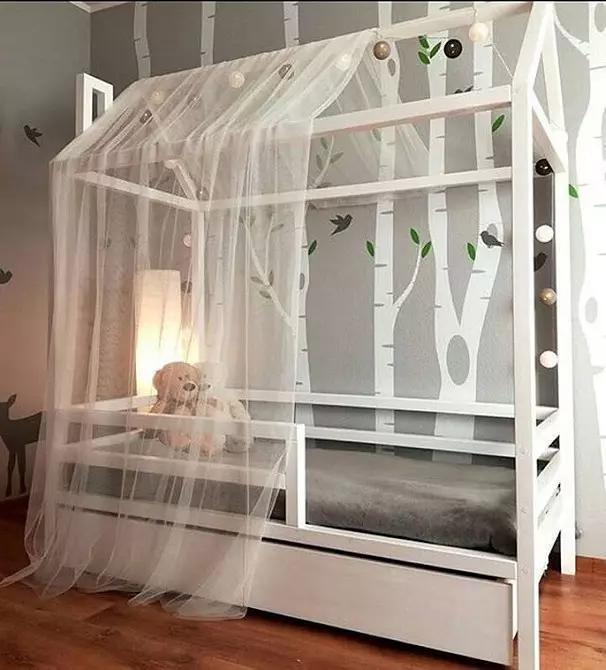
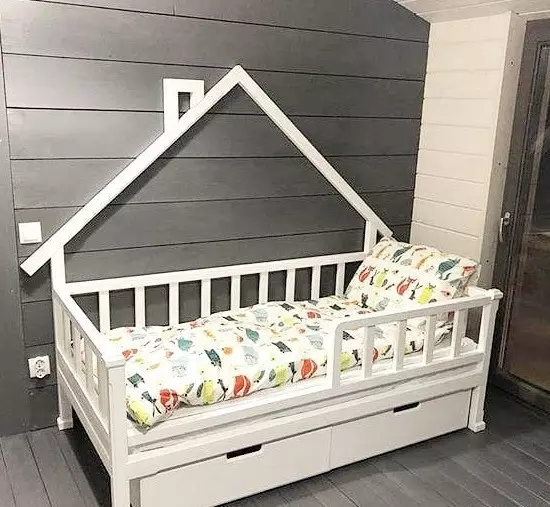
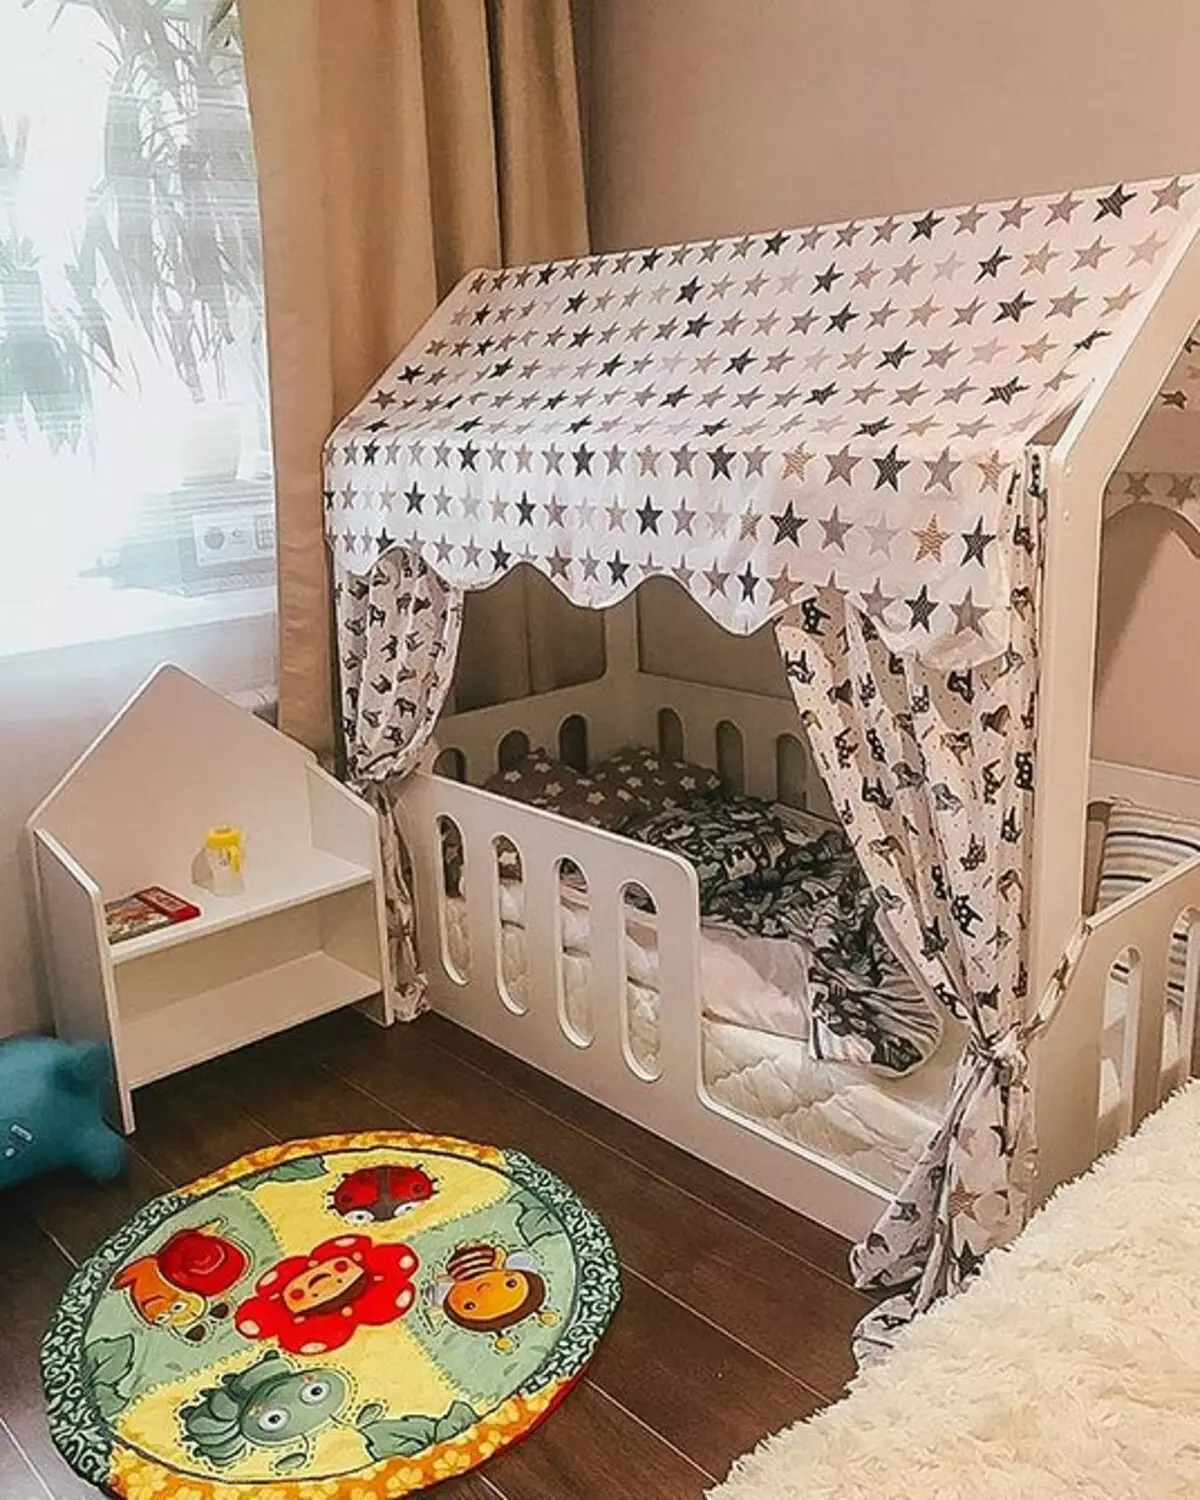
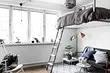
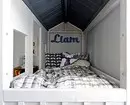
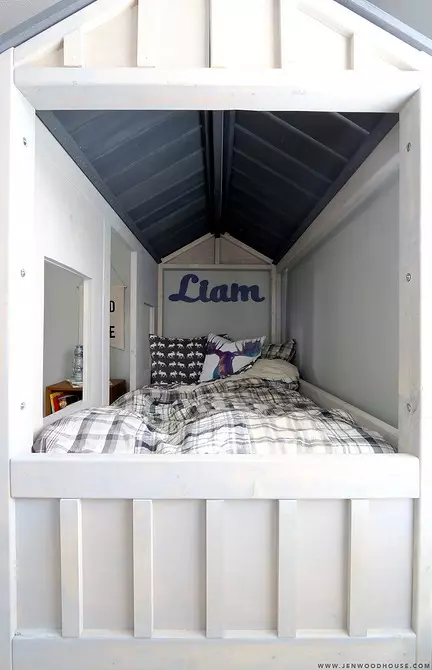
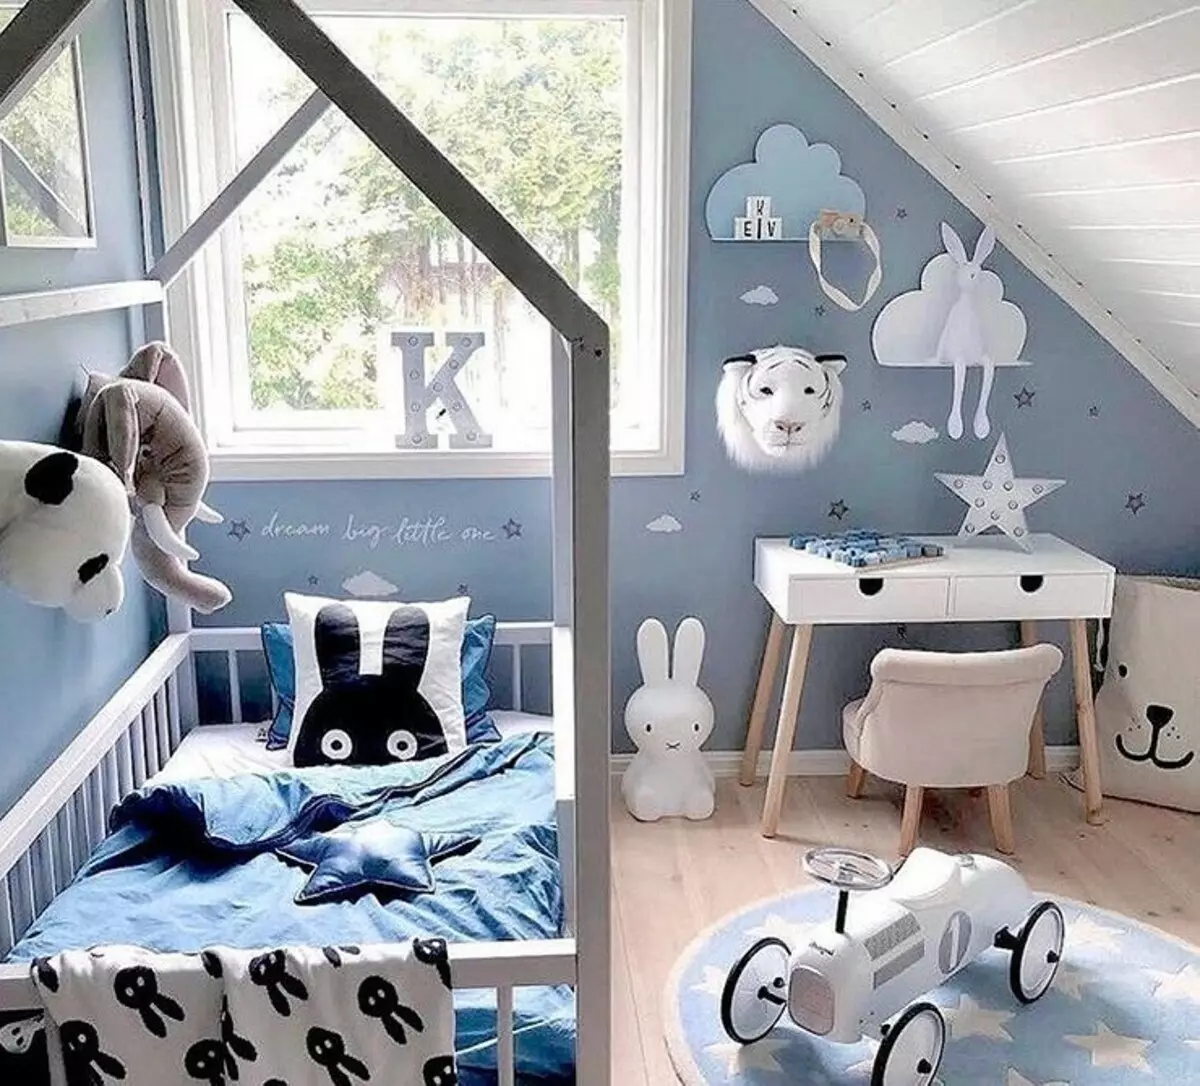
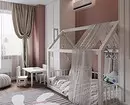
Perhaps one of the most correct ways to painlessly select the child in your bed and generally turn the root to his beloved for him - to equip a "sleepy" corner unusually and cozy. We will show how it is easy and quick to make a baby's baby.
Savings - a weighty argument to make a children's bed-house with their own hands, because the difference in price between the finished product in the joinery workshops and the cost of materials can be tens of thousands of rubles.
It depends, of course, from the design and its "troublemakers", but, knowing the basics, you can build a model of any complexity.
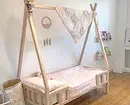
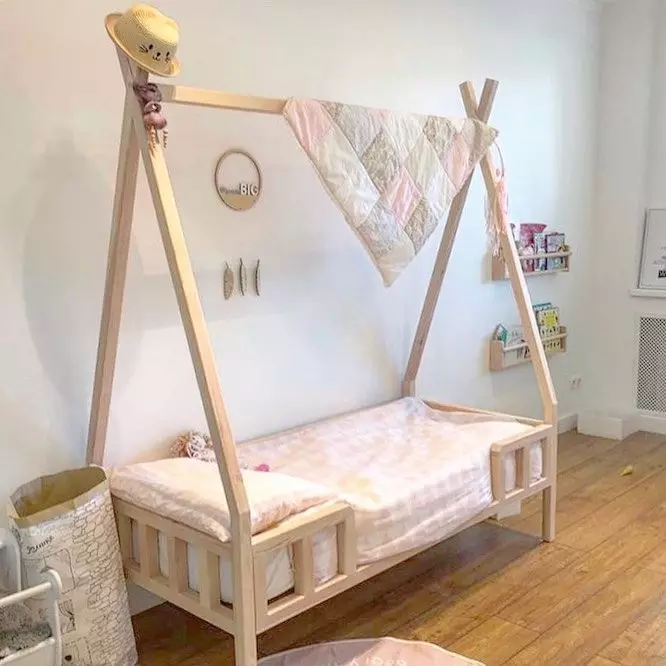
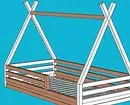
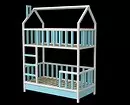
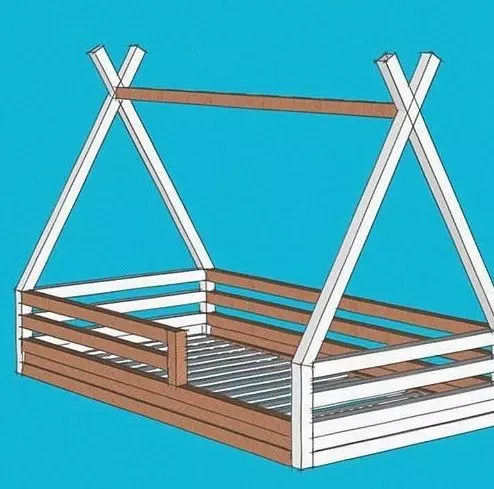
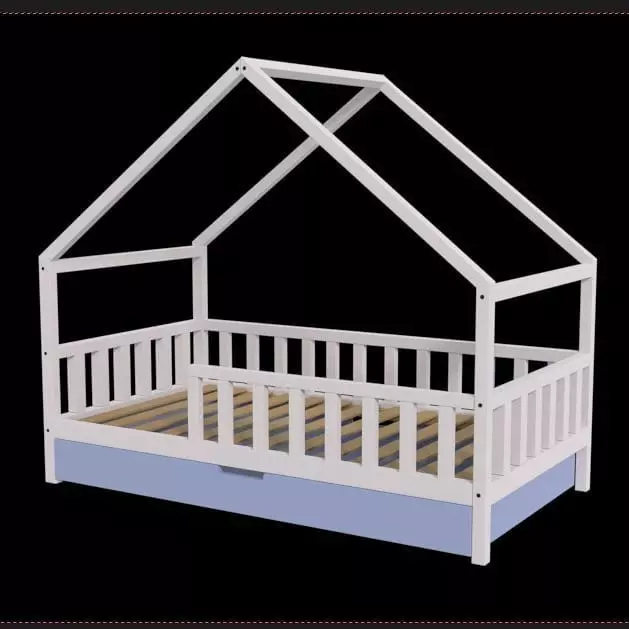
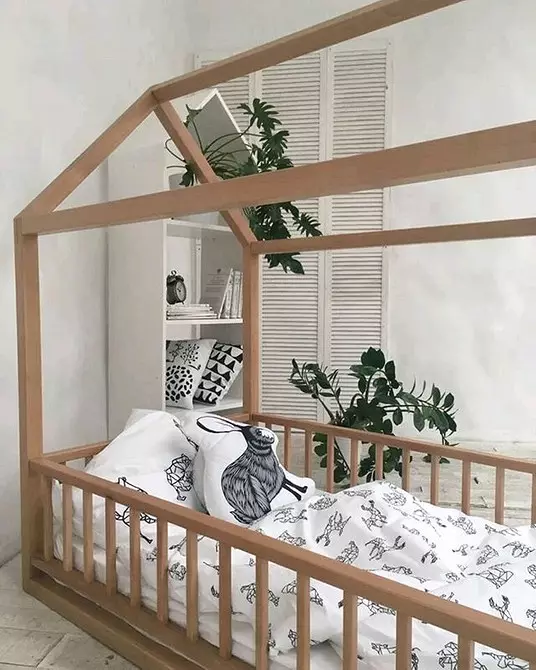
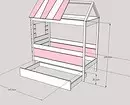
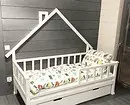
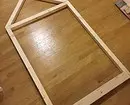
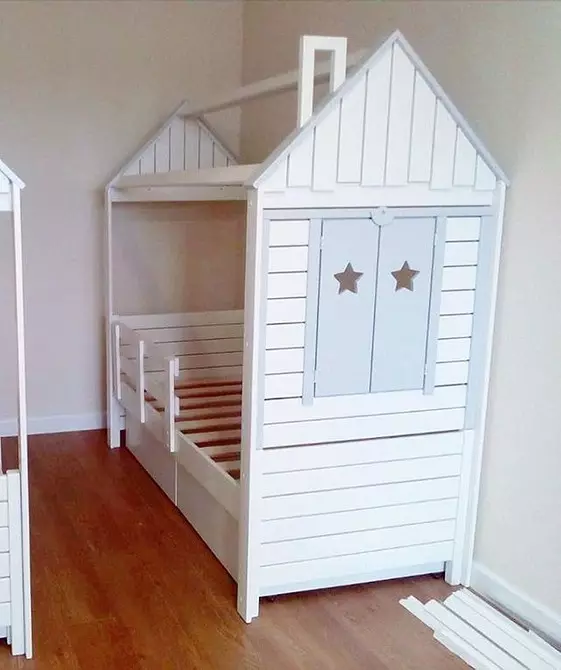
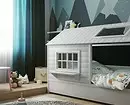
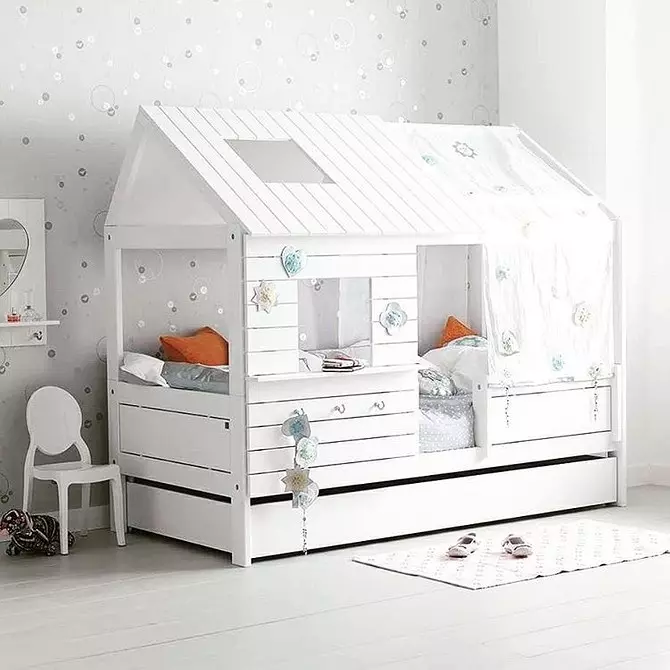
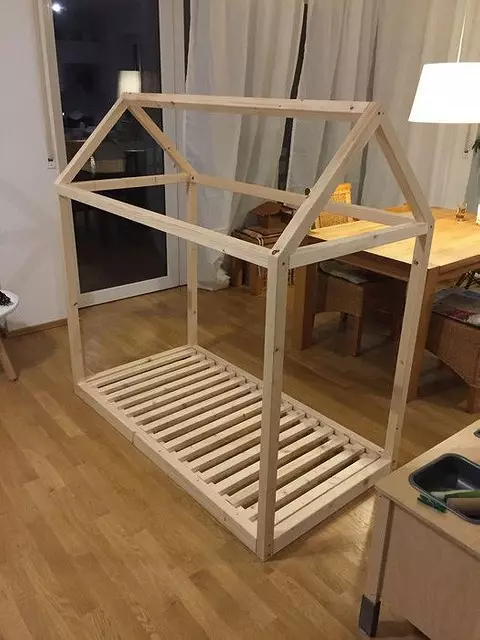
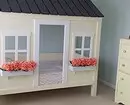
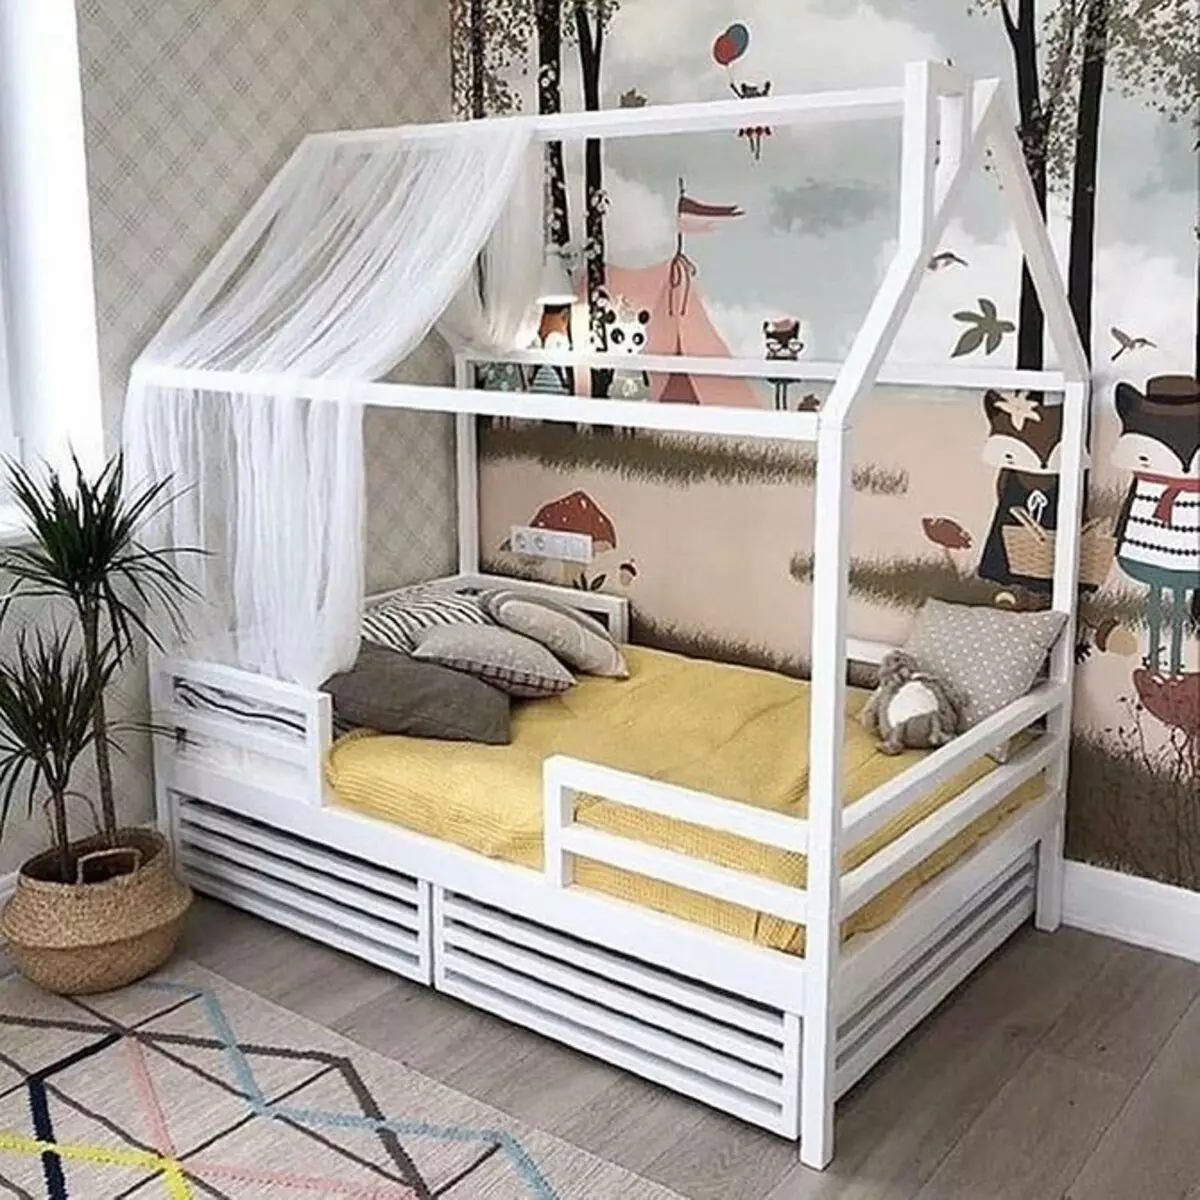
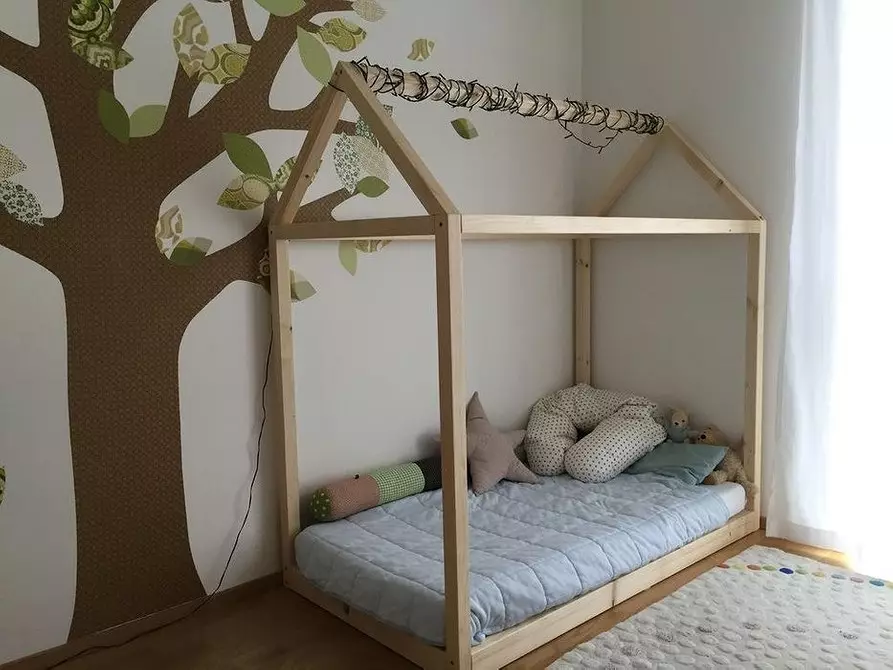
The easiest and most common option is a "frame" lodge in the form of a light frame with a schematic designation of the roof and walls. However, the product may look like anything, but the base for him will be just such. Laconic small wigwams and large two-storey "buildings" may turn out of it.
Children's bed-house do it yourself: drawings and execution options
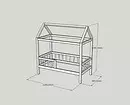
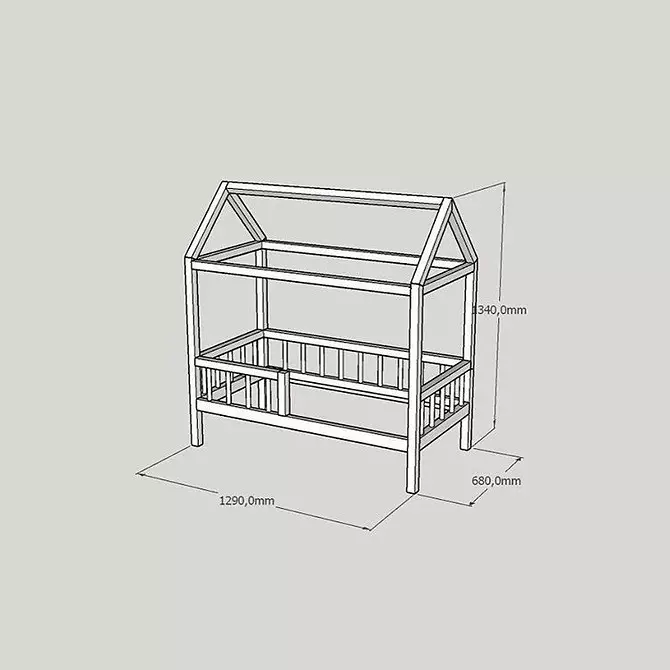
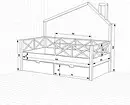
Before starting work, it is important to prepare a sketch. Thanks to him, you can compare the parameters of the product and room, correct them, and also calculate the length and width of the mattress, the set of bed linen, bedspreads and pick up / order all this in advance.
In addition, the drawn scheme will help you determine what the end result will be. Want you (or baby) open, closed house?
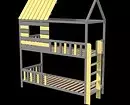

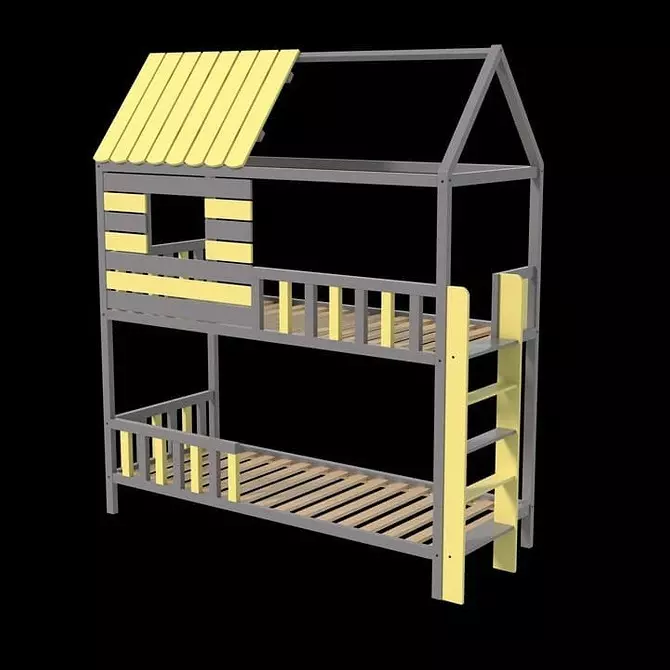
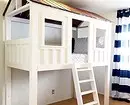
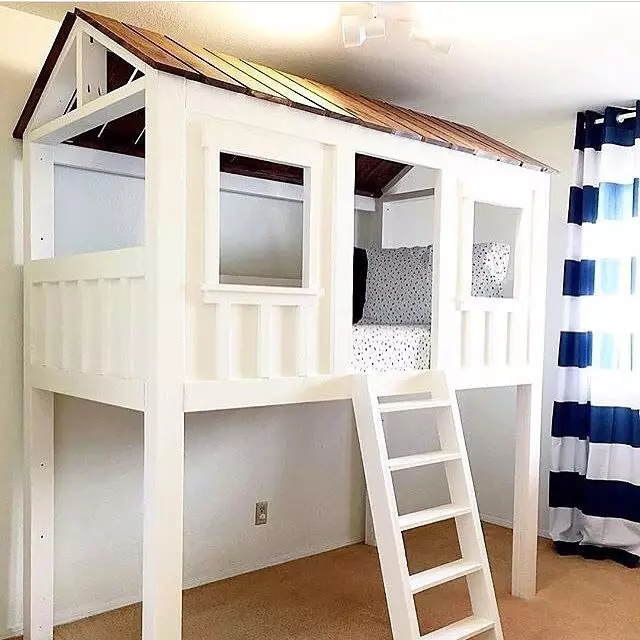
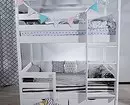
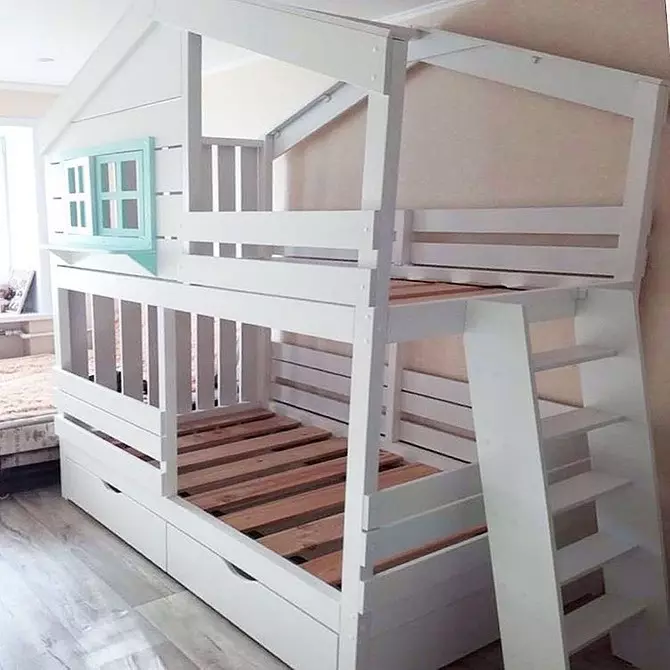
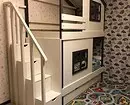
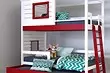
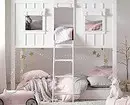
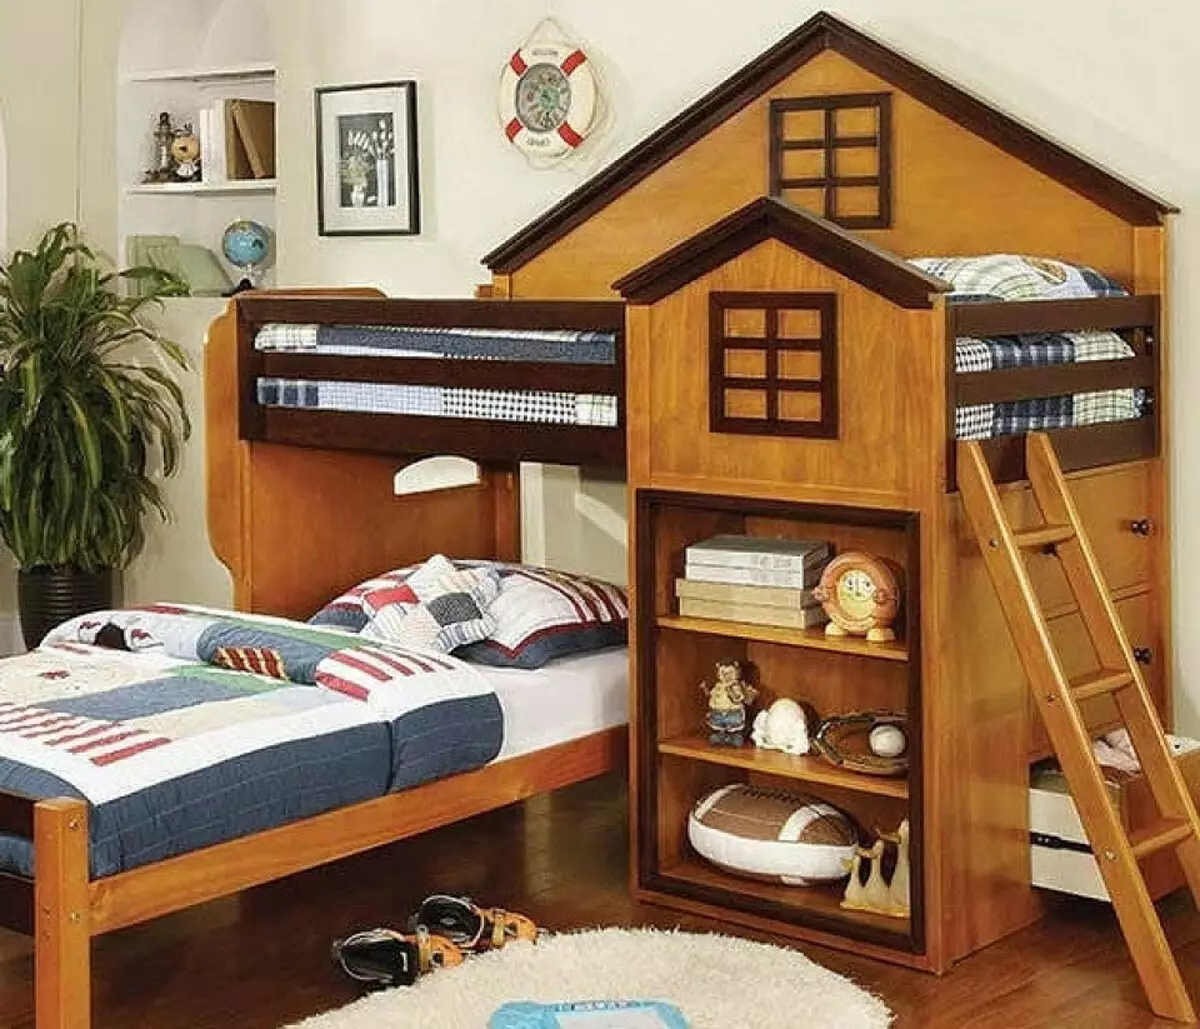
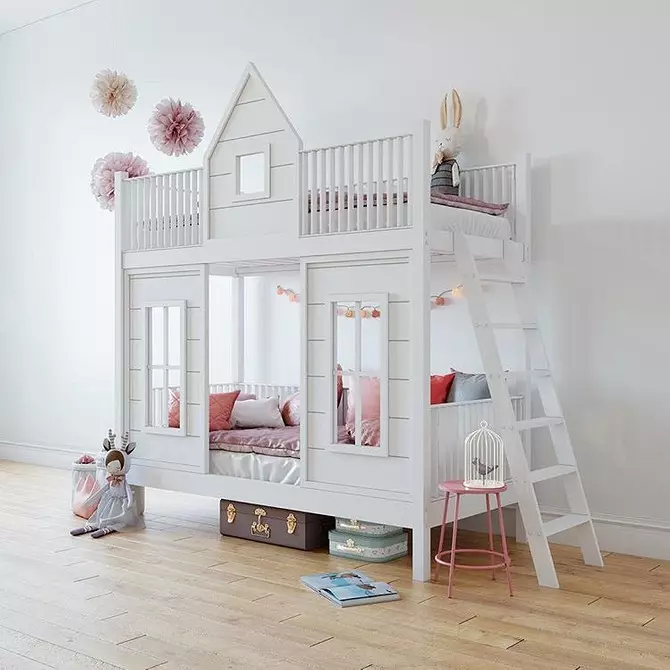
How many seats is it designed? Will he be one or bunk? If this is a attic bed, then what is planned at the bottom - the second bed or zone for playing, studying?
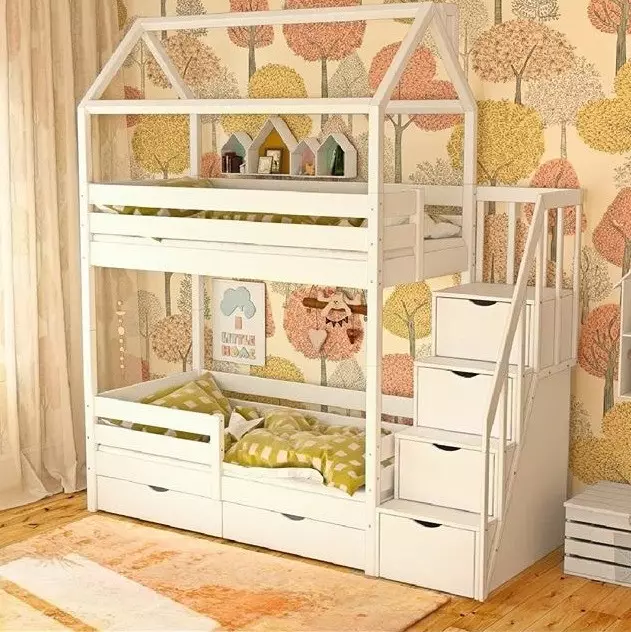
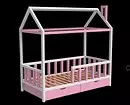
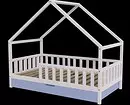
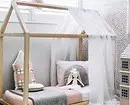
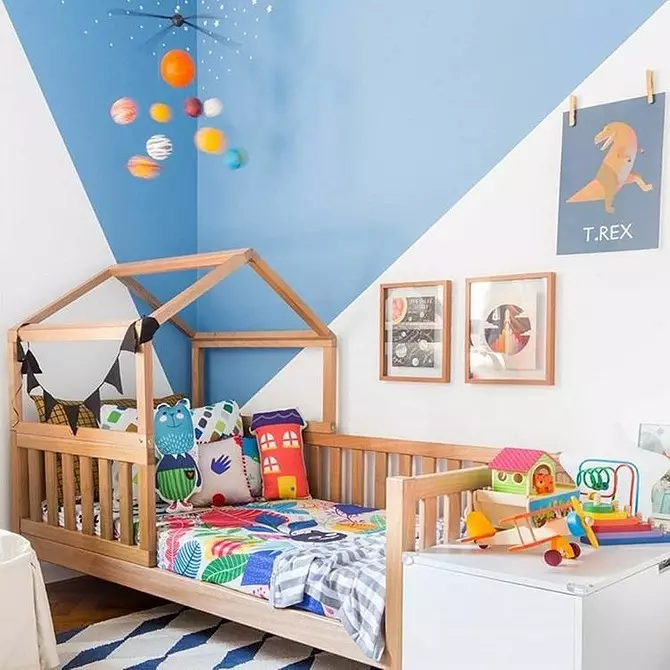
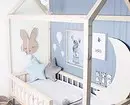
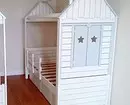
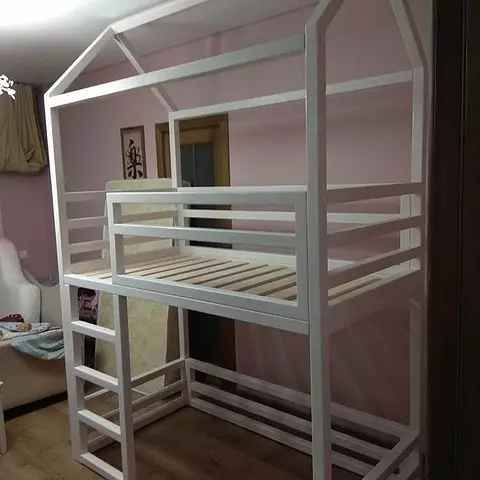
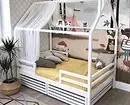
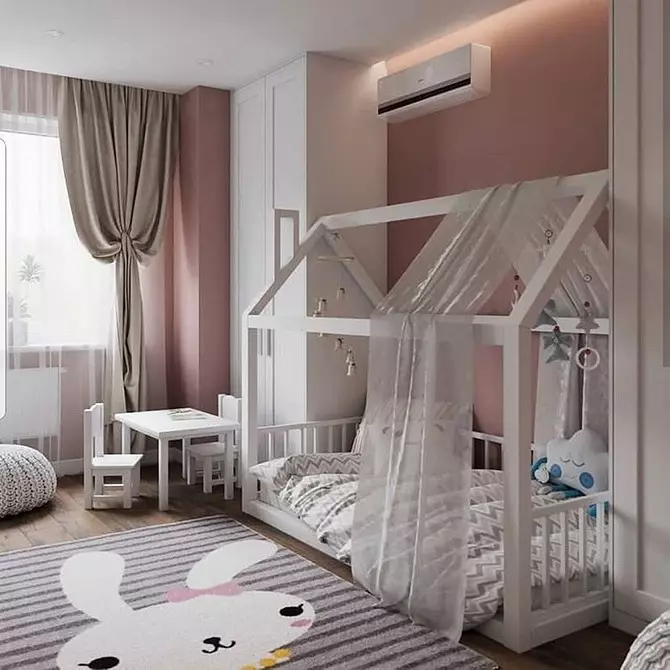
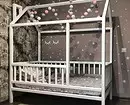
There are outdoor houses - for quite small children, so that they do not fall. Rackful bottom literally in a pair of centimeters from the floor.

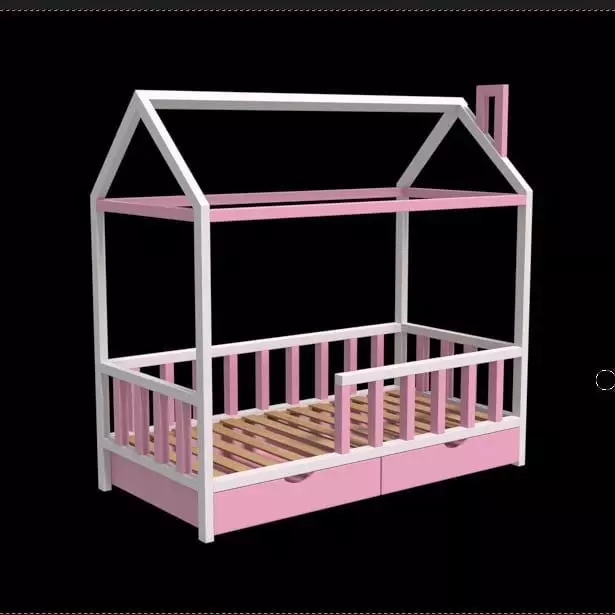
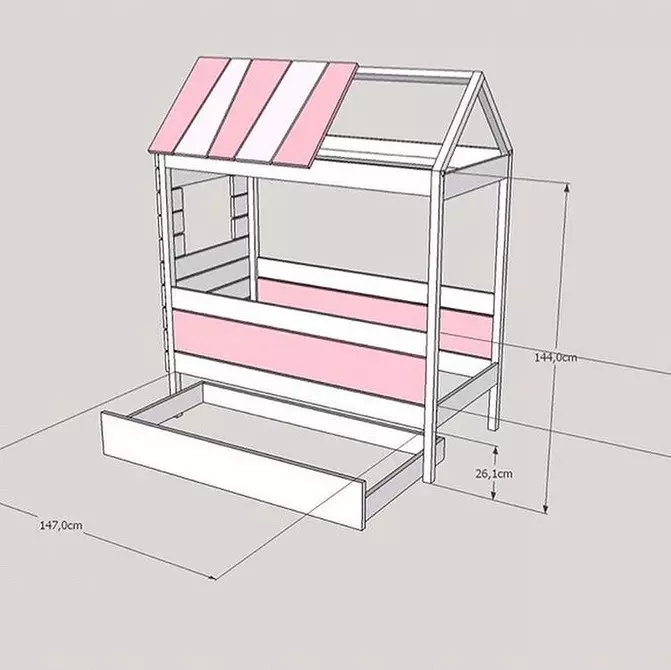
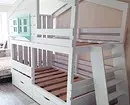
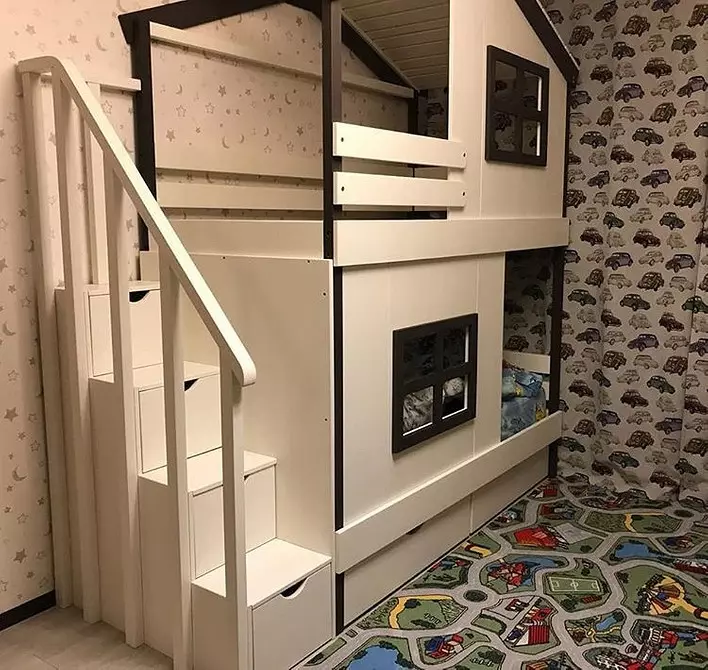
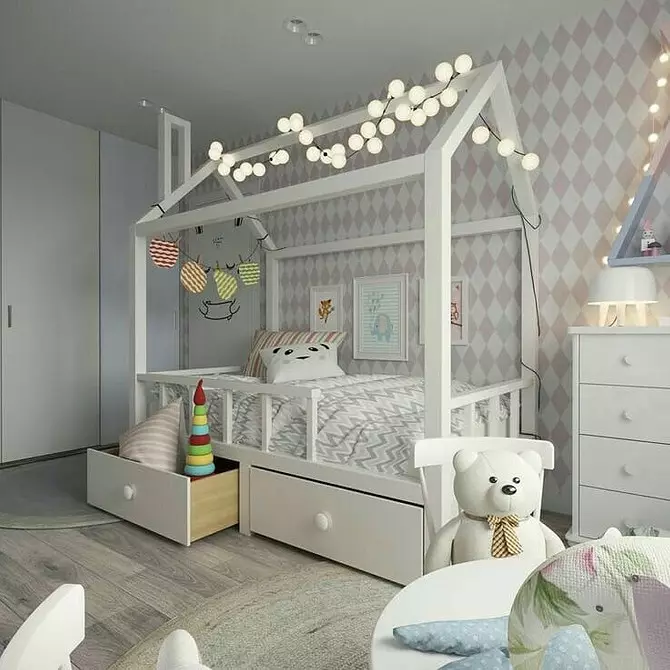
And there are buildings higher - with legs or storage boxes. The latter are very much saved in the room (the chest will not need), but they also need to be provided in advance. Boxes are made on guides or on wheels. To ensure that the floor is guaranteed, it is better to choose guides.
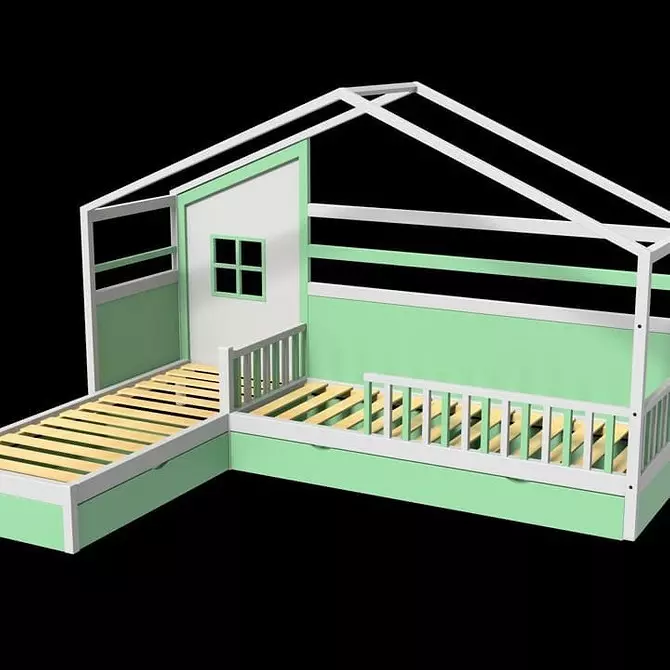
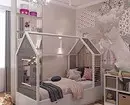
Sometimes there is a completely minimalistic option when the roof frame is located along one sidewall, at the wall.
The bed-house for children, made by their own hands, can be any largest. But for the reference to the crib from the masters.
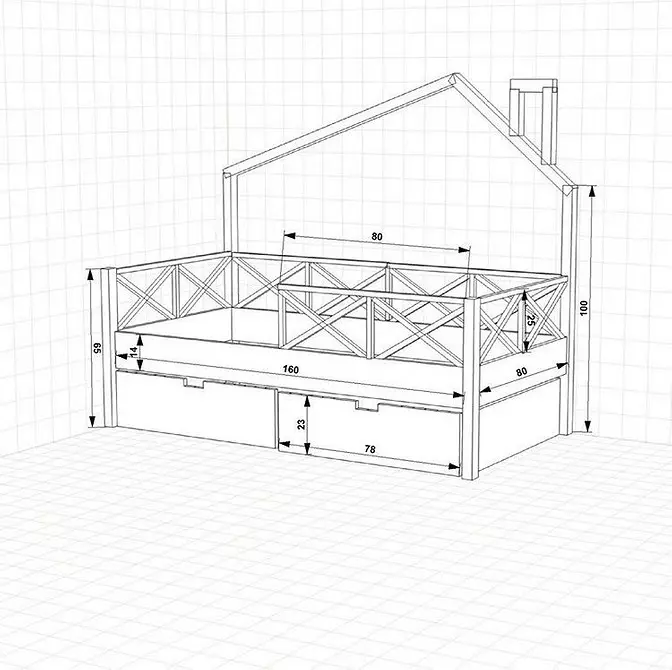
They allocate the three most popular standard sizes: 160/70 cm, 160/80 cm, 190/80 cm. The first two are suitable for children up to eight, a maximum of ten years. And the third is acceptable for teenagers. If you want to equip recreation zone for many years ahead, then it is better to choose a length of 190 cm.
True, if you need to save a place in the nursery now, or you want to update the furniture in the near future, choose a more compact model.
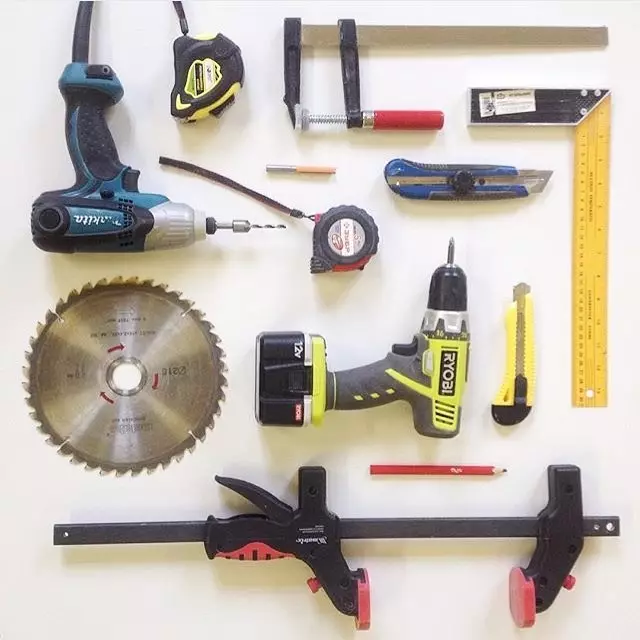
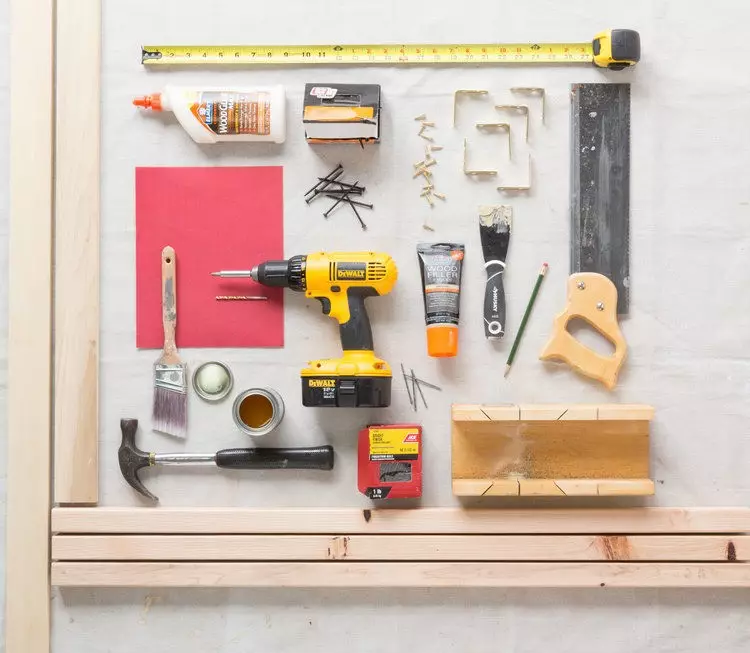
Materials and tools for work
You will need:
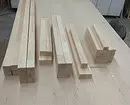
- smooth, non-cracks and buns cross sections 50x50 of beech, pine, alder, cherries or other breeds,
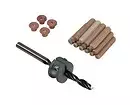
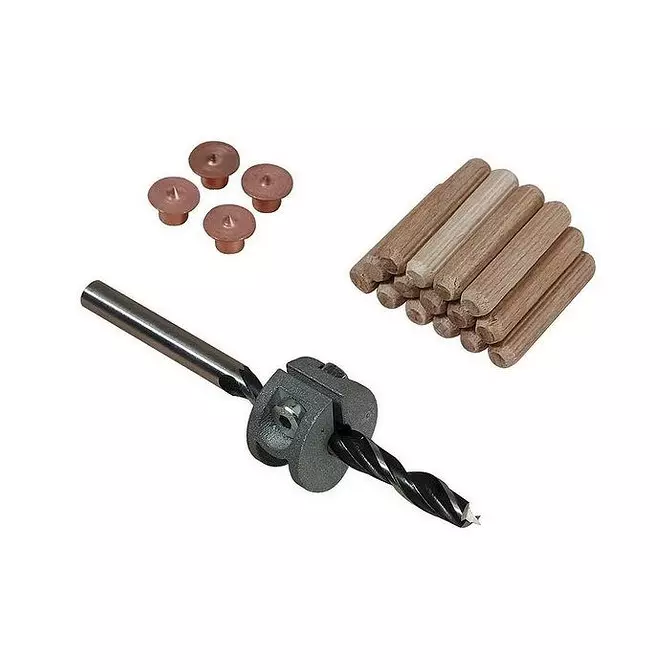
- Self-tapping screws and / or waders - wooden round spikes (what exactly fasten the details depends on your desire),
- Metal corners for self-tales,
- Sander,
- sandpaper
- Drill with drills
- a hammer,
- Stuslo (tool - template for drinking angles),
- hacksaw,
- Metal Cornel,
- clamp or a strong belt for fixing BRUSEV, if you connect them to the wrenches,
- Tree glue
- screwdriver,
- roulette,
- pencil.


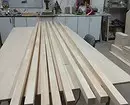
Wood beams can be purchased in business stores or in building supermarkets. As a rule, raw materials require careful grinding so that the children will not be injured or did not drive the off -landic. In the residential apartment, it is not worth the wood to the ideal smoothness - there will be no salvation from the smallest dust anywhere.
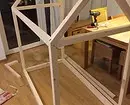
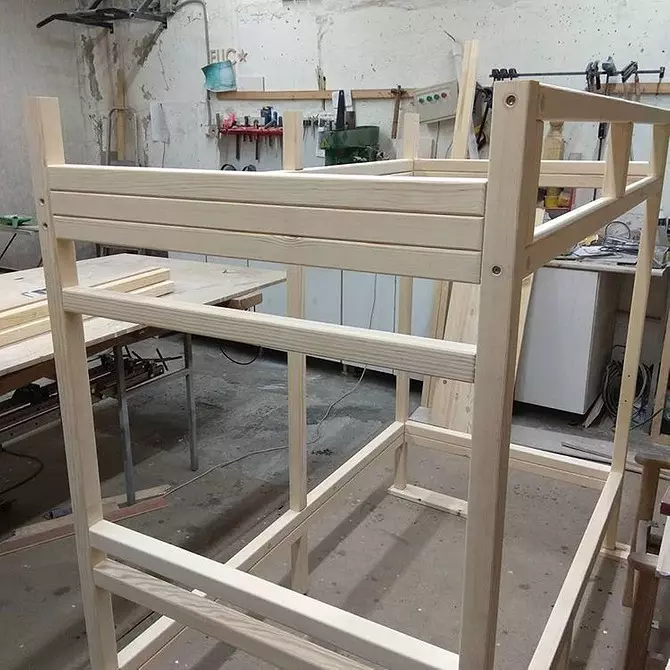
How to build a children's bed in the form of a house
Work on the floor or on the big table, it is more convenient, and the design will turn out to be smaller.
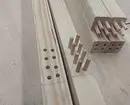
To begin with, place the bars and saw them on the workpiece in accordance with the selected sizes.


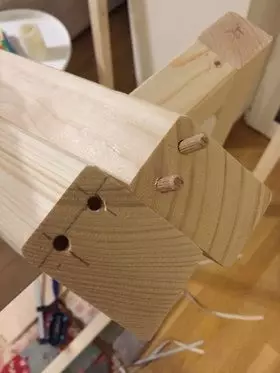
You can immediately cut the corners with the help of Stusl. It is especially important to prepare 45-degree sections for vertical columns that will stand at four corners of the bed. All are notched with sandpaper.
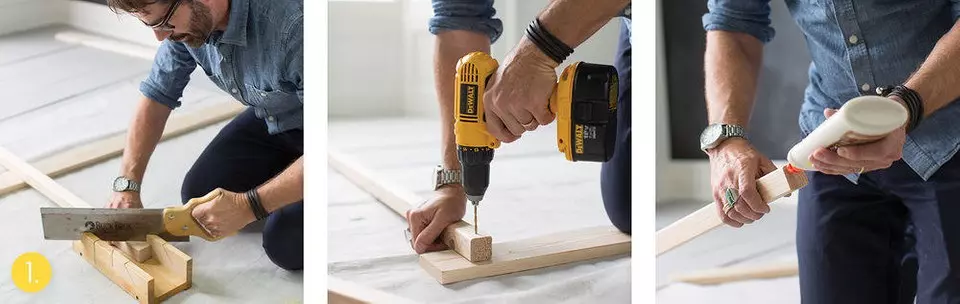
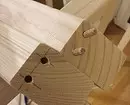
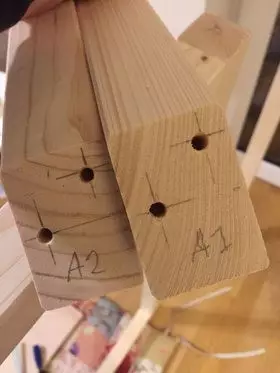
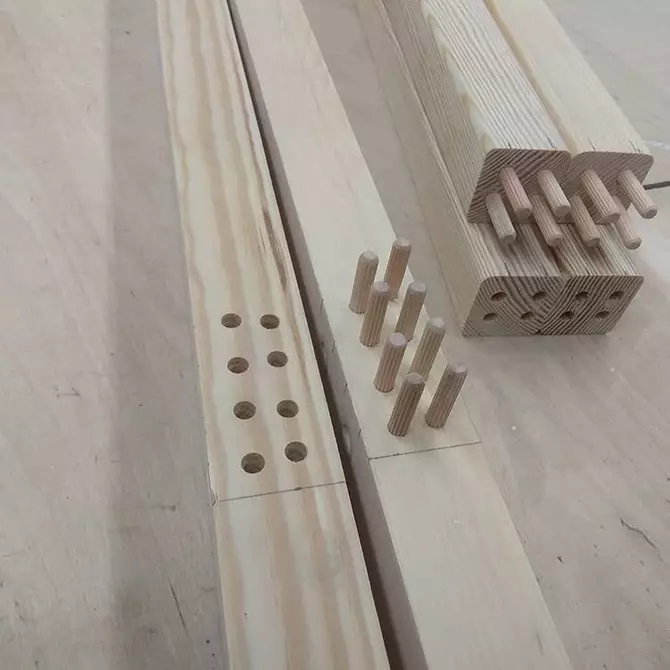
Installation on the shkants
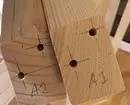
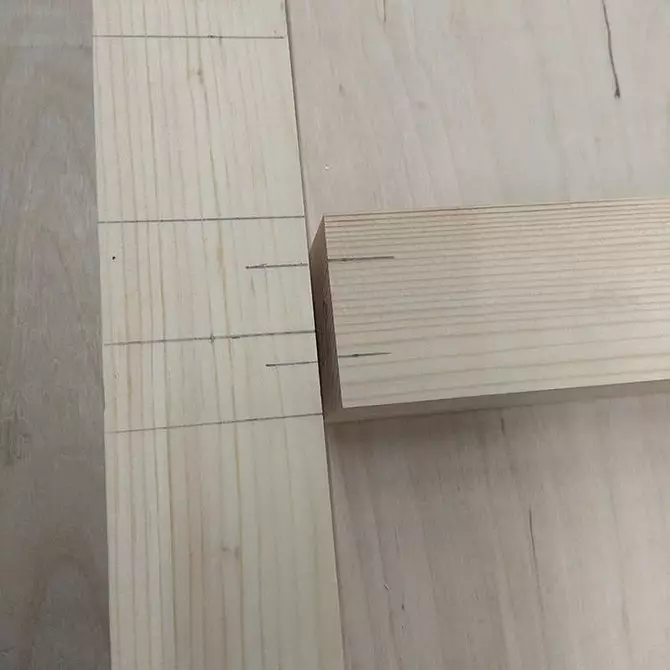
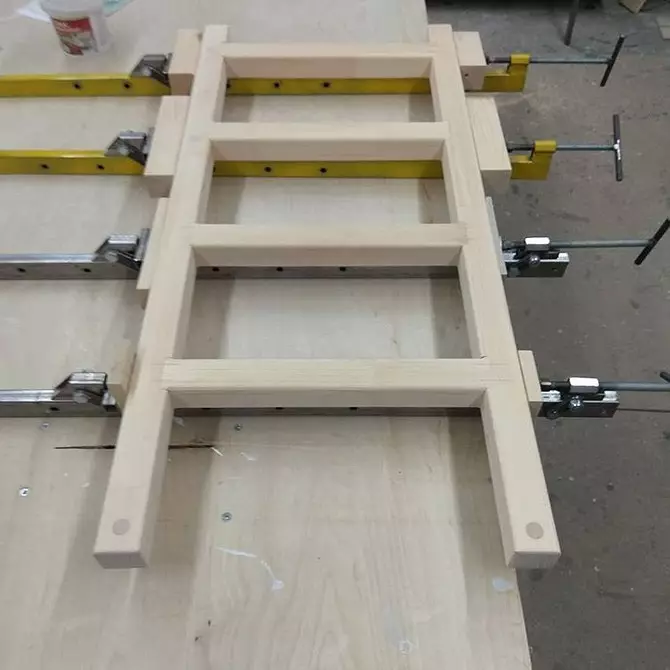
Make off the connections and drill holes. They must be located on each other or diagonally. Each joint is fixed at least two spikes. They are planted on a special glue and squeeze the joinery clamp.
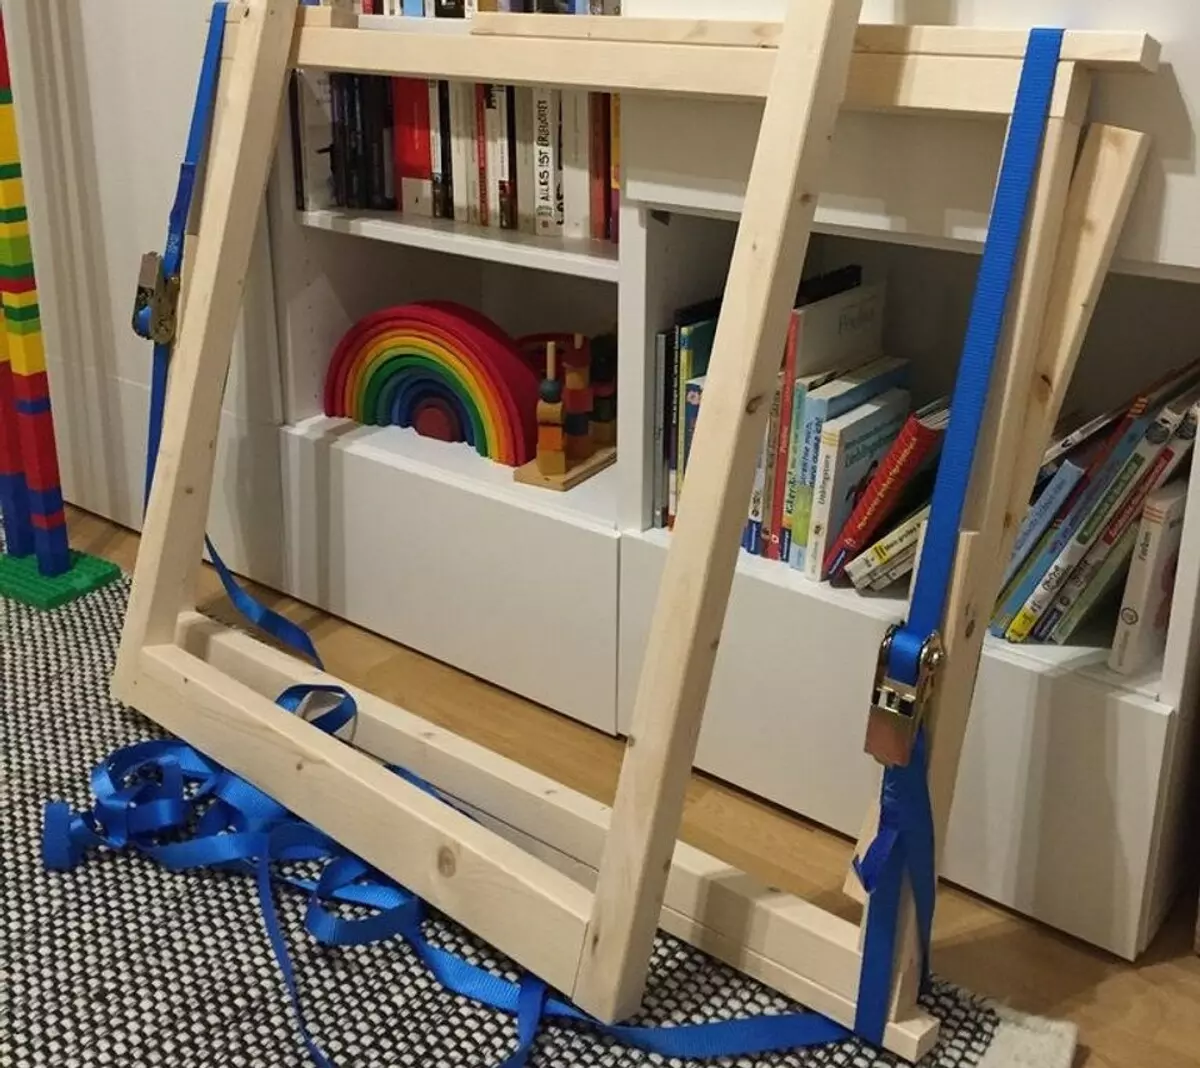
Strong belts are suitable from the primary materials, for example, automotive. But with them will have to mess around longer.
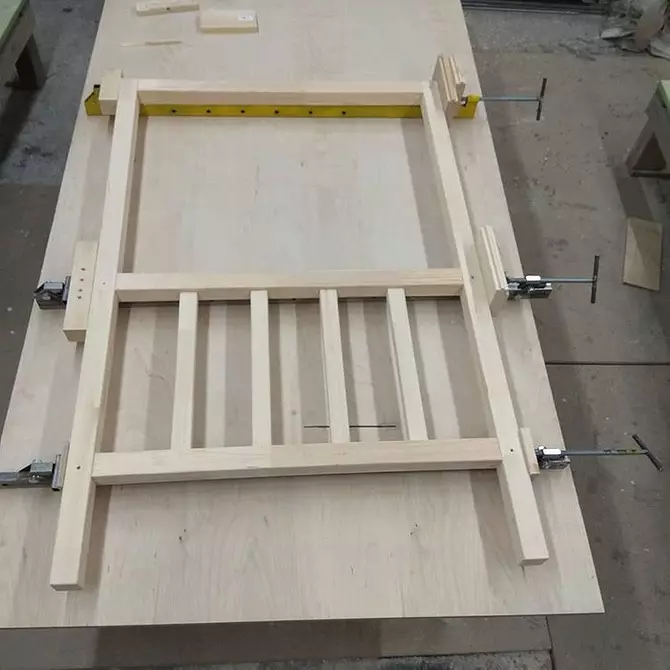
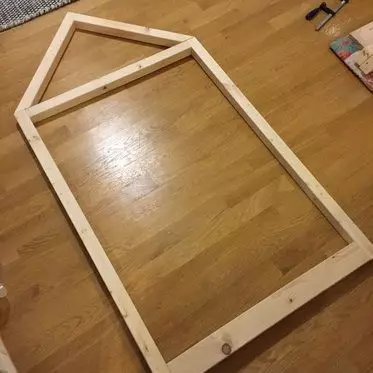
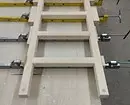
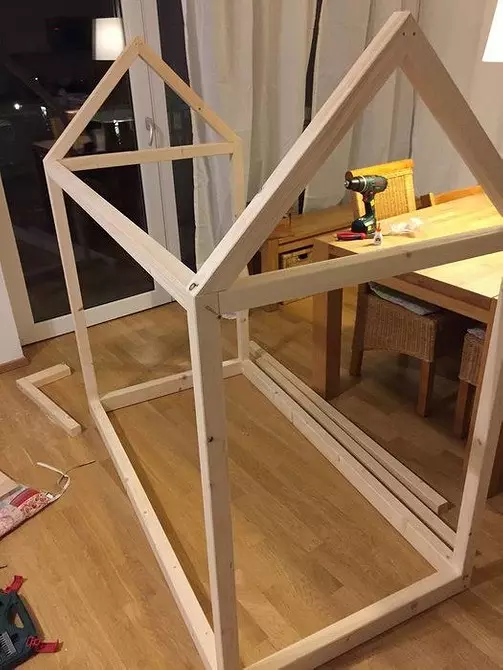
Each wall building is collected separately: first glue the rectangular frame and a double roof with a pipe, then connect them with each other.


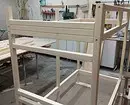
Strip the sidewall crossbars, especially if your building with two floors. These bars also plant on glue and ducts / self-tapping screws.


In the joinery workshops to accelerate the process, several clamps are used immediately, but if you do not have any such tool and time tolerate, you can do one.
Similarly collect staircases and sides.

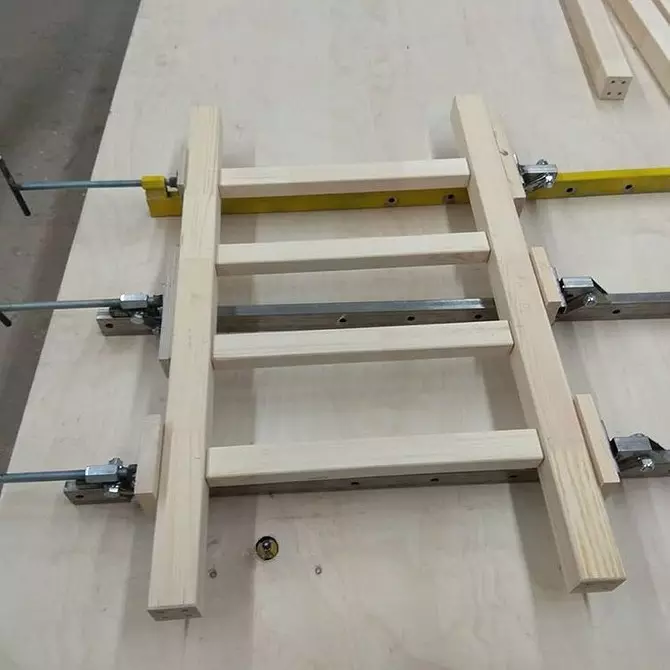
Two frames standing from the "Buildings" end, you need to connect Brucks among themselves, which are a little longer than the future mattress. Here, without a drill, do not do. Tick and dry the holes under the self-tapping screw, preferably using vice.

Screw the fasteners slowly, otherwise the tree can crack. The resulting bed will be easy to disassemble into parts for transportation or permutation.
The product after drying is not cleared. According to experts, the presented method of assembly is the most durable and aesthetic of all existing ones.
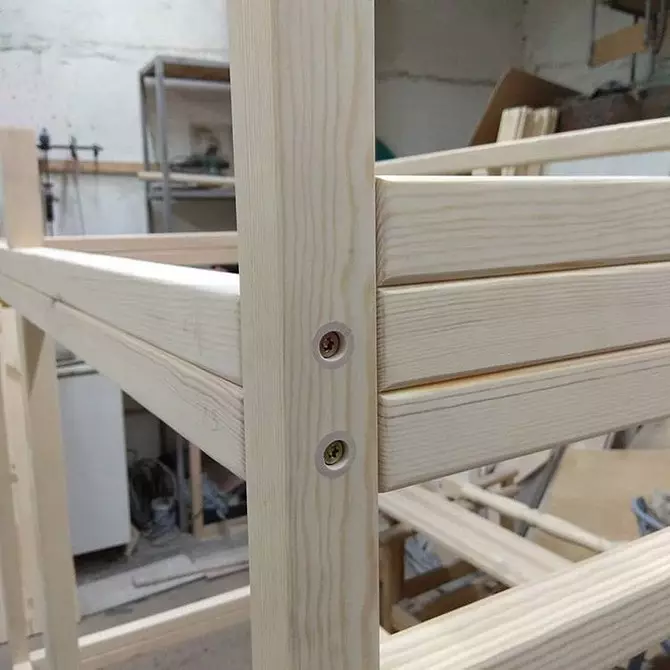
Installation on a self-tapping screw
They are good if you need a completely collapsible bed or you wish to simplify your task.
To give strength to all compounds 90 ° C, the corner brackets will need, and in all holes it is necessary to pour glue.
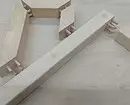
Take two bars equal to the length of the bed, and one more - its height before the "ceiling". Pre-drill them in the right places. Connect all three details. With the help of a drill, attach first one side rail to the standing column, then the second. Screws should not intersect.
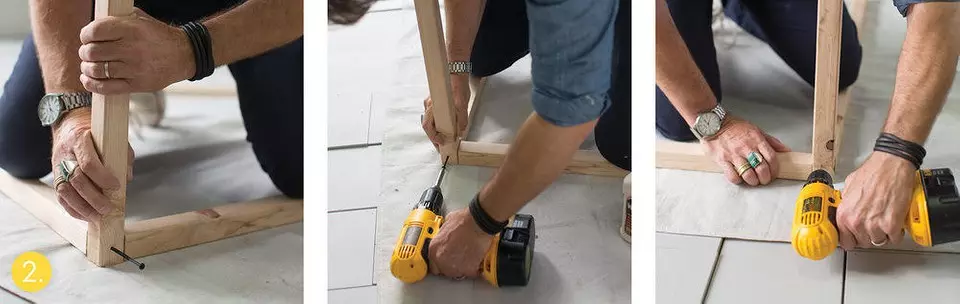
So consistently secure all eight horizontal planks from above and below (four in width and as much in length) with four vertical. Ensure that the internal angles are equal to 90 ° C, and then the external will be located smoothly on the same line.

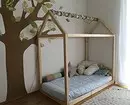
When you finish the frame, add the diagonal parts of the "roof" from above. Take two of the same in the length of the bar, one end of each of them should already be cut with a hacksaw at an angle of 45 ° C. Together with the "Ceiling" you have to get an equifiable triangle.
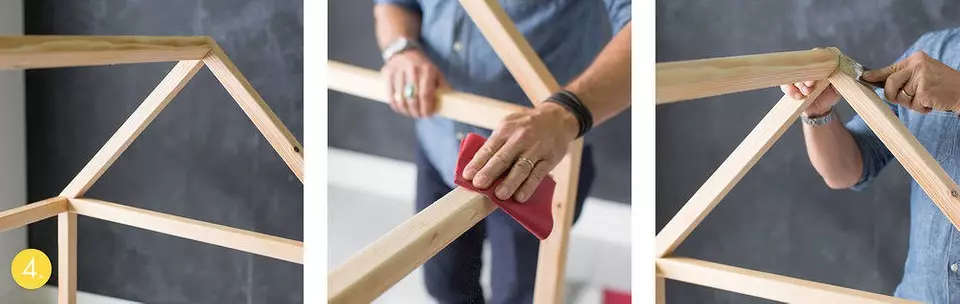
While the triangle side and scratch them to the base. Do the same with a friend of the house.
The ridge of the roof can serve as a beam, similar to the size of the bed length.
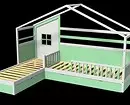
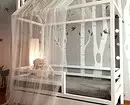
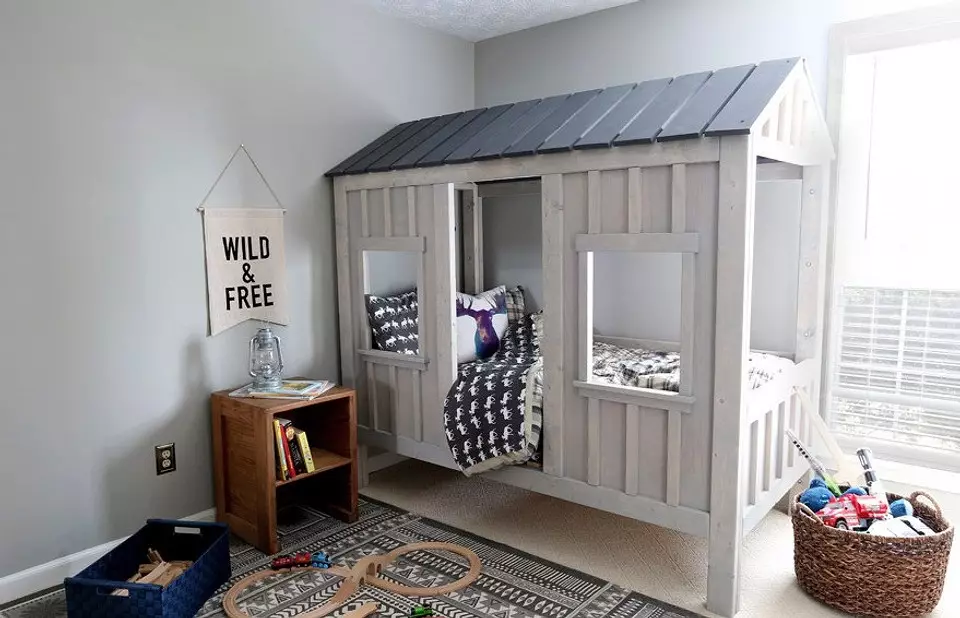
The sleeping place is sometimes made by the child transformed. And then to achieve adolescent age, the side, the roof and the window (if there is) can be removed. The bed will become more "adult", which means that lasts as long as possible. If you like this option, we definitely plant the specified parts on the self-tapping screw.
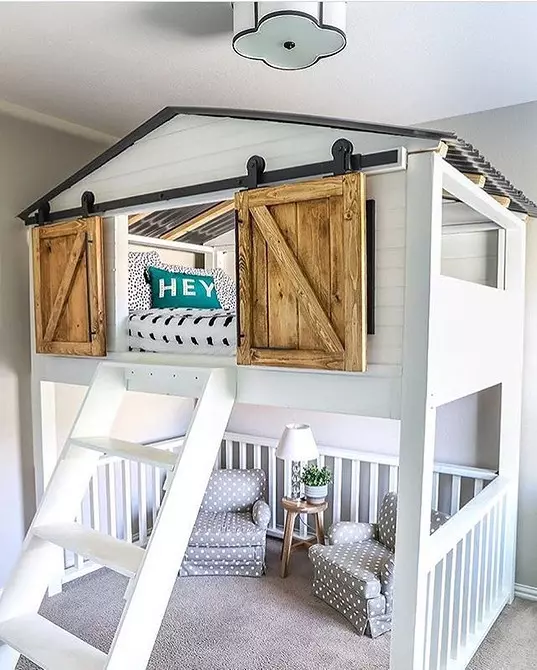
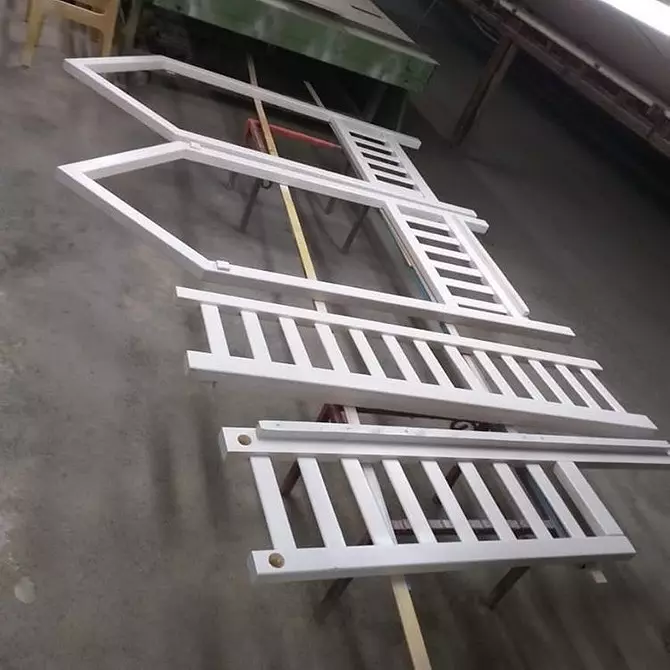
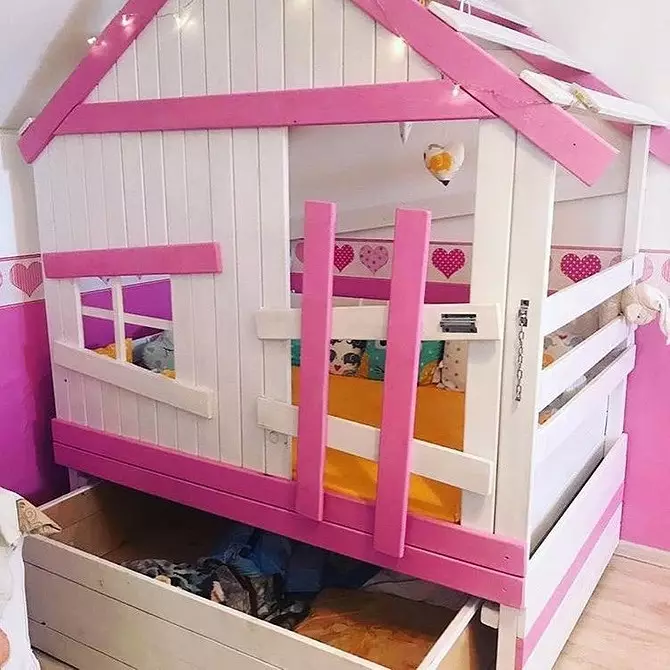
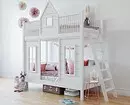
How to make a bed-house closed
To add a resulting corner with a maximum of comfort, the facade can be seen by the boards, preliminarily polling them.
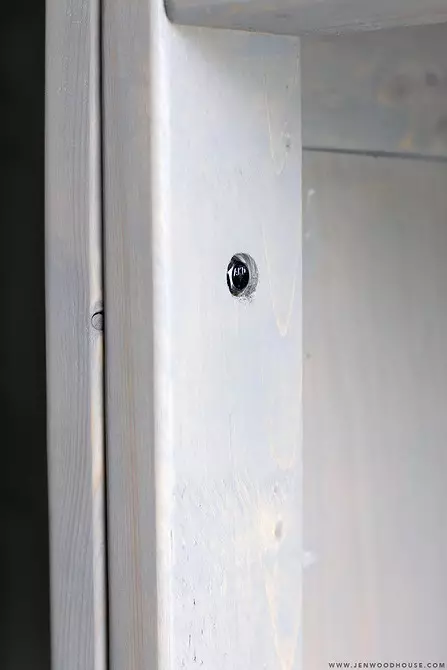
The material is planted on the furniture bolts, usually covering the caps of the furniture with plugs, but sometimes leave as it is.
Instead of the boards, the lining is suitable, especially since it is already processed. Furniture shields also have proven well. Of these, it is convenient to cut the windows: no need to customize the spreader in length.
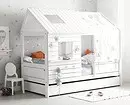
The rear wall is made of plywood with a thickness of about 12 mm. If you take the wallpaper on it, the child will have the most real apartment!
Since the weight of a closed design is significantly higher than that of the framework, then the rigging of the frame with metal corners should not be accurate.

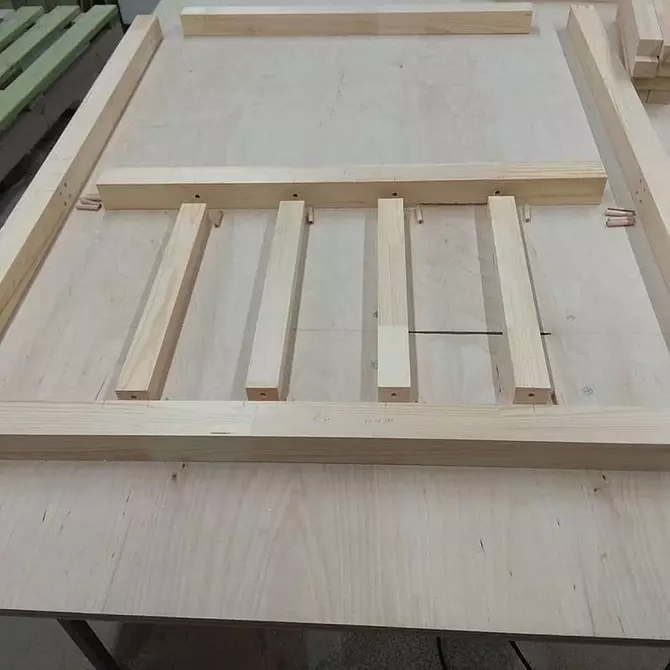
Final stage of work
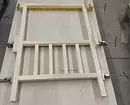
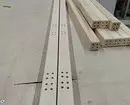
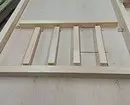
Make a rush bottom. To two long straps in a step of several centimeters, screw the transverse - short and flat. Special lamellas from the construction store are excellent.
In this option, the bottom is inserted into the frame of the bed and removed from it, but you can fix them directly to the outer frame.
Approaching the assembly, go through the whole product with a grinding machine. It is not necessary to remove the bones, because from them, in theory, you got rid of the work before starting work. Grinding will help hide unsuccessful joints.
Treat the tree with oil or wax about three layers. Choose an eco-friendly coating suitable for children's rooms.
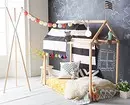
Cot decor ideas
Finally, you can afford fantasy to roast.
The deaf roof from the inside is sometimes punctured by styluminous paper or paint with a stylist coating so that the baby can decorate its "dwelling" by any drawing on the mood.


On the windows and doors can be sewed from the curtains, especially if the room is on the sunny side. In any case, during day sleep they will not be superfluous.
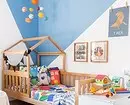
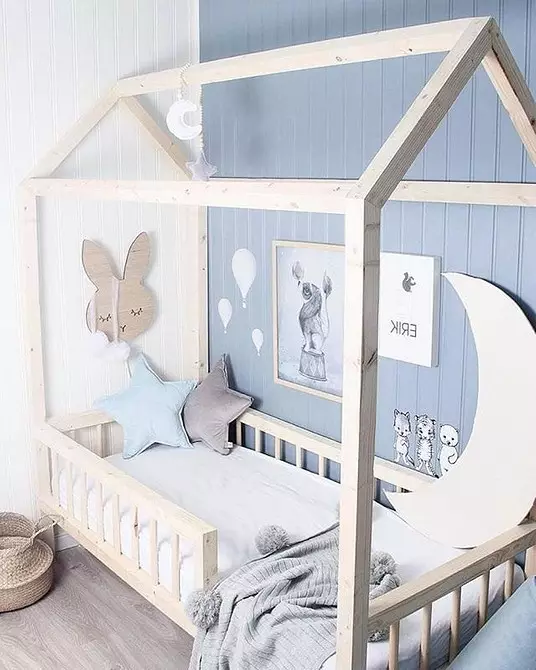
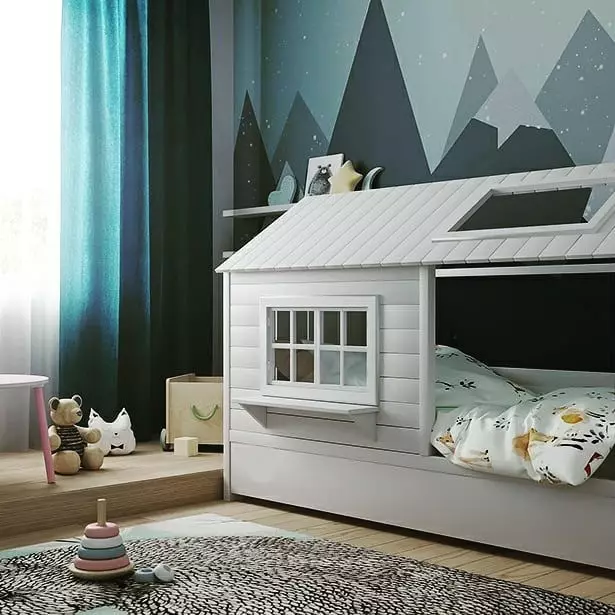
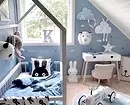
Beautifully, when the decoration of the recreation zone echoes or even continues the idea of the design of the entire bedroom.
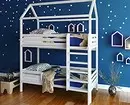
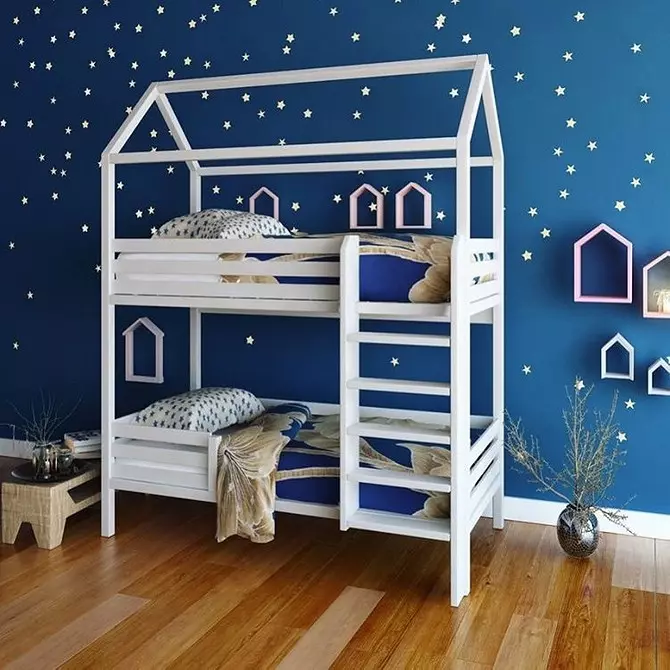
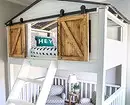
Here is an idea for a maritime house:
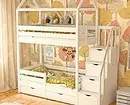
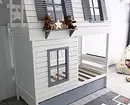
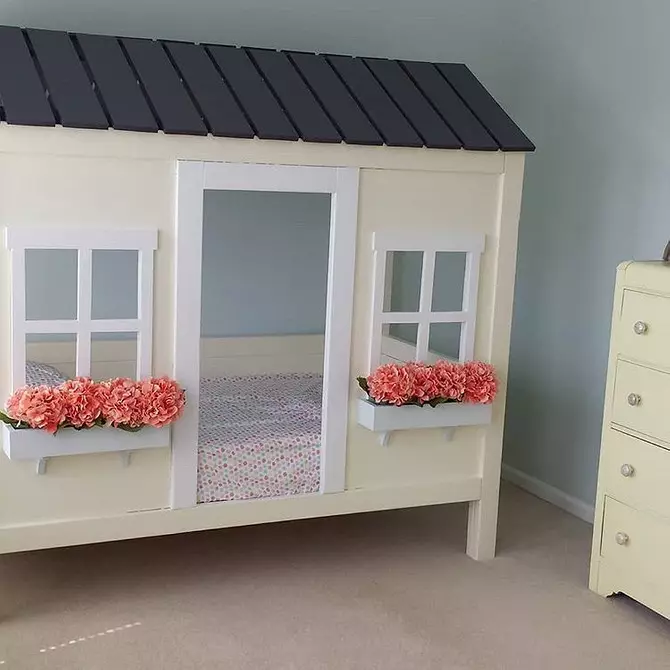
And you can make a rural house in the style of Provence:
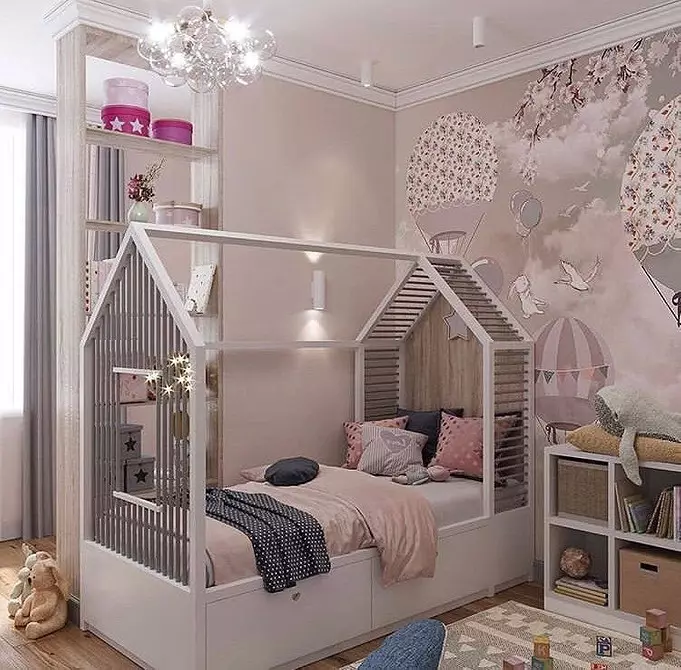
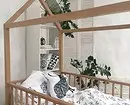
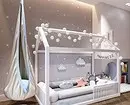
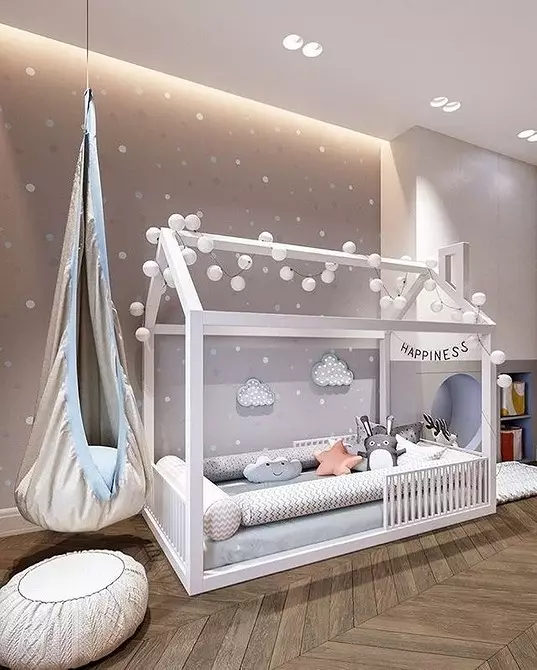
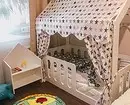
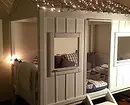
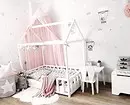
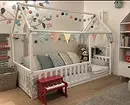
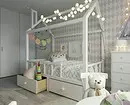
Beautiful canopy from above - excellent house decoration. It can be a monophonic pastel color, an air from organza, and even in small flower.
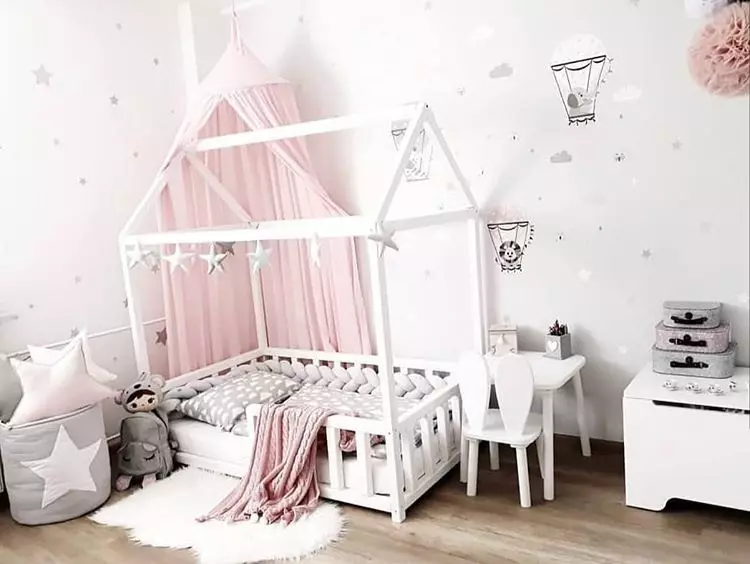
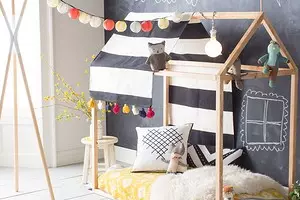
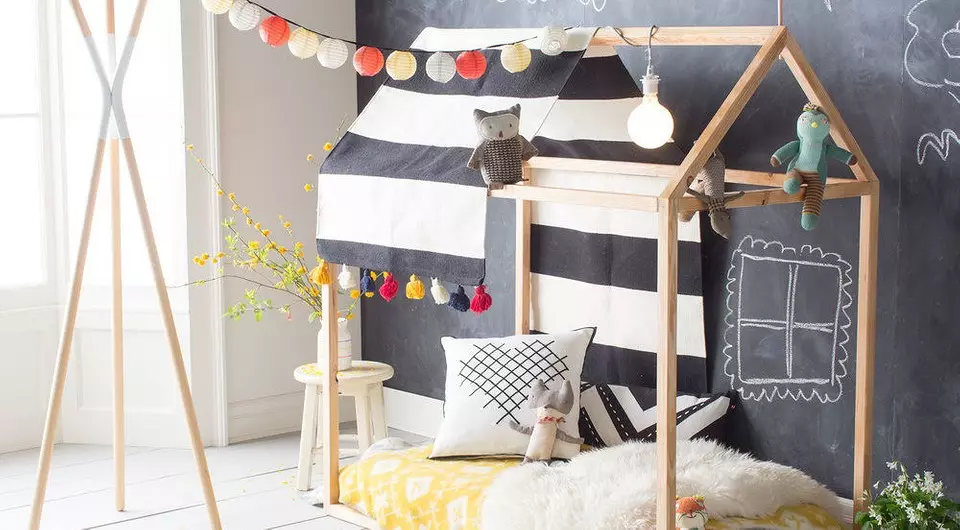
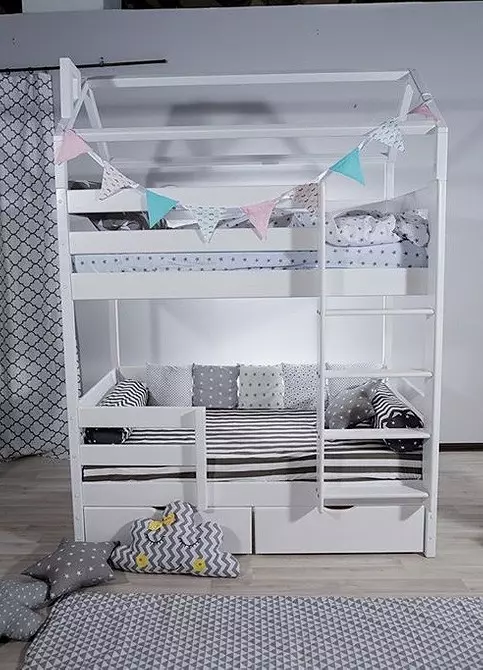
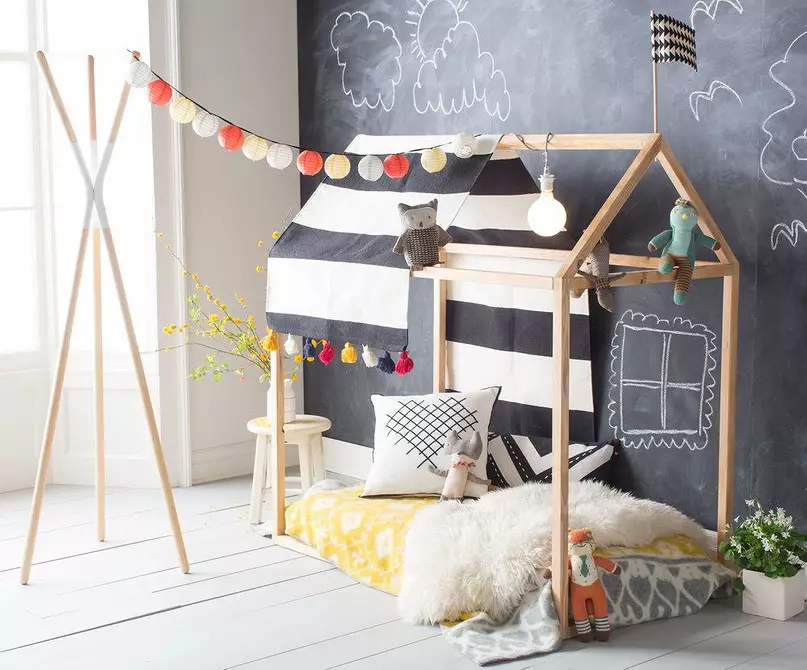
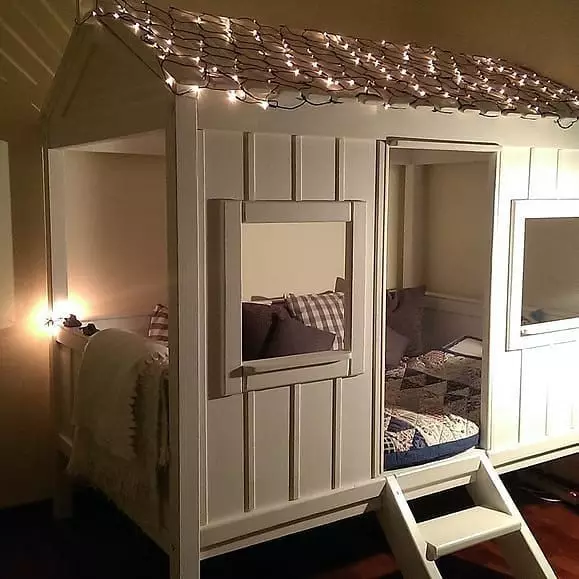
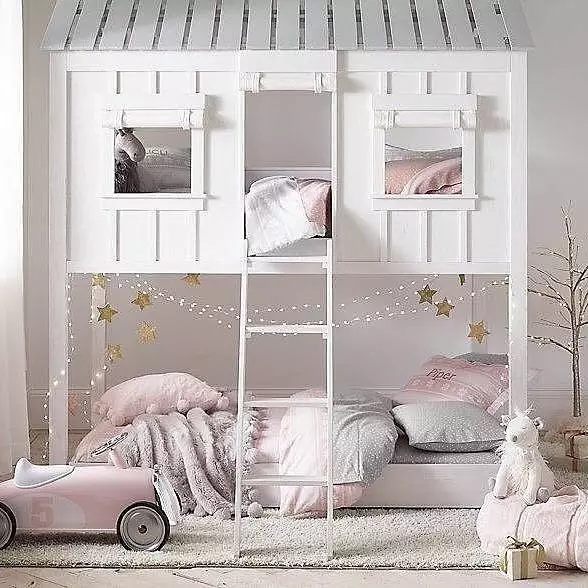
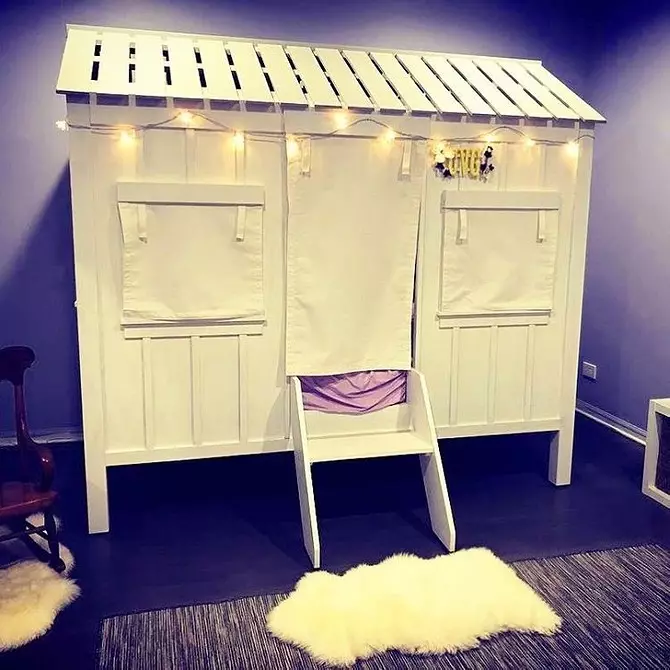
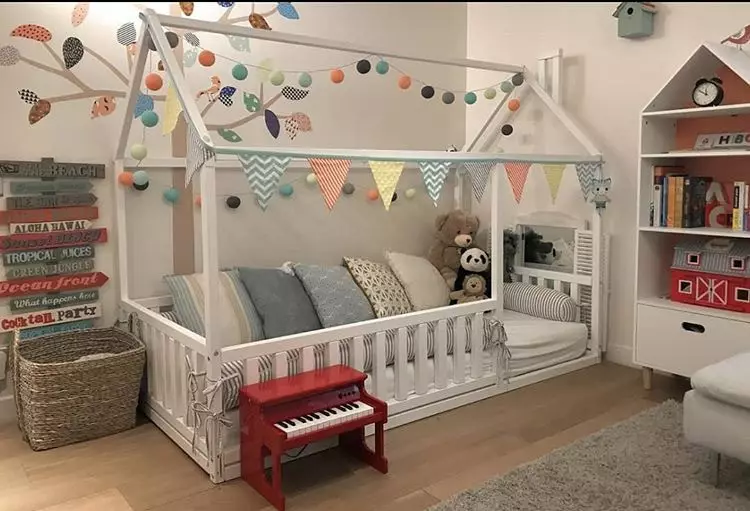
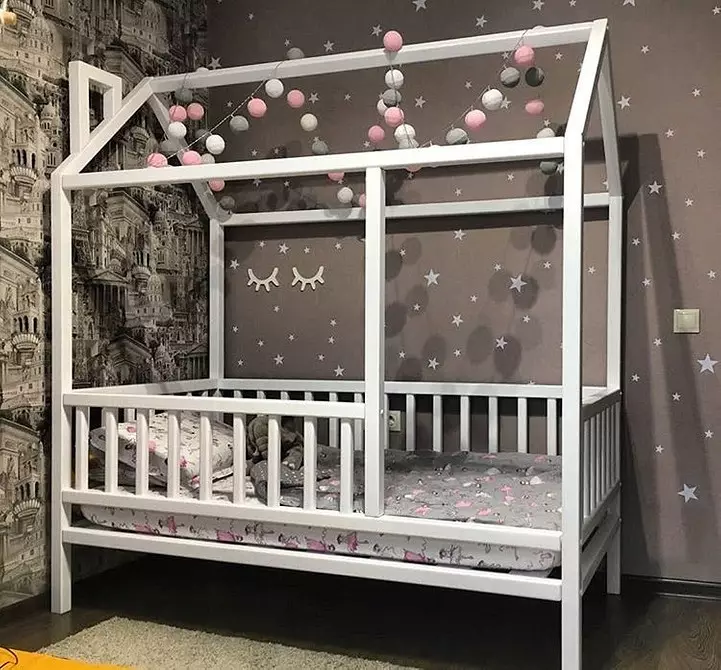
Sometimes it is quite the lowest of jewelry: Christmas garland as a night light and several pillows of different shapes and colors.
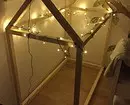
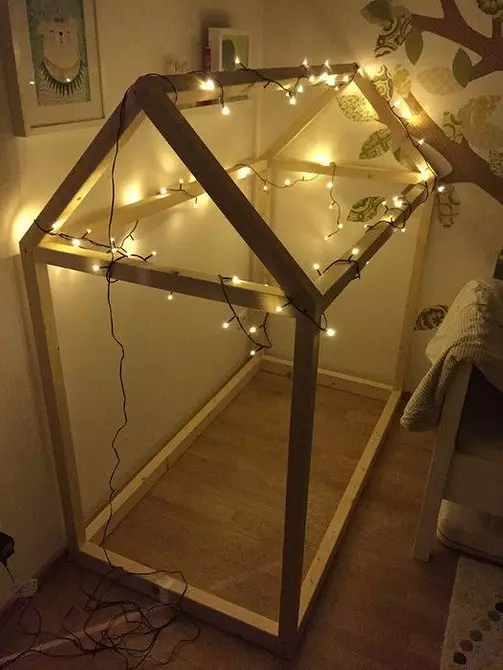
Garland may be not Christmas. Chinese lanterns even in the off state look stylish. They are often complemented by the particle fabric flags raised along one of the sidewalls, but not to do this. You may buy beautiful bed linen, which will become a self-sufficient accent and will not need support.
Vitely the process of making a wooden hut for games and sleep is shown in the video.