We tell what methods can be made the boundary between two finishing materials.

How to dress up the transition between the coatings on the floor:
Nuances docking without a thoringBasic Recommendations for Registration
Than to connect the seams
Grouting:
- Sealant
- Liquid plug
- Cork compensator
How to connect sections without a seam
When breeding is needed
Types of browel
Video: How to dock hexagon tiles
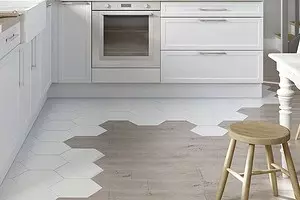
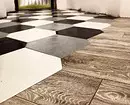
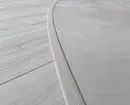
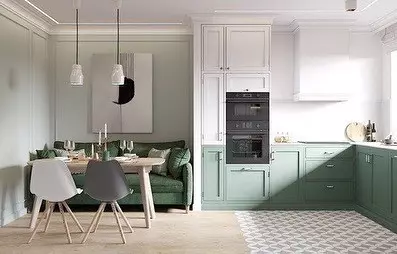
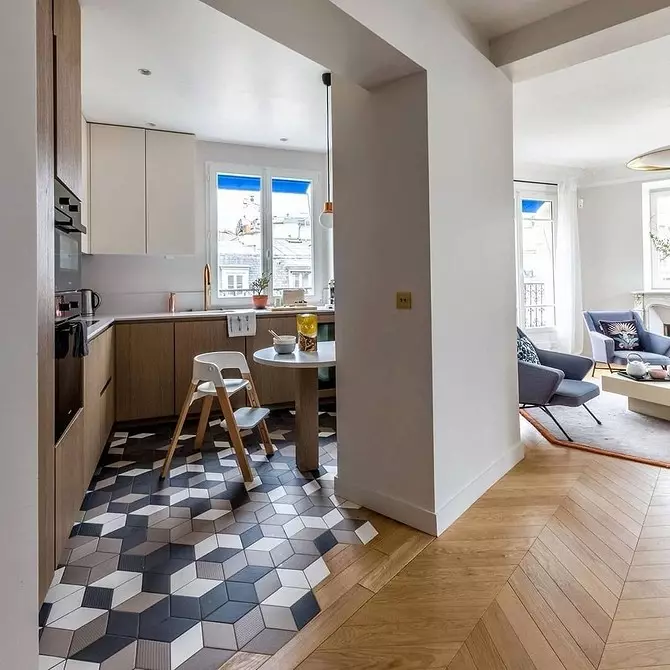
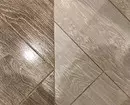
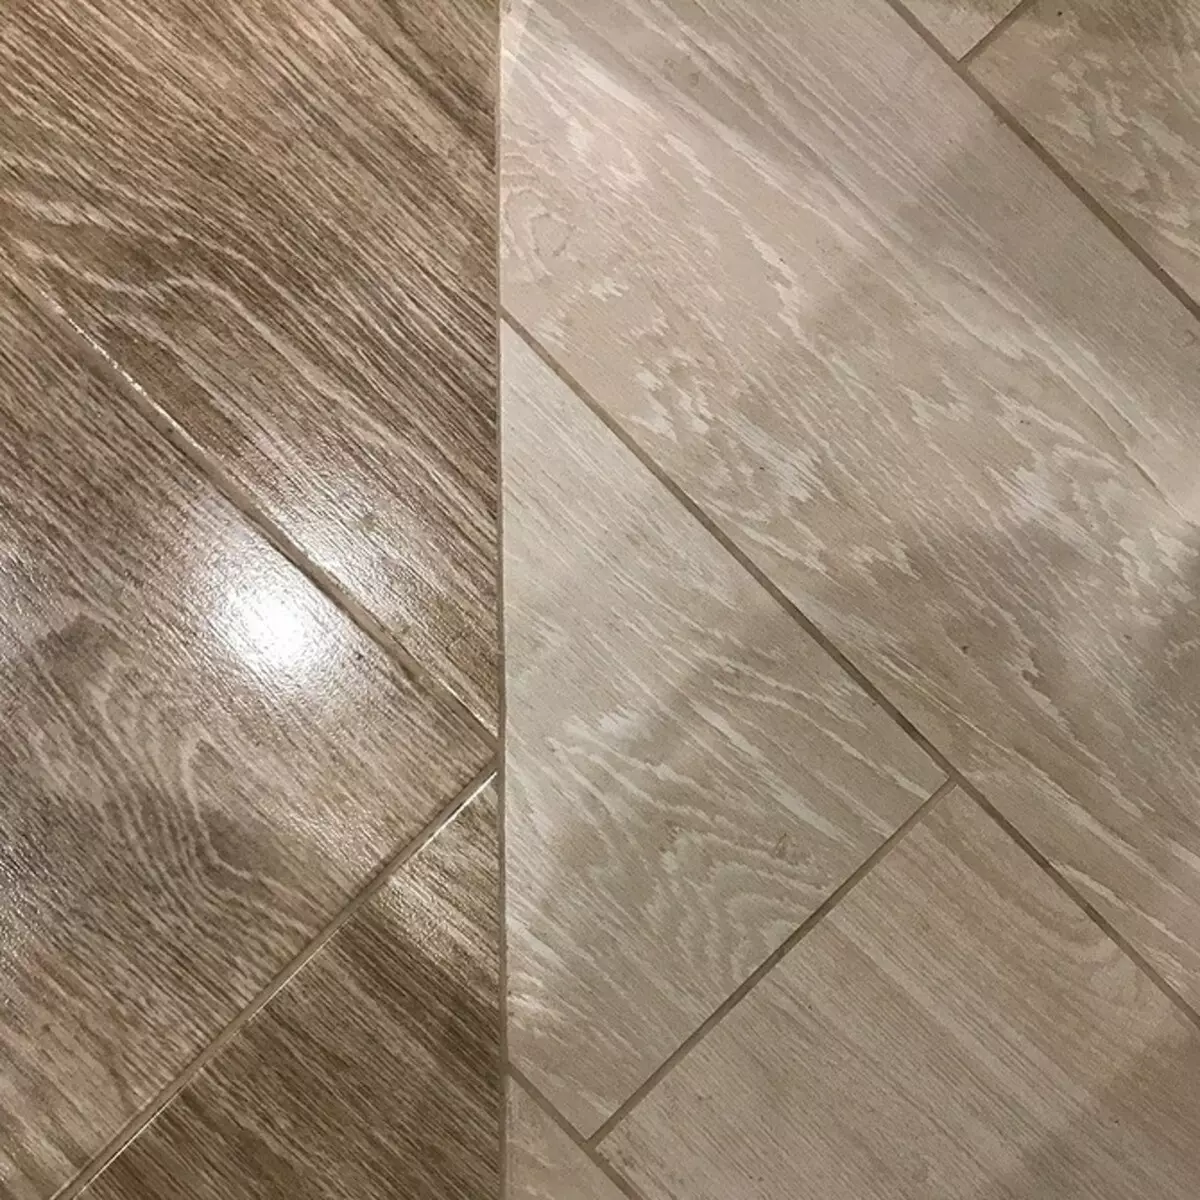
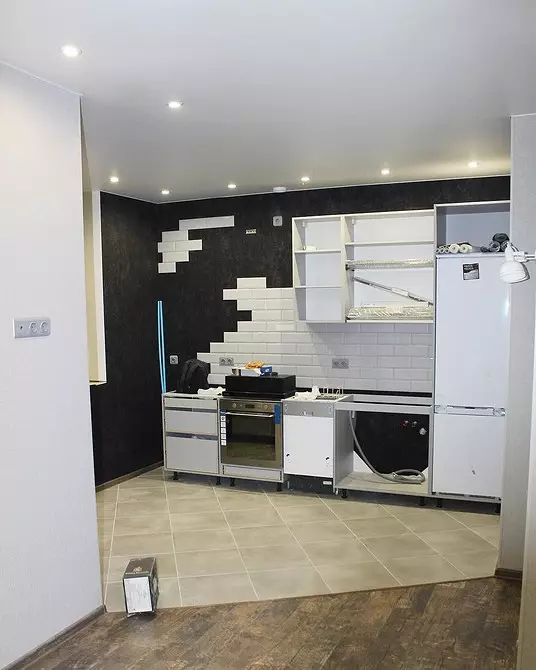
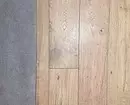
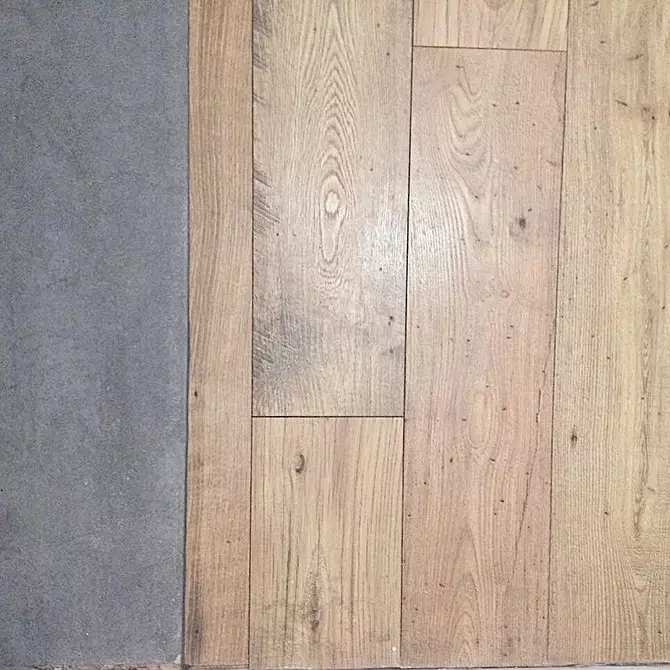
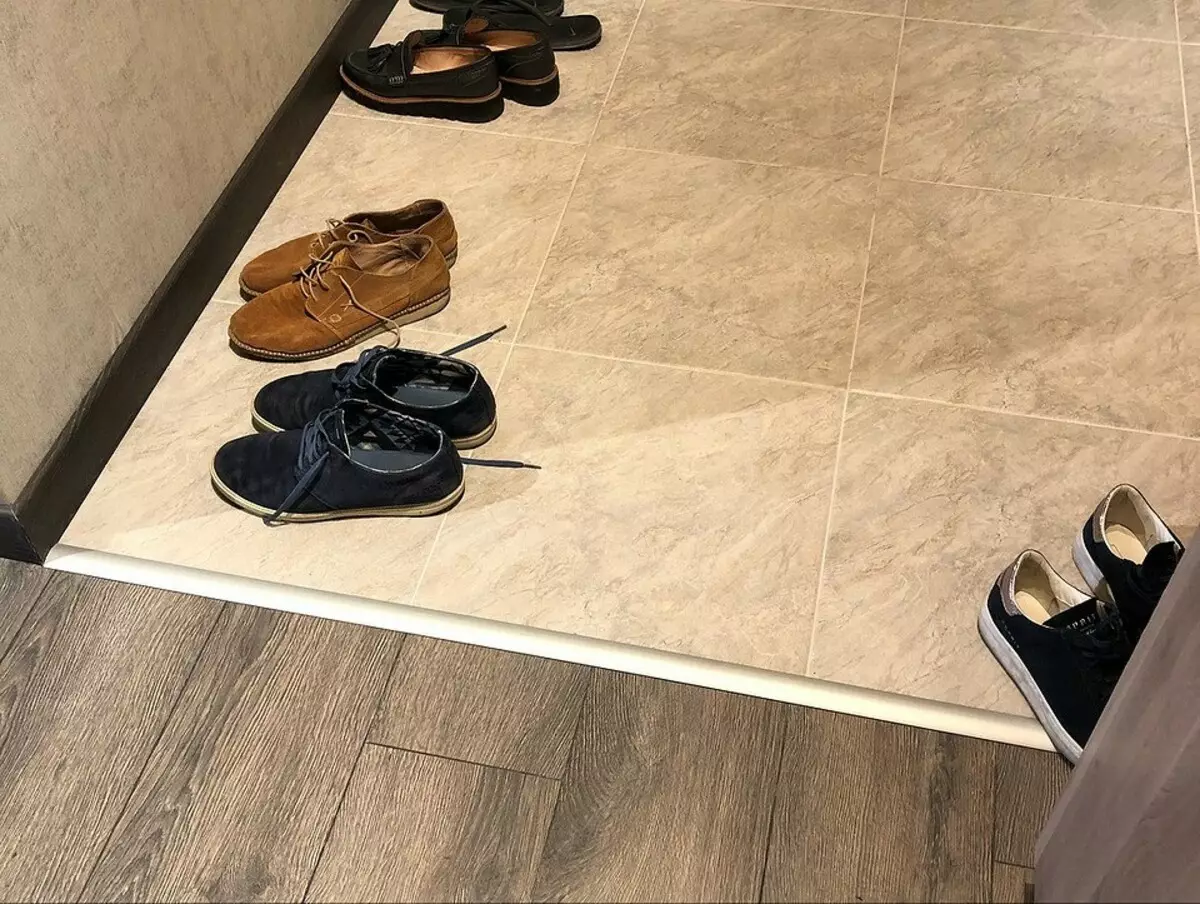
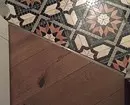
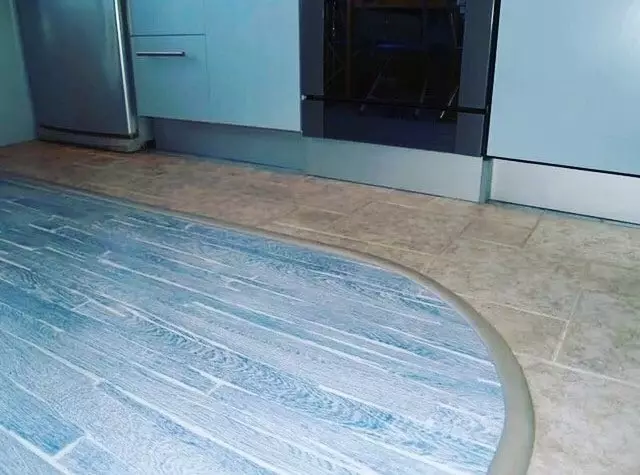
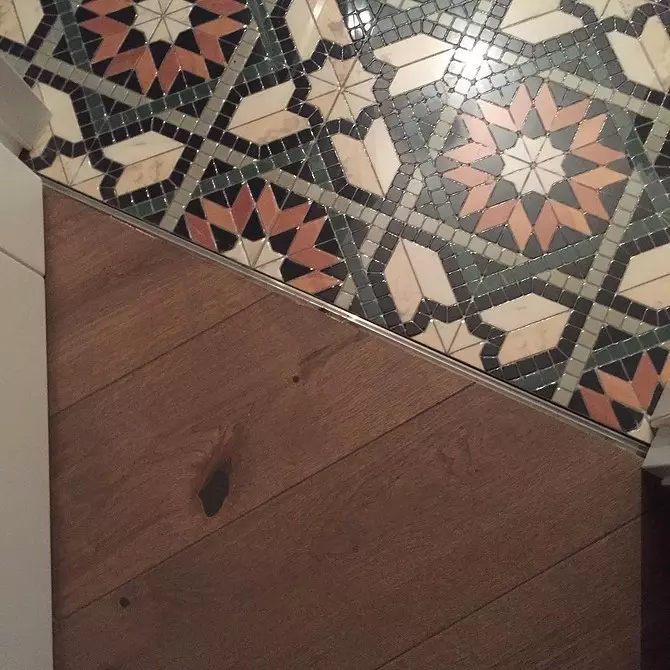
Two coatings are usually used for zoning premises. For example, to visually separate the hallway from the corridor, or the living room from the kitchen, if they are combined. In this case, the transition line between the materials may have a complicated form and greater length. It is advisable to make such a joint of the tile and laminate without a neck.
It looks more attractive, the dirt does not accumulate at the junction site and no one will turn around. But this technology is considered more complicated than the distinction between the room using the protrusion.
Nuances for creating docking without a threshold
There are several points that need to be considered when planning the repair.
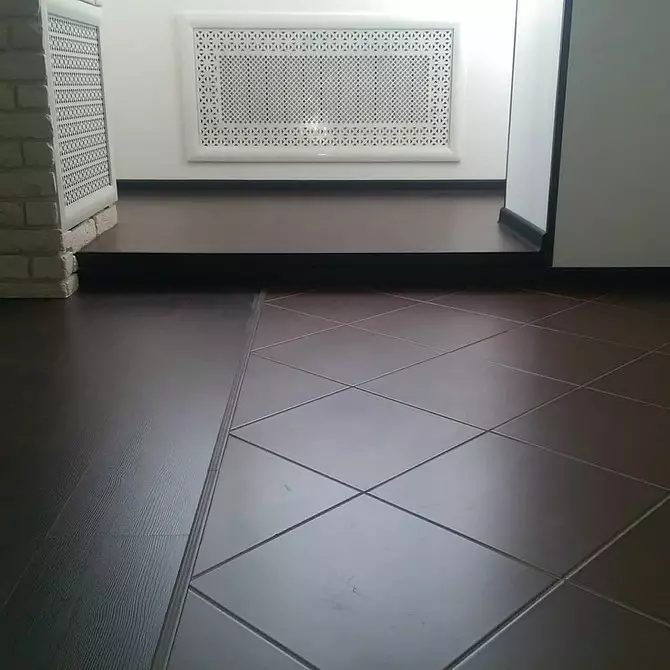
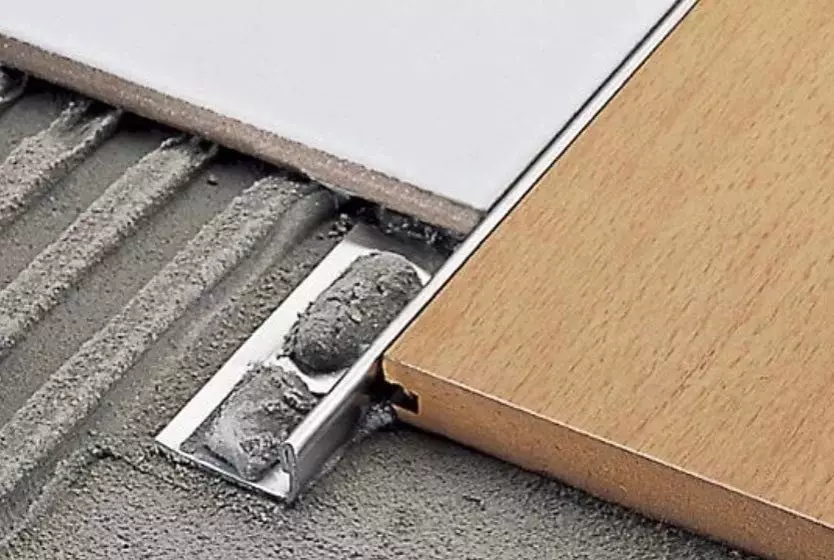
- Stacking height. The thickness of the laminate and tile, the method of their mount does not coincide. To close the transition from the tile to the laminate, you will have to level the floor levels in the indoors of the plywood substrate or at the level of the screed formation. The maximum height difference can be 1 mm.
- Different properties of materials. Some coatings are expanded under the influence of humidity or high temperature. A technological gap should be laid between two types of finishes - approximately 5-10 mm.
- Gigroscopicity chipboard and fiberboard. The edges of such a flooring are almost always treated with a sealant so that they do not absorb unnecessary moisture when laying or subsequent operation.

Recommendations for the design of junctions between tiles and laminate
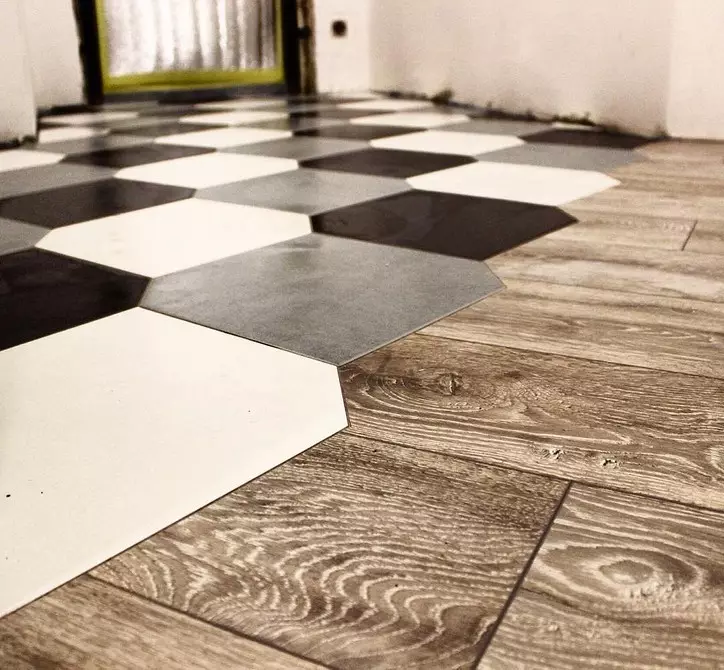
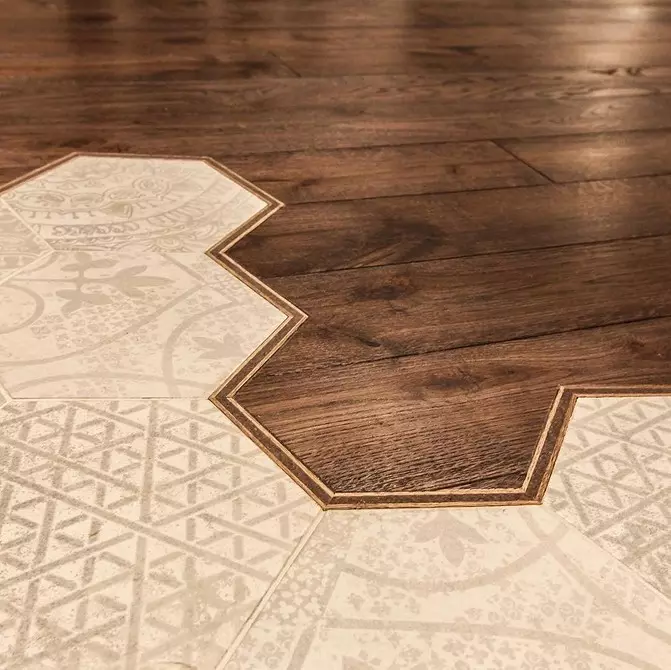
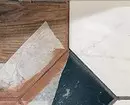
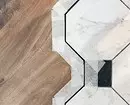
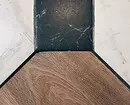
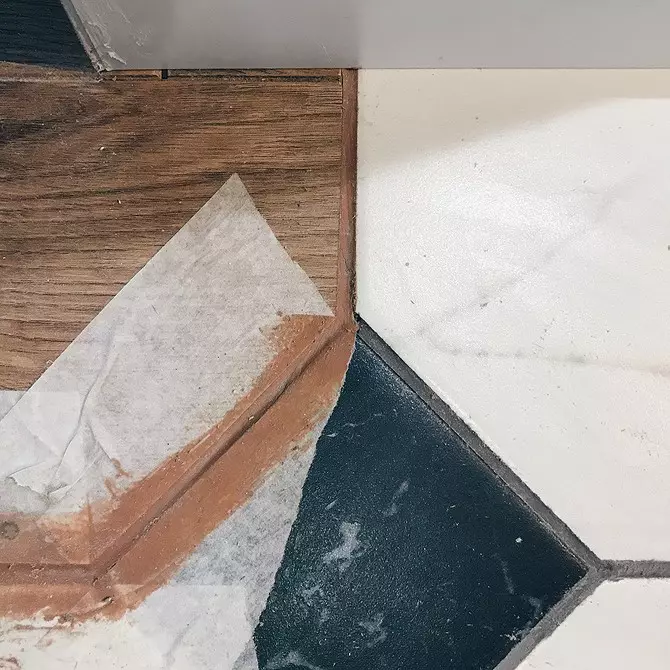
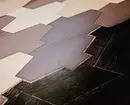
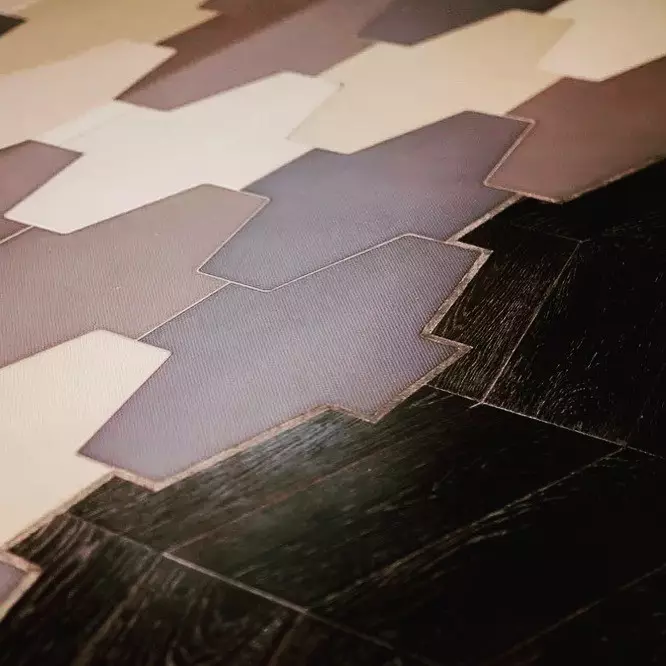
The shape of the joints can be any, but highlight three main: straight, wave-like and broken. With the first one, it is unlikely to have problems, but for the second and third you will need accuracy and tools: the jigsaw, as well as the Bulgarian with a diamond disk or hacksaw with a diamond string for ceramics. If there is nothing of the listed, you can drill as many holes as possible on the edge and break out more impressions.
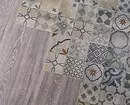
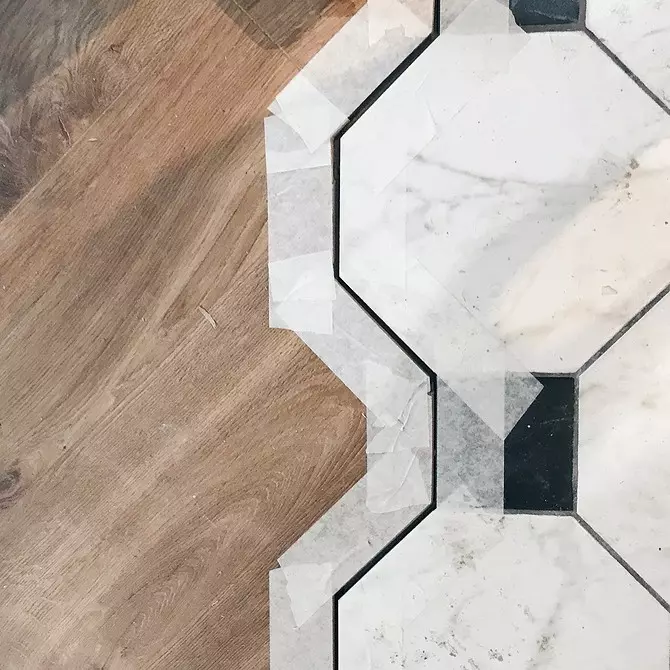
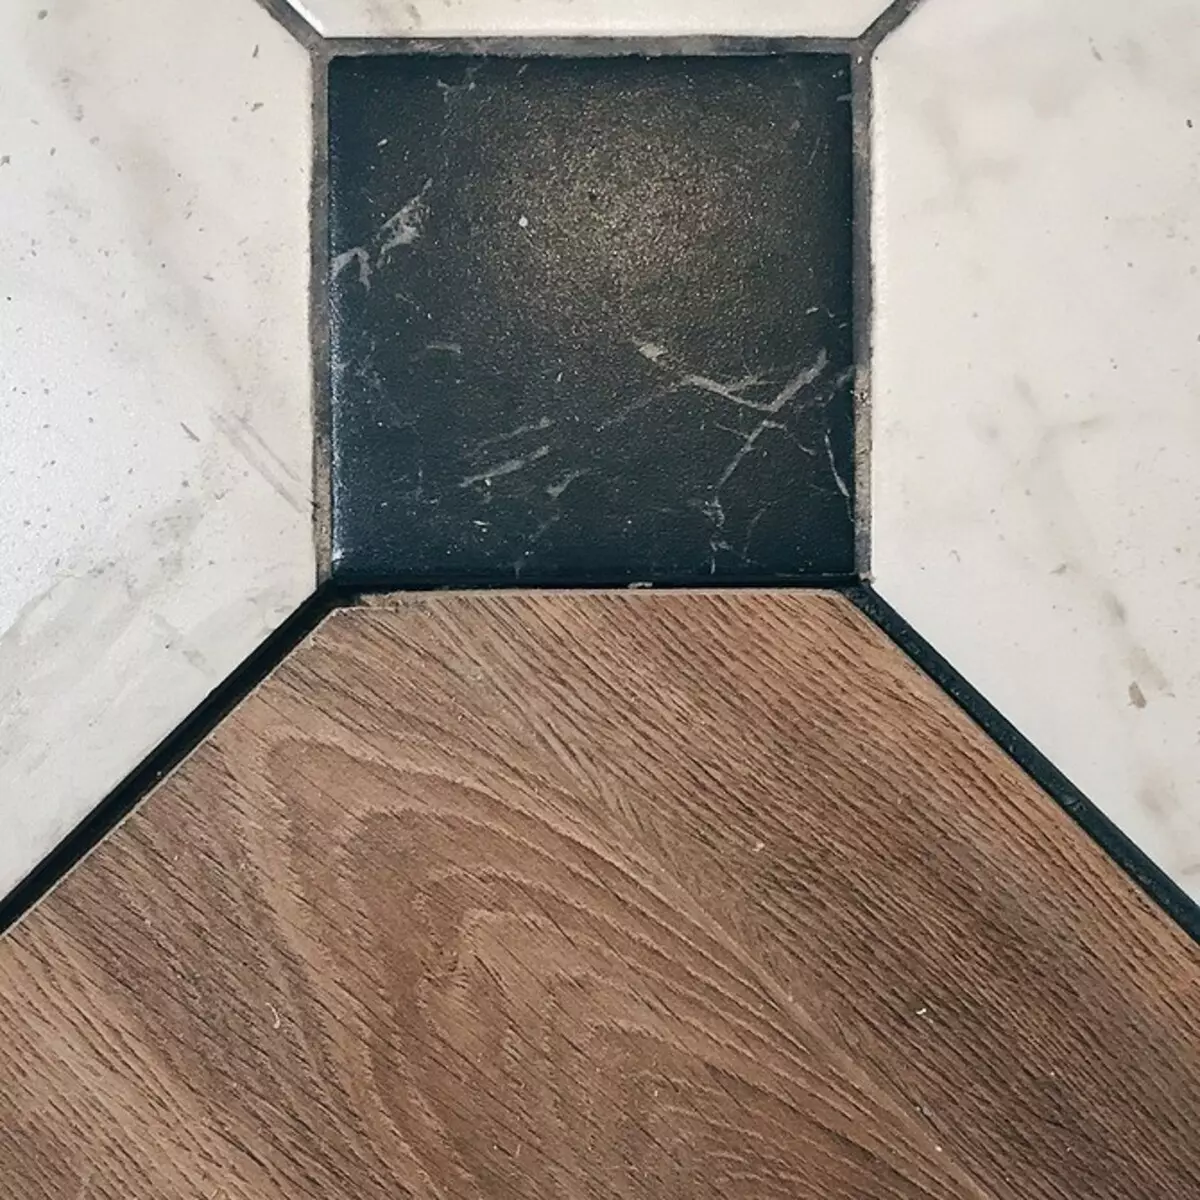
In the photo - zoning variants with two floor coatings without a threshold.


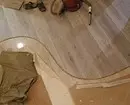
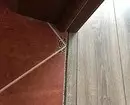


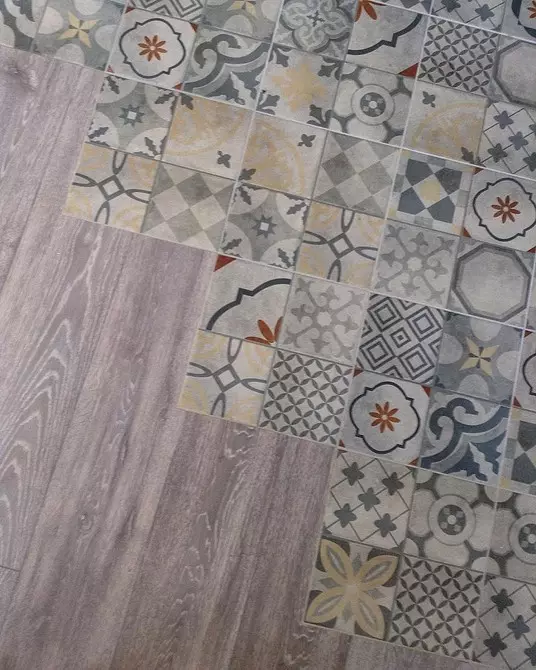
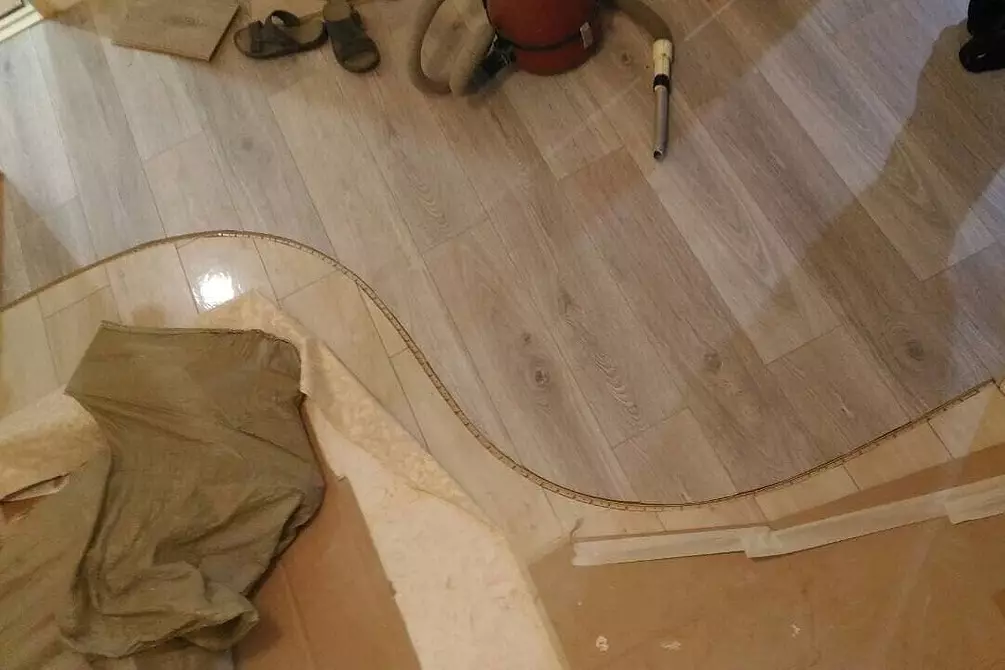
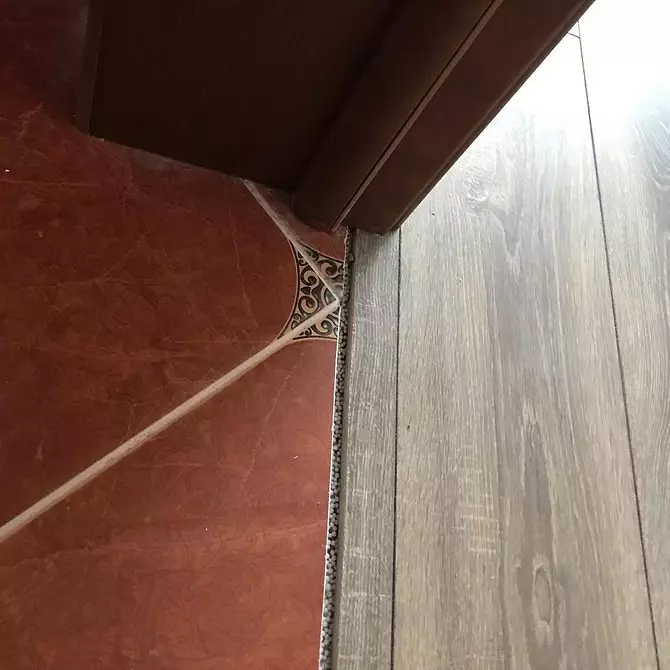


To make the perfect line, prepare a cardboard or any other template. If the billets remained at the edges of the blanks - treat them. Spend preparatory work - designate the connection location and make pre-laying. Check whether the seam width is observed throughout the line. It is 1.5 - 5 mm, depending on the method that you will close the gap.
The first always put the tile: and during preparatory measurements and when final repairs. Then you need to wait until the glue is dry and only then dock the layer. If you act on the contrary, the moisture will fall under it and very soon have to make a new repairs. Starting the flooring is better from the side of the tile.
What can connect the transition
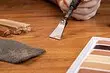
For accurate design of the gap between the functional zones, four materials are most often used.Put
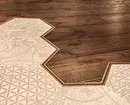
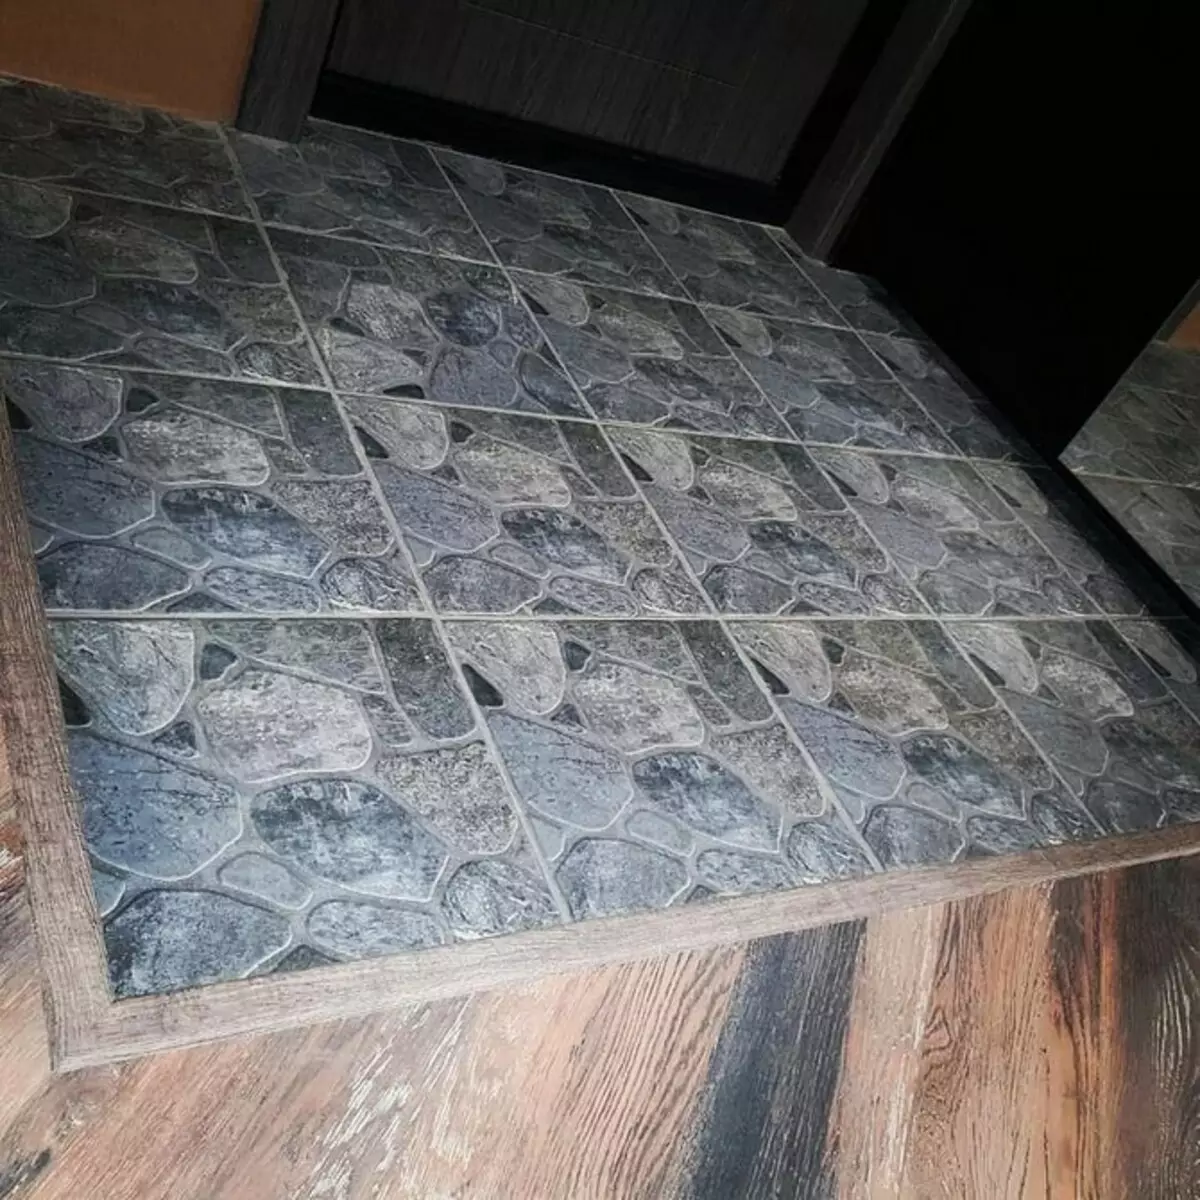
A simple way to seal winding, shallow seams. Such bellows are difficult to find, and other aggregates will not look so organically. Often, in modern interiors there is an interesting way to finish the floor: polygonal ceramic details are slightly "visiting" to a plot with another coating. So separate the site of the hallway from the rest of the house and the kitchen area from the living room. In this case, the transition is also performed using the grout. Do this in the following order:
- Spend preparatory work.
- Treat the edges of the second material with silicone composition.
- The formed seam half fill it in them.
- Wait until it dries.
- Divide the grout, distribute it from above and scatter with a spatula.
- The finished back layer wipe the damp rag and cover the transparent varnish to extend the service life.

Silicone and acrylic sealant
Sust two areas with elastic sealant even easier than grouting. The advantage of the method is that it is not necessary to additionally handle boards to protect against moisture. But there is one point - it must be borne in mind that after drying, the aggregate will become light brown. Acrylic filler can be painted in a suitable shade after it dries. Both compensators are suitable for repair work in new buildings, as they are able to adjust the shrinkage of the building.
Sequence of work:
- Cut the greasy tape from both sides of the seam, so as not to spend the time for rubbing it.
- Make a hole in a tube with a silicone mass so that it can be squeezed, or insert it into a special gun.
- Fill the gap so that the sealant spoke a little over the floor surface.
- Using the spatula, remove the excess composition. If there is no spatula, you can wait until the mass is dry and cut off too much.
Consider that the sealant takes one or two days. Silicone compensators are recommended to use indoors, where the floor covering fastened with glue or fasteners.
Liquid plug
Liquid cork for laminate and tile joints is a moisture resistant mixture of adhesive base and cork crumb. It is distinguished by an unusual texture and looks good in the seams of no more than 7 mm. On wide transitions, it will look like alien. This is an easy way to connect for sections of any form.
The hole that is filled with the mass is pre-cleaned from dust and degrease.
Rules of work with a mixture:
- Coating levels must coincide. If there is a small difference, the glue is aligned at a higher edge.
- Do not allow traffic jams to fall, as it is difficult to drop it, and after drying it is almost impossible. You can pre-cover the floor with oil or stick to it with a painting tape.
- The material must be grinding a day after the fill, until it hardened.
The layer is obtained very durable and it is almost impossible to remove it.

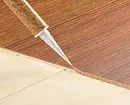

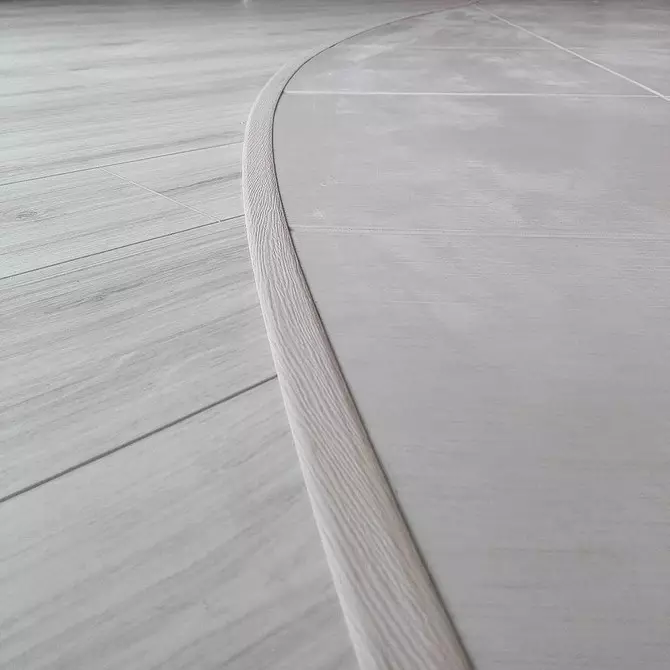
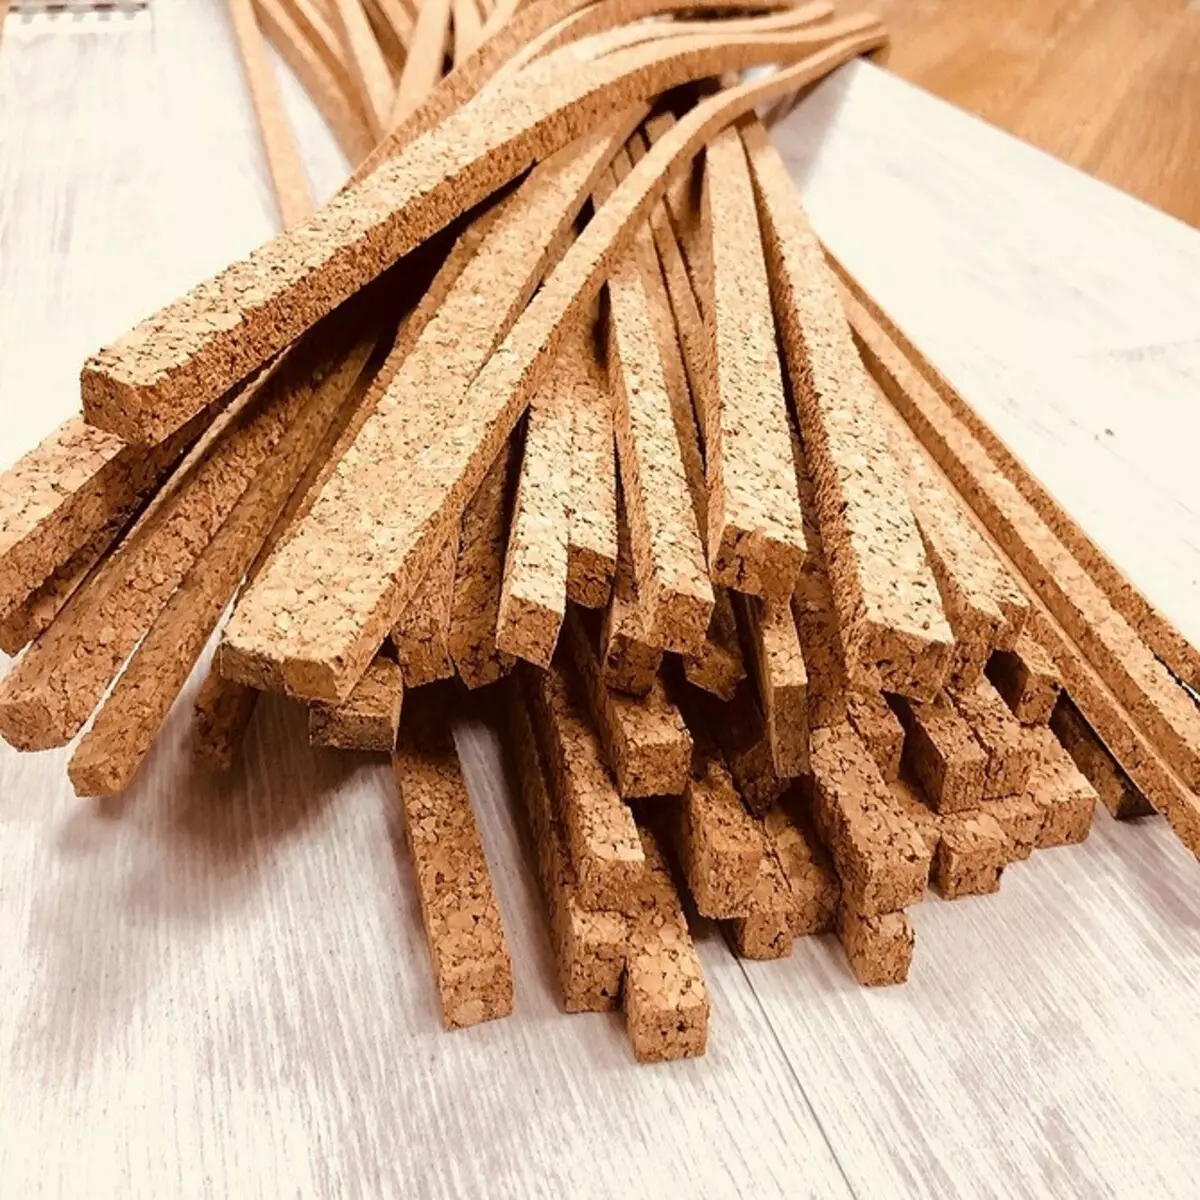
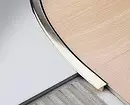
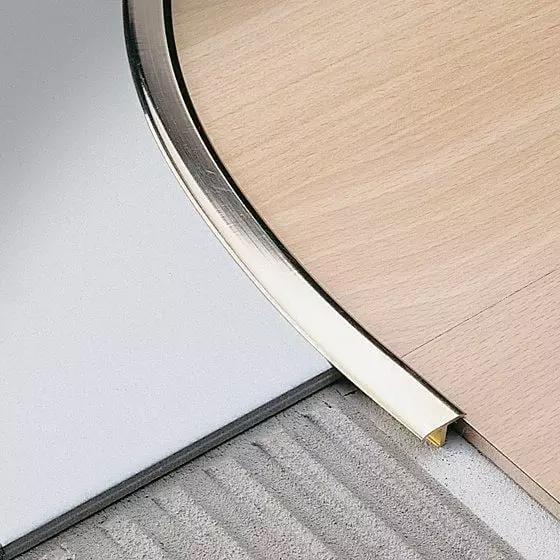
Cork compensator
One of the most popular ways to design boundaries between two floor coatings. The aggregate is a soft, extruded rail or entire sheets with the same characteristics. The compensator has several advantages:
- The ability to choose the appropriate color.
- The ability to withstand the shrinkage of the building and the dimensional fluctuations of the laminated strips.
- Suitable for wide seams.
- It looks beautiful in the interior.
For this material it is also desirable that both sites are on the same level. Otherwise, the result will not look aesthetically.
Filler sequence:
- Pick the rail to the desired size or cut the item from the sheet.
- Apply glue to the entire width of laminate or tile, and at the bottom - a thin layer of sealant.
- Enclose compensator and cover it from top with an antiseptic and transparent varnish.
- The rail can be toned, but it must be borne in mind that it absorbs the paint well and the color is obtained saturated.

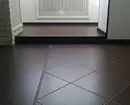
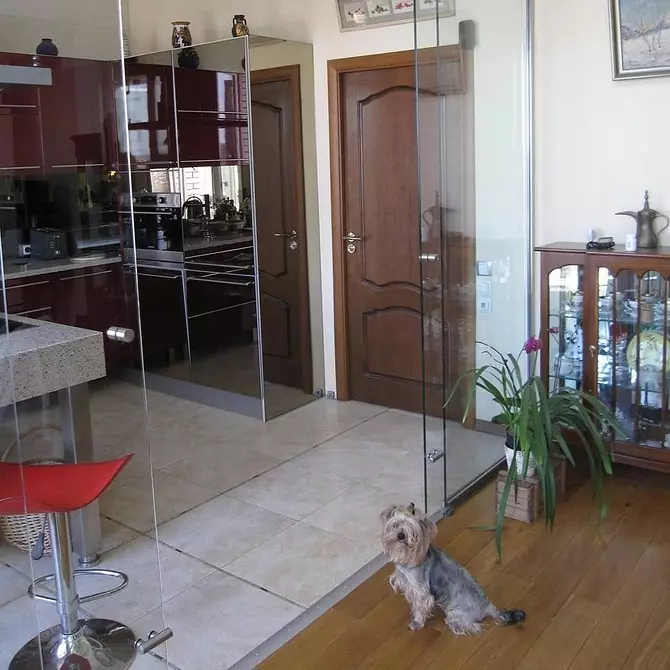
How to connect tile and laminate on the floor without a seam
This method of docking is possible only in the case of the perfect alignment of two sites. Most often it turns out to be done only at the station building, when the workers laid the screed. It is necessary to calculate the height of the tile and glue in advance, to which it will be attached. Then fold the width of the parquet sheet, substrate under it and glue under them. The difference obtained is the difference between the screed levels. In addition, it is important to cut the materials with jewelry accuracy. Make it yourself very difficult.When it does not work out without installing the threshold
There are several cases when close the seam will be faster and easier.
- On the border under the doorway.
- When the difference in the height of the sections is more than 5 mm.
- If there are noticeable defects on the joints.
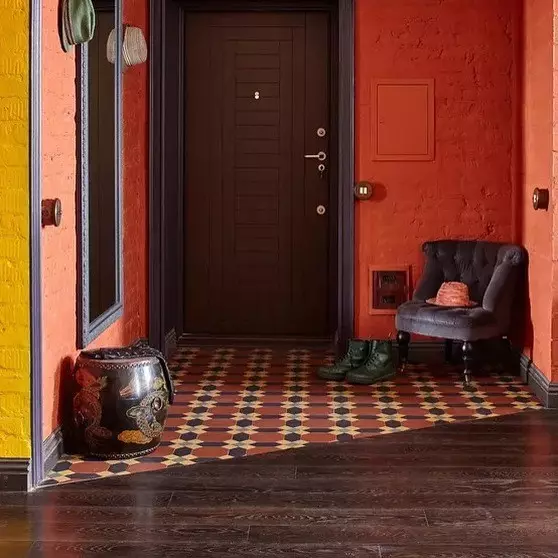
Also, many prefer to close with the help of molding the transition from the hallway to other premises. This technique is used to ensure that dust and garbage from shoes do not get inside the apartment.
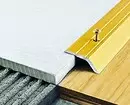
What are the rainfalls
There are four main types of items.
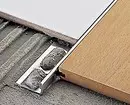
- Aluminum with holes. Suitable for direct connections. Especially those located under the door. There are different colors and textures on sale. For installation, you need a screwdriver, self-tapping screw and sealant for edge processing.
- With a sticky base. There are metal and plastic. It is easiest to install them - you only need to schedule a joint line, cut the paper strip on the back side of the molding and tear it as it is glued.
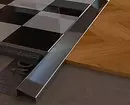
- Flexible PVC profile. They overlap wavy transitions. The maximum height difference, which it hides - 8 mm. First laid the tile, then fasten the profile base with self-draws or dowels. The last stage is the second material and the lid of the threshold.
- Metallic profile. It also lights easily into a wavy or broken line. Two types of details are available: r and T-shaped. When mounting the first part, the boards are placed under its plate (not forgetting about the gap), and the tile is glued close.


There are also wooden elements for the design of the transition, but they are less common, as they are less resistant to moisture. When choosing, you need to consider:
- The color of the floor and the method of its installation (for floating laying a metallic part of the T-form) is suitable.
- Method of fastening the element itself. It is open and closed, using self-tapping screws, glue or lining.
- The difference between the levels of united parts. If it is more than five mm, the multi-level profile is suitable.
Summarize. Connect two floor coatings without the neck independently quite real. The only requirements are equal or almost equal to the height of the sealant, processing sealant and compliance with the technological gap in the middle of the plots. Difficulties may occur with broken joints, as it takes a more accurate and time-consuming fit of materials.
But if you wish and the availability of instruments and this option will work. Check out the video in which it is shown in detail how to docile laminate and hexagon tiles.
Video: Roman on the floor