Neither children nor adults may not resist the charm of tiny interiors. Show how to build a home for your child's favorites, which will decorate the children.
Mastery puppet house
Step-by-step instruction:
- Materials and tools
- Procedure
- How to make a big house
- How to assemble a roof
How to strengthen the walls
Wall decoration
Casting glossy box
What makes the floor
Furniture
Designer ideas
Cardboard is one of the most popular "construction" materials for those who make such crafts. After all, you can make a house for dolls with your own hands from cardboard boxes from shoes, machinery and other store products. This "raw materials" in abundance there is probably every owner.
Advantages of cardboard:
- Strength (if, of course, do not expose it to high loads during the game);
- There is always in stock or it can be easily and cheap;
- Easily amenable to various transformations, decoration;
- Does not require special tools when working.
But there are also its own features:
- Neat operation is required, as the strength is lower than that of wooden, plywood or plastic floors;
- There may be problems with "cosmetic repairs" in the rooms, since the cardboard can be "stories".
The manufacturing technology is simple even for newcomers in needlework, you can connect a child, and then it will be a funny family adventure (and you can make a baby a surprise, but you have to work in a quiet and, perhaps at night).
The process will be long, contrary to the interoperability in the Internet, that the apartment for toys can be created in two hours. The reason is that many elements after gluing or decorating need to be put under the press and wait until it is dried.
The hairdryer will not save - the details should not just grab well, but also to align under load. Recall: cardboard from moisture "rides" to the parties.
How to make a house for dolls from the box: Phased master classes with photos
First, decide: you want a full-fledged building, perhaps, even from several floors, or you have enough one room. The last option is also called Rumbox (room in the box). And for beginners it is the most optimal. Then, already having a hand, you can create though mansions, even castles.Materials and tools
You will need:
- box;
- Stationery knife, scissors;
- pencil with a ruler;
- stapler;
- glue (the choice depends on the material that decorate the walls of the house);
- narrow construction bristle;
- Heavy items to align the product - books or water bottles;
- Decoration materials;
- Optional: small sandpaper, paper for baking, iron, finishing varnish for decoupage, stationery clamps.
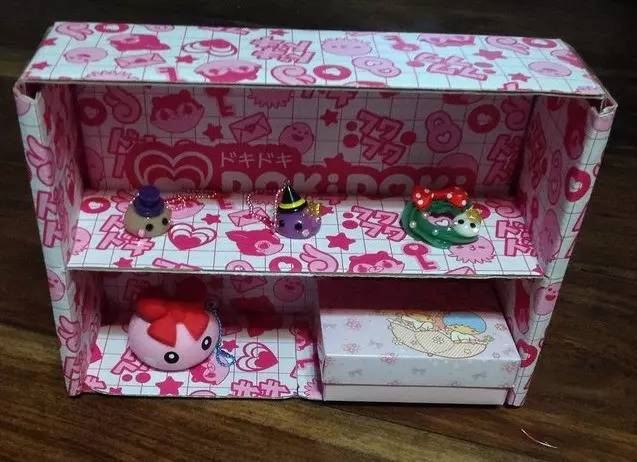
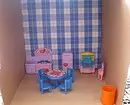
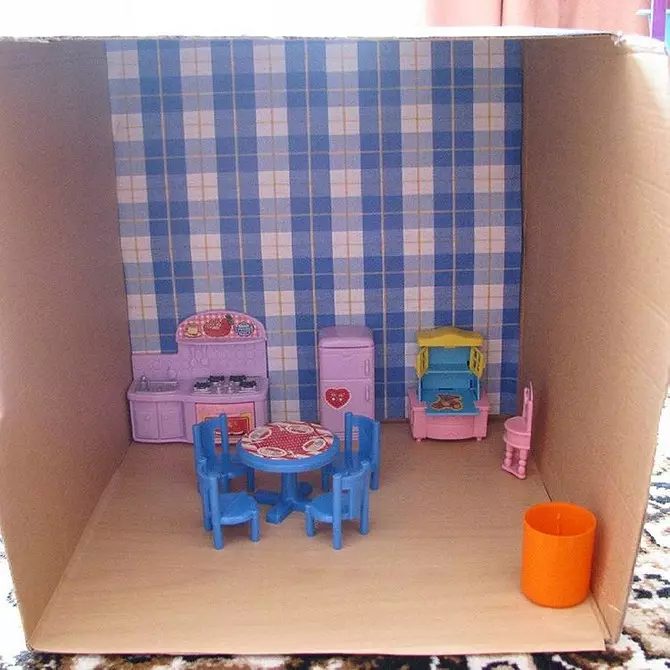
Mastery Rumbox
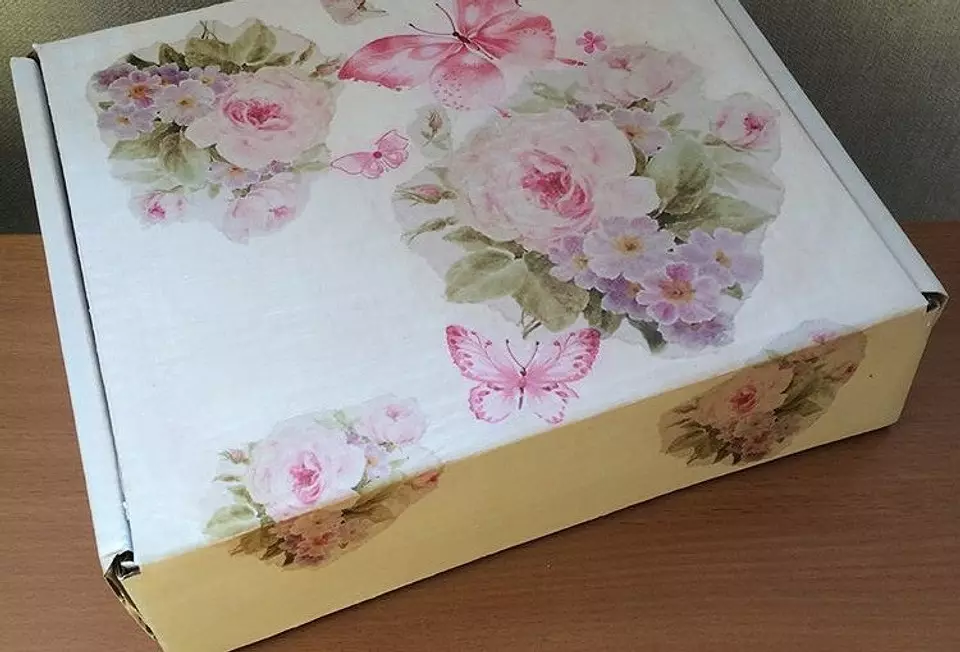
The box is needed durable. Better, if it is a glossy, then less chances that glue deforms it. You can also work with matte, too, it will be necessary either longer tinkering or finding for finishing materials that do not require use or PVA or other liquid compositions.
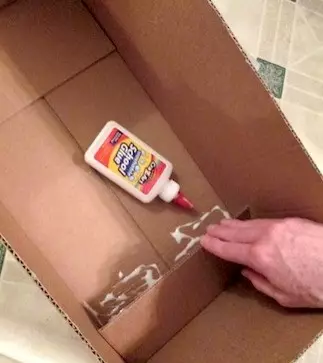
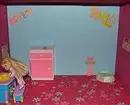
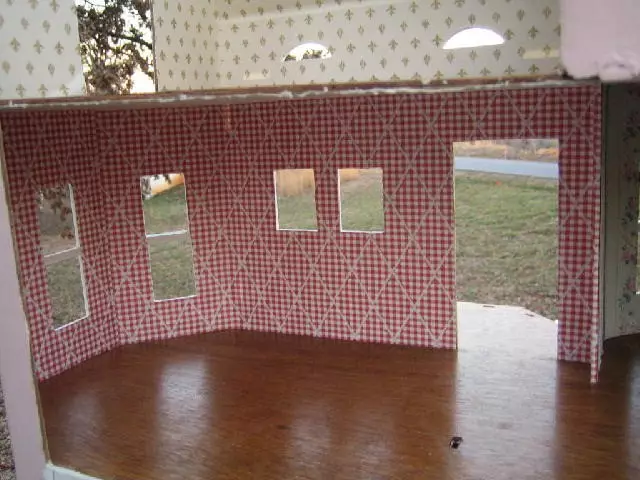
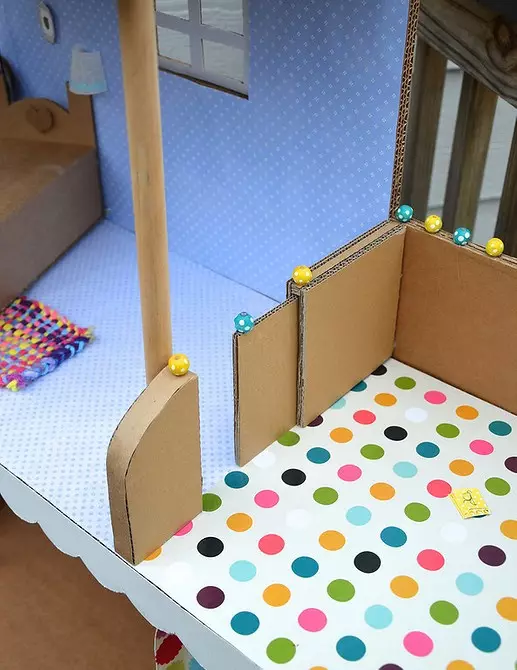
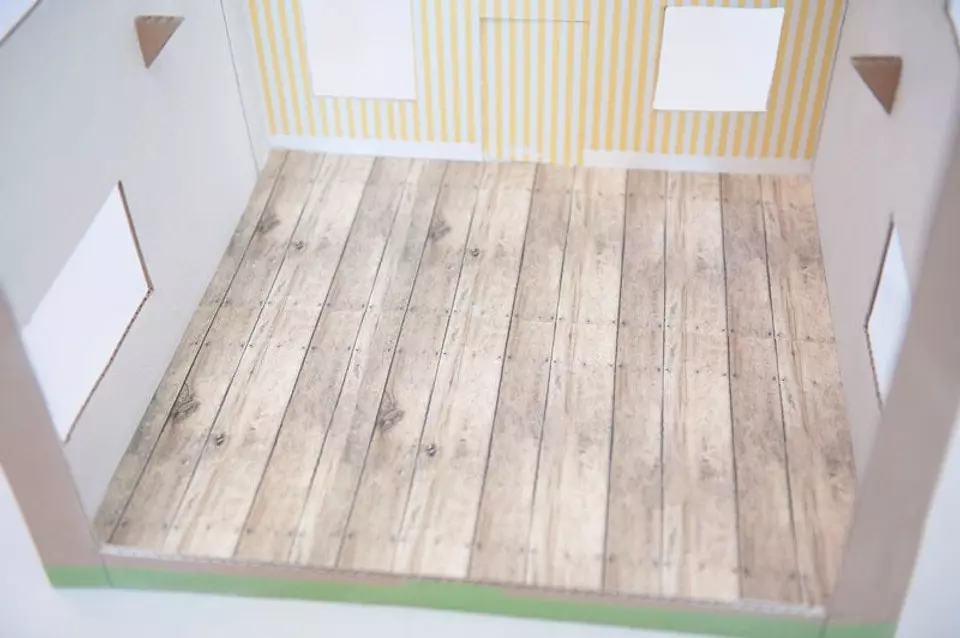
First spend marking: where there will be windows, doors, furniture and accessories. Then, with the help of a stationery knife, cut holes. Tip: Plastic windows and doors can be borrowed from the "Lego" set.
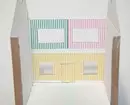
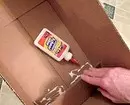
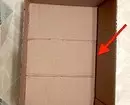
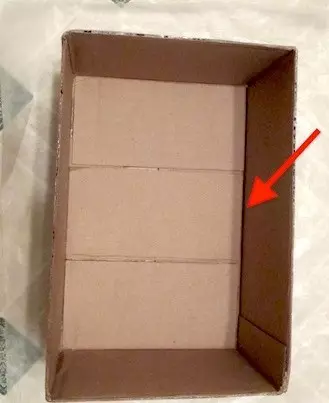
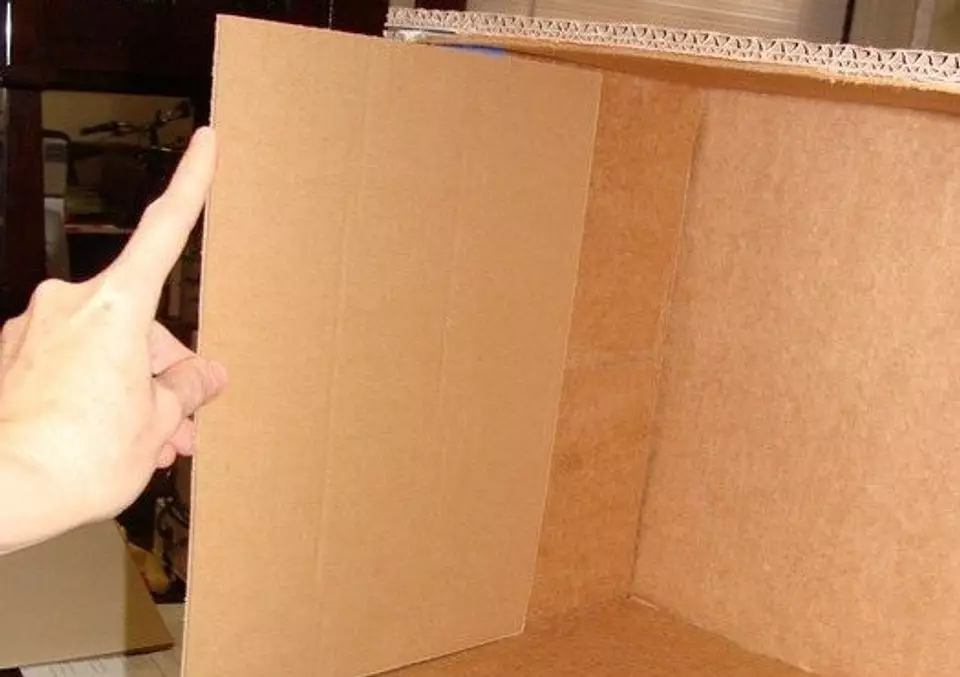
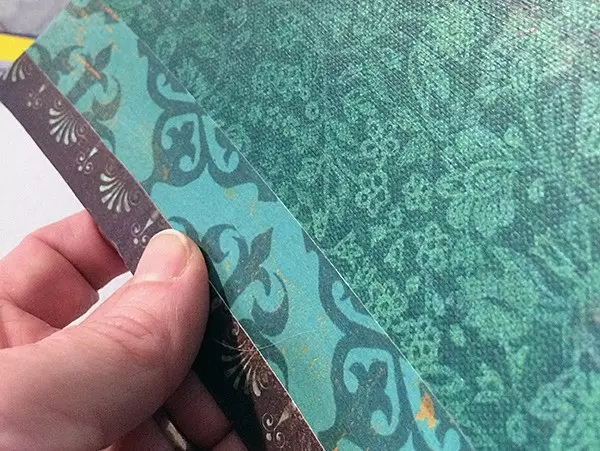
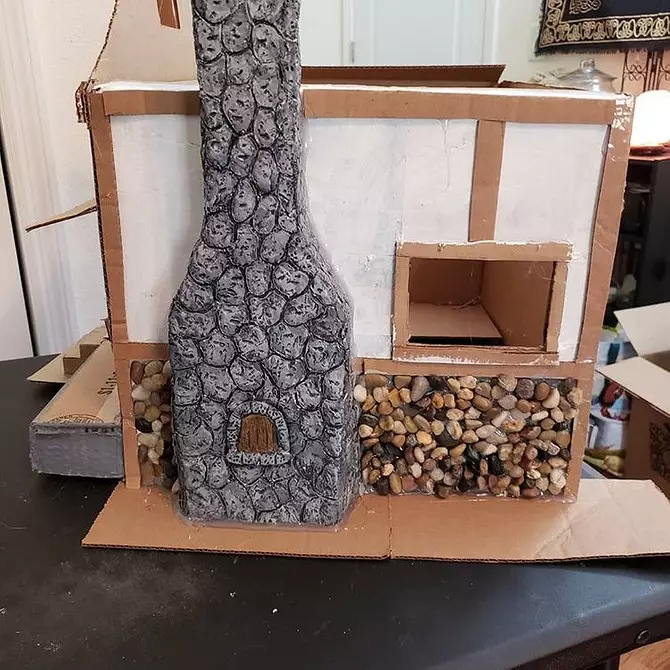
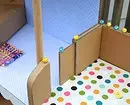
Align the bottom, that is, the floor, the PVA or the stapler attach a piece of cardboard so that there are no height drops (on the second photo it is indicated by the arrow).
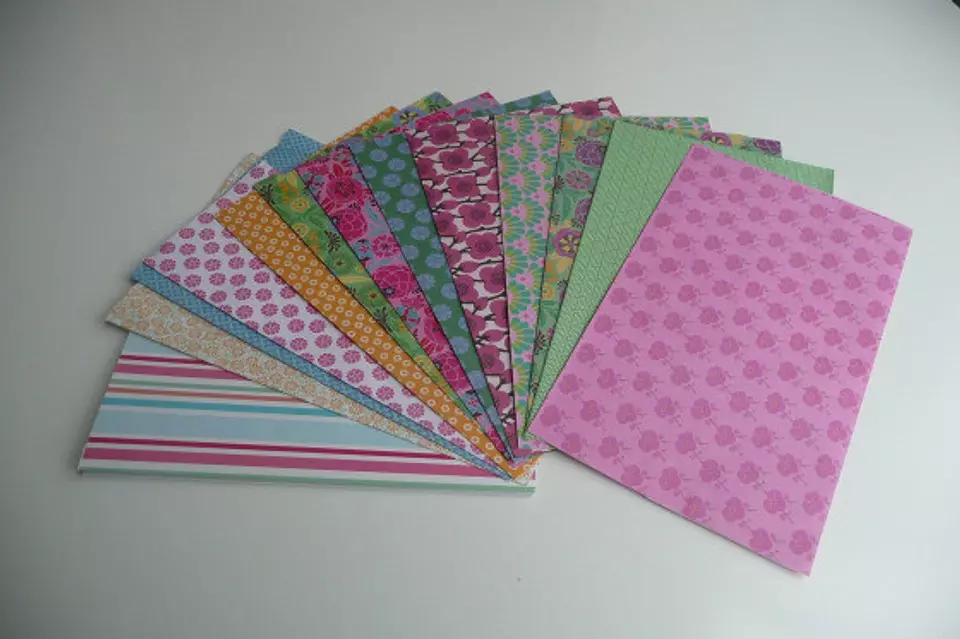
Room frame ready. After that, the most time-consuming, but interesting is the decor. You can take trimming of ordinary wallpapers, napkins, colored or wrapping paper, fabric, self-keys, printouts from the Internet, lace, beads.
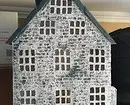
The most scrupulous masters use small pebbles, rice, buckwheat, but they, of course, have a lot of time.
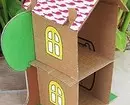
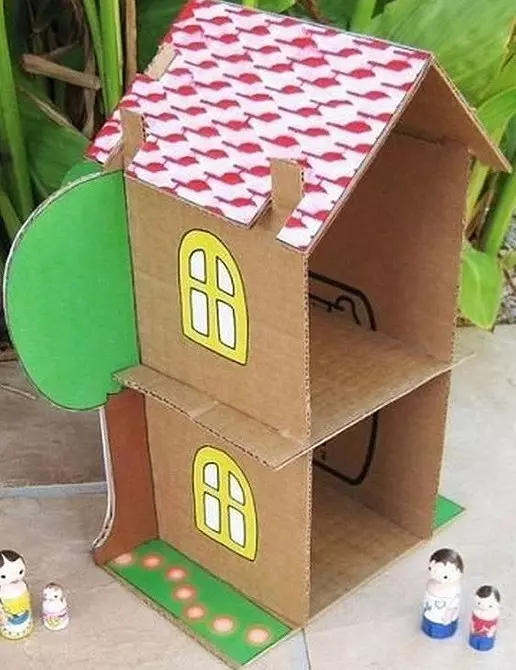
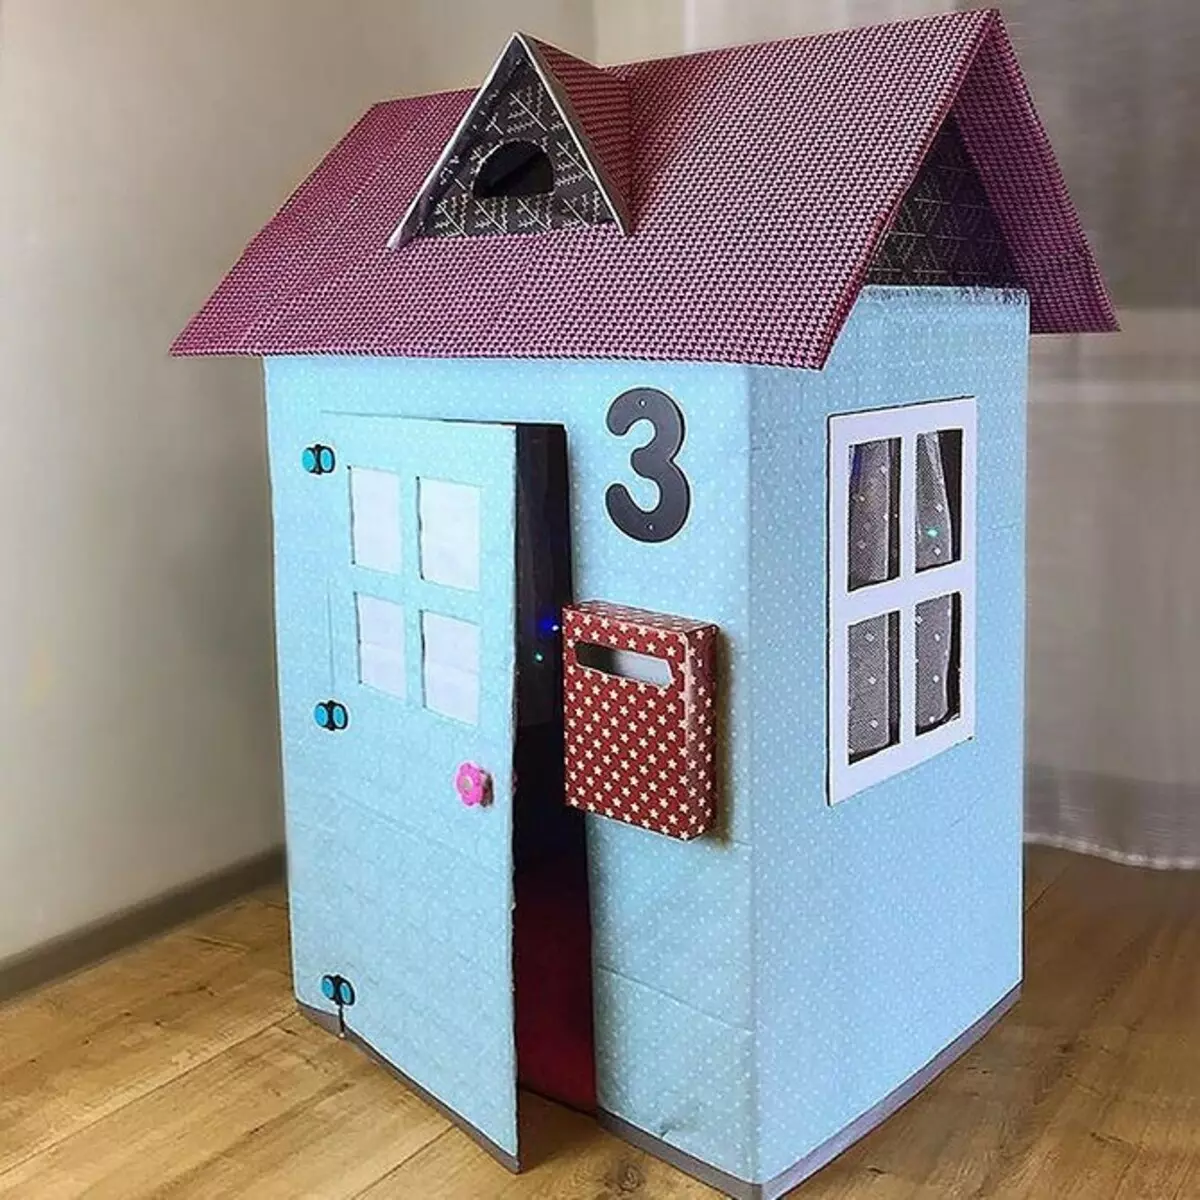
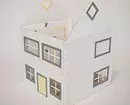
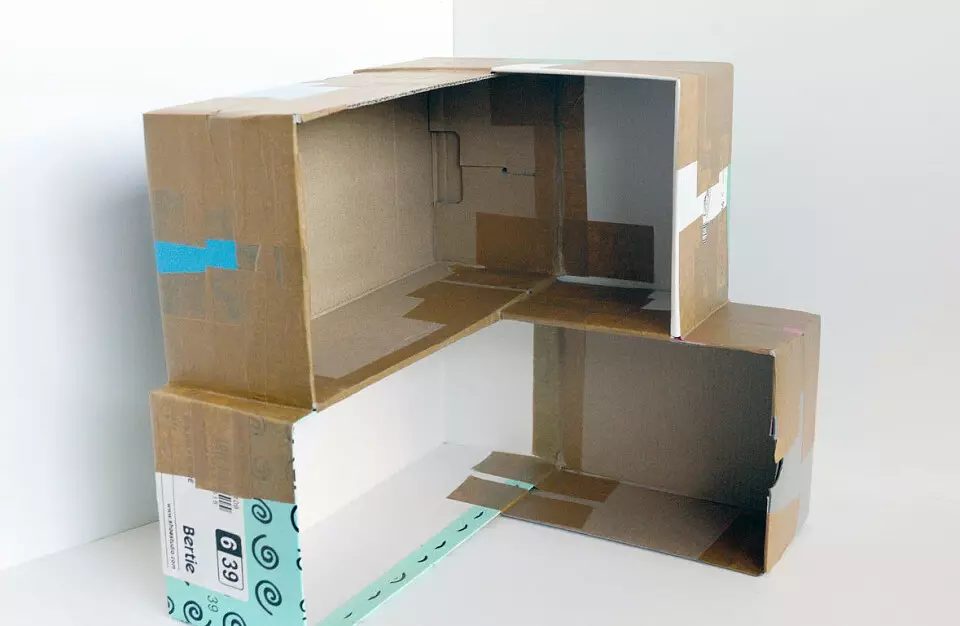
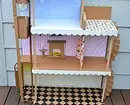
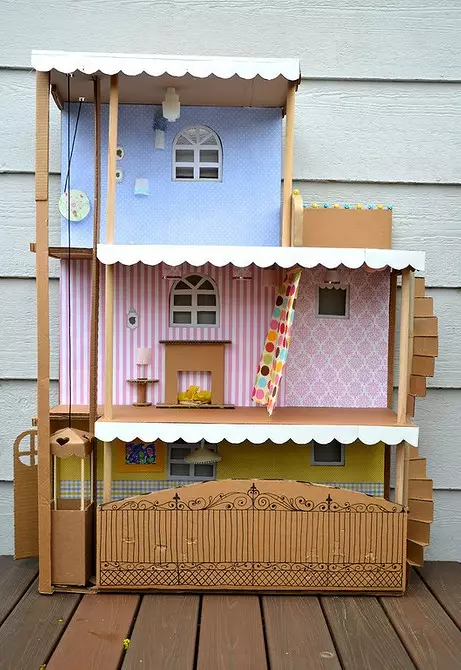
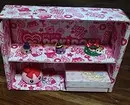
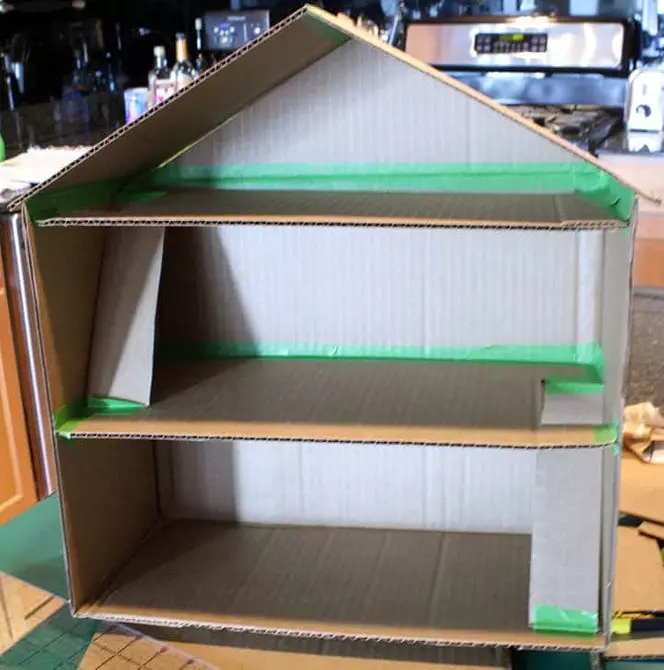
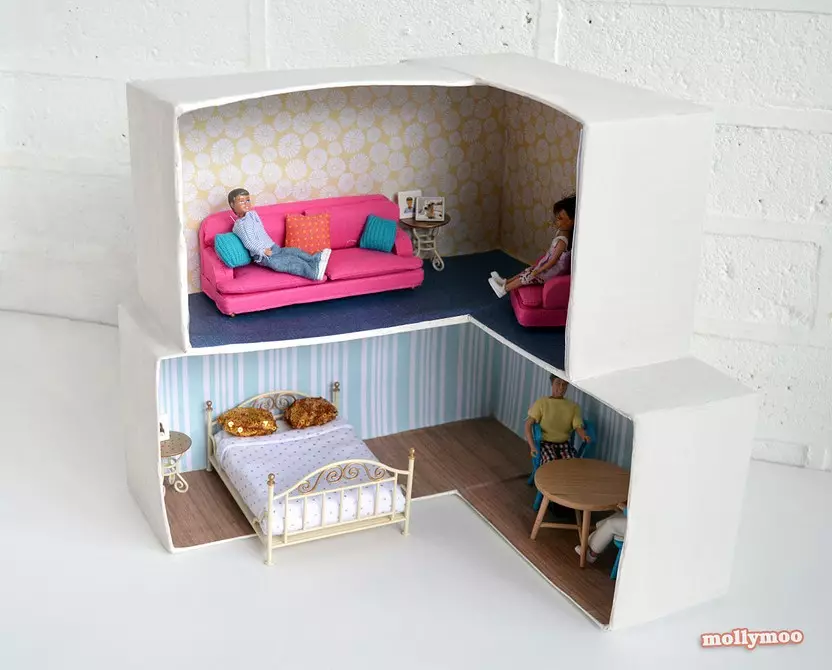
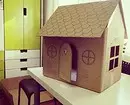
Making a big house
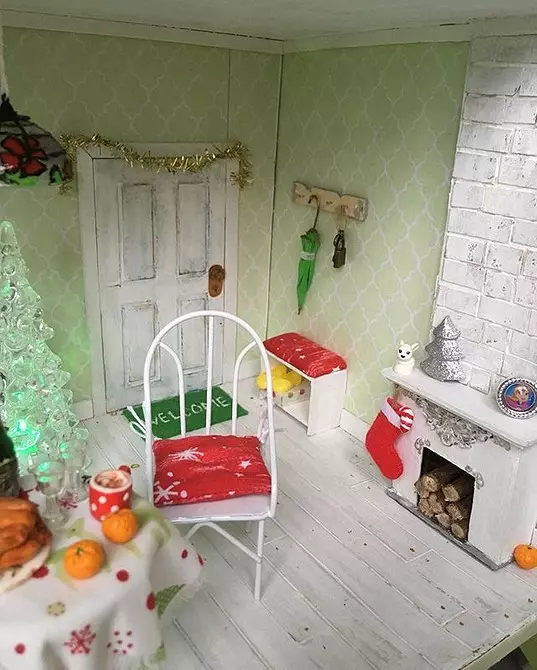
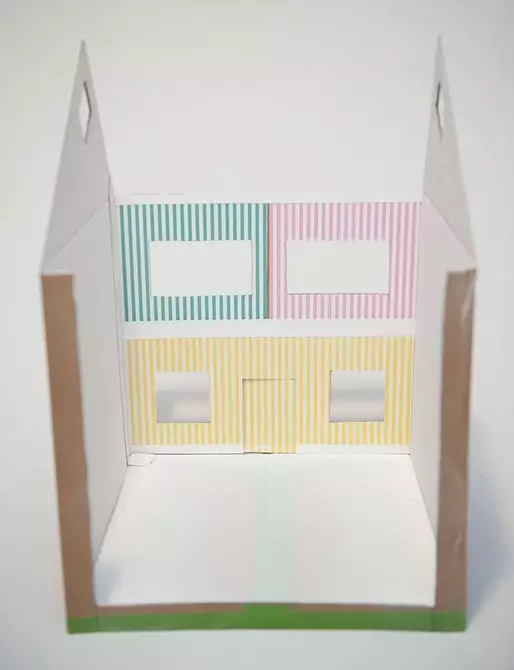
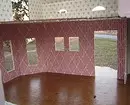
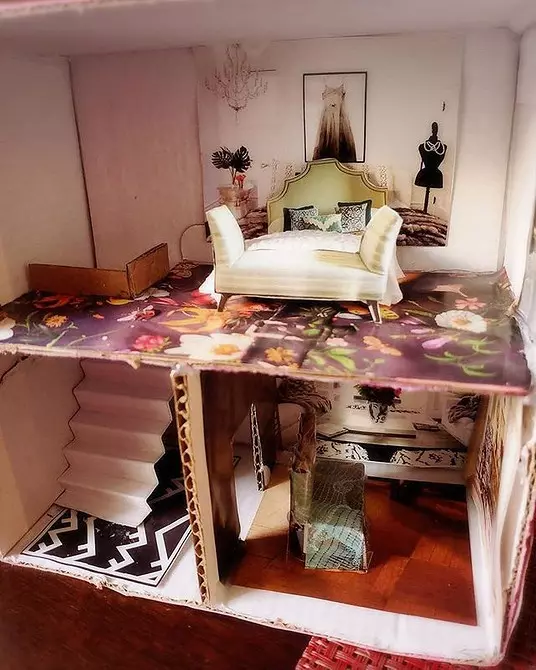
In fact, it consists of several rumboxes interconnected. Most often the room is open in front, there is no facade wall - it is more convenient to play.
Before the final decor, collect the design to a single integer to have an idea, as it will look like in the end. Perhaps I want to refine something, for example, to build stairs between floors, add windows and doors, come up with a beautiful roof.
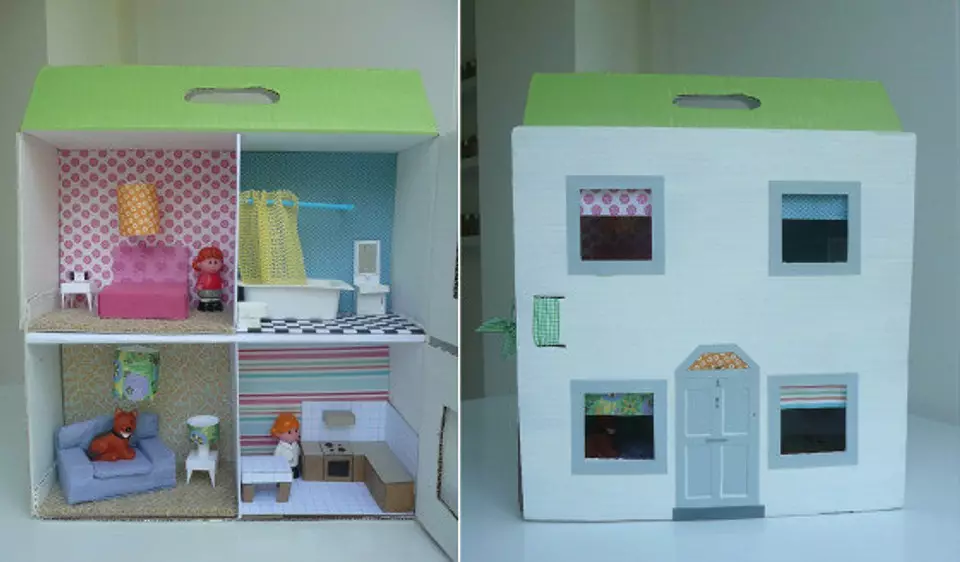
Decorate from the inside every room separately. Equally or differently - it is better to ask the child if you do not prepare a surprise him.
When decorated, once again attach all the placements to each other. If the model suits, glue the sidewalls and the bottom of the boxes, fixing the stationery clamps, or connect them to the stapler.
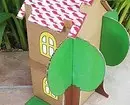
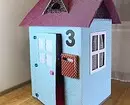
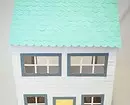
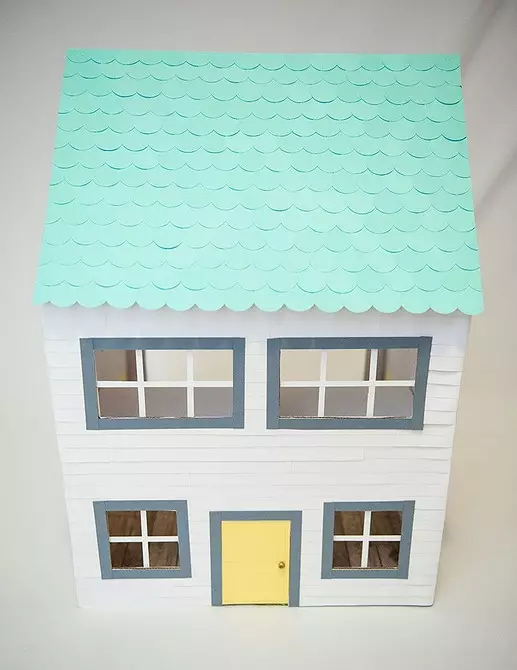
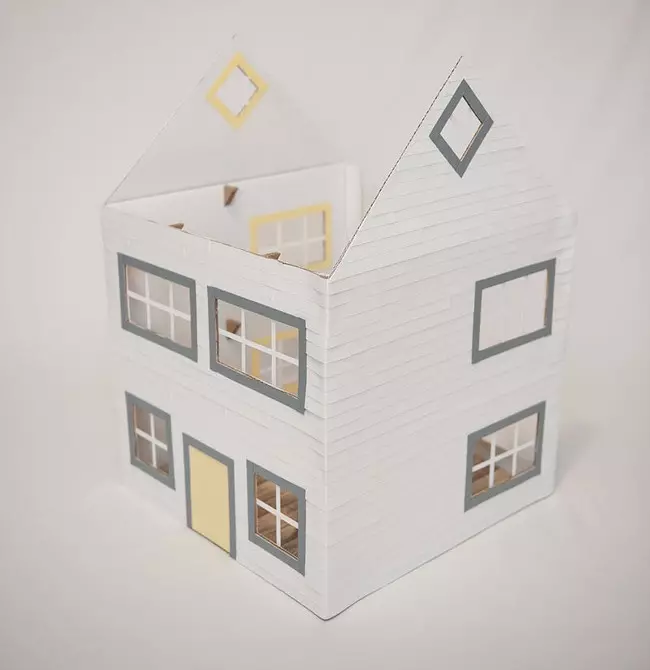
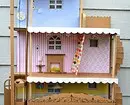
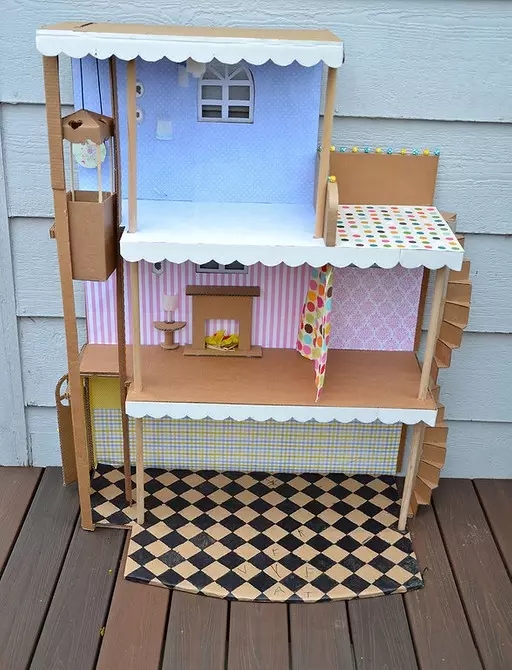
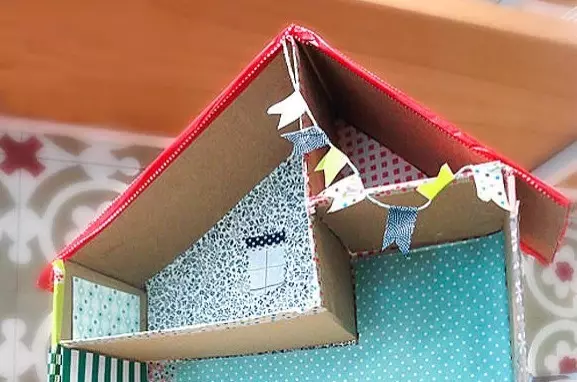
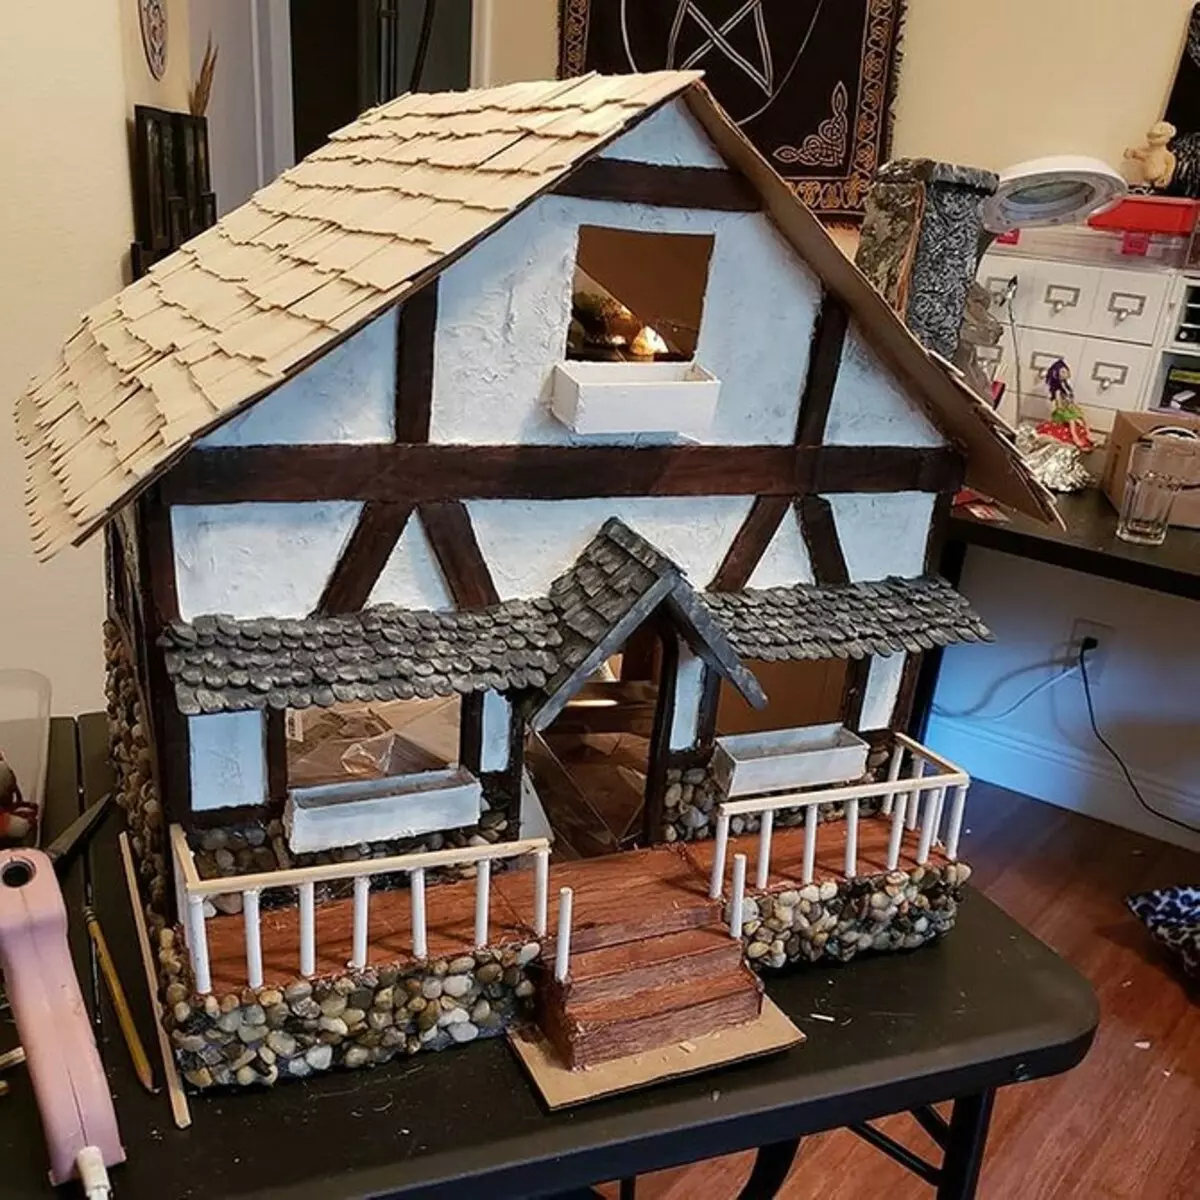
Decorate the facade, roof and base home with paper or cloth.

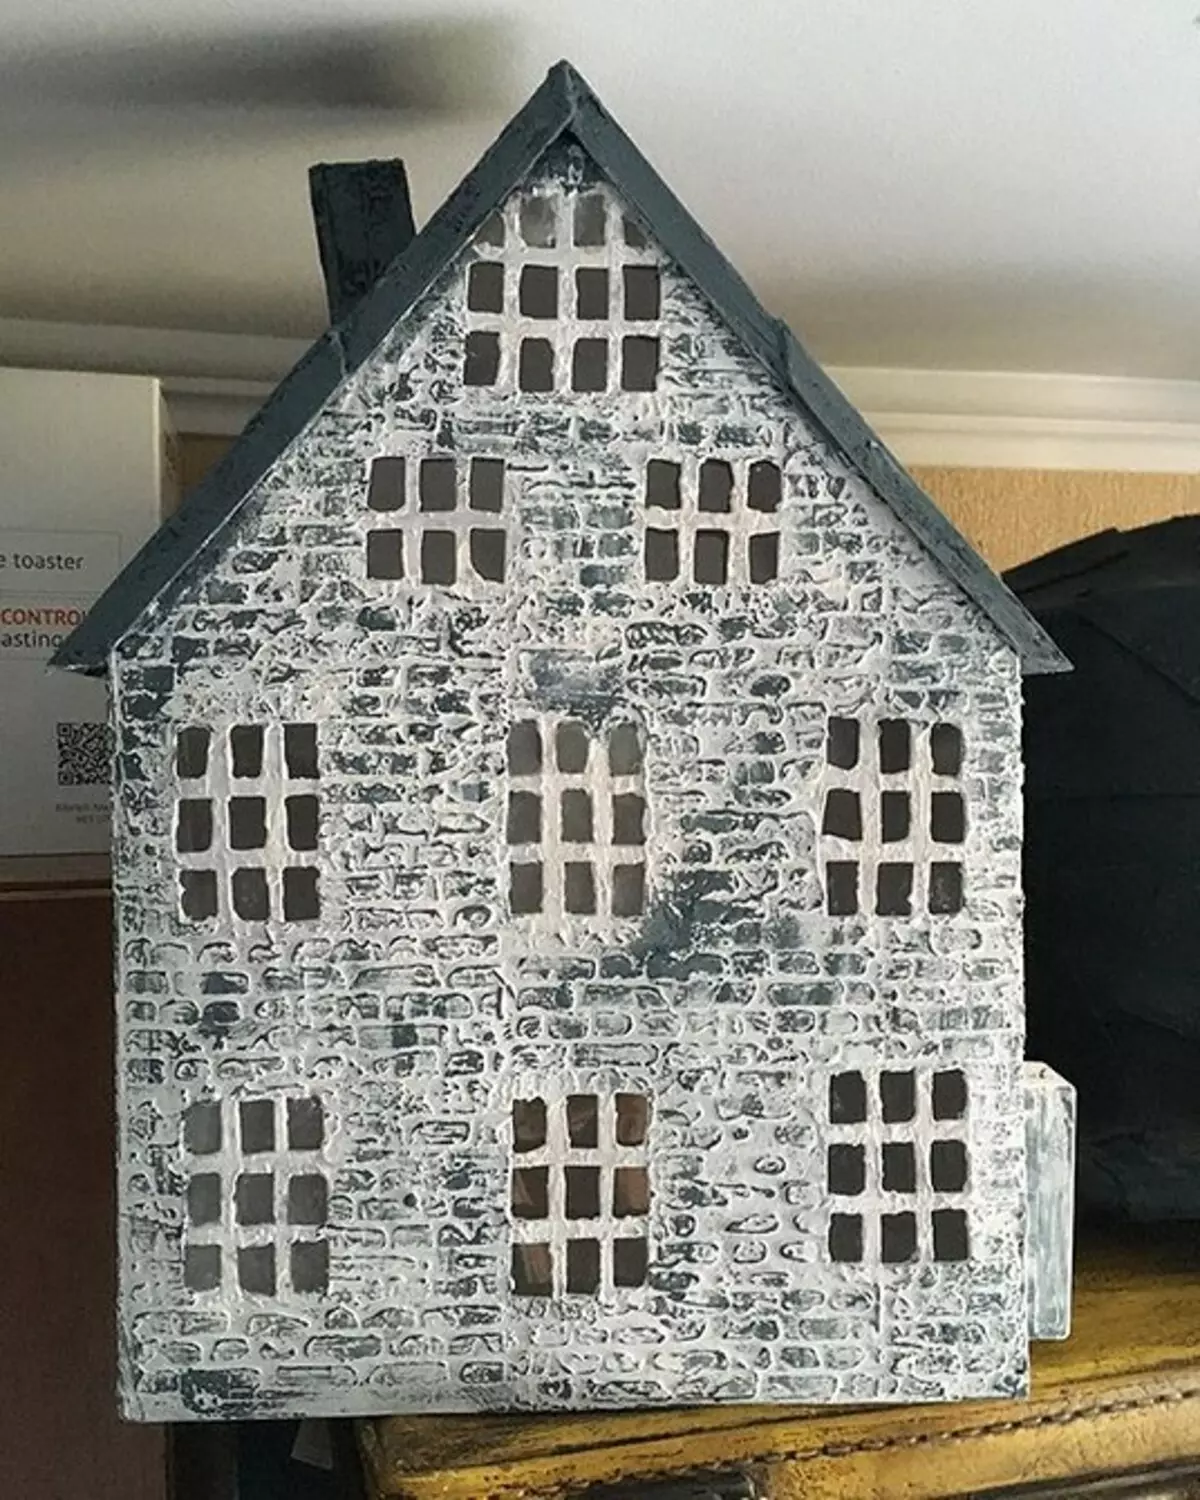
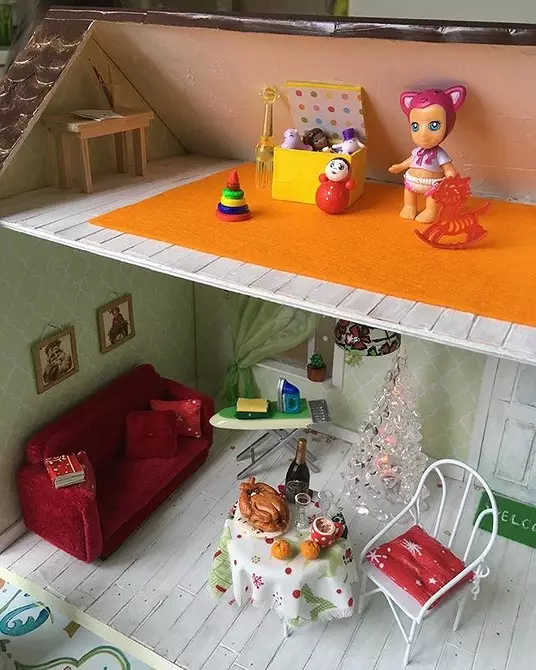
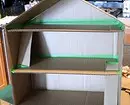
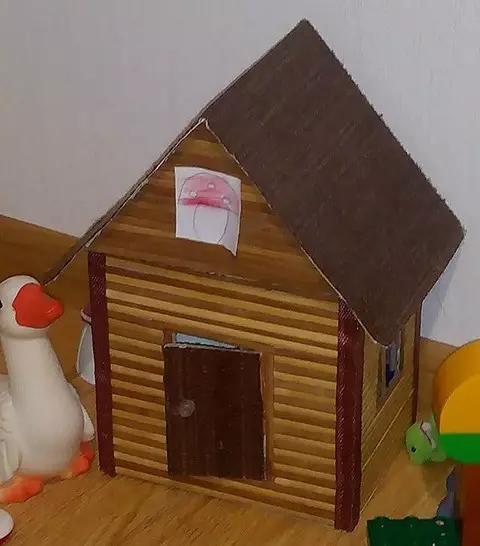
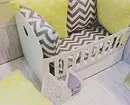
Collect the roof of the attic
It will take a whole box. Cut from one sidewall flat triangle.

Choose the height and width of this workpiece if desired, if only she fit into the overall idea.
Make cardboard Rectangle, in width equal to the depth of the finished housing, in which the dolls will doll. The second option is to cut two details, the length of each is one of the roof slope, plus the allowance of 5 cm. You can enclose all this with paper or cloth, but you can leave as it is.
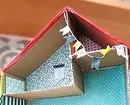
Decorate the attic floor.
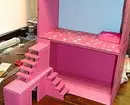
How to strengthen the walls
Labor, but also a durable option - make walls of two layers of cardboard. Such a mansion certainly does not turn. True, it will take a little more than usual time for it, but as a bonus - he is unlikely to deteriorate from moisture.
In the size of each floor, cut out "insides": walls, gender and ceiling. If you want, on the one hand, enclose the details with decorative material, bending the back of the allowances in several centimeters. Pan the wall inside the wall, then the floor with the ceiling.

Similarly can do Partitions between rooms. You need to cut two identical rectangles, go to "wallpaper" and combine them. To the wall does not fall on the floor, wake the ends with glue.
Finishing with your hands of a doll house out of the box
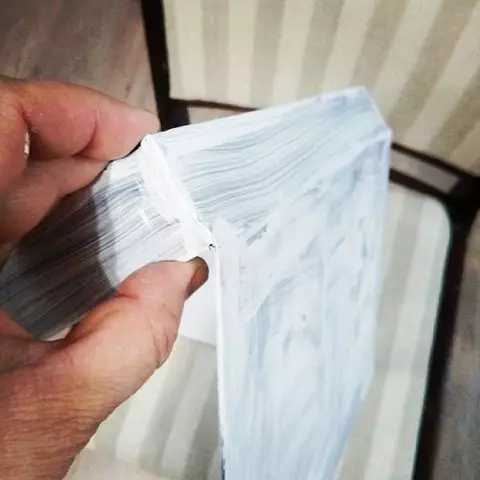
Wallpaper Clandage. First on one wall, then put something heavy on it for about a day. Then to another, third and so on. The house will turn out to be greater than if you have a single web (and it does not put it undergoing it in this case).
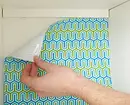
The glue for wallpaper is uniquely not suitable: the design will be twisted, despite the press. The thick PVA is a good idea, but still a cauldron can lose its kind. An alternative will be the composition for construction work like "Titan", but also with him, judging by the experience of masters, the result is not perfect.
But the glue moment will help better - the usual for connecting large parts and transparent for wallpaper, gender, ceiling and point applying to accessories.
True, when working, skill needed - dries too quickly, but the material does not have time to spill. The smell will disappear quickly.
Because of the likely deformation, many do not solve the decoupage with napkins, although their delicate colors sometimes ask for a puppet interior. If there is a piece of a box that is not a pity, experiment. If you do, repeat later on a large product.
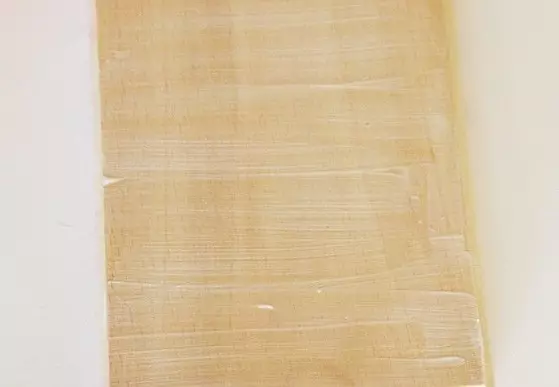
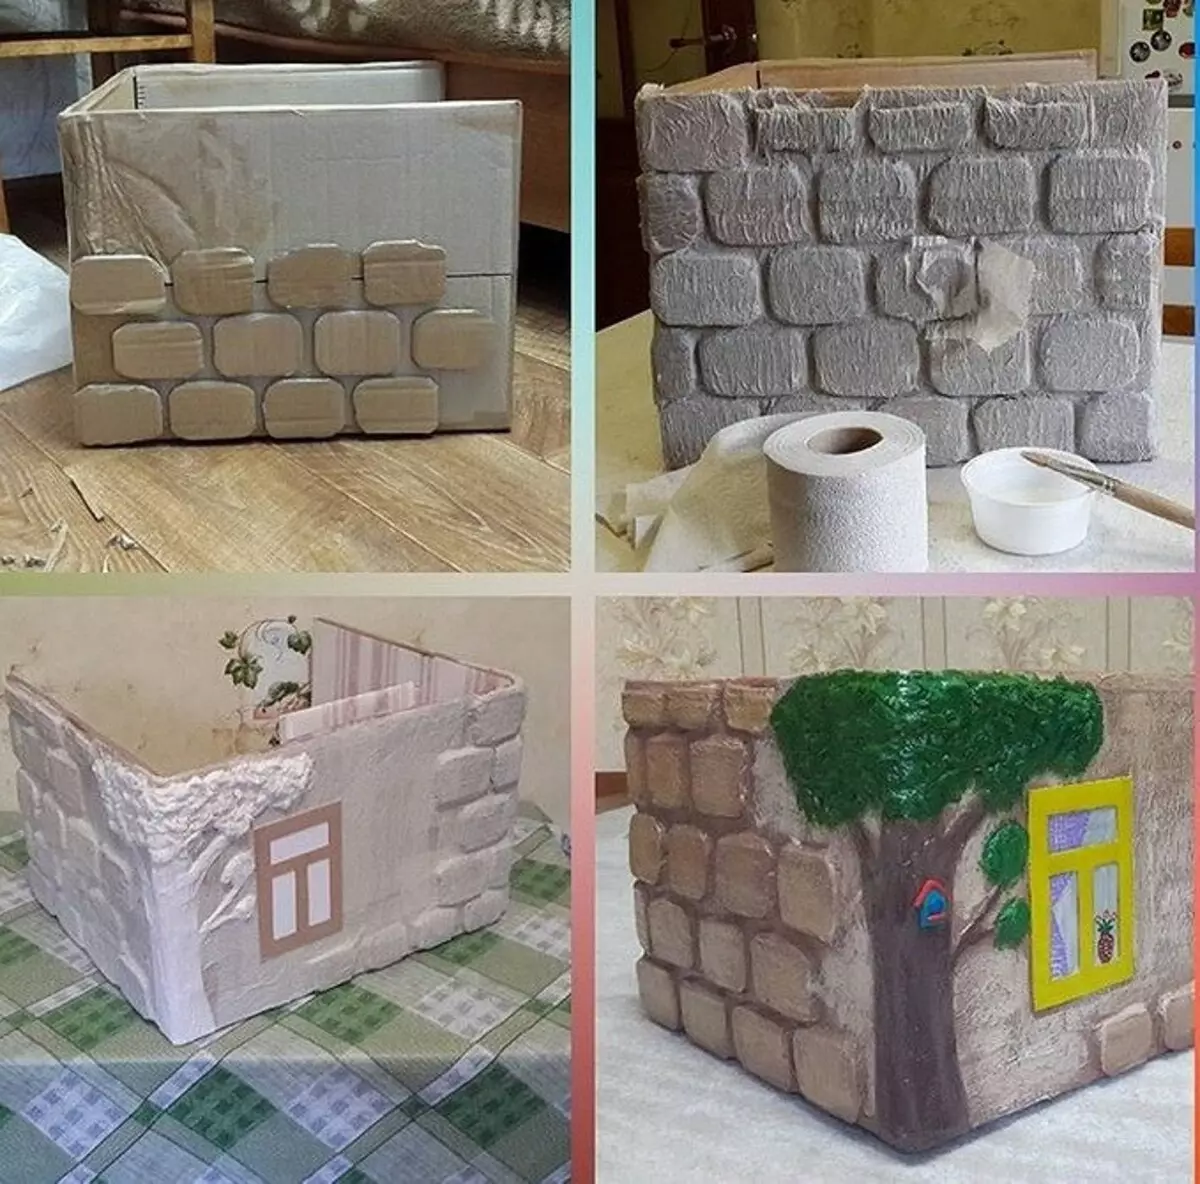
Cover thick white paint material fragment. When you work already with the house itself, loose junctions in the corners are puncturing with a painted scotch and strengthen.
Sand the sandpaper and dry under the press, boil again. Repeat several times until the surface becomes smooth.
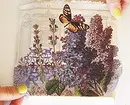
Separate the top color layer of napkins, attach to the surface.
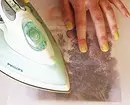
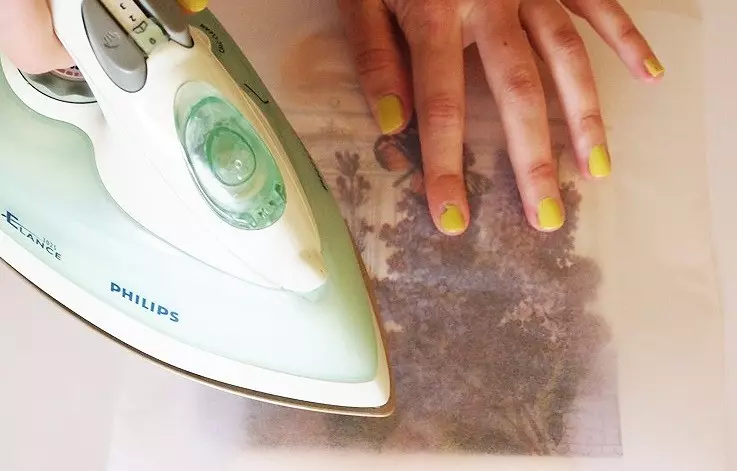
In order not to use PVA, glue the motif of a hot iron. But for the start, apply decoupage glue and leave dry.
Attach the napkin, smash your hands, iron on the middle power through it through the sheet of paper (perfect parchment for baking).
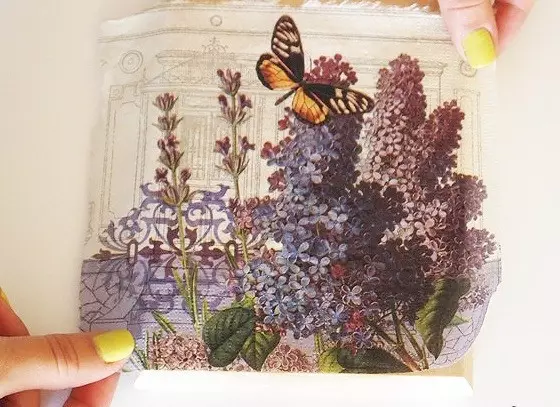
Cut the edges and apply acrylic varnish, preferably special, for decoupage. Ready!
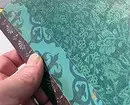
You can proceed easier and take a fabric with a small pattern, the glue or stapler use with it.
Hard fix walls from stones, buckwheat or rice, placed on the construction "Titan". They are especially good for facing the facade.
Casting glossy box
It costs a separate conversation, because not all glue will fall from above. Although gloss is a gloss: even a thick PVA can stick to one surfaces, while others will take only a gun.
You can save white paper A4, and then under the decoupage will not need soil, and the moisture from diluted with water PVA will not be terrible.
The easiest way to decorate glossy softening things. An ordinary cardboard is undesirable to decorate it, because if it becomes necessary to tear off and correct, then the velcro is likely to capture the top layer with him.
Film with tiny patterns is not easy to find (such sometimes there are in stores for creativity). It is probably either for her either on large models, or to buy a monophonic.
What makes the floor
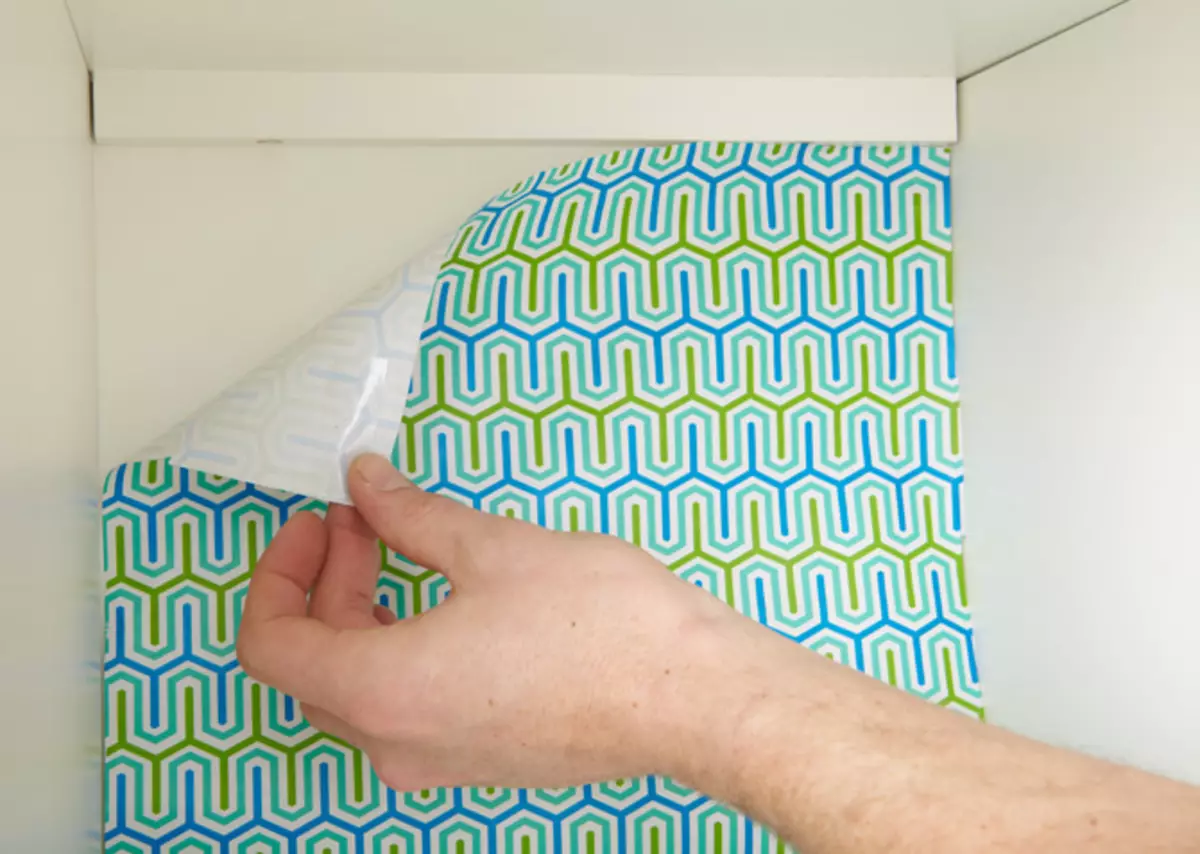
If you want it to be natural in appearance - under a tree or marble, then self-keeper from construction stores is what is needed. Need to mimic colored carpet? Take the artistic self-tech again.
With both types of coating, you need to act carefully - inside the room, it is not so easy to delay it and cross it easily.
It is necessary to prepare a paper template in advance and adjust it under the settings of the room. Only when the pattern fits perfectly under all the plinths and protrusions of the walls, it can be cut on it.
It is necessary to glue, taking the protective layer literally along a pair of centimeters, smoothing with your fingers and passing the result.
Perhaps the most spectacular look - at the "wooden" floor. Cut the small plank from the veneer from the veneer, stick them to the distinguished sheet like watman, cover with several layers of aerosol lacquer for furniture.
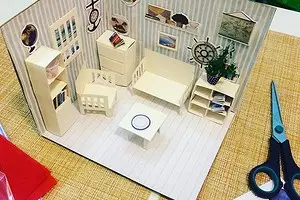
Furniture for puppet interiors
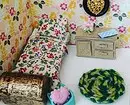
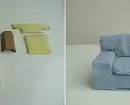
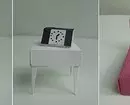
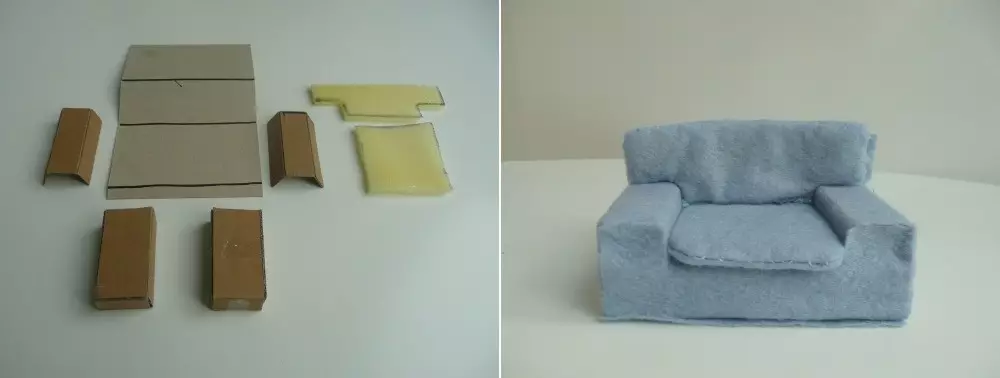
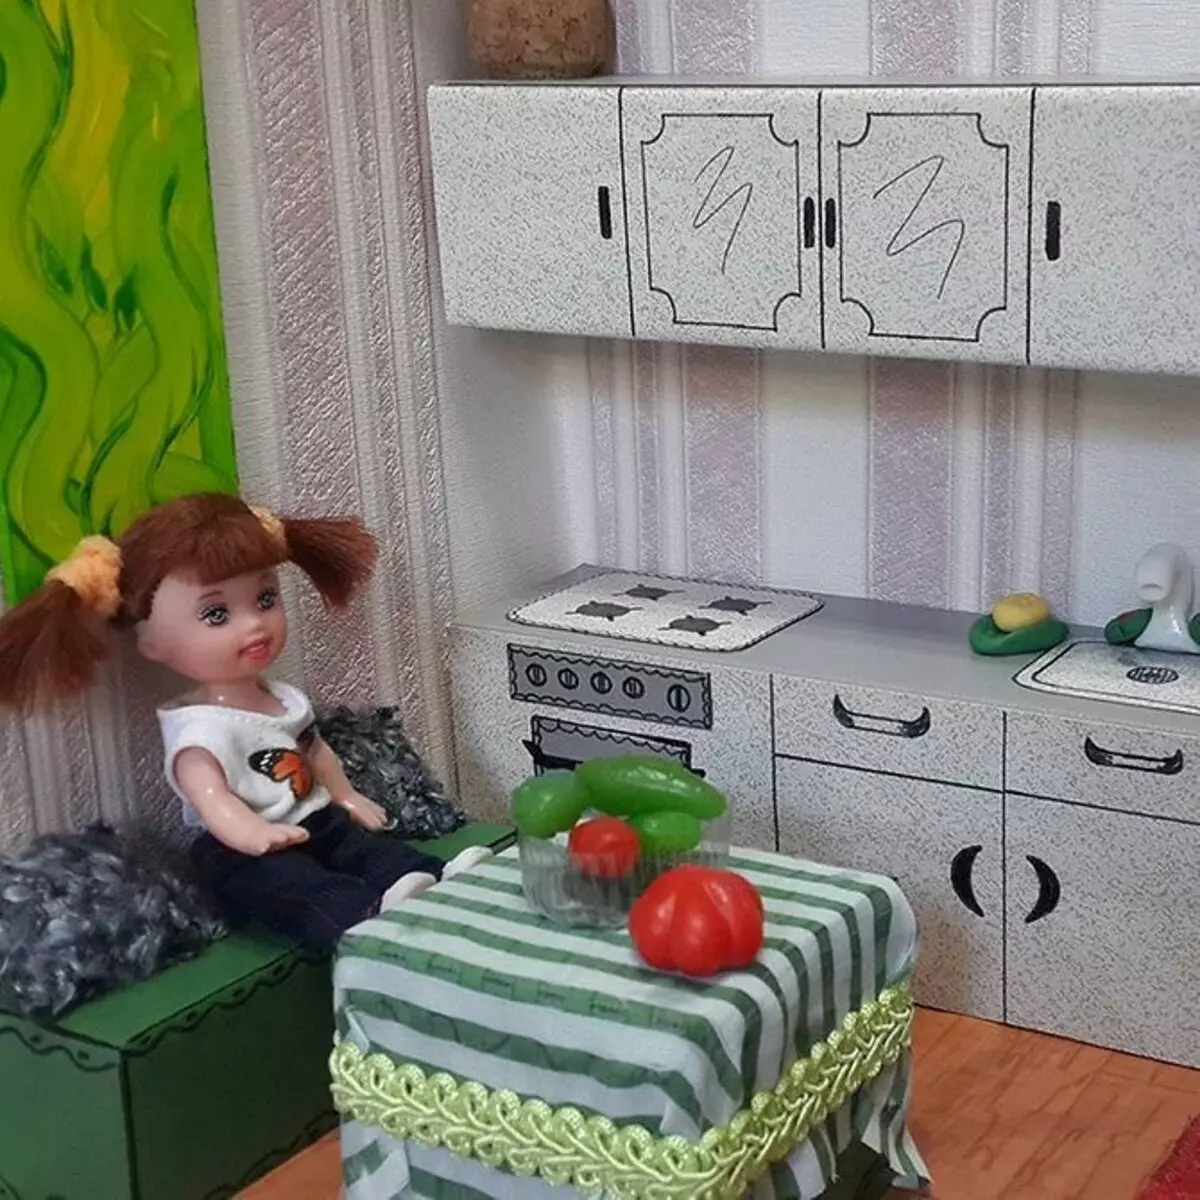
It is also convenient to make sure of the cardboard, especially since small parts are not so subject to strain, like large sheets, and it is easier to adjust them or adjust to each other.
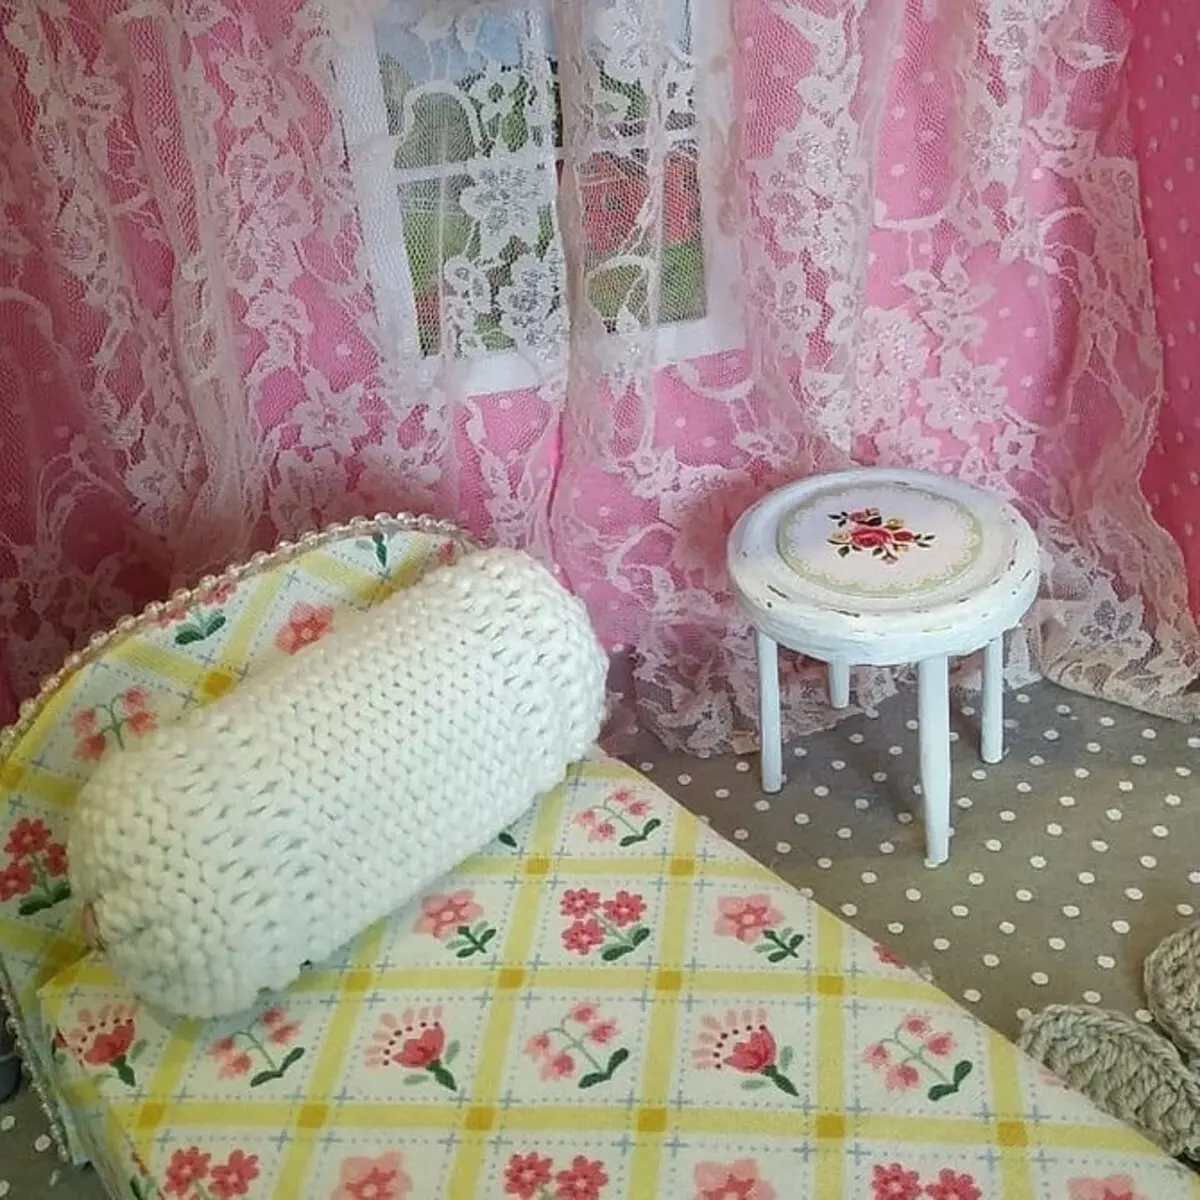
The product can be simply painted and opened with varnish, and you can step and add beads, lace, buttons, beads. Well looking sofas books, upholstered with soft cloth.
Ideas for puppet cottages from boxes
Your creation can be any in shape, size, internal decoration and exterior.
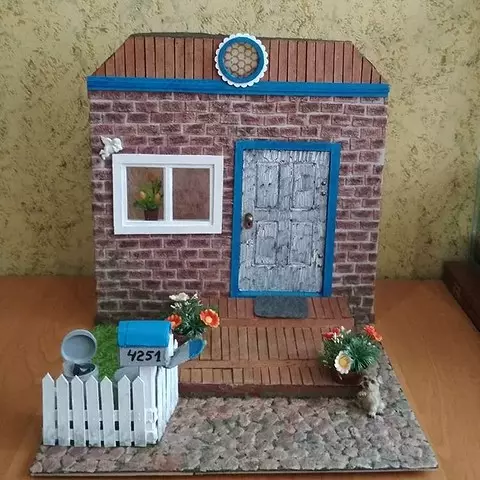
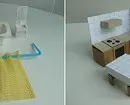
Make a small courtyard with a barroom before entering. To do this, you will need packing for pizza, trays from eggs, glue, paint, varnish.
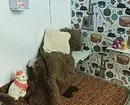
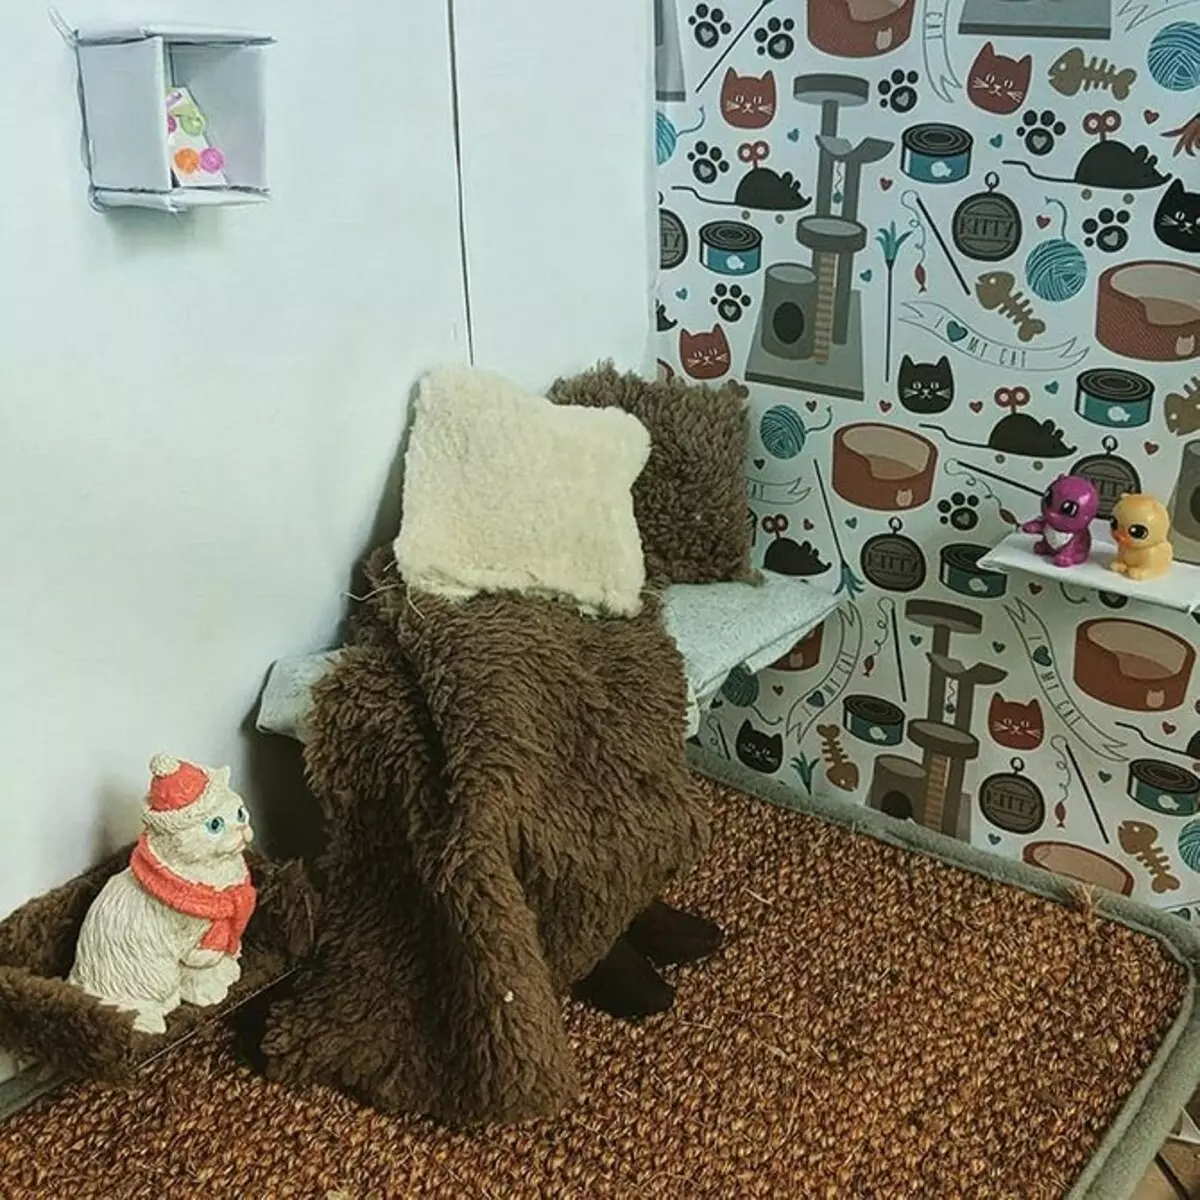
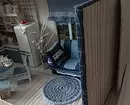
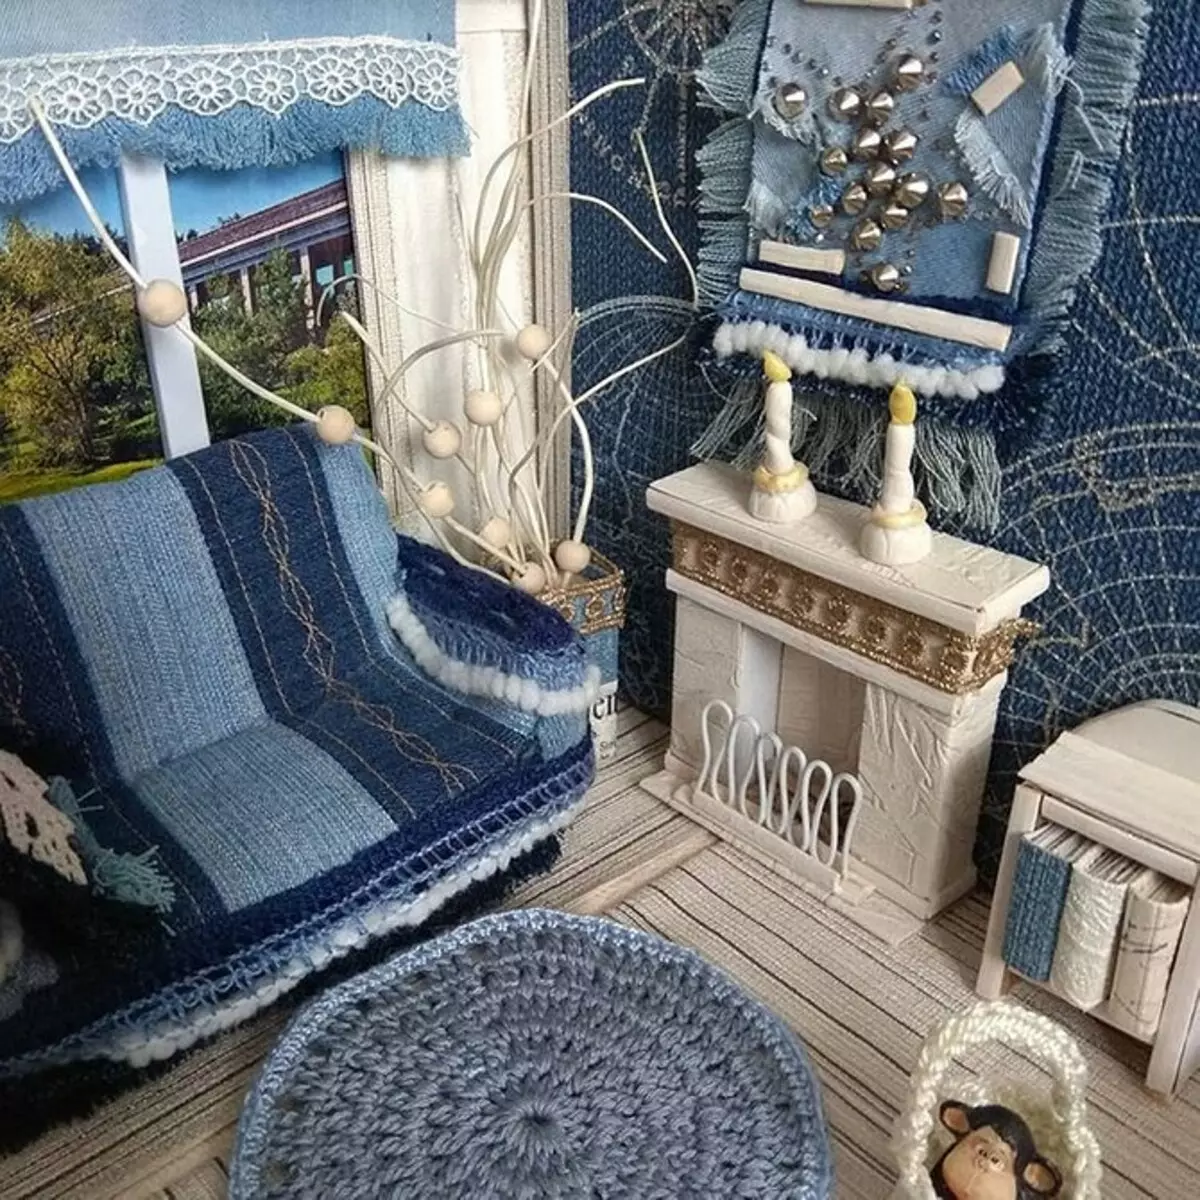
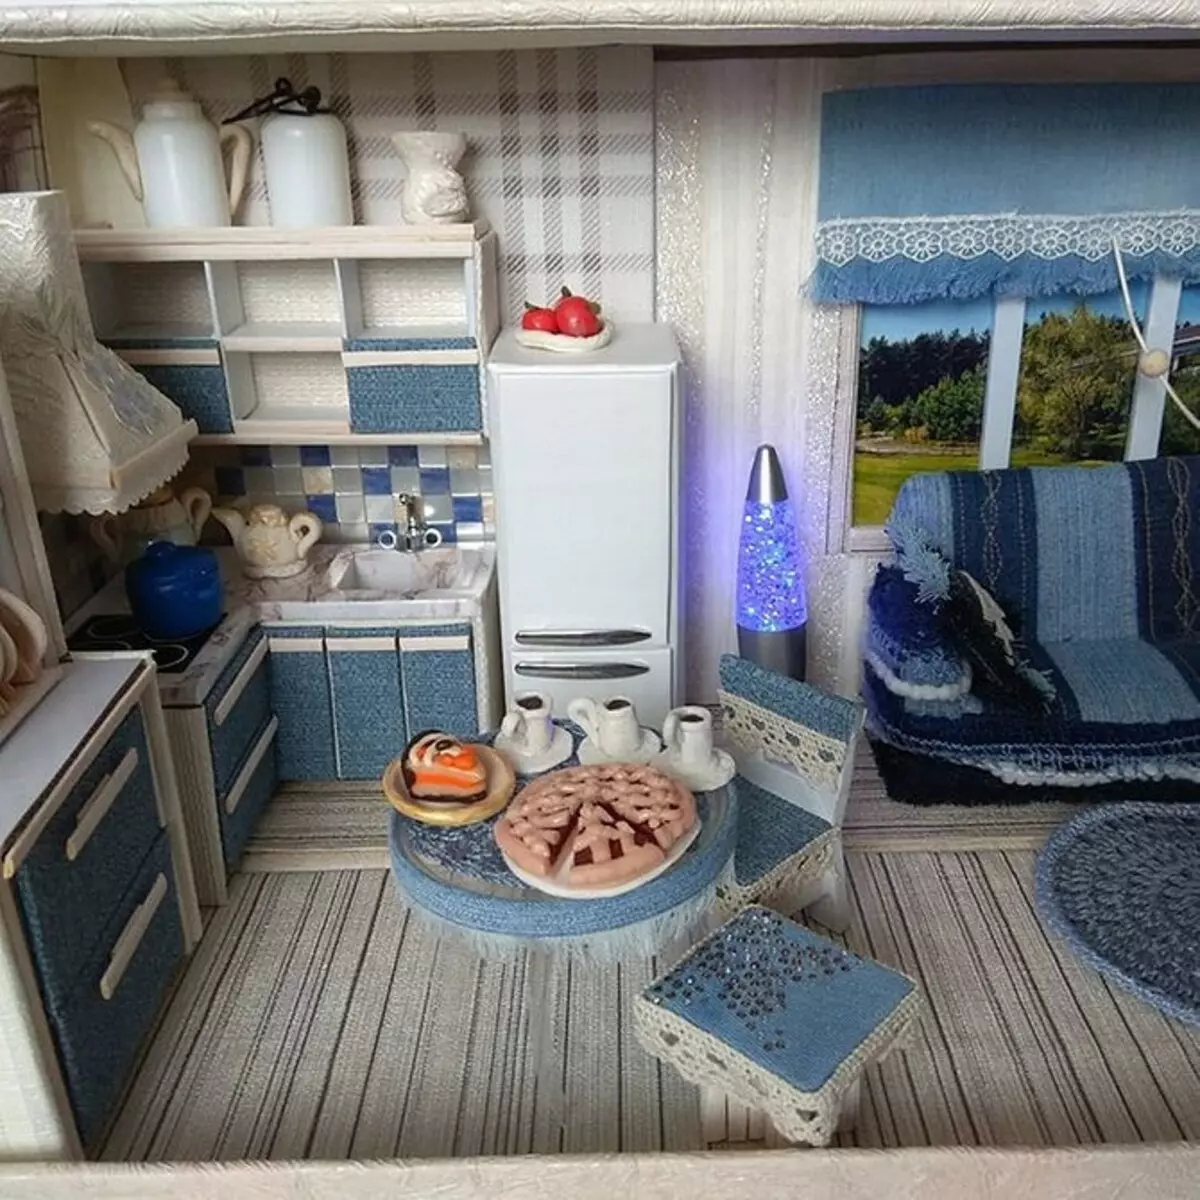
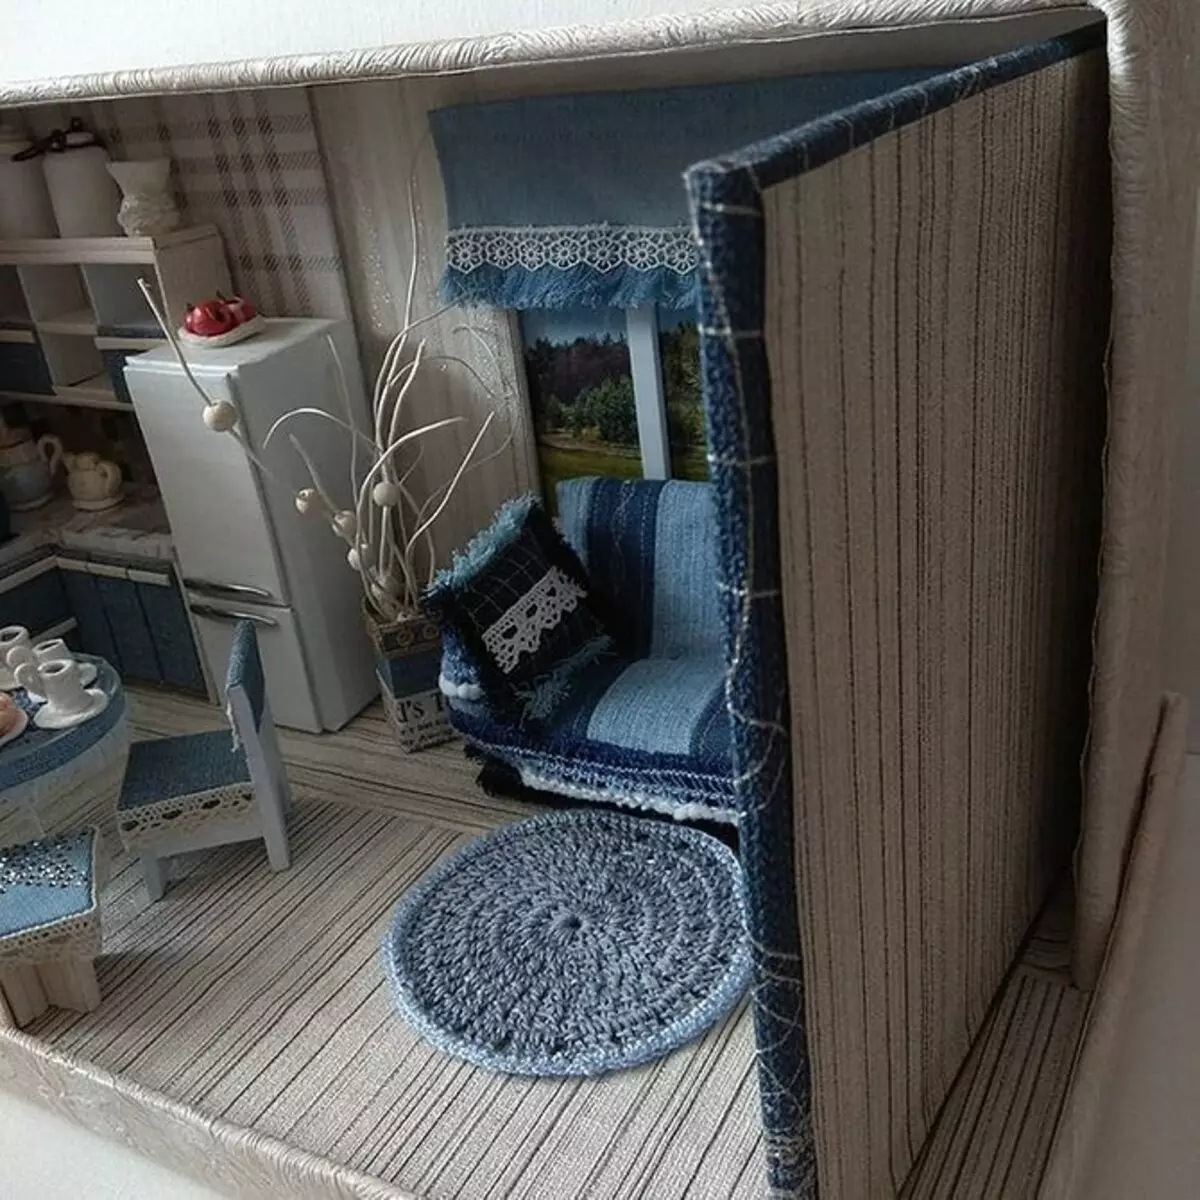
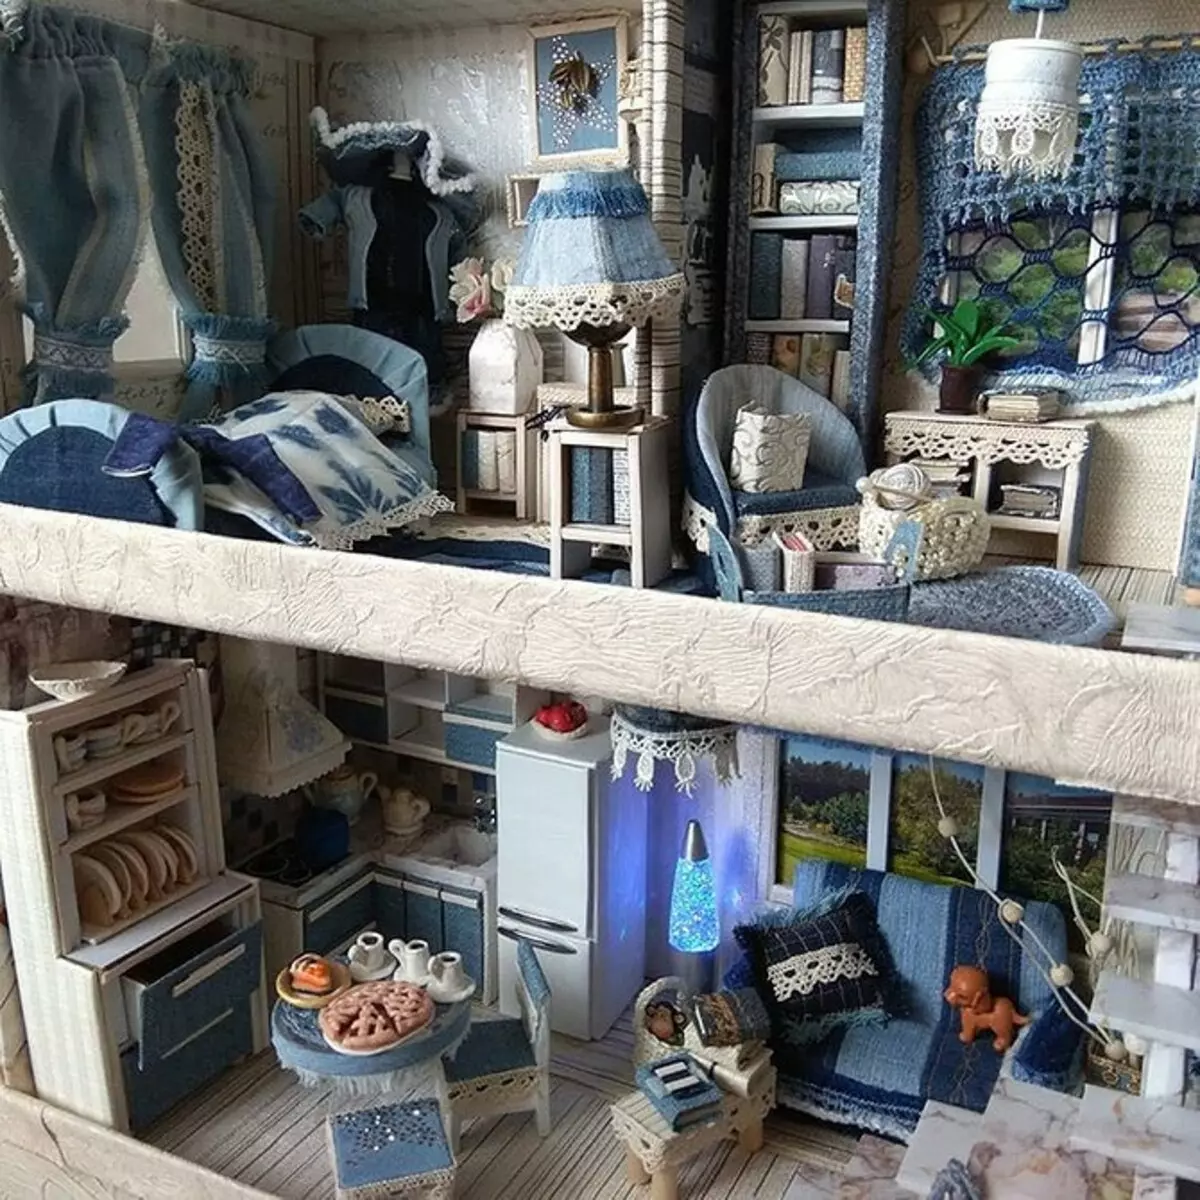
Puppet dwelling can be very cozy, if you use denim motifs: fabric and wallpapers in the appropriate subject. You can't also do without braid, yarn, polymer clay. Wall-mounted items can be kept on removable velcro.
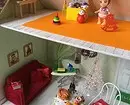
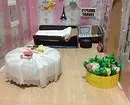
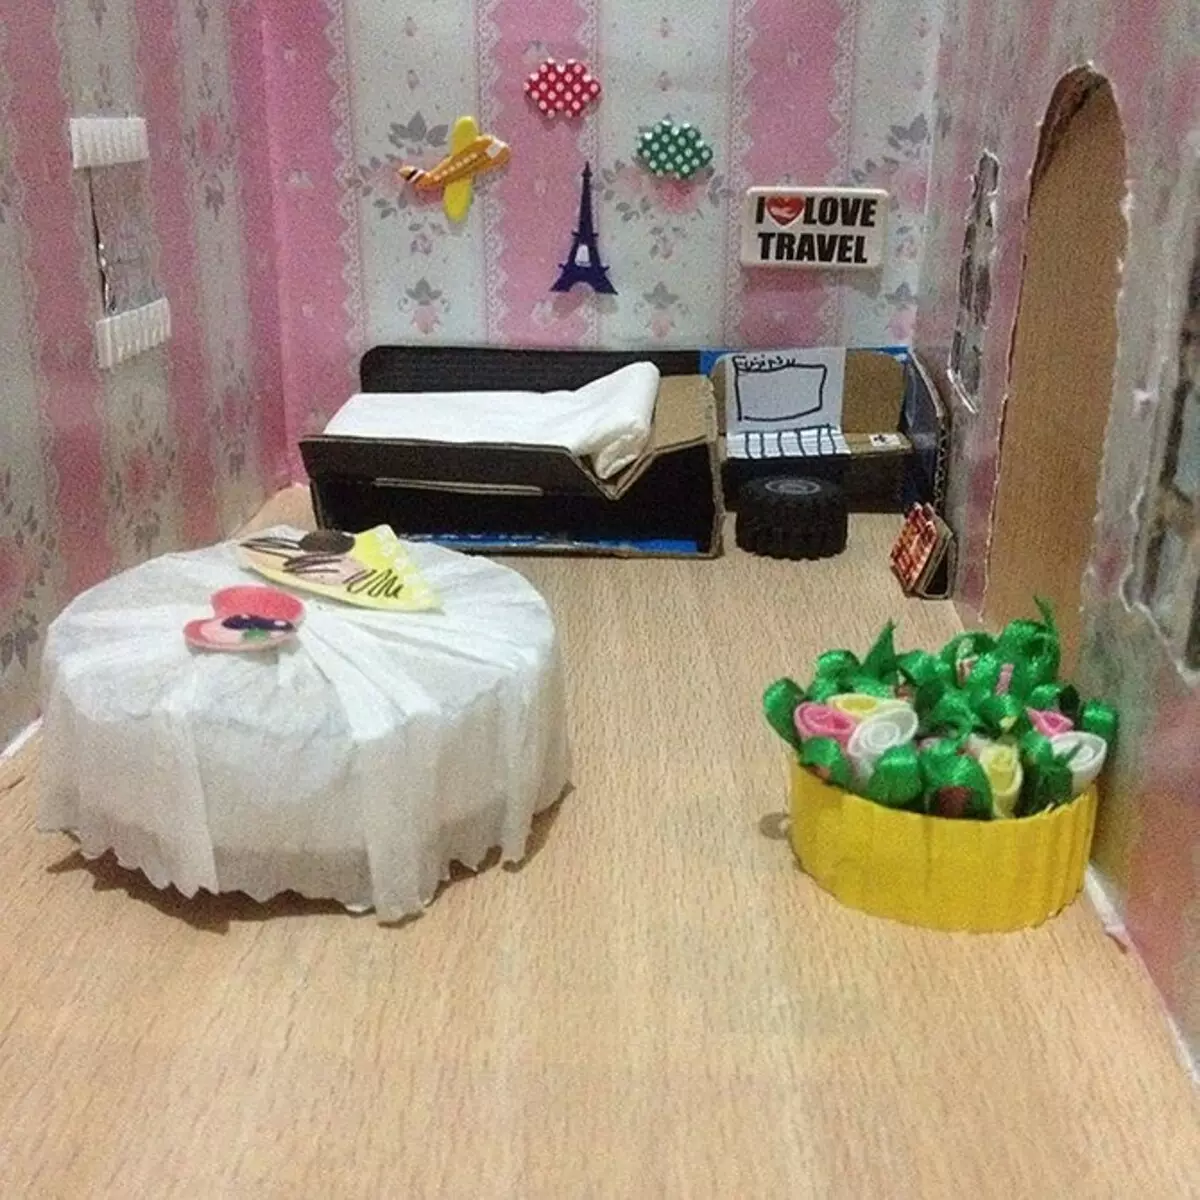
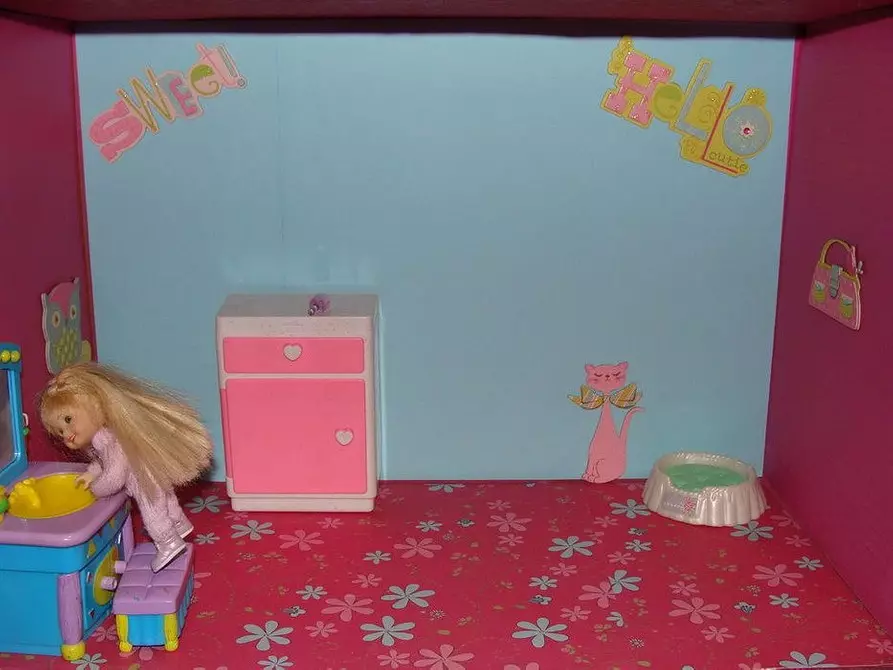
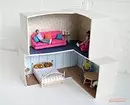
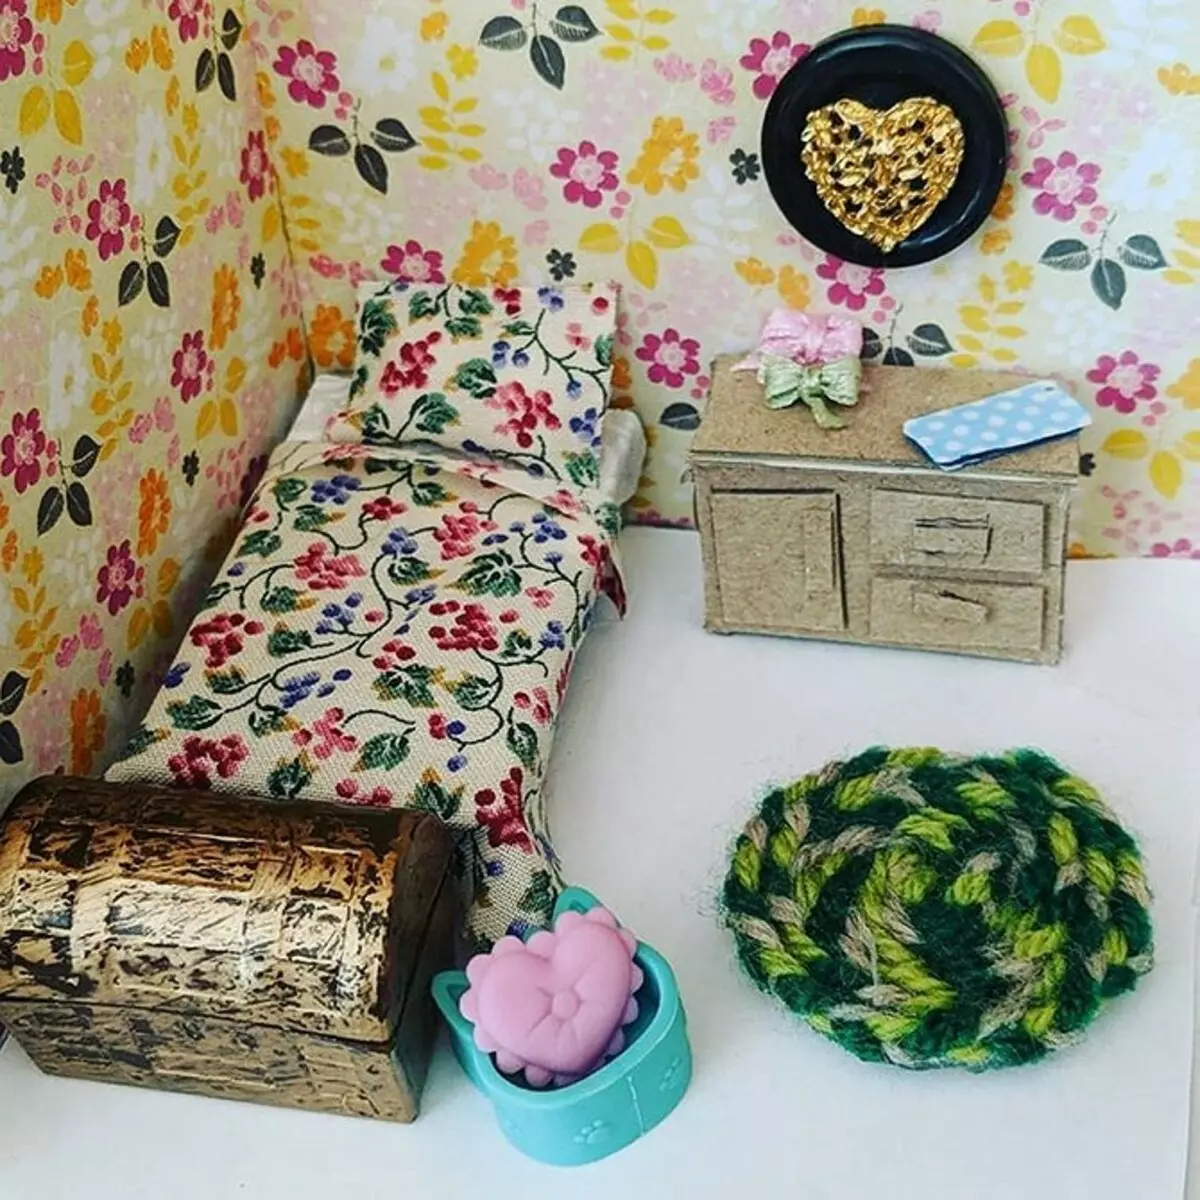
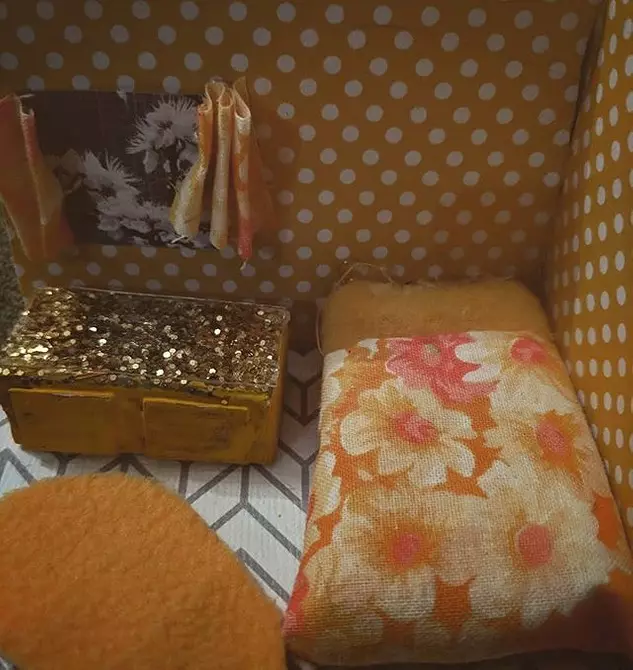
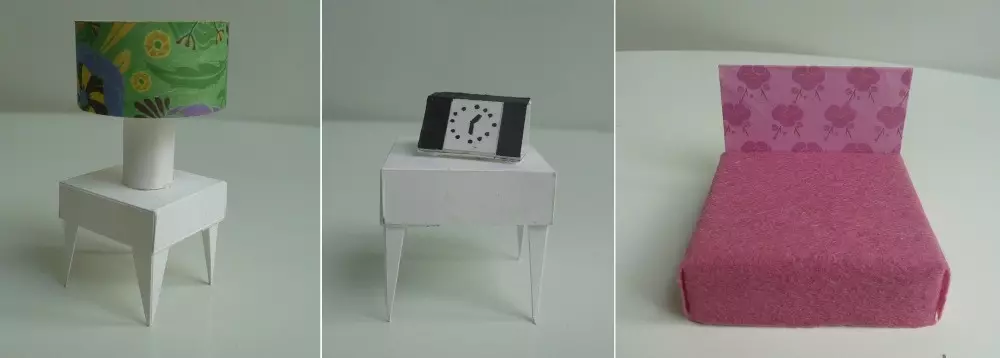
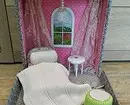
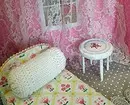
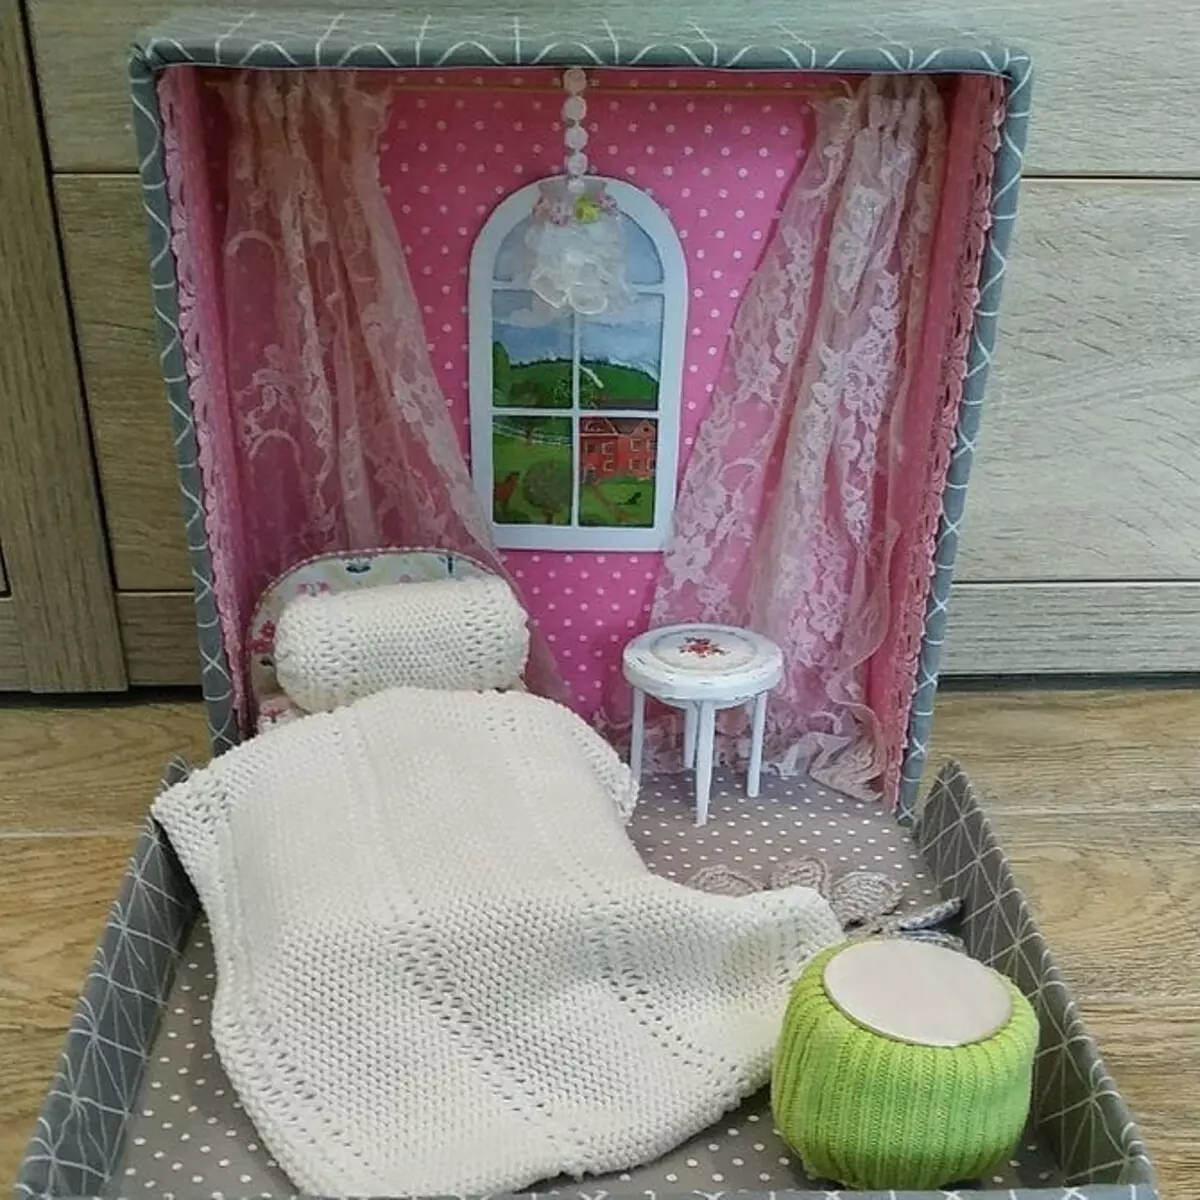
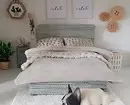
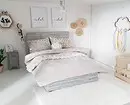
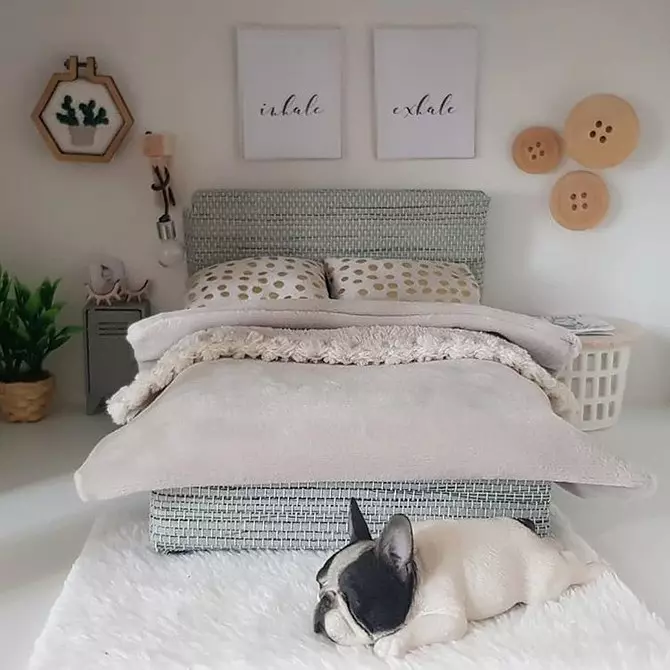
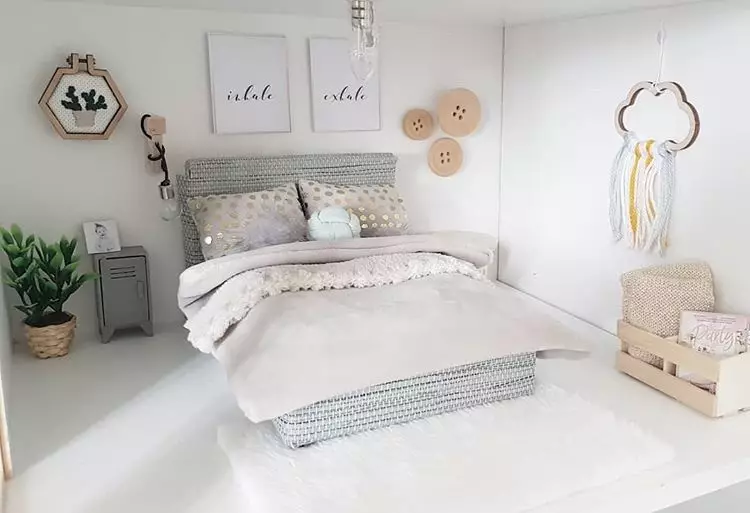
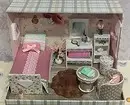
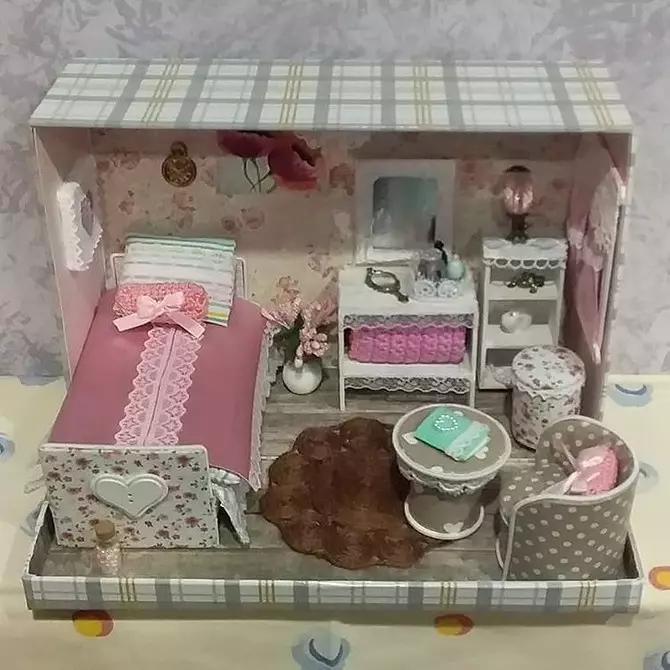
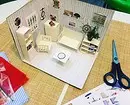
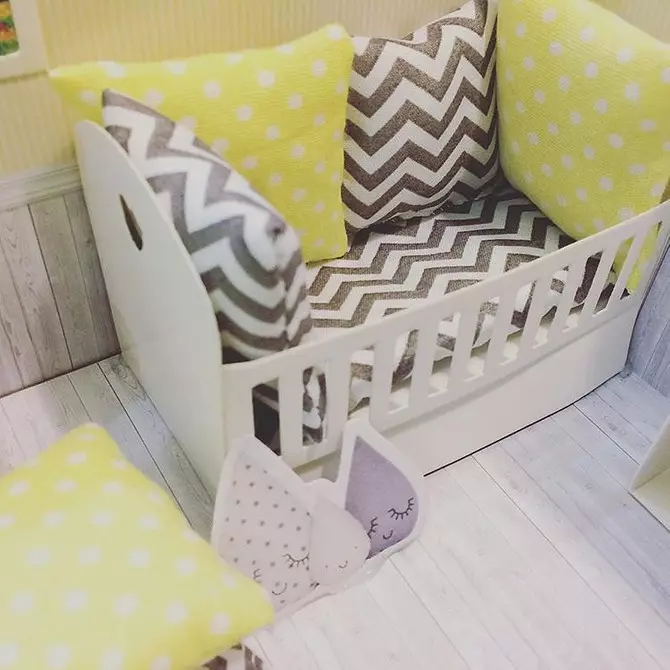
Just and cute: minimalistic bedroom in Rumbox. Another embodiment of packaging from pizza.
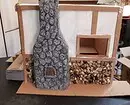
Thinking how to make a puppet house from a cardboard box with your own hands , Do not limit your imagination. Why not play a fairy tale and do not build a real bat buba-yagi?
The roof is really removable, and inside to put a Russian stove and a broom with a broom. And, of course, settle the black cat.
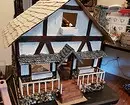
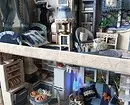
Your construction does not have to be decorated from and to. Simple material, no longer closed, too, looks very nice too.

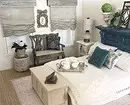
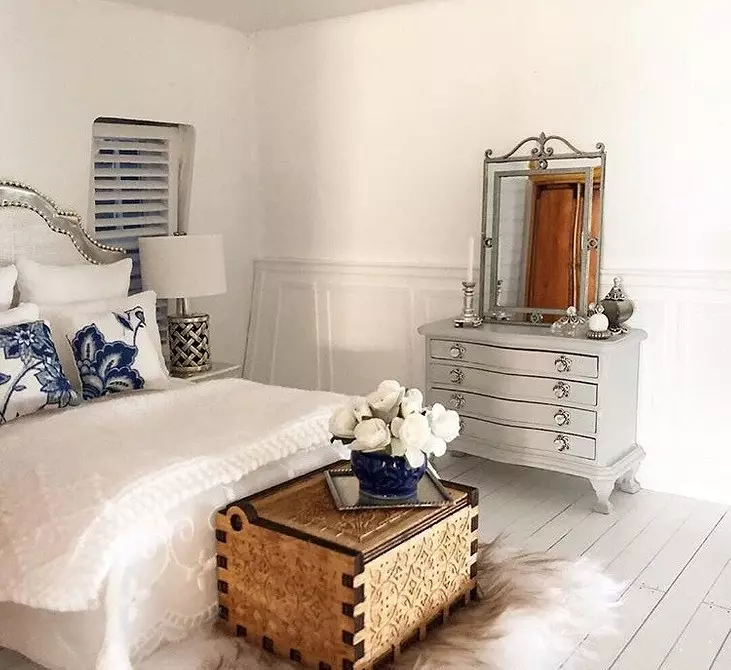
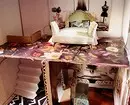
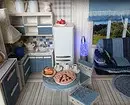
Toy rooms are good for the implementation of adult ideas for repair. What is not the reason to try, do you, say, say, Scandinavian style before starting cardinal transformations?
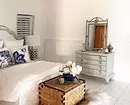
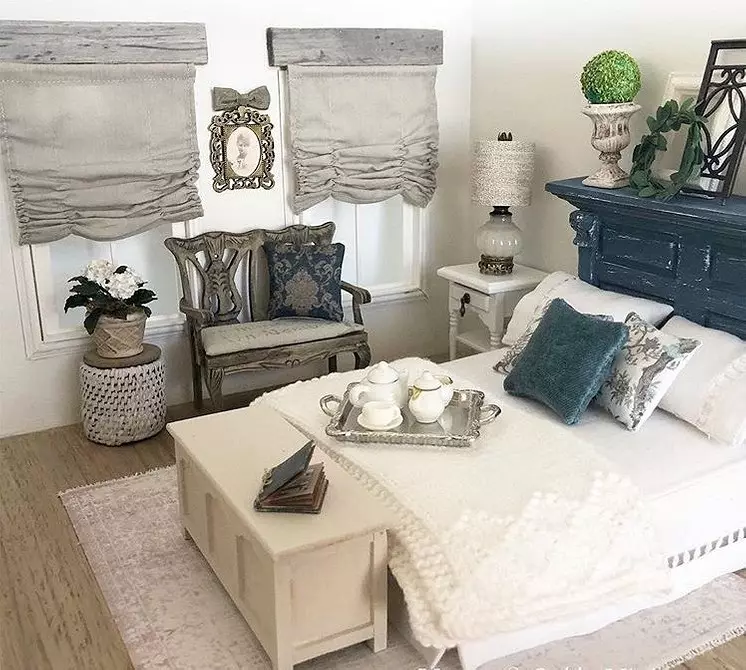
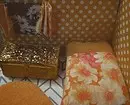
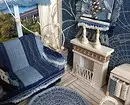
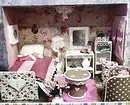
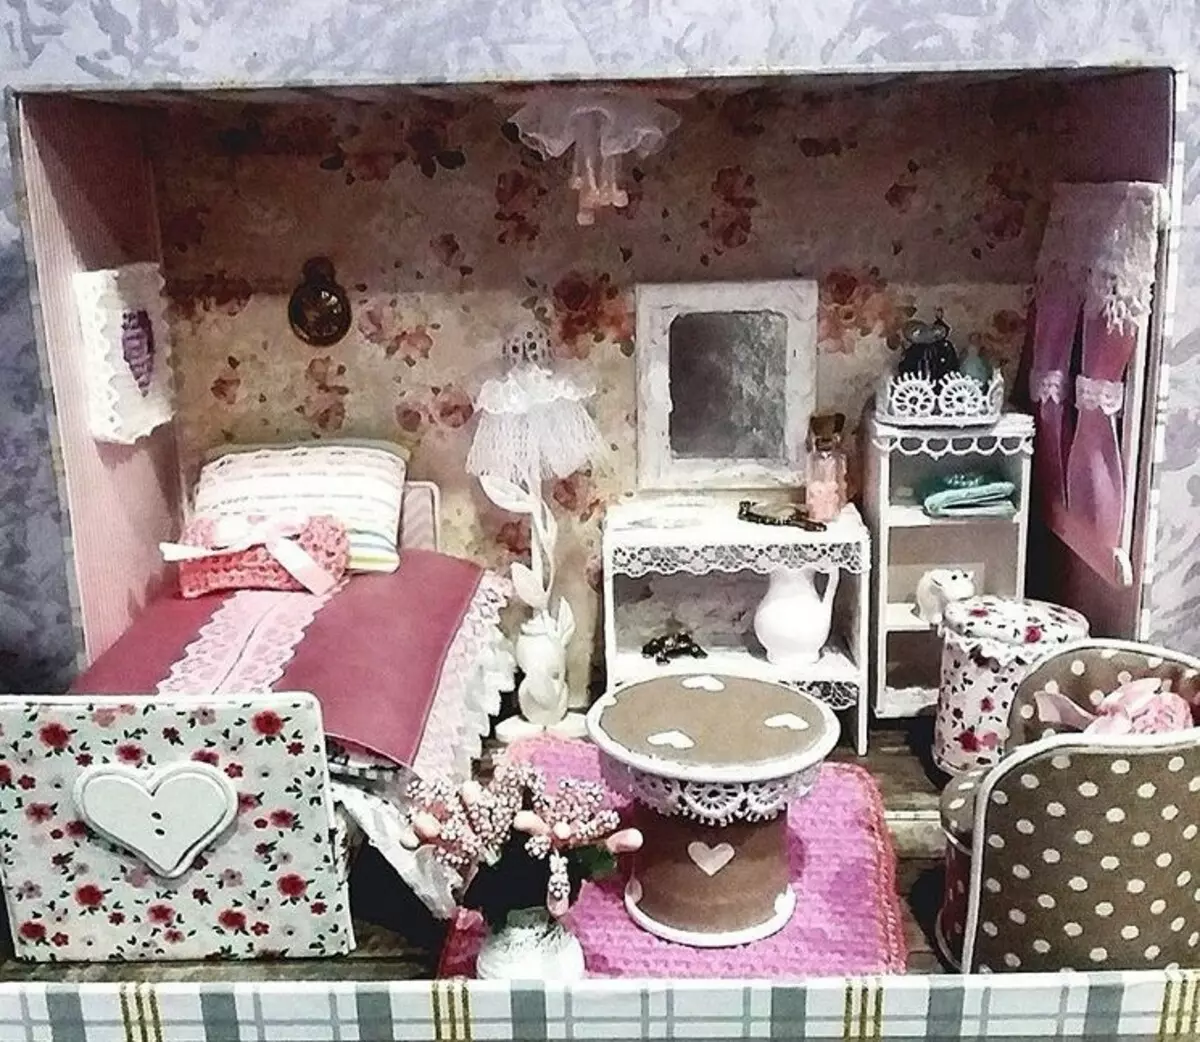
Or maybe you have long dreamed of a cozy corner decorated in Provence style? He is beautiful for Rumbox.
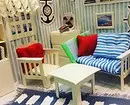
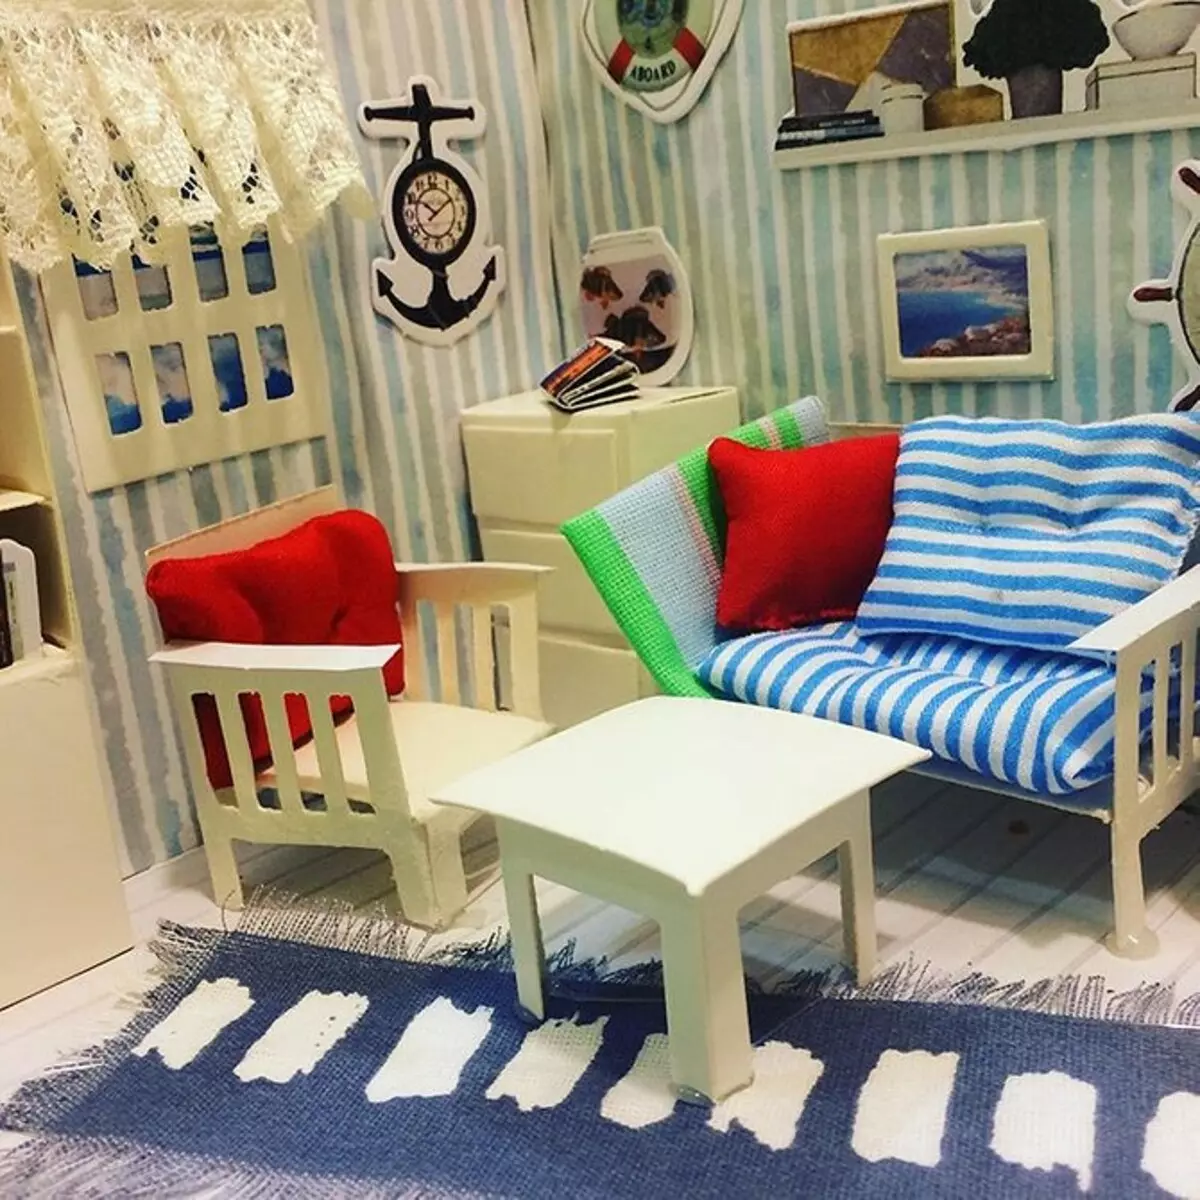
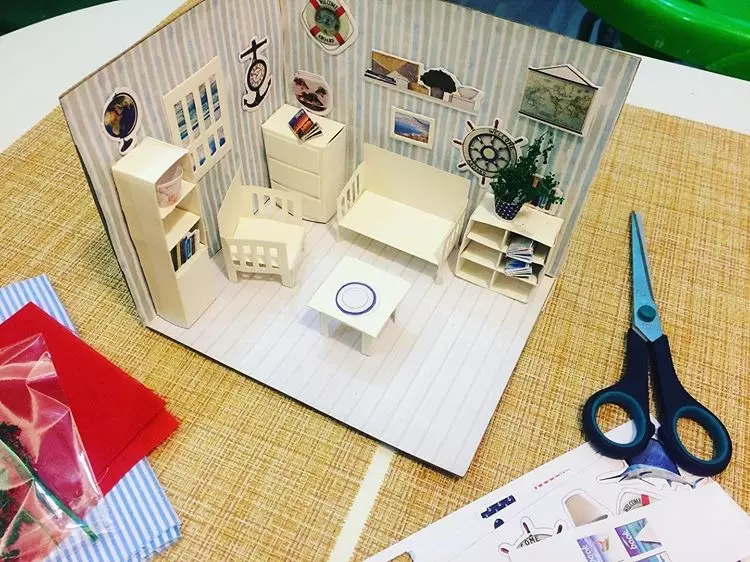
Marine theme is always popular in conventional, and in mini-interior.
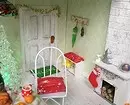
A tree under the window and vegetables right from the bed - residents of a puppet country sometimes spend time at the cottage.
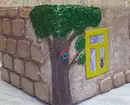
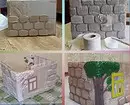
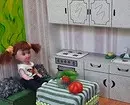
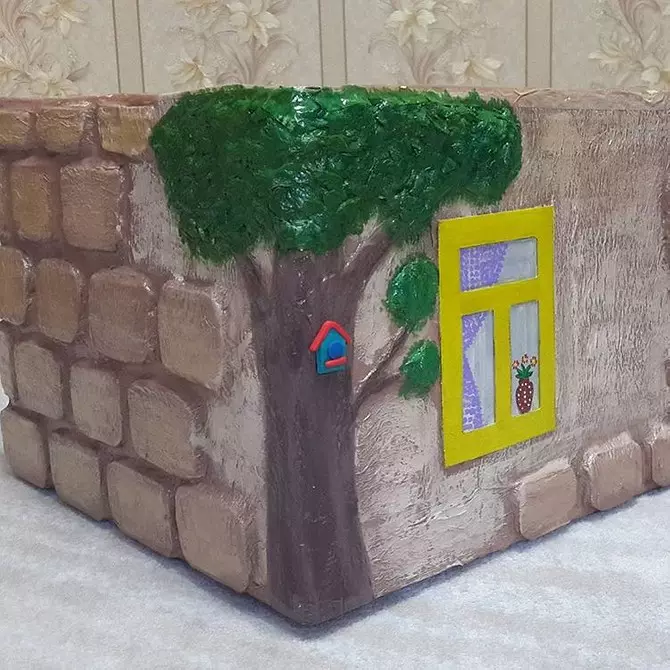
Trees may not be drawn, but the most "real". So even more interesting.