
If you correct the puzzle partitions correctly, you can glue the wallpaper even without shtcloth. With a competent approach, the material becomes an excellent alternative to plasterboard.
No time reading? Watch a detailed video!
Types and features of products
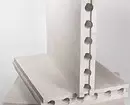
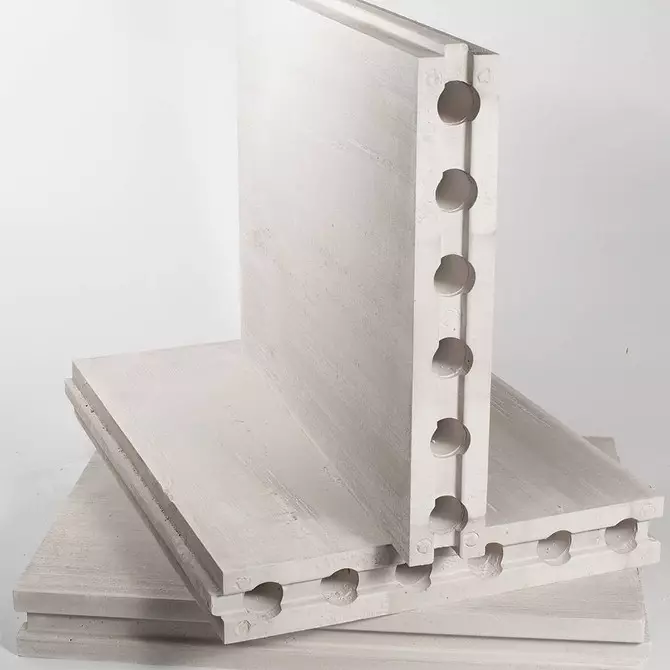
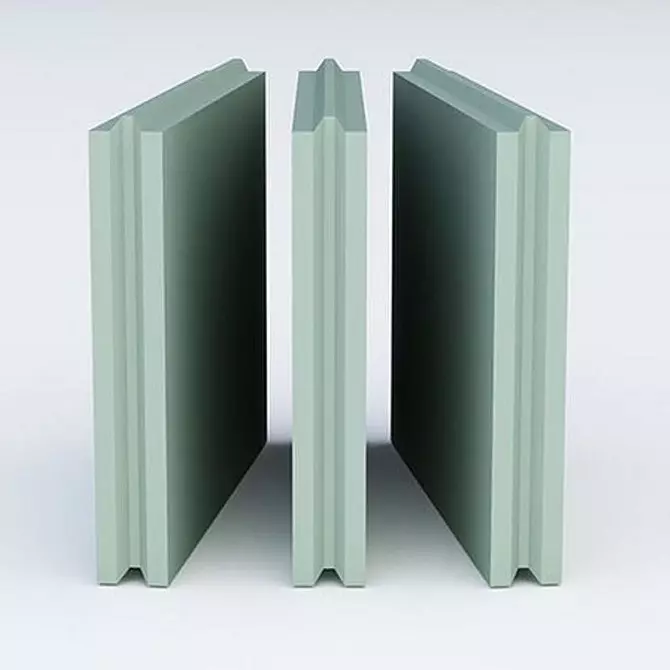
Partitions from puzzle plates (hereinafter PGP) are a large-born design. Blocks are manufactured by molding. They are distinguished by increased accuracy - the deviation of the working surfaces is not more than 1.5 mm from the specified one. Depending on the raw materials used, are divided into two types:
- Silicate. Produced by silicating quartz sand and lime in the autoclave under the influence of high temperatures. Such technology allows you to get durable, moisture-resistant, non-combustible material.
- Gypsum. The main raw material is the gypsum. To achieve the desired characteristics, plasticizers and other chemical additives are introduced into it. This makes it possible to obtain the necessary strength and moisture resistance. Depending on this, the product is divided into types. Environmental safety of raw materials makes it possible without restrictions to use it even in children's rooms.
The dimensions of the puzzle blocks for partitions in different manufacturers may differ. We list the most common options:
- 667x500;
- 250x500;
- 300x900;
- 599x199.
Partitioning plates of all sizes produce thick 70, 80 and 100 mm. Depending on the constructive design, they are divided into two types:
- Forty. Represent solid monolithic elements. They are used if you need to ensure high strength, for example, hang heavy shelves or lockers.
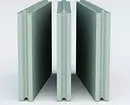
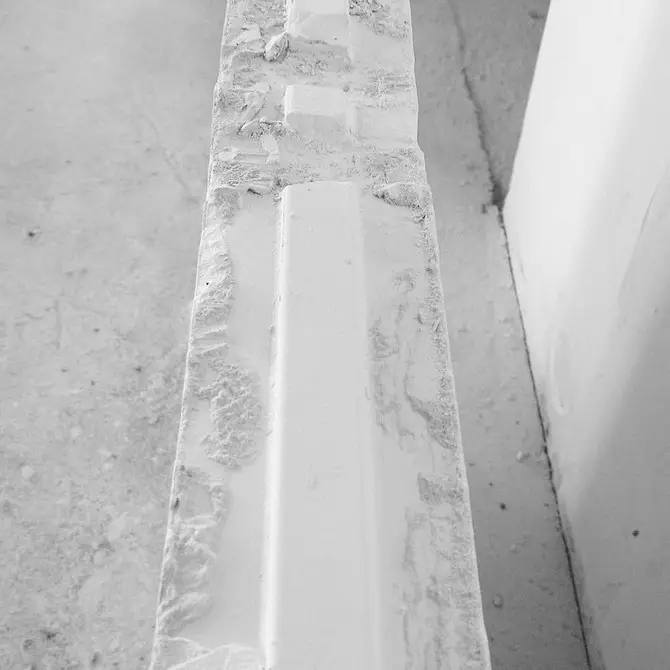
- Hollow. Have round holes perforation. This makes them lighter, which means comfortable in the installation. Thanks to the voids, the product has increased sound insulation. They can also be used as channels for wiring.
Depending on the purpose of the premises, the inner wall can be made single or double. If the mineral wool insulation between the gypsum panels is placed, one can achieve one hundred percent noise insulation between related apartments.
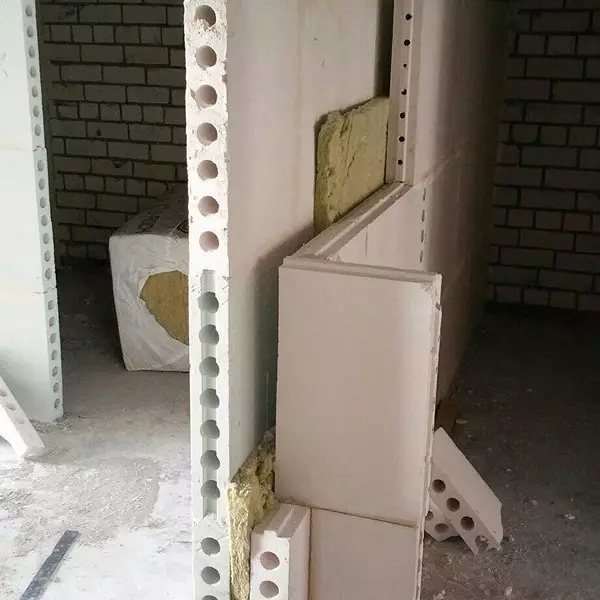
Between double partitions, not only the insulation, but also and communications networks. It is necessary to provide them with free access to maintenance, for example, to install revision hatches.
-->Pros and disadvantages to the use of discogeneous blocks for partitions
Advantages:- Availability. The use of material is economically justified. Prefabricated gypsum designs are lighter than ceramic brick, stronger drywall and foamazosilicate. At the same time, their cost is below 10-30%.
- Safety. Raw materials for the production of PGP does not contain impurities harmful to health. Products themselves have high fire resistance.
- Soundproofing. When compliance with the installation technology, the wall prevents the penetration of high-profile sounds into adjoining rooms.
- Easy installation. Due to the combination of individual elements on the principle of groove comb, with the construction The PGP is also coping with a person without experience of such work. The main thing is to correctly perform marking and constantly control the rectinence of the rule.
- Ease. The material is almost twice the lighter brick, which reduces the load on the intergenerational overlap. At the same time, you get more subtle interroom partitions, which gives an additional useful area.
Disadvantages:
- Gigroscopicity. Standard puzzle plates are well absorbed by moisture, and in the process of drying, they can be deformed. Therefore, it is important to mount them after the completion of all wet processes in the room.
- Fragility. At high loads, the material bursts in the area of the highest voltage. Therefore, in front of the wall of the wall on the wooden floor, it needs to be well strengthened. In new buildings that can give shrinkage, it is necessary to use damping tapes.
- Requirement to the base. The large-scale structure does not allow to align the adjacent surfaces during the construction of walls, as can be done, for example, brick. This means that it is previously thoroughly align all the planes.
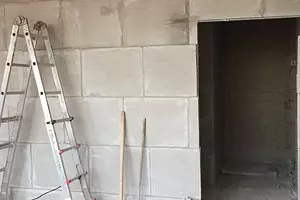
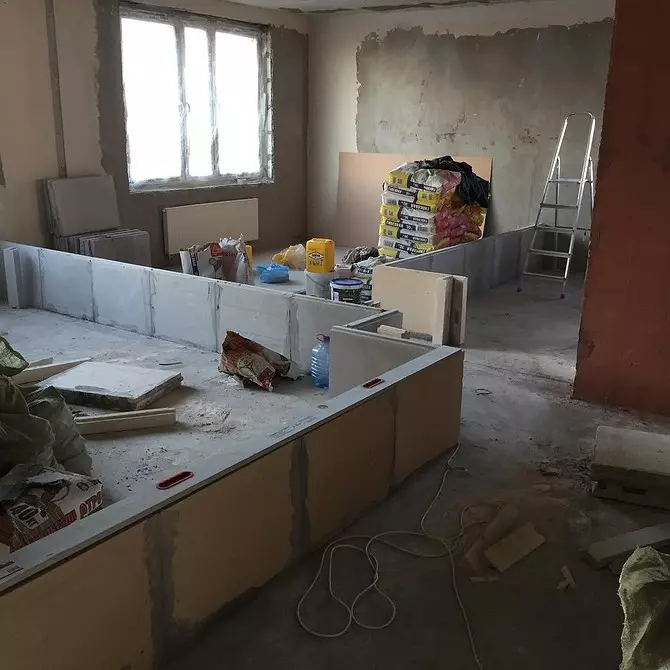
Technology Installation of partitions from puzzle plates
The construction of the PGP is embarked after the end of plastering, gaskets of electrical and sanitary communications, but before the device of draft floors. Humidity should not exceed 60%, and air temperature is above 5 degrees.
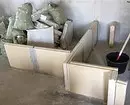
Preparation of the foundation
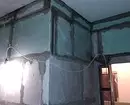
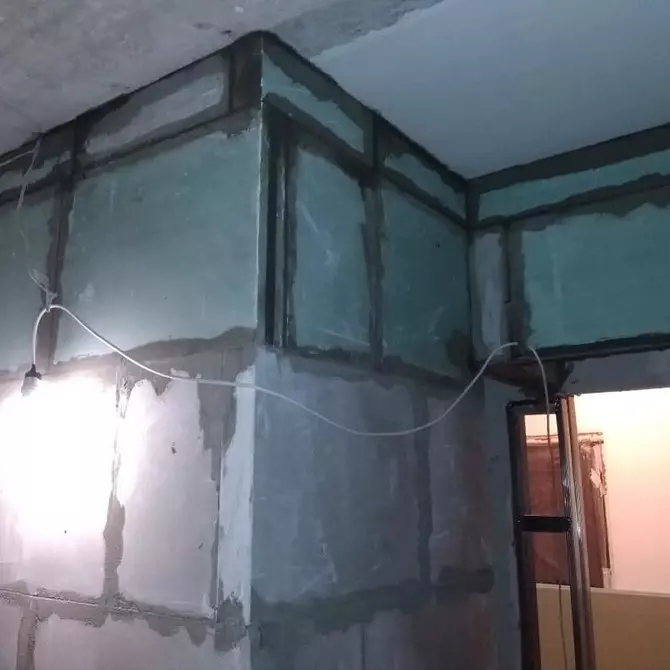
All adjacent surfaces must be smooth, strictly horizontal or vertical. If the plane does not correspond to the level, align them with concrete or cement-sandy solution. The hardened foundation is diverting and soil.
On the floor we apply marking in accordance with the project and place the location of the doorways. With the help of a level or laser dispenser, we carry the line on the walls and the ceiling.
Quickly and perfectly to fueled the lines of markup can be a construction folding cord. Do it better together.
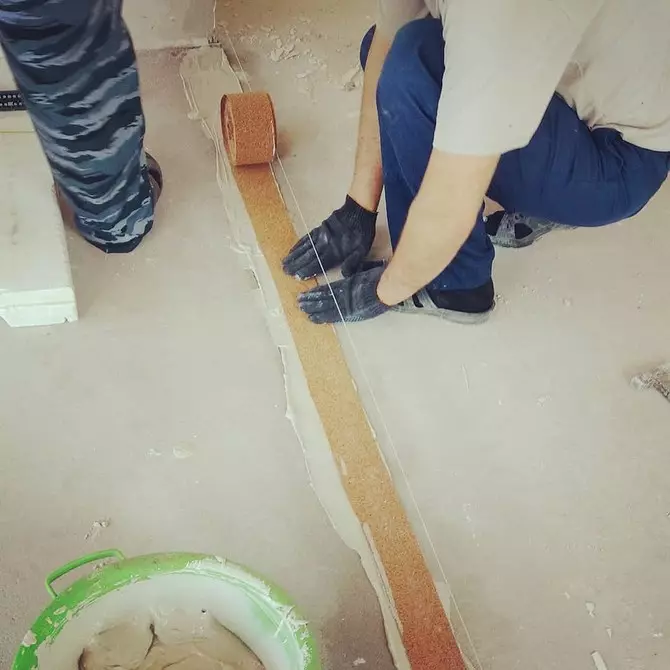
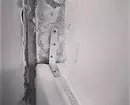
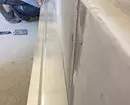
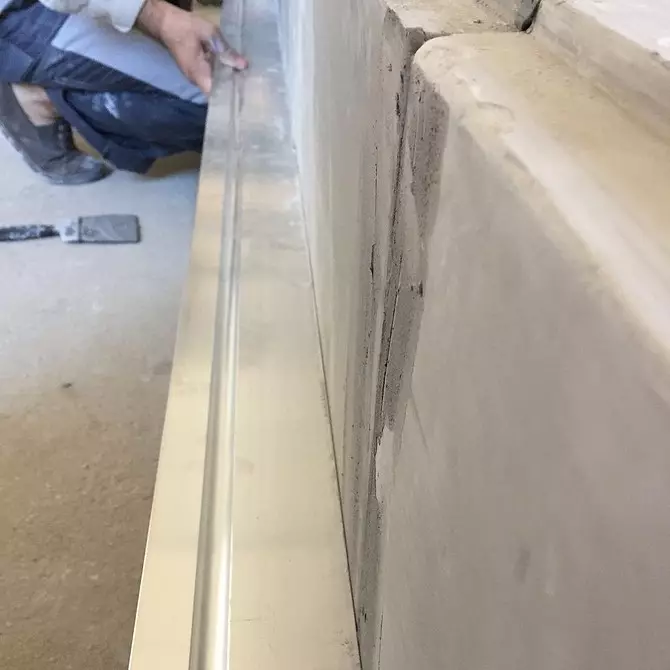
To increase noise insulation, we glue a cork elastic gasket with a mounting solution to all adjacent to the PGP surface. We press it with a building level by controlling the correspondence of the vertical and horizontal.
Beginner masters of the contour from the cork laying helps to achieve the perfect geometry of the walls. It serves as a guide when checking the planes by the rule.

Fastening partitions
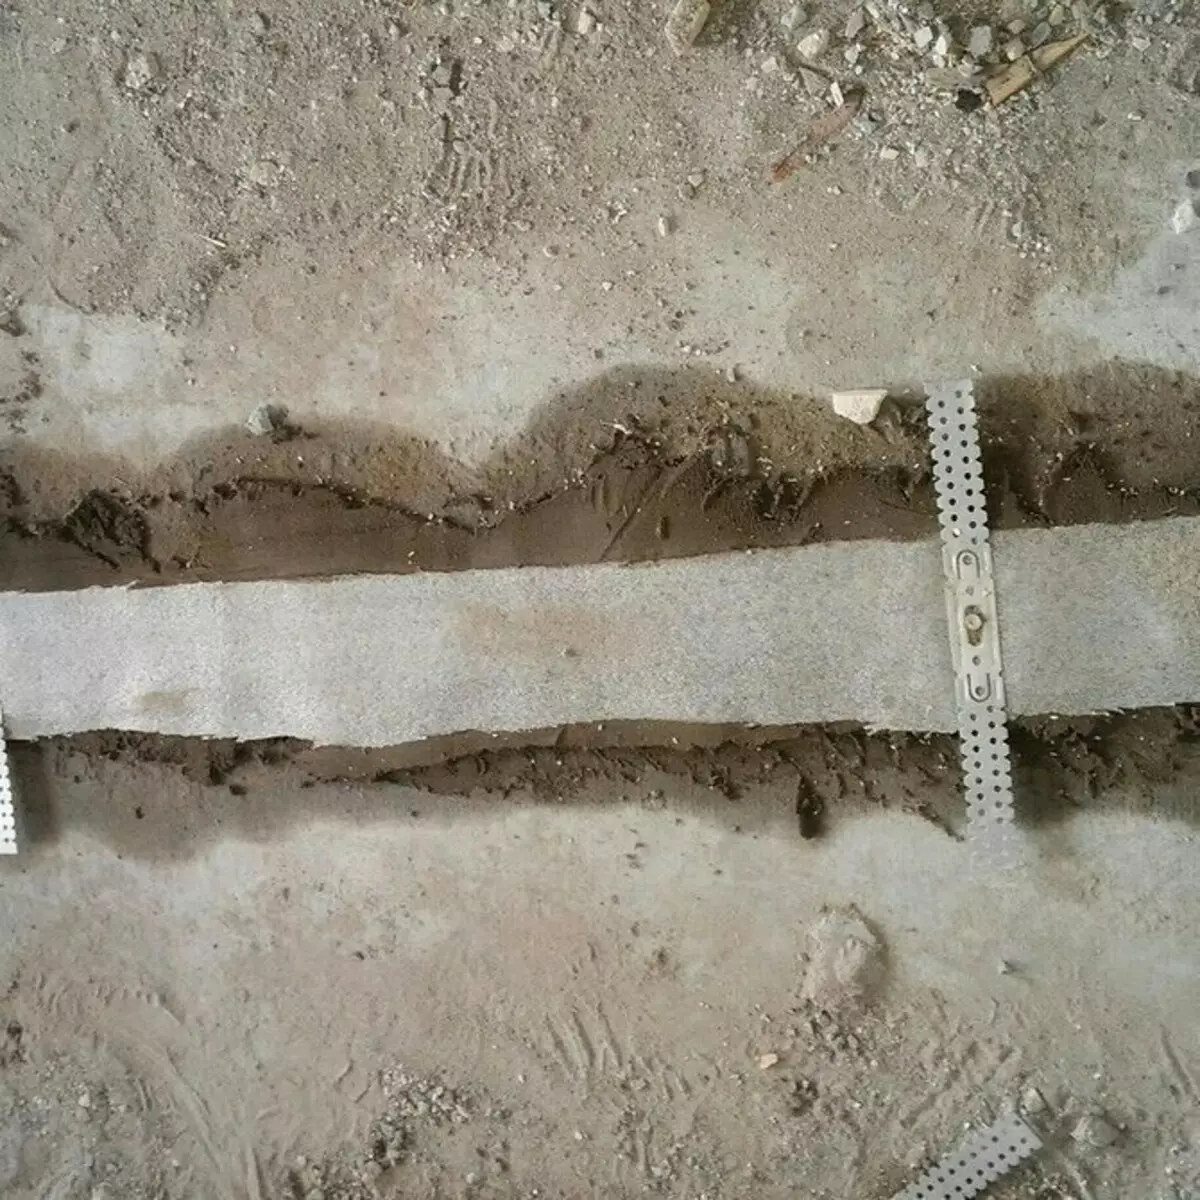
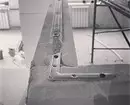
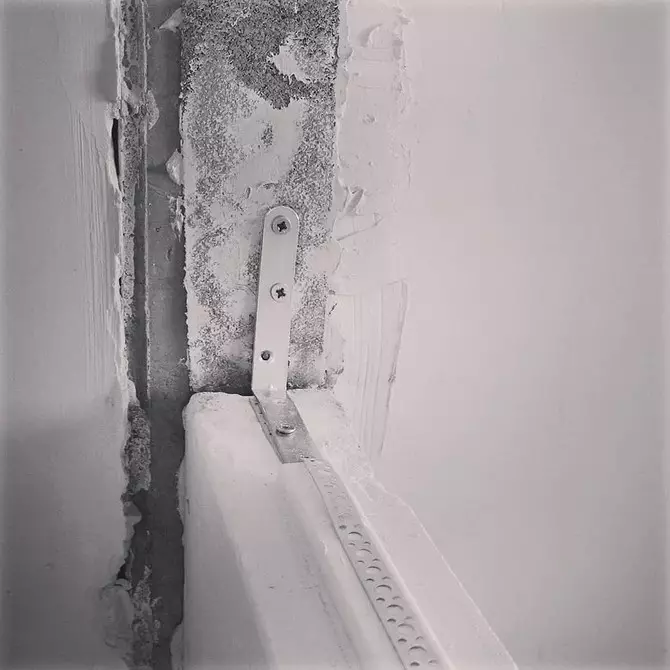
Standard fasteners for PGP are C3 brackets (with a thickness of 1 cm) and C2 (with a thickness of 0.8 cm). They are screwed to the walls, ceiling and wooden floor in places of adjoining. On the concrete floor, the necessary strength creates an adhesive solution.
But more often for fastening, they use the mounting equal borders of 100x100 mm or suspensions on plasterboard.
With a ceiling height of 2800 mm, it is enough to fasten the vertical in three places. Horizontally fasteners are installed every 600 - 1000 mm.
Gypsum panels retain stability when erecting straight-line structures with a height of up to 3600 mm and 6000 mm long. The distance is measured between the intersection angles.
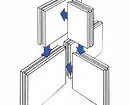
Corner plates must necessarily be attached to each other perflective or suspension for GKL.

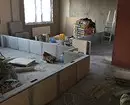
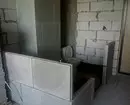
Erect of the first row of puzzle blocks
After delivering the material to the object, it must be searched for a day. During this time, temperatures and humidity levels.
Gypsum panels can be stacked up or down. In the first embodiment, the mortar mixture is equally distributed on the plane of contacting the elements. Therefore, in front of the device of the first row of a hacksaw with a large tooth, cut off the crest from the bottom. Installation We carry in the following sequence:
- We mix a small portion of the adhesive solution. Special attention should be paid to the time of its viability. It is usually 30-60 minutes.
- We apply glue on the markup on the floor and the wall.
- Install the first puzzle block. We apply the level from above and, injecting rubber xy, align the horizontal. Each time a small level or long rules on the markup control the vertical.
- Immediately remove the surplus of the mortar mixture. When solidified, it will spoil the final coating.
- If necessary, secure slabs to enclosing structures.
Actions repeat for the other elements of the first row. Special attention is paid to the correspondence of the size, rectineality and verticality. To control, use the level, roulette and rule.

Erection of subsequent rows
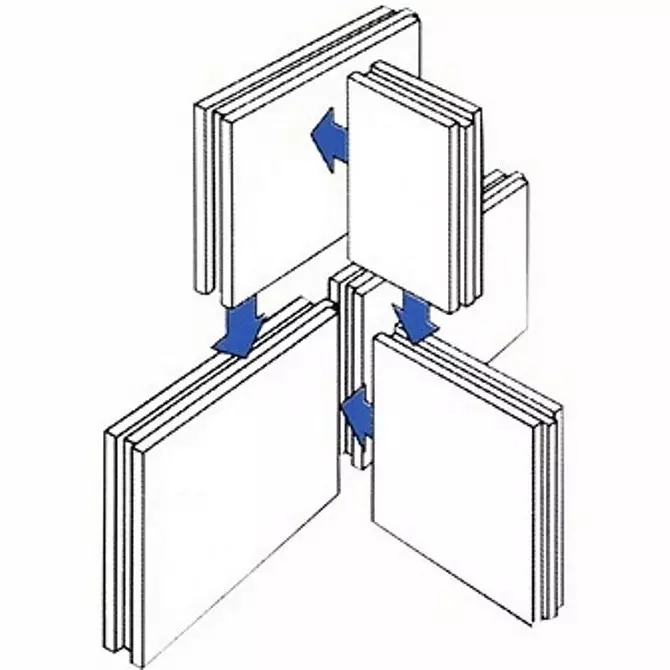
General principles of installation remain the same, but there are its own characteristics. It is impossible to match the vertical seams of neighboring rows. It is necessary to perform them with a distinction of at least 1 cm. For this, the block is cut in half. One part it is installed on a whole panel, which started the first row. The second we use as a good.
It is important to observe the dressing in the corners and the intersections of the walls. If the block provides a groove and crest over the entire length, cut them into places of angular docking. Otherwise, the comb will not go into the groove.
Due to the low viability of the adhesive solution, first cutting the details and customize their size on the dry. Only after that fill the groove with glue, and set the element. Be sure to remove the extruded excess of the mortar mixture.

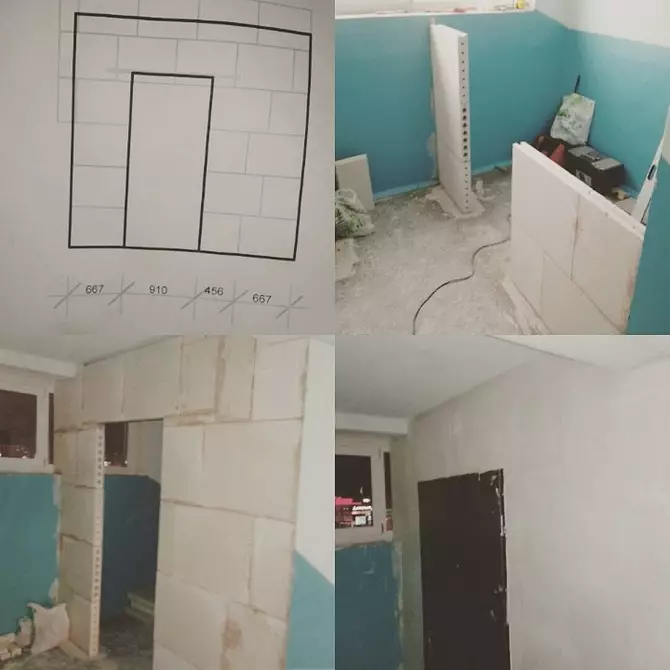
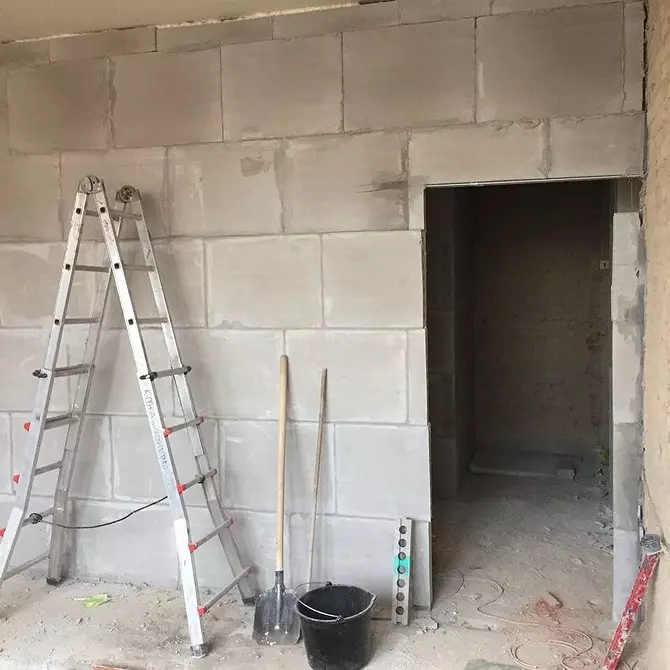
Formation of doorways
When the device is a width of up to 900 mm wide, it is possible to do without additional bearing structures. It is important to make a friend so that there is no free hanging plates above the door. Therefore, for such places, pre-draw the laying scheme on paper. We begin with a row above the doorway. Vertical seams have a span in the middle. Only then they raise the rest of the elements by adhering to the rules of sutures.
At the layout stage, we screw the temporary jumper from the tree or the profile for drywall (the installation of the backups is allowed). After solidification of the adhesive mixture, we remove temporary mounting items.
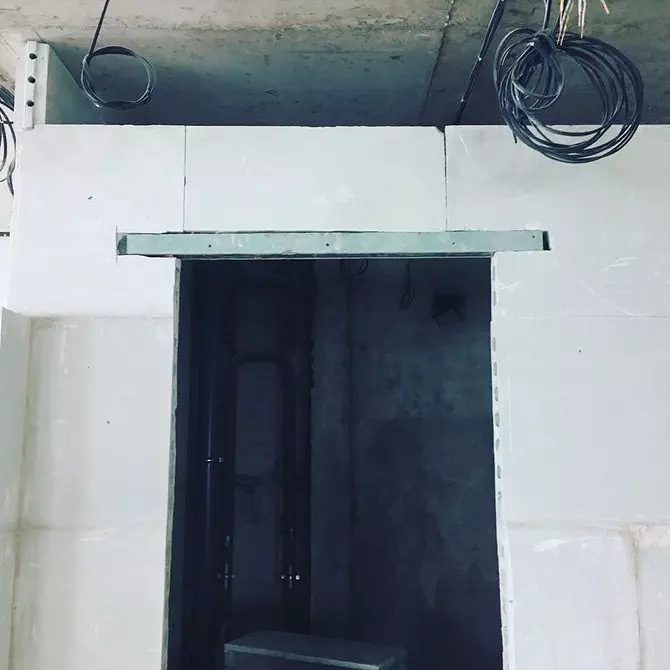
Over the openings are wider than 900 mm. We definitely install the jumper: wooden bar, metal corner or chamber. Opportuning should be within 100-150 mm. The top of the door does not have to coincide with the horizontal mounting seam. It is enough to cut the groove under the jumper at the desired level.
It is important to think about the finishing of mortgage elements. Metal parts cover paint in three layers. Wooden impregnate with an antiseptic, and for better adhesion we are wearing the front part of the strips of plasterboard.
Erection of the last row of oxide blocks
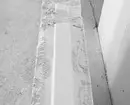
Complete the masonry with narrow trimming uncomfortable. Therefore, for ease of installation, the top row plates are allowed to install vertically. The groove-comb system does not allow you to dock elements back to the ceiling. To install them require a gap. To facilitate the sealing of the seam, the upper plane is cutting up diagonally. With the closest to the installer, the side is enough for a clearance of 2-3 millimeters. The cut line should be 2-5 cm from the overlap.
If in the future it is planned to install a stretch ceiling, we throw the gap by mounting foam. When it is important to perform a smooth adjoining, fill the hole with plaster plaster. We do it in several techniques, observing the recommended producer of the layer thickness.
It is important to consolidate the PGP to overlapping with mounting brackets or corners. Otherwise, the upper face may fall out.


Laying electrics
If necessary, we are making the wiring in the puzzle partitions, install sockets and switches. In hollow blocks we use internal channels. If you know the place of laying of communications in advance, you can pre-drive the holes in the ridge to the desired diameter. This will facilitate the wire laying.
In full-scale panels cut the shine hand or mechanical strokesom. Holes for the peavernacles are driving the crowns on the tree.
The use of a shock tool is not allowed: perforator or shock drill.
Prepared channels are diverting and soil. After installing the cables, the shoes close with a gypsum adhesive solution.
For clarity, and to simplify the installation of partitions from puzzle plates with their own hands, bring video instructions.