
Do not know how to start planning the veranda? We have collected useful information that will help you create your own project.

In the perfect version, an additional extension is designed together with the main building. But if when it is erected, such an opportunity was missed - not scary. We will tell you how to make a veranda to the house with their own hands step by step. Consider materials suitable for these purposes, the process of obtaining permission and other important issues.
What types of attacks exist and how to choose a place for them
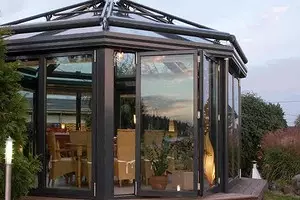
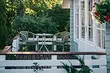
You can select two groups of such objects: closed and open type. Most often they are closely adjacent to the private House. It is usually a single-storey, a spacious room with panoramic windows, a canopy or a small tambour at the entrance to the building. Sometimes there is a balcony on the roof. Designer solutions There are many, it all depends on the taste of the homeowner. In the photo - unusual and easy-to-fulfill projects in different styles.
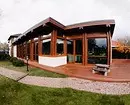
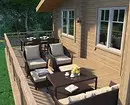
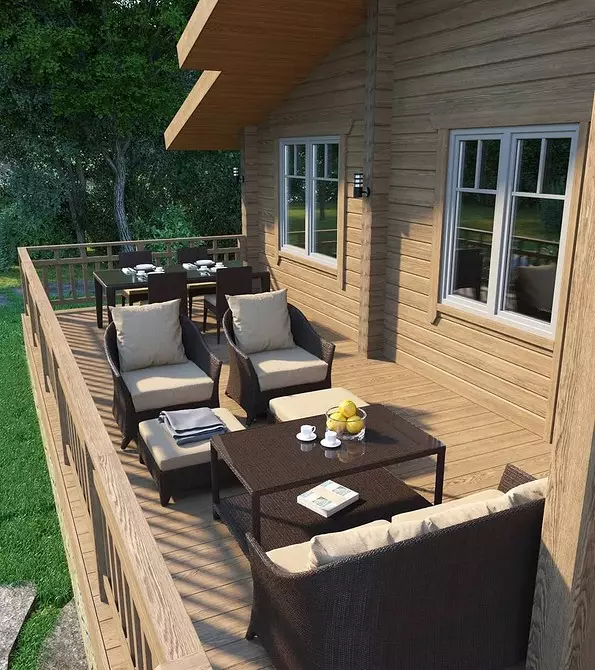
The method of operation of the structure depends on how it is insulated and equipped. The playground can be a place for family holidays, work or children's games, a full kitchen or a beautiful winter garden.
Select location
There are no strict rules for planning. But most people prefer the most convenient option when there are two doors: to the house and on the street. You can focus on the location of the cottage. In the south, the room is equipped from the northern side. In the north - with south. Choose a leeward side so that the rest was comfortable.
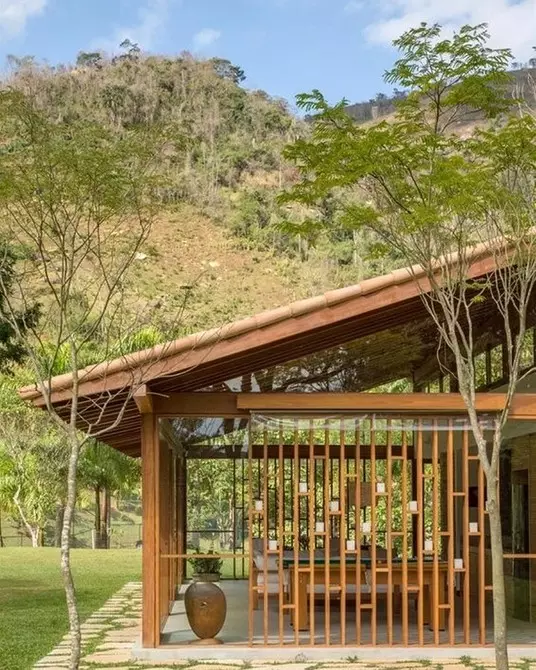
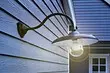
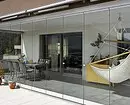
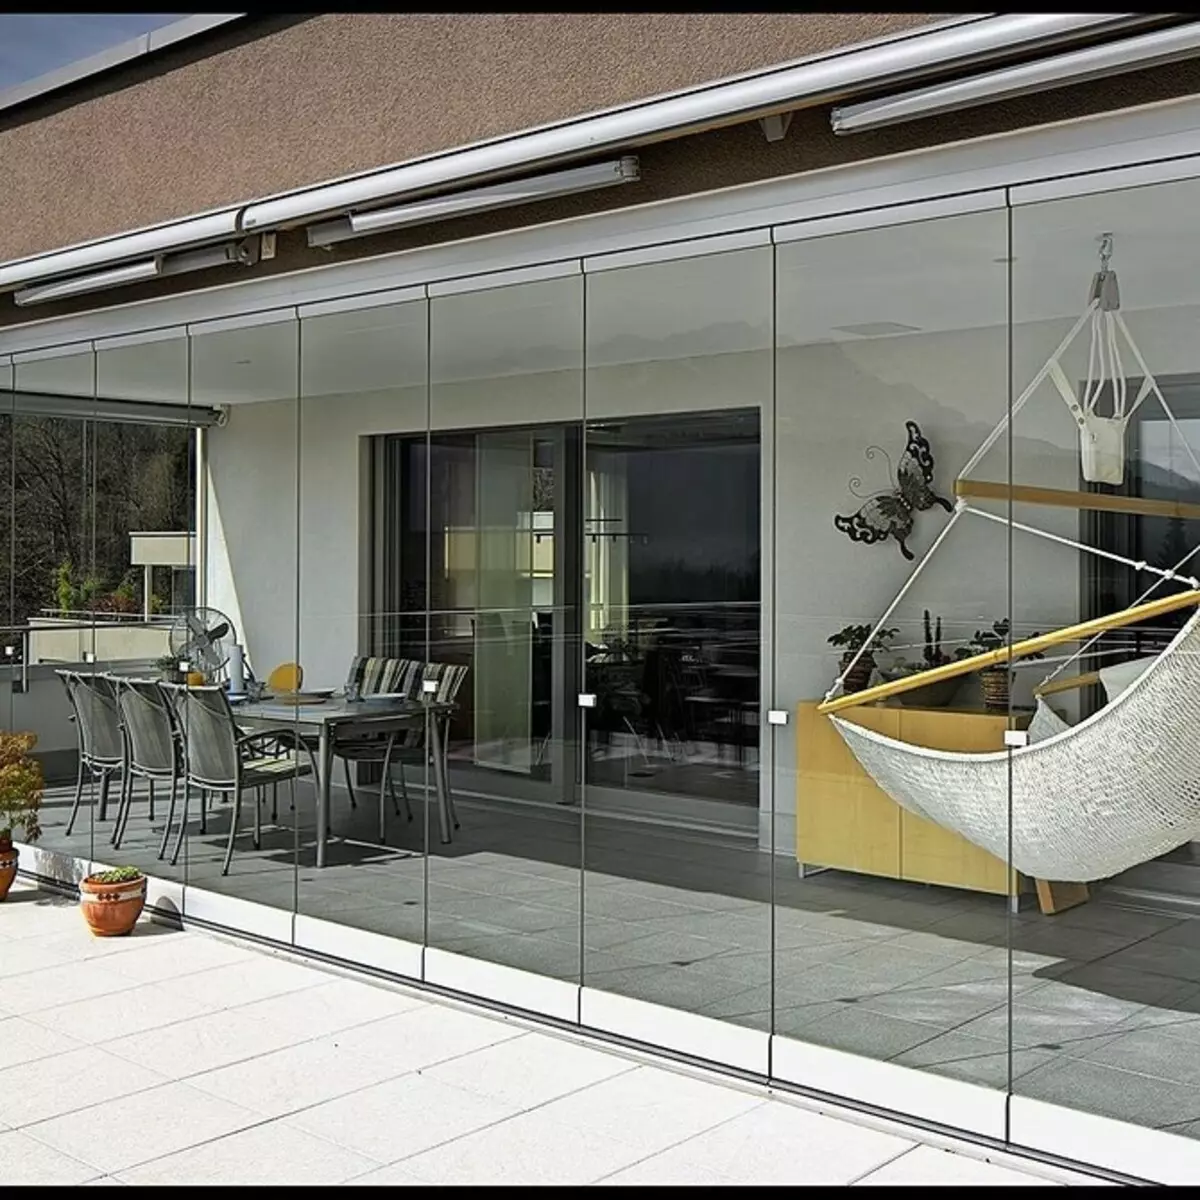
Of course, the situation in which the sunlight has enough space is considered to be more profitable. If it is too much - will help landscaping by trees outside. So that the lighting is more, be sure to make several windows, and sometimes complete glazing. Sliding doors are very comfortable - they can be opened using the remote, making the space open and comfortable on hot days.
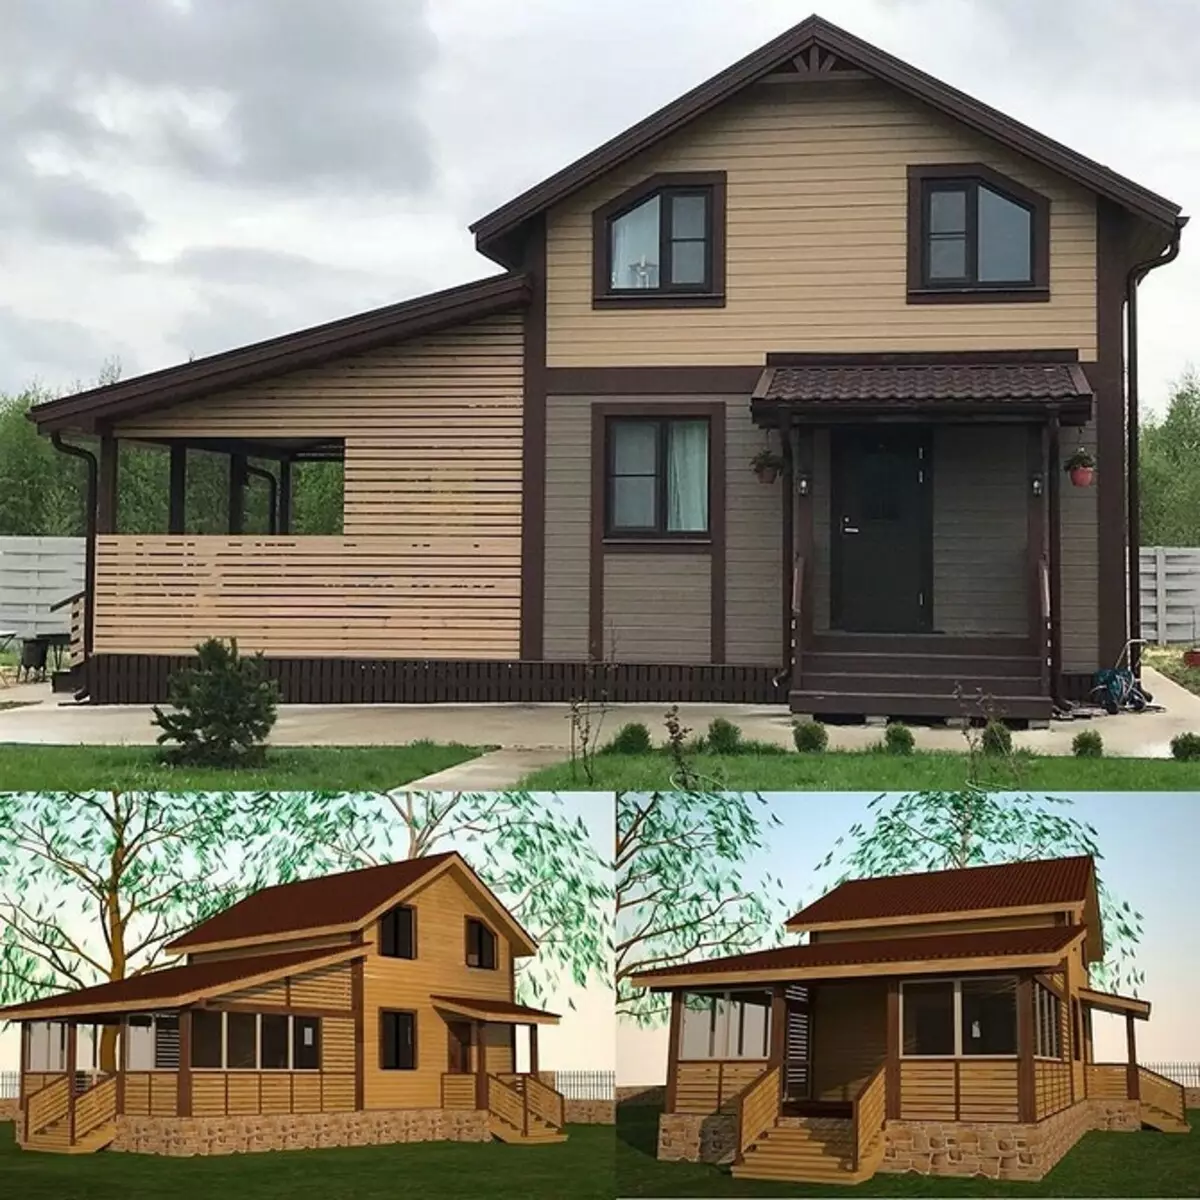
Usually an extension - Part of the building, with a porch or without. But sometimes it is built separately. In this case, the indoor corridor can lead to the room.
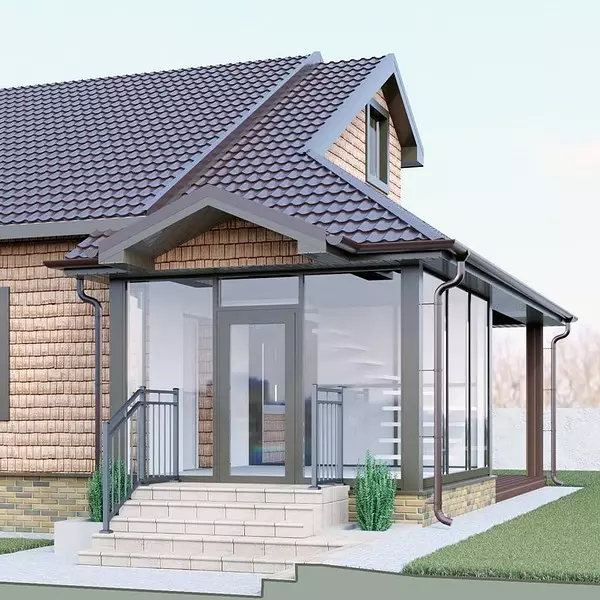
Due to the porch, the veranda can look like a single room with the main house.
-->
What you need to prepare for the construction of the veranda to the house
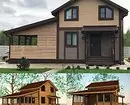
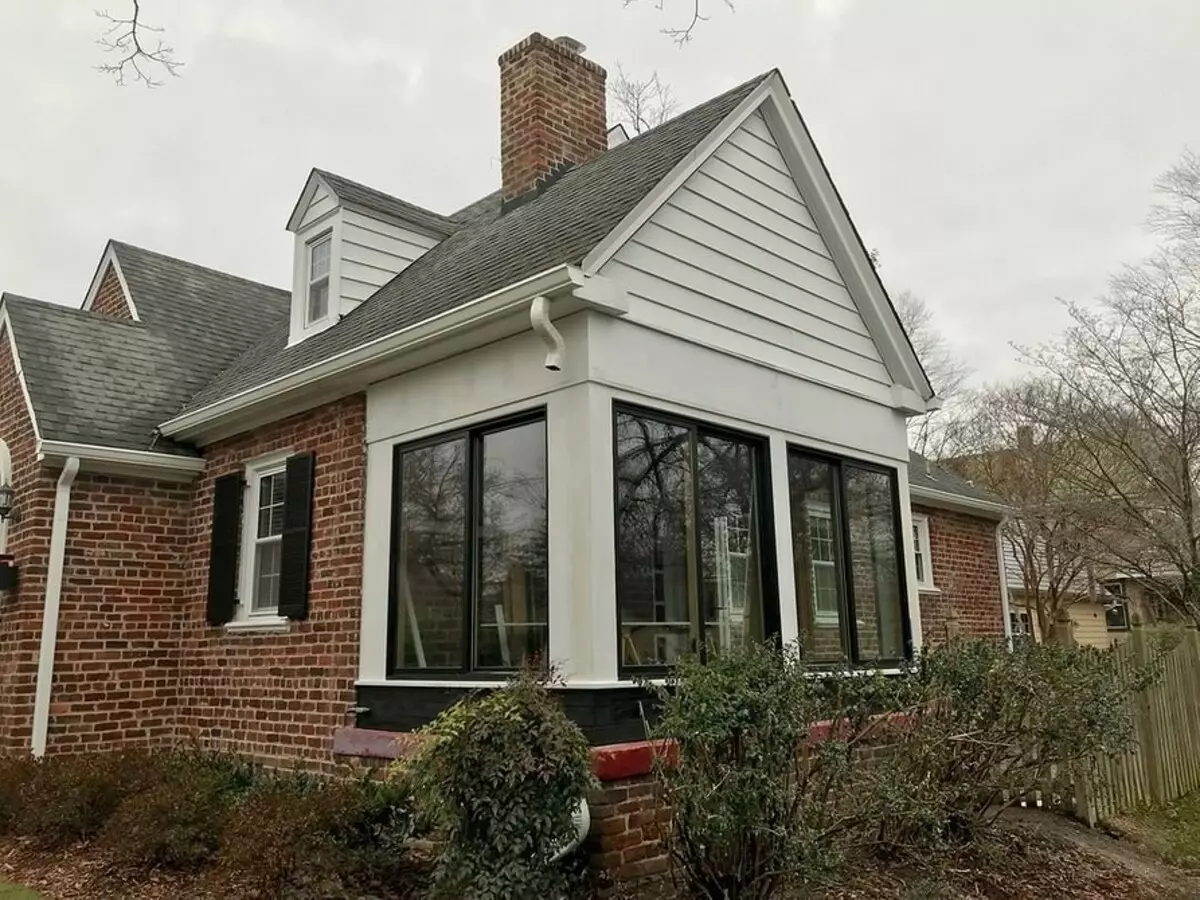
The ideal is considered to use the same sheathing for the veranda and the main housing. With this approach, the entire structure will be performed in one style. But strictly follow this rule. Sometimes it is enough to add a single material into decor elements. The main thing is that the cottage in general looked harmoniously. Suitable:
- Brick. Holds coolness, fireproof, durable. Minus - high construction weight.
- Wood (timber, logs, shield structures). Of the advantages: low weight, environmental friendliness, relatively simple installation.
- Slagoblocks. Accelerate construction, but the building of them requires additional insulation.
- Metal. Used for frame. The easiest option is plywood or plastic lining on a metal basis.
- PVC, polycarbonate. Suitable for creating a bright, warm, all-season room. It is strongly heated and for this reason are not suitable for the hot climate and the sunny side.
A set of tools depends on the materials you choose. If it is wood - prepare hacksaw, screwdriver, long cord, hammer and ax, plumb. Equipment for welding can be useful for working with the metal. Polycarbonate cut electric jigsaw. Also use corners, nails, brazen, roulette, shovel, sledgehammer. Be sure to need a construction level.
With whom to coordinate the construction of buildings
The site owner must contact several instances:
- Local administration.
- Fire inspection.
- SanEpidemstation.
- BTI.
It will take:
- Ready project.
- Document confirming ownership.
- Technical certificate.
- Consent to the reconstruction of all residents prescribed in the house.
Without this procedure, the object will be considered illegal and subsequently may arise difficulties with its donation, sales, exchange. And also you will not be able to take a loan on bail at home.
Stick the size of the room specified in the project. Otherwise, BTI accounts for extra meters as an illegal expansion of the area and will write a fine.
Obtaining a development permit may take more than a month, so start preparing documents in advance.
Basic rules of extension veranda to the house and its outdoor design
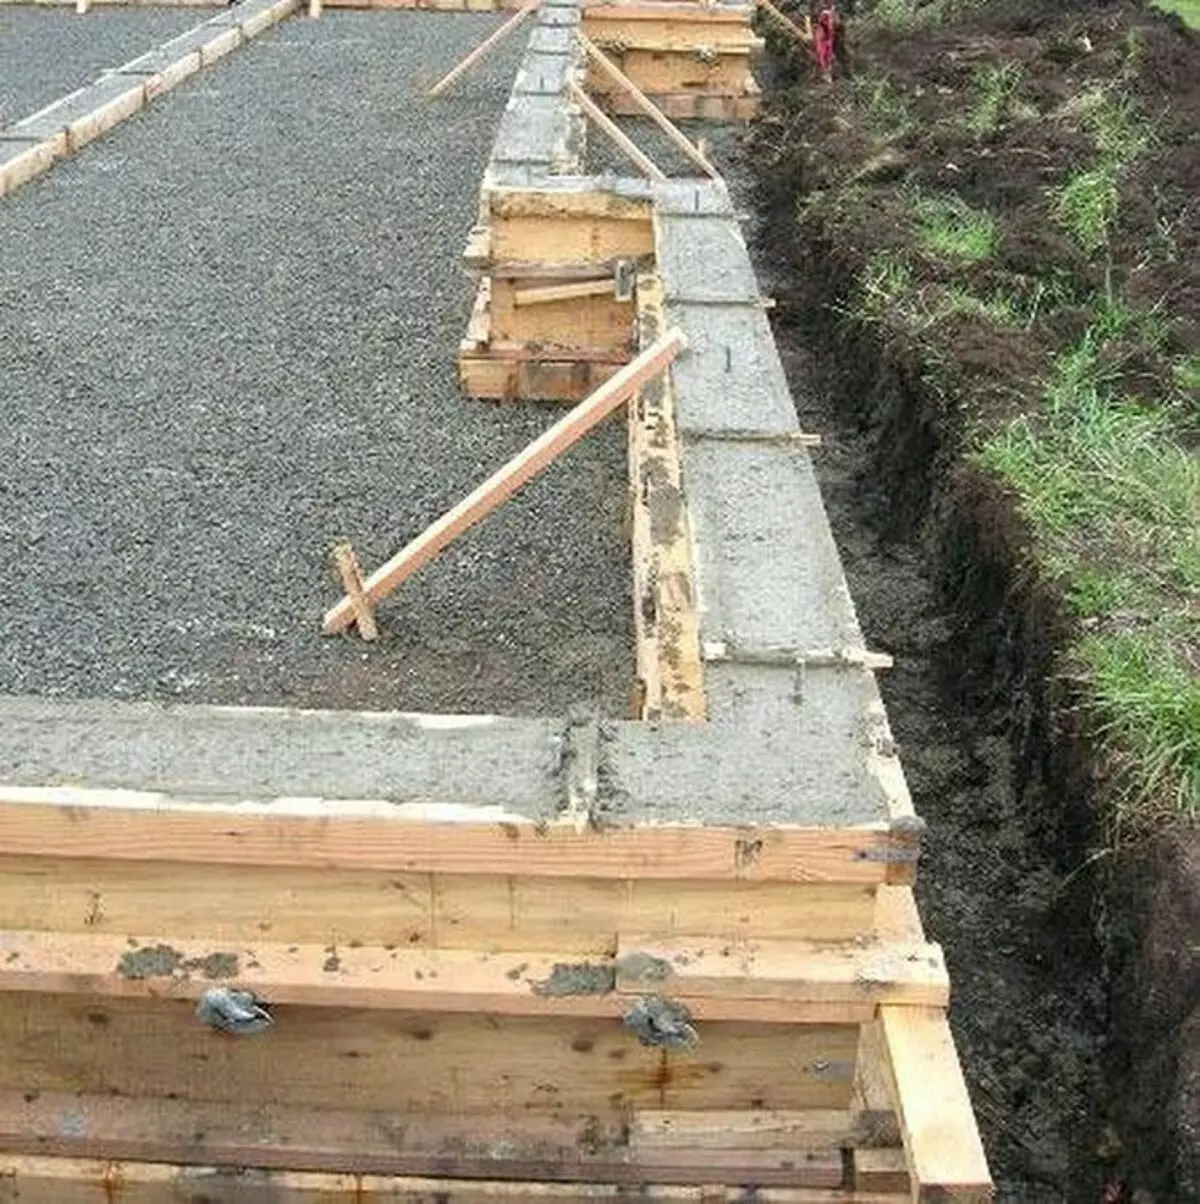
When preparing for construction, remember four important points:- For heavy buildings, choose a ribbon foundation, for easy - pile. In both cases, its height must coincide with the height of the housing foundation.
- Adjusting an extra room is needed close to a large building to eliminate drafts and getting too much moisture between them.
- Observe the proportions between objects. The big house will decorate the spacious room, small - on the contrary.
- Reconstruction is better to spend after shrinkage of the main building, that is, in two or three years after it is built.
Exterior decoration and decor
In addition to the materials listed above, bonded and facade vinyl siding are often used for decoration. At the moment, a lot of its varieties are sold, including decorated under a tree or brick. Siding is durable and easy, not afraid of water exposure, they are easy to sow walls.
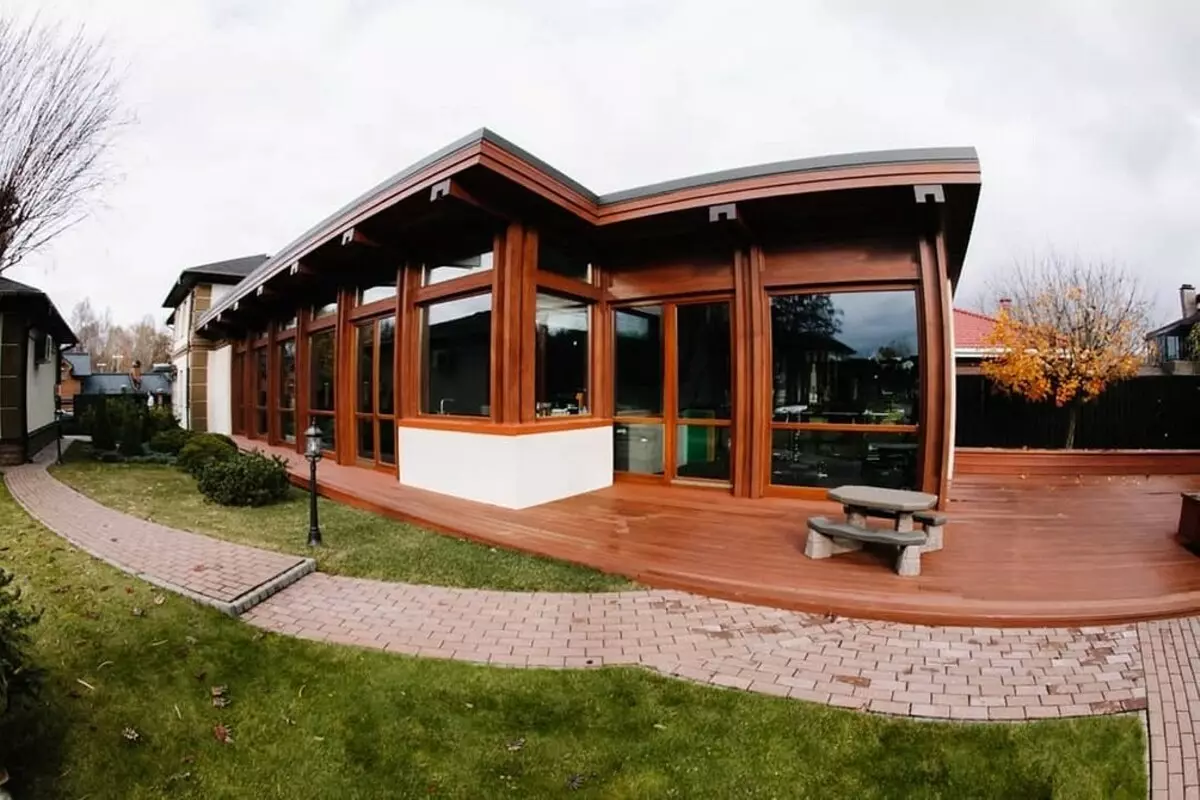
It looks beautifully glazing with plastic double-glazed windows on top of bottom. Another type of PVC-windows is soft, removable panels. It is a dense and transparent film. It is attached to the framework of the object and is convenient to the fact that it is easily removed at any time.
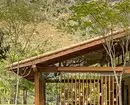
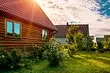
For wooden decoration And brick houses use forged and carved elements on the roof, balcony, porch. Special comfort and beauty putting landscaping. Lached along the trees will protect on a hot day from the sun. Beautifully look at lush, hanging plants in suspended porridge and large, decorative pots, as well as ivy, spooking walls and columns.

Build a veranda to the house with your own hands step by step: instruction for creating simple attacks
Preparatory work is first. They include: dismantling the porch with a visor (if the room is from this side), cleaning the territory from plants and stones, removal of turf, preparation of a convenient place for building materials. When everything is ready, it comes the time of the most important stage of construction.Foundation
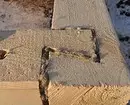
Small structures that have low weight (from wood, polycarbonate), especially in the conditions of a swampy area, can be erected on a bar foundation. He is not tied to the base of the house. If a small space is planned, it is enough to install four piles in the corners. A large frame will be stable with intermediate racks. The optimal distance between them is 50 cm.
Procedure
- Drop the pit at least one meter in the depth so that the new base coincided with the old and did not crack due to the freezing of the soil.
- At the bottom of each pit, pour 20 cm of sand, and 10-15 cm of gravel or rubble on it.
- Fill concrete top (15 cm) and leave to stick.
- Install the poles. They can be made of bricks, concrete and metal piles. Asbestos pipes are also suitable. Support is removed to the height of the base of the building.
- Diamet the pillars of bitumen mastic to protect against moisture.
- Put the gap between the ground and the support of sand, and the column cavities are gravel.
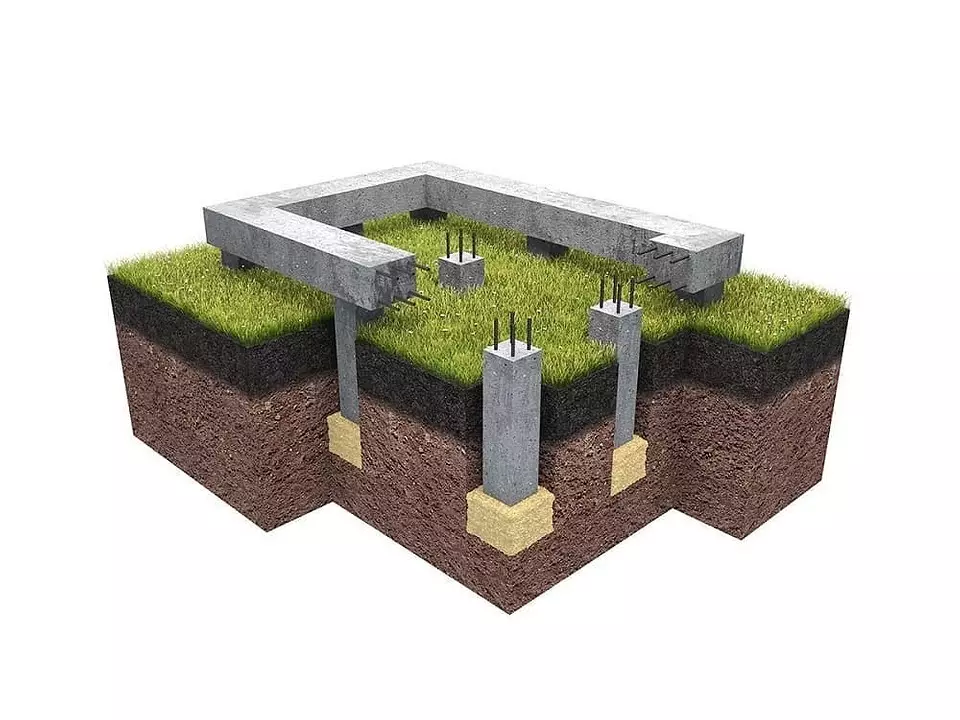
Fucked Heavy brick or glazed room is better on the foundation of a ribbon type.
Procedure
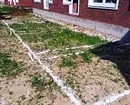
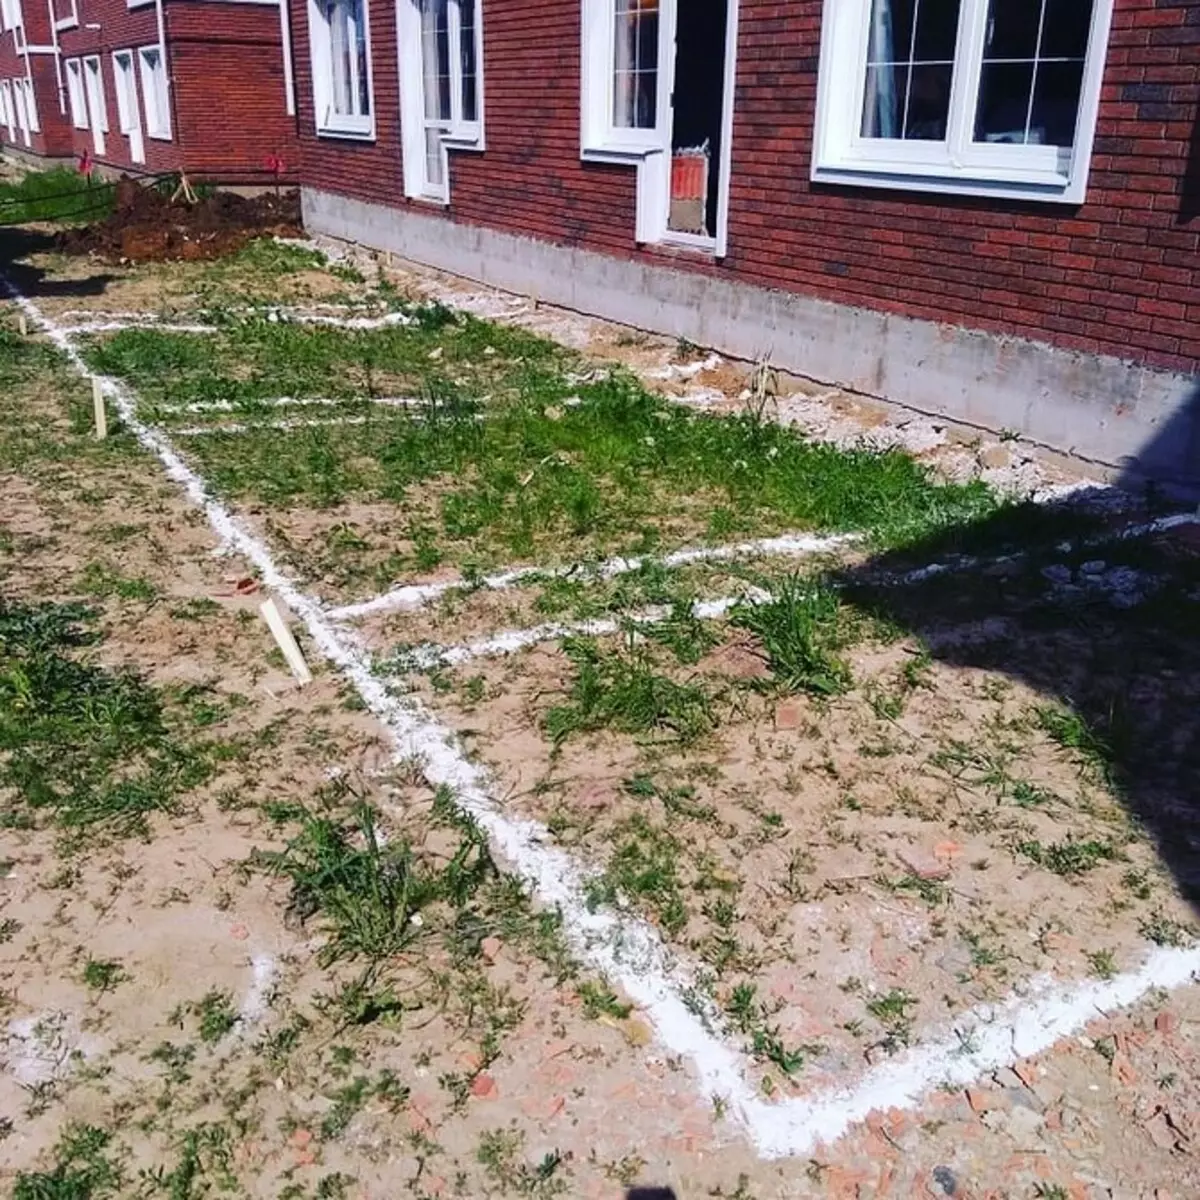
- Follow the territory and outline the borders of the future veranda, stretching the cord with the pegs.
- Drop around the perimeter of the project trench. Its depth depends on the primary foundation and from how much soil is free. If you are strongly having a pit of 1-2 meters.
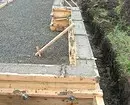
- Install the wooden formwork and pour a thick layer of sand onto a bottom and make a reinforcing frame from steel rods.
- Pour concrete layers by mocking them with stones to strengthen the design.
- In the last part, it is not necessary to add stones. Cross it and leave to dry. In arid weather, periodically wet the material so that it does not crack.


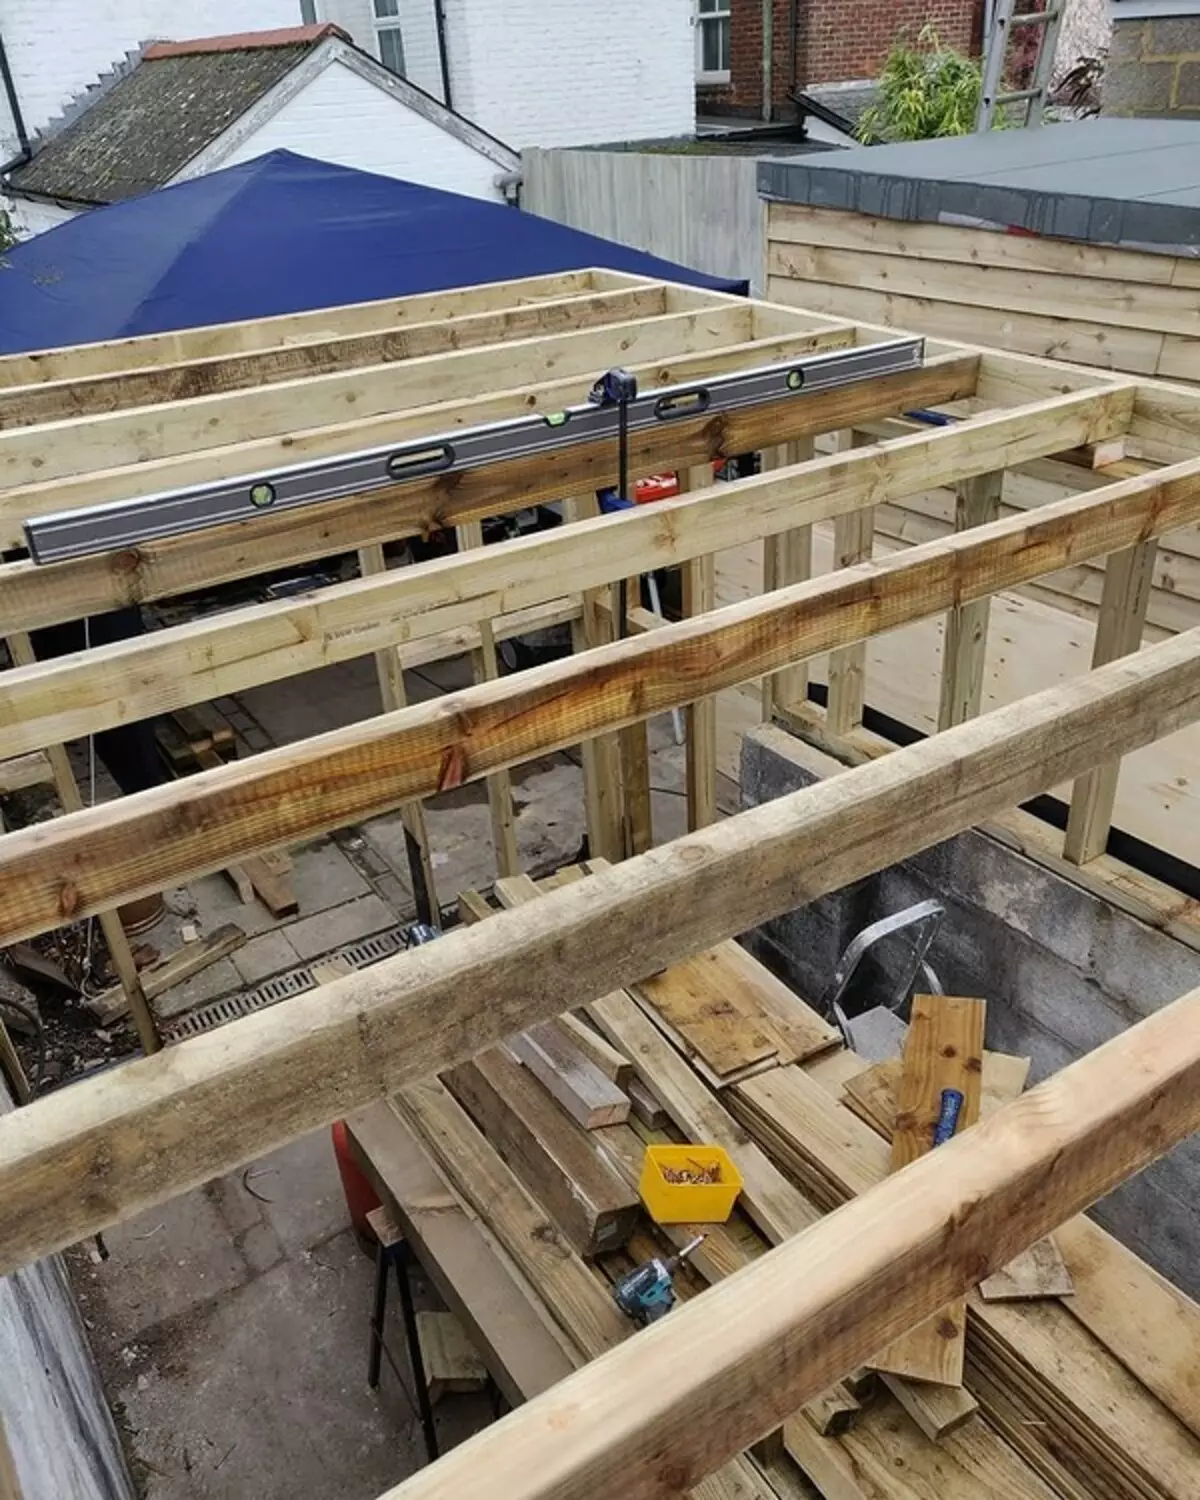
Frame
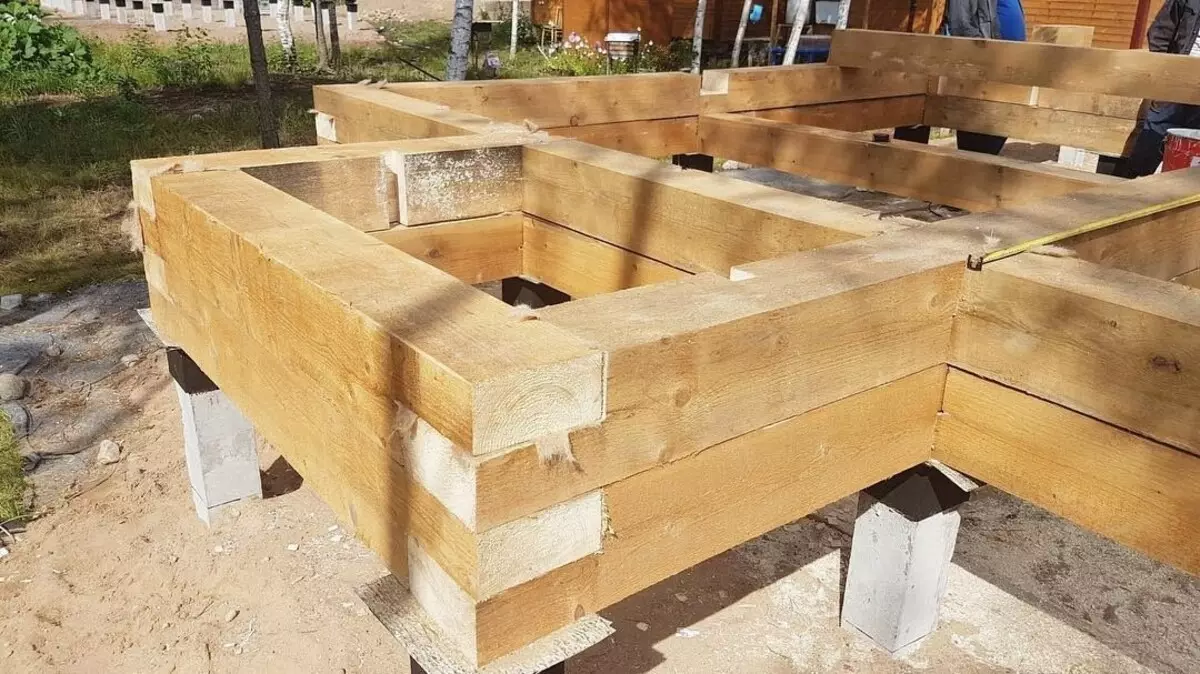
To its assembly, proceed only after drying the foundation. Pre-put on the base of the waterproofing layer. Then - a double strapping from an antispectorate of a bar with a cross section of 150 * 150. This is a frame that keeps the entire structure. It can be double and single. The first is considered more reliable, especially for heavy attacks. The bar is connected to the "swallow tail" or "straight lock" with nails and naughty fastening. In the process of installing the crown, adjust its position using the construction level. Every half meter rolls the grooves.
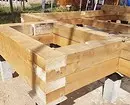
Double strapping
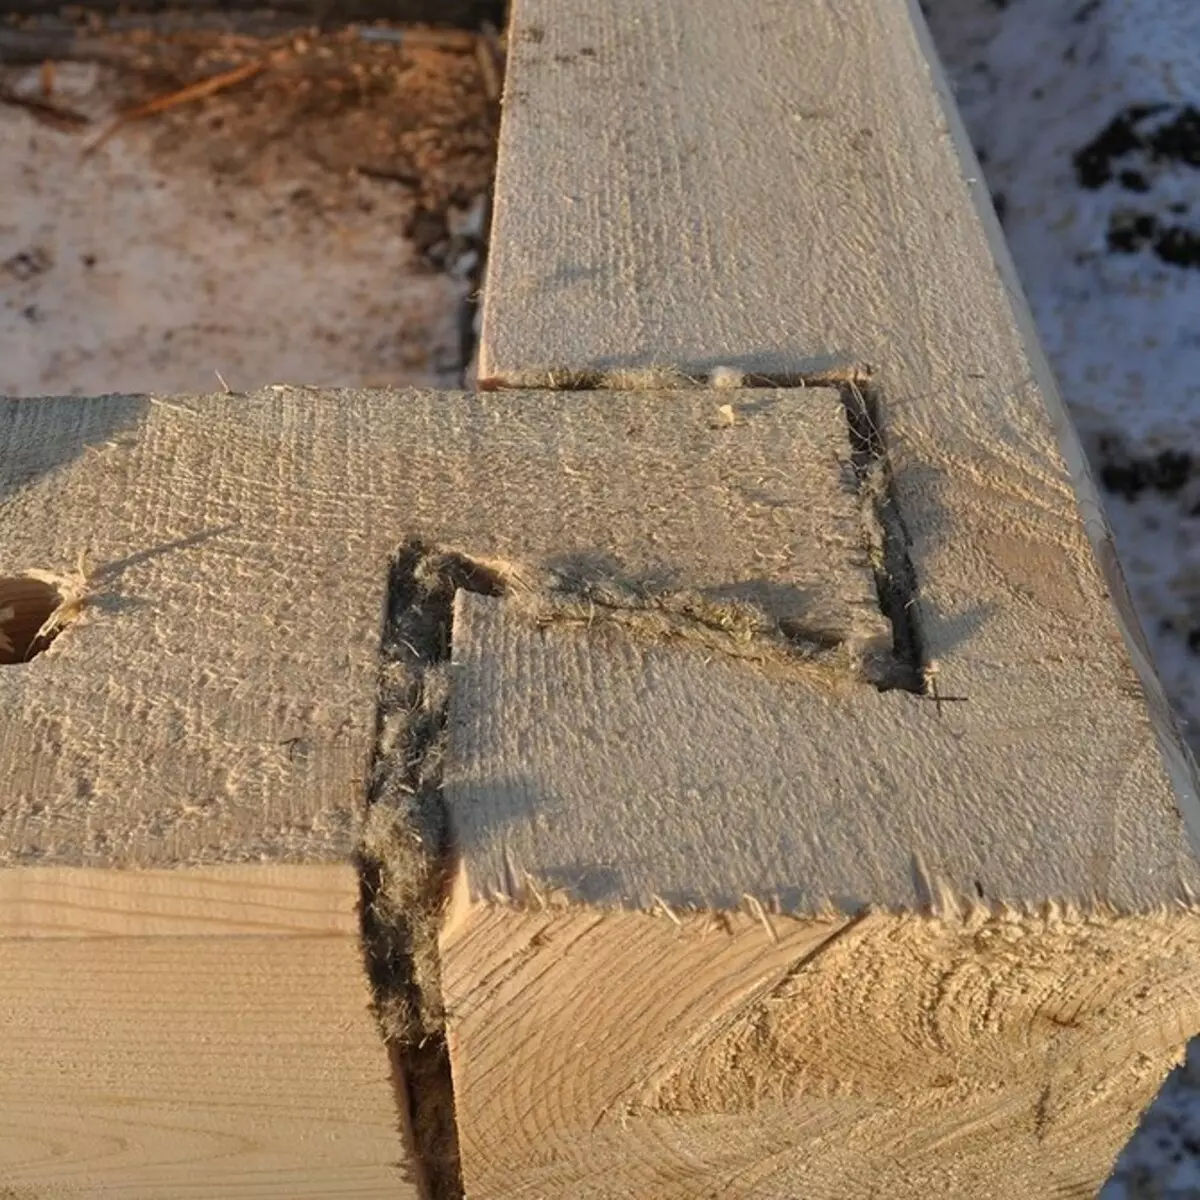
"Dovetail"
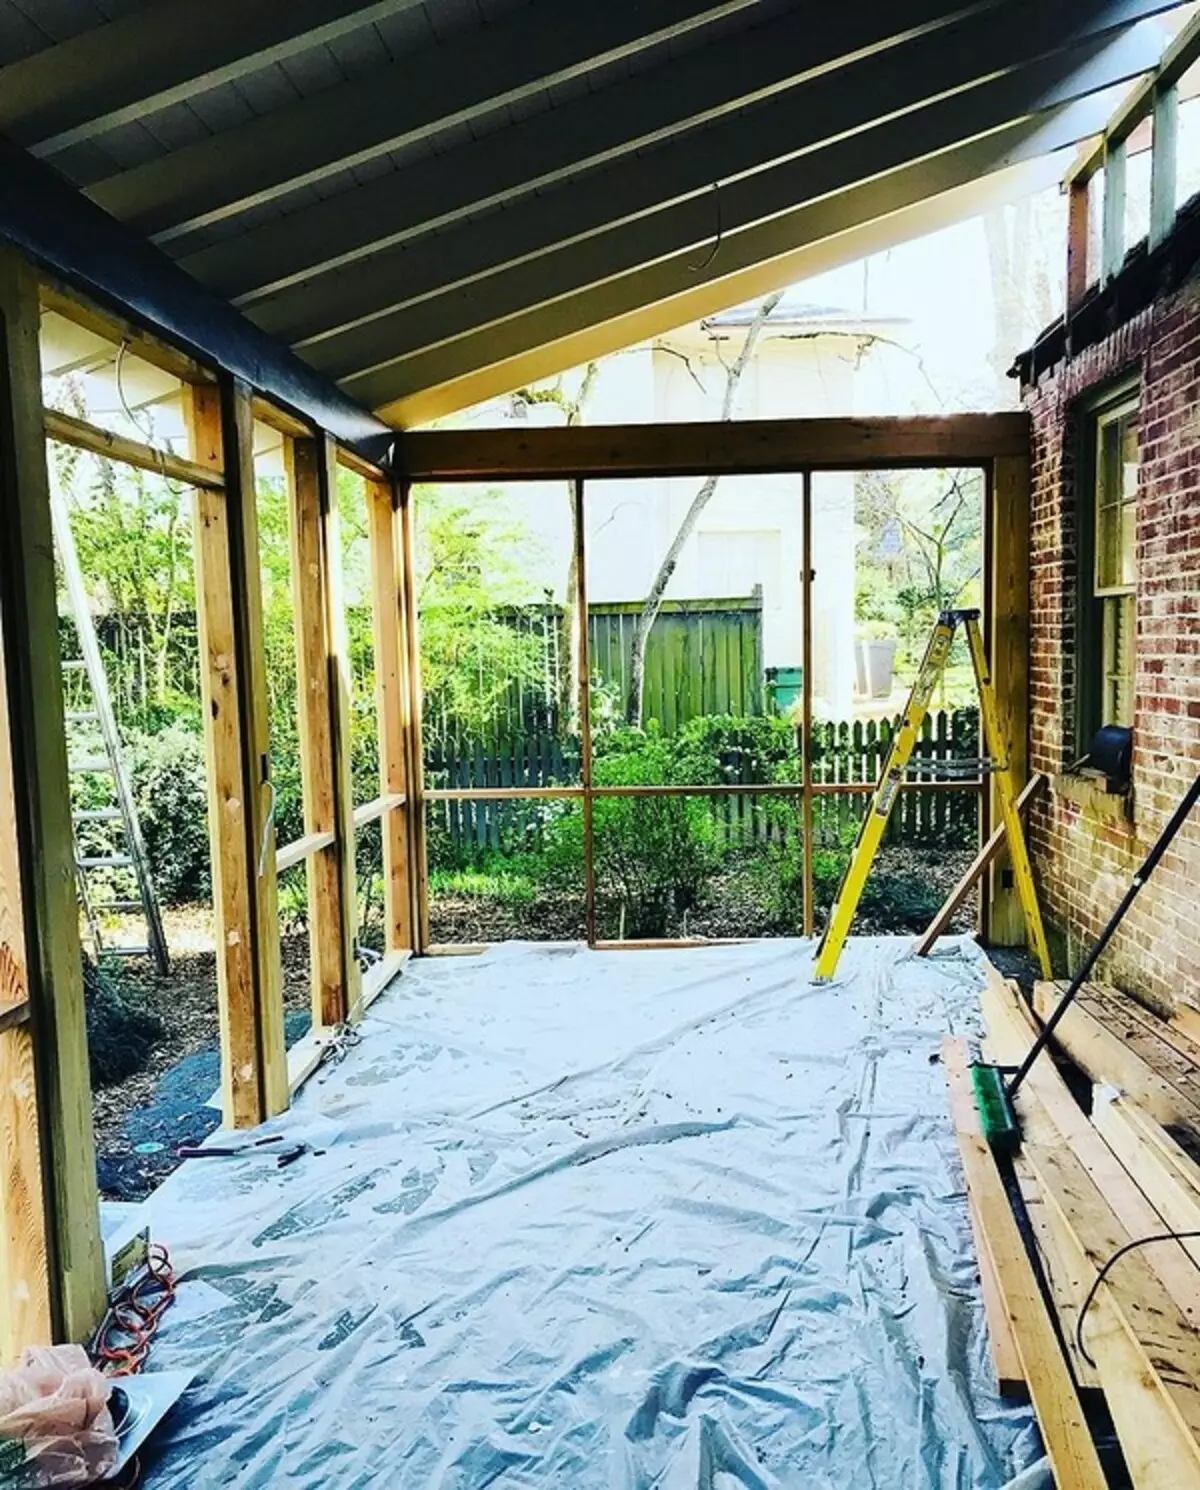
Then the vertical supports are installed. For them, a ram 120 * 80, 120 * 100 mm or logs with a diameter of no more than 120 mm are used. In height, they are equal to the veranda, with the exception of projects with a single-sided, bantal or polygonal roof. In these cases, make the racks at the wall of the house above. The distance between the beams is 50 cm or more.
-->Next, the last element is mounted - the upper strapping. So that it does not twist, strengthen the position of the vertical bar by temporary struts. All wooden elements will pre-process with protective facilities and speed up.
If the frame was made of metal elements, it must be covered with primer and paint to prevent corrosion. The erection method is similar to what is described above.
Walls and floor
If you want to insulate Paul, fill in the space between the soil and boards with a clay, cover the rubberoid or another waterproofing layer. Concrete floor is suitable for an open terrace, it is more wear-resistant, it can be covered with a linoleum or laminate. Also, for such space, it is recommended to do the flooring under the tilt and with the intervals in it so that the rain water does not accumulate on the surface.
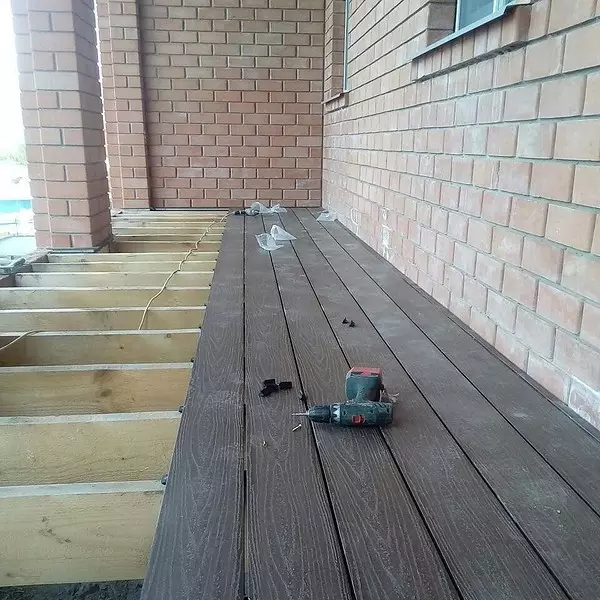
But more often for the coating use a tree. Larch is considered the best option. This material is environmentally friendly and from the inside building Looks comfortable. If you plan exactly such a project, install the lags at a distance of approximately 100 cm from each other. They must be perpendicular to the boards. Soak them with antifungal coating. Cover the construction of edged boards and cover them first with protective solutions, and then the verse or paint. Final layer - varnish. In the closed room, handle joints with silicone sealant.
Sealant treatment is needed for additional floor insulation
-->The inner wall is attached to the residential house using metal parts (if the building's shrinkage has already occurred) or close the gap between them with the help of mounting foam. Walls are made of bricks, lining, slag blocks, wooden shields, plywood or polycarbonate. Let us dwell on the features of the last option.
Mounting polycarbonate
It can also be used for the complete overlap of the room instead of a roof. In this case, the veranda will be very bright. Build From the material simply, and its plasticity allows you to create bizarre forms. For example, you can build a winter garden in the form of a greenhouse or make a summer room round, polygonal.
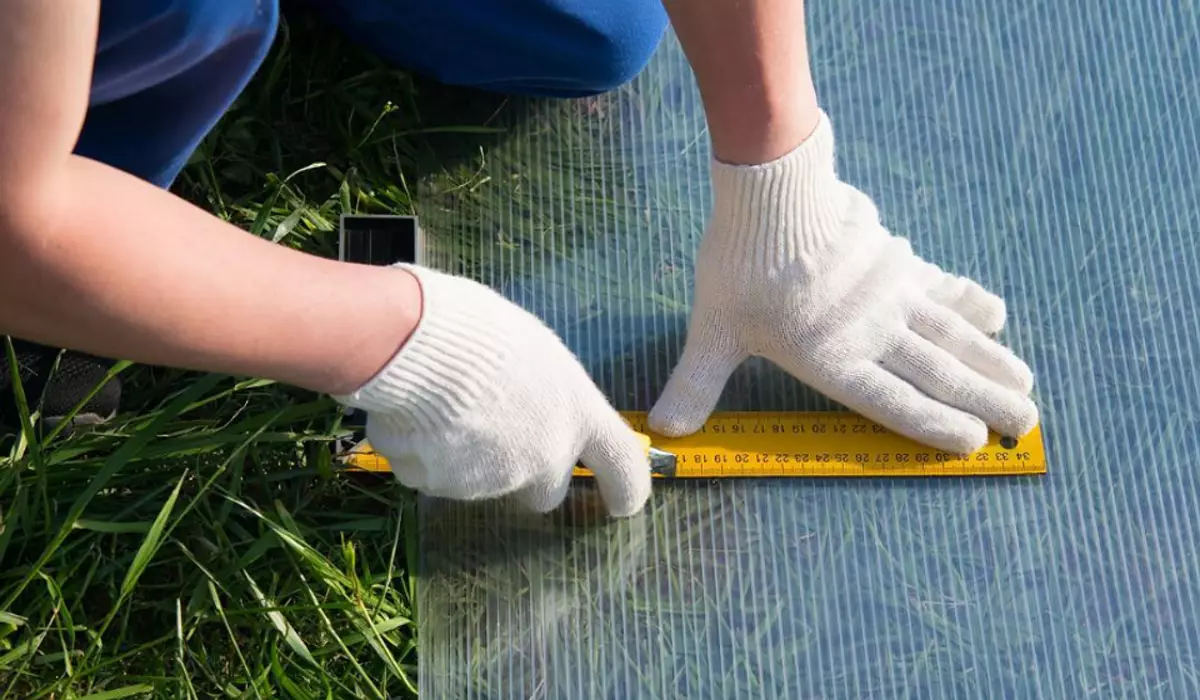
Electric jigsaw is suitable for cutting. It is important to tightly press sheets to the surface while working and not hurry. At high speed, the workpiece is melted. To the frame of them is fixed with self-drawing, making holes slightly larger diameter. It is necessary to leave the place to expand sheets when the temperature changes. Rubber gaskets are laid under the washers.
Roof
The roof is a single-sided, double or complex shape with several angles. The first option is the easiest and simple practical one. The surface is under the tilt, does not delay rainwater and snow, which means a more durable. To make such a design, a rafter system is needed. To do this, on the roof of the main house with the help of anchor bolts, the beam is installed. The tops of the rafter are installed. On the perimeter of the carcass, another frame from the bar is naked and attached to it raftered from below.
For the same purpose will fit the upper strapping. The distance between the elements is calculated individually, depending on the width of the roof and its tilt. The greater the angle, the more often the supports need to be located.
-->Also in choosing a distance between the elements of the crates can be focused on the overlap type.
- Tiles of ceramics - 35 cm.
- Tile from metal and professional flooring - 60-90 cm.
- Ondulin - 60-100 cm.
- Slate - up to 80 cm.
The next step is the covering of edged boards (a thickness of at least 50 mm) and floorproofing with insulation. Then stacked the roof. An extension will look in one whole with the main building if used on it the same material. All parts must be treated with antiseptic solutions and fire impregnation. If you stopped at metal floors, pride sound insulation so that the noise of rain does not bring discomfort to your holiday.
Check out a detailed step-by-step video on how to make a roof for block veranda.