
We tell how to properly lay the cork floor of the castle and adhesive type.

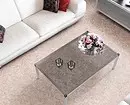
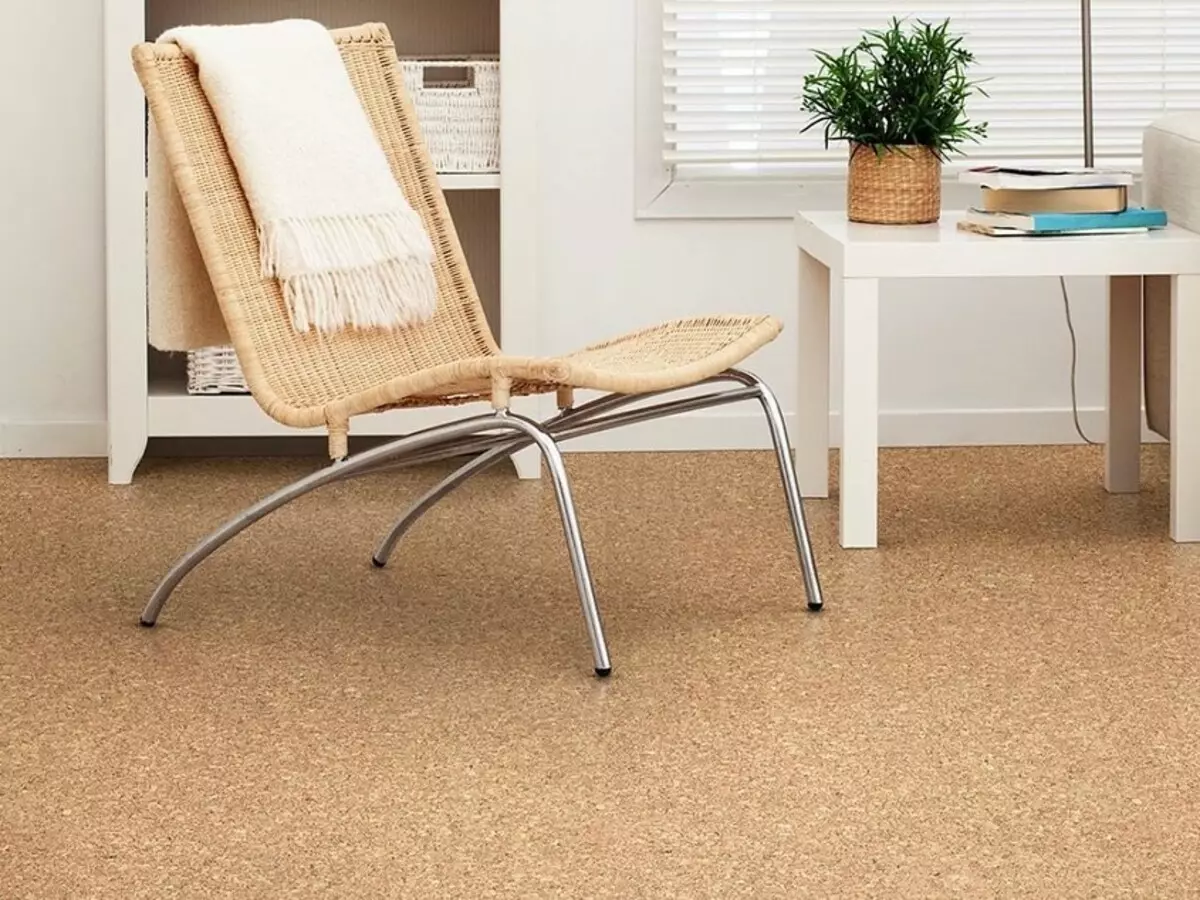
The cork is a good choice for those who are looking for a warm and "quiet" floor. It is pleasant to the touch and looks beautiful. Provided that it is operated and stored correctly, the finish will serve not one dozen years. Natural material is satisfied with expensive, but you can save on the laying and perform it yourself. Let us consider the type of cork and laying each of them.
All about mounting floor from traffic jam
Varieties of flooring- Castle
- adhesive
Preparation of the basis
Laying of lock decoration
Installation on glue
Varieties of trim from traffic jam
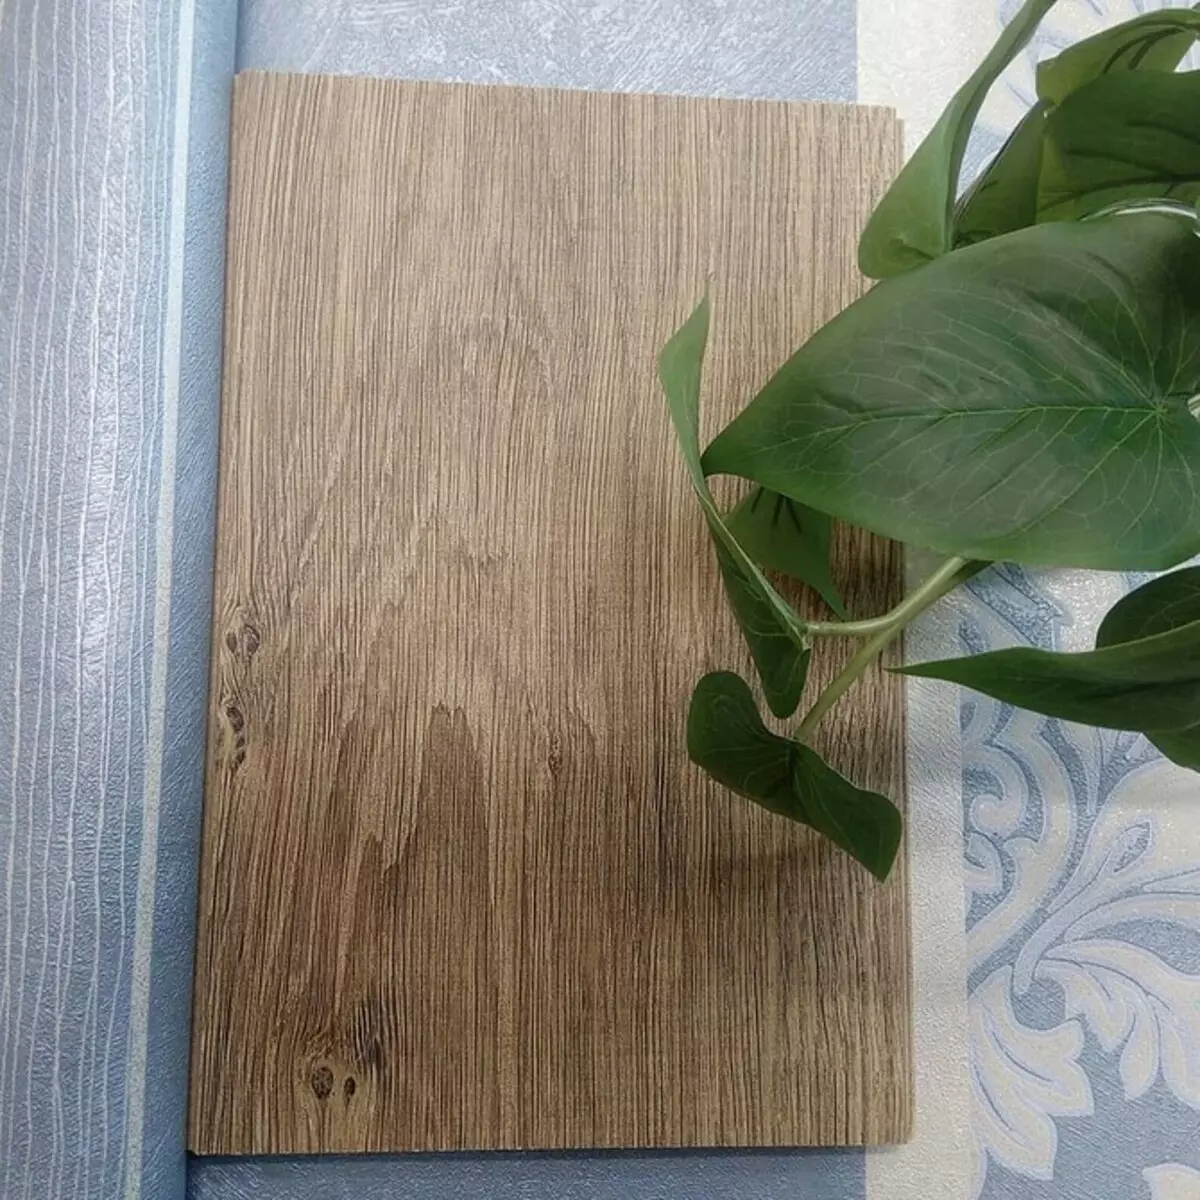
Raw materials for production serves cork bark. These are usually granules, that is, the crushed bark. The crumb is pressed under greater pressure, turning into sheets. It makes different coatings. For finishing finishes, two types are usually used.
Castle floor
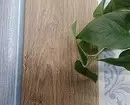
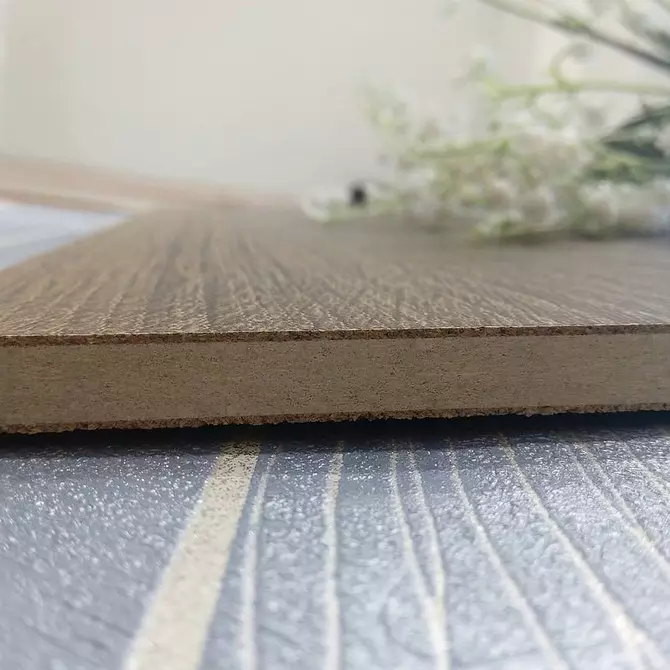
It is also called cork laminate. These are lamella with "groove / spike" locks. Each consists of several layers. The base panel of the HDF class or MDF is superimposed with a layer of extruded plug. It covers external protection: polyurethane film, parquet oil or elastic varnish. From the reverse side, there may be a layer of technical cork as a substrate, but it is not all models.
If moisture-proof material is needed, choose a cladding based on so-called hydrophlitis. They are made of quartz or polyvinyl chloride. Floating system is collected from the slats. Installation is similar to assembling laminate. It is carried out on the aligned dry base. The dimensional ruler includes several sizes of panels. Thickness: from 0.75 to 1.35 cm.

Adhesive coating
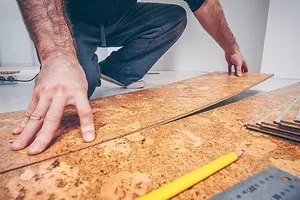
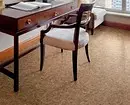
Plates made of pressed plugs, in some models above the veneer sticks. Covered with a protective layer of varnish. Installation of the finish is very complicated, it is placed only on the perfectly level base, even minimal height differences are unacceptable. Each plate is glued with special glue. After drying, additional finishes are recommended: applying a layer of parquet oil or varnish.
In contrast to the floating system, glue is more resistant to sharp temperature and humidity drops. It is not afraid of water, can fit in the kitchen or in the bathrooms. Operation in the house with temporary accommodation is possible, where heating is included only by the arrival of people. Castle structures in such conditions will quickly deteriorate.


Preparation of the foundation
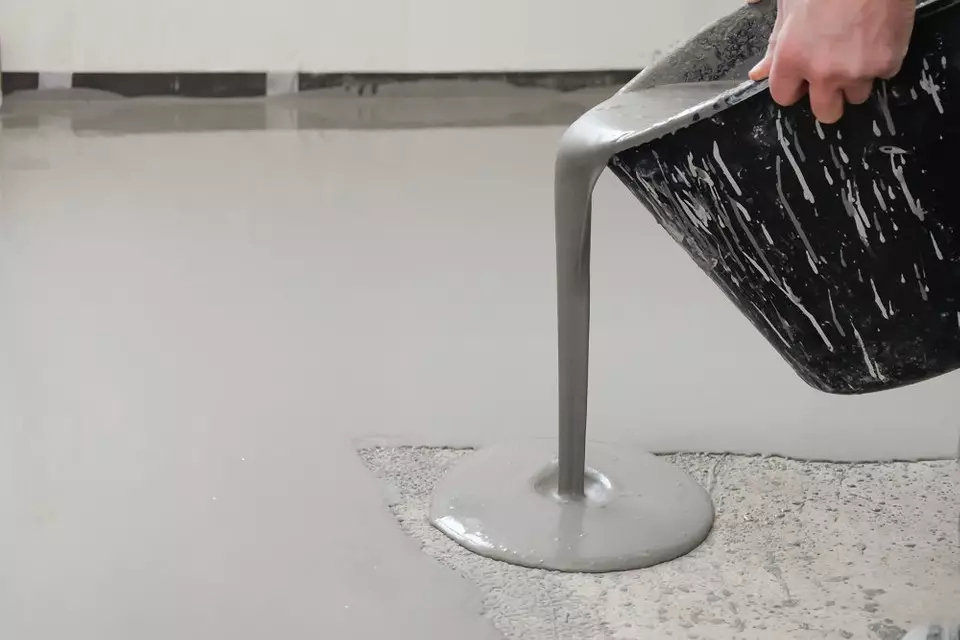
Cork laying technology involves careful preparation of the base. It can be screed or concrete slabs. In any case, they are equalized by a self-based bulk mixture. Under the lock systems, we will allow a drop of heights up to 2 mm for every 2 m. This is necessarily controlled by rule or level. Adhesive lamellas are put only on a flat base without drops. True, sometimes they are placed on not very even surfaces. But only in the case when the irregularities are very small, and, most importantly, smooth.
Start training from filling the foundation by a self-leveling mixture. It is bred according to the manufacturer's instructions, poured, give to open. The screed is considered ready for work after its humidity drops to 5%. This is measured by a special device or a simple test is carried out. A piece of thick plastic in size of approximately 1x1 m is placed on concrete and hermetically pasted with scotch. In this form, it is left for a day, then removed. The presence of condensate indicates a high humidity, if it is not - you can start mounting.
For wooden bases are used dry tie. They are aligned with chipboard sheets, MDF, GWL or plywood. The plates laid the "rotary", that is, so that the joints in different rows do not coincide. There are small gaps of 0.3-0.4 cm between sheets of 0.3-0.4 cm. Screwed to the basis by self-draws. Their caps are definitely completely bleed. Close up of seams and deepening with putty. They give it to open, then sandwith. If you plan to install the glue, the plates are ground, it will reduce the adhesive consumption.
Laying Castle Type Cork
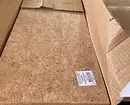
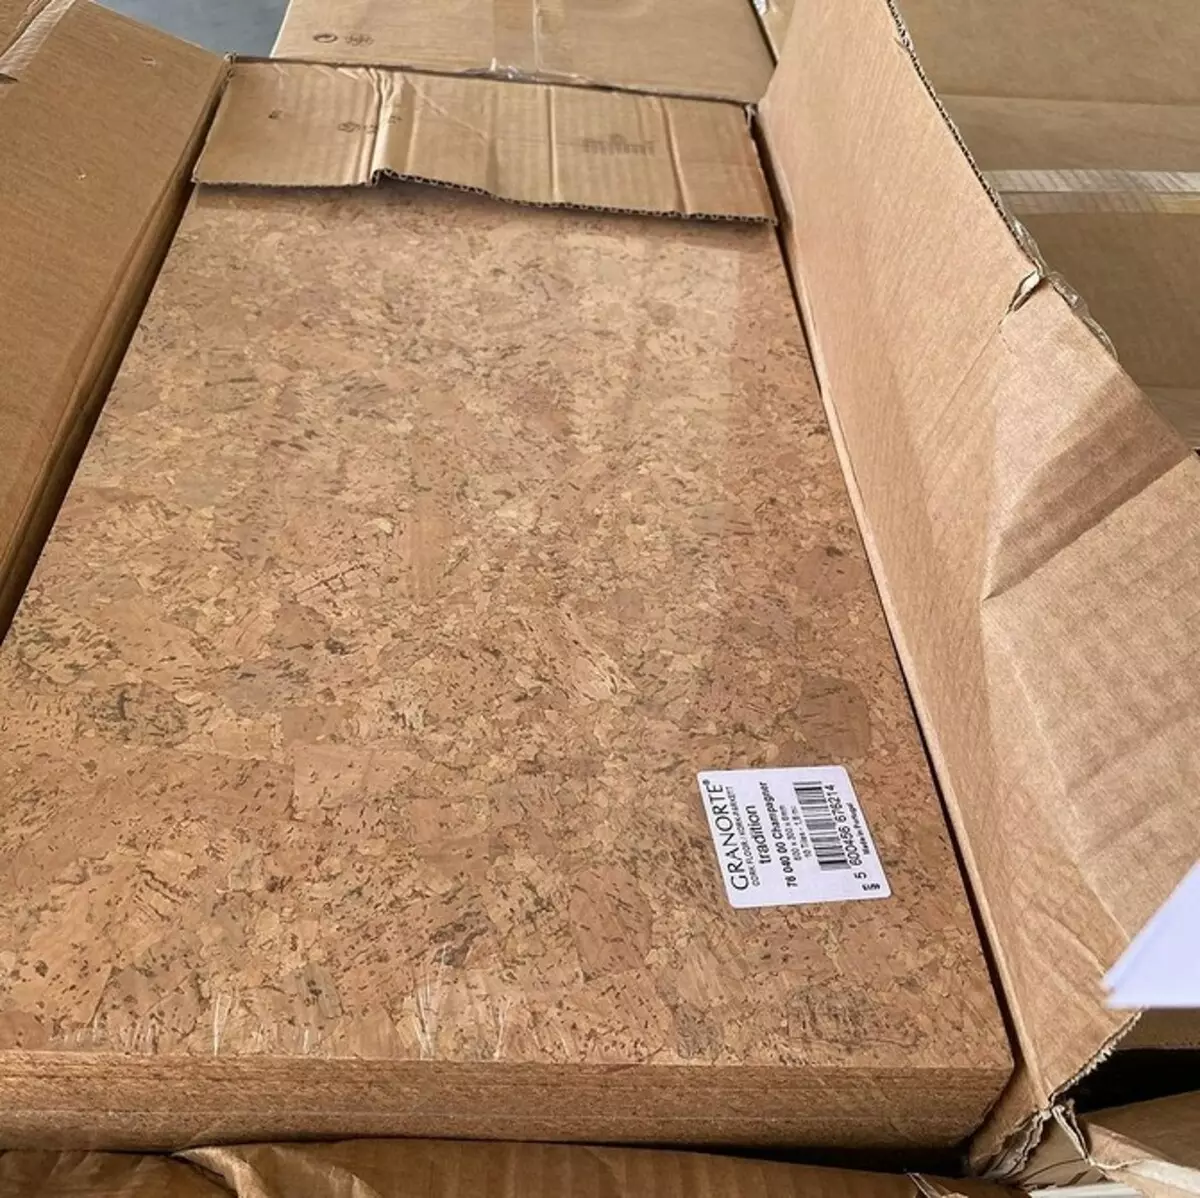
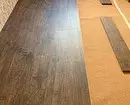
Lamaders must acclimatize before mounting. They are brought to the room per day before the start of work, the packaging opens. If there are no substrate on the planks, it must be purchased. The best option is from the technical cork, but you can anyone. Laying is carried out in such a sequence.
- Clean the aligned base from dirt and dust.
- We are placed plastic film. It will protect the coating from the moisture coming down. Stripes decompress with a small overlay, about 15-20 cm. We fasten them among themselves with scotch. The film should go on the walls by 10-15 cm. When mounting the plinths, its excess is cut.
- Put the substrate. Plates or bands lay out the jack. Seams should not stand out. We fasten the joints with scotch.
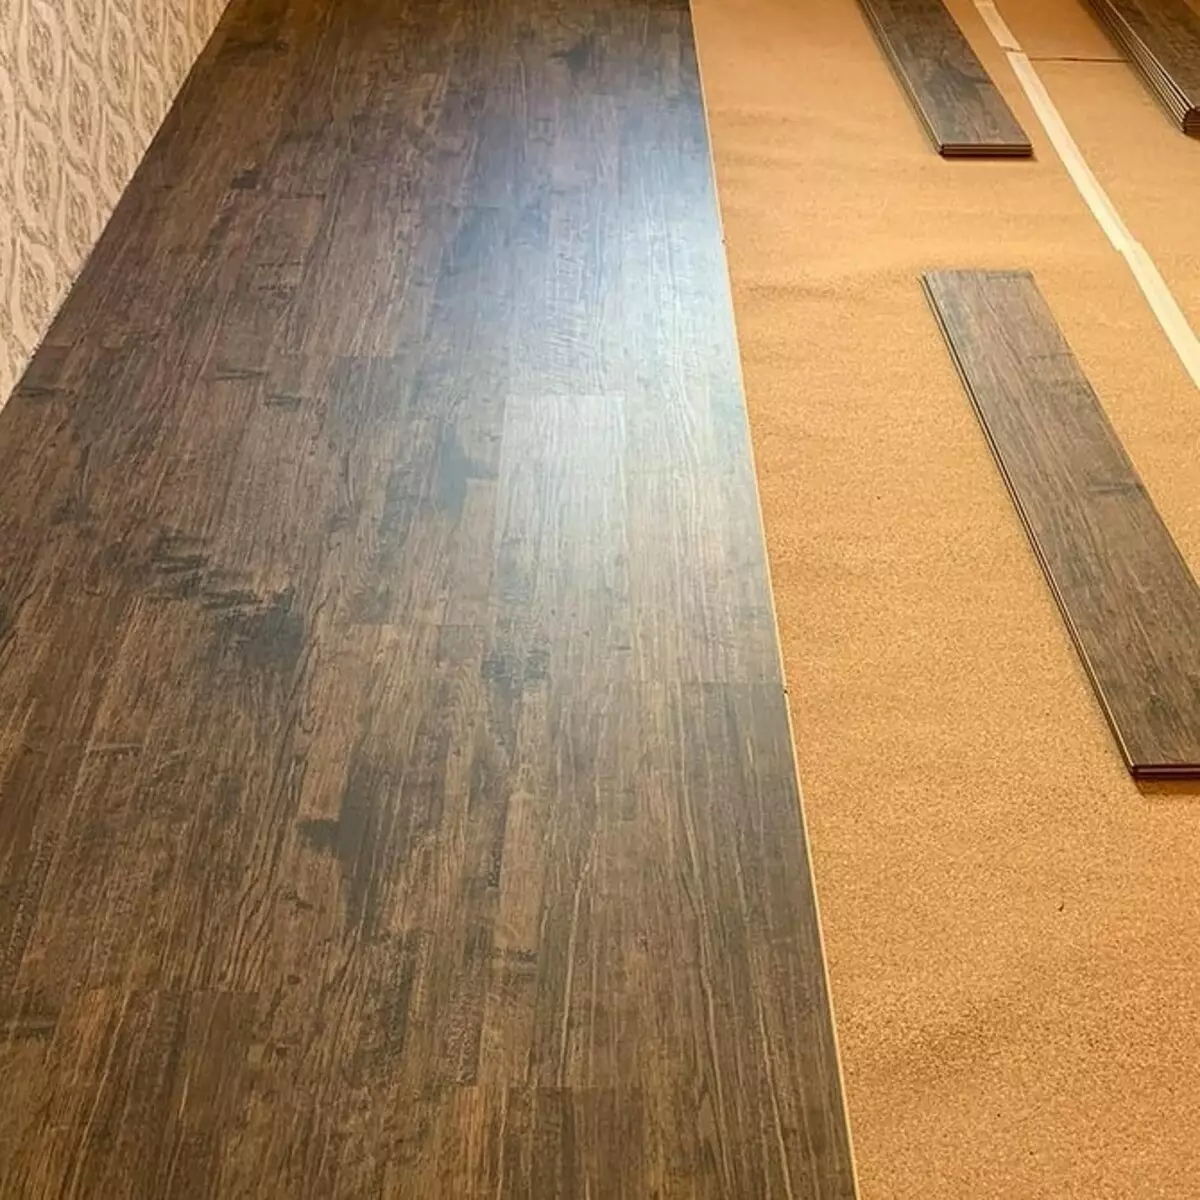
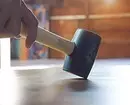
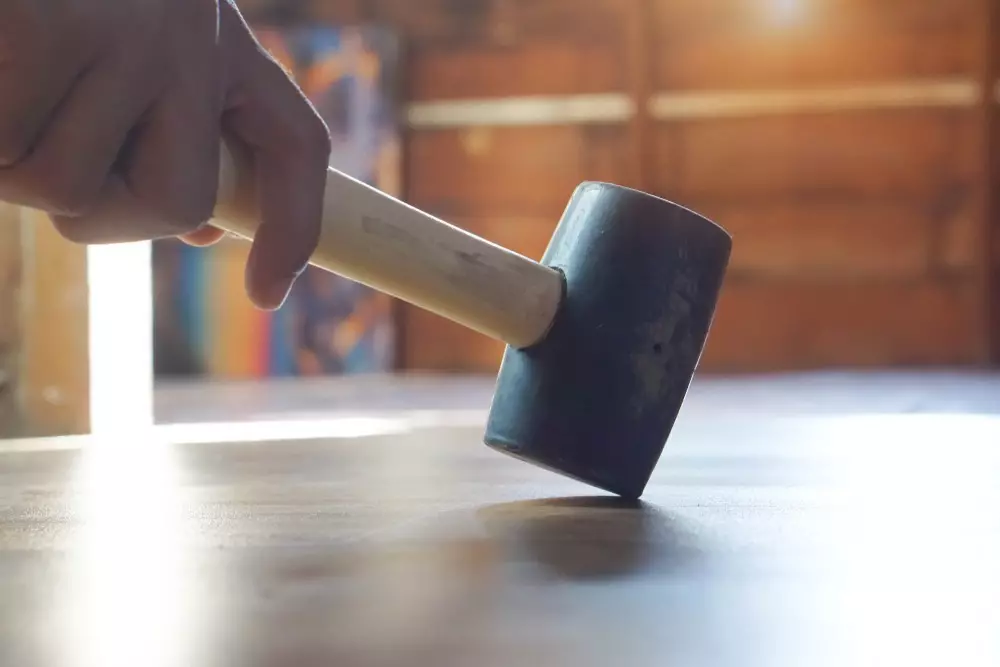
- Mount the first row. Lamed laying with a clearance from a wall of 6-8 mm. In order not to be shifted by the bar, we put the spacer clins. Panels connect with each other, press until it clicks. Sweep rubber Cyans for tight fit.
- The second row is put it so that the joints do not coincide with the previous one. To do this, start it with a brought half or a third of the lamella. Sketching the details of the Cyonya.
- We put all the material. Watch the joints so that they do not coincide.
- Check the value of the compensation gap, we remove the clins.
- Mount the plinth. First cut off the surplus of the film. Glue plinth to the wall, pre-lay under each part of the match so that it does not come into contact with the floor.


Installation on glue
The glue method of laying is more difficult. We will describe in gradually how to put a cork cover on a concrete floor.1. Preparation
Plates enter the room per day before the start of work. They are unpackled and sorted. Even the highest quality natural material has small defects and flaws. They should be noted. This is done using painting scotch. Each tile is examined, if necessary, marked and sorted. Masters recommend dividing into three categories: without damage, minimal flaws, significant defects.
The planks from the first group are put on well-viewing sites, from the second - are mounted near the walls and in low-rise places. From the third - clipped. Sometimes parts differ thick, they are poured with sandpaper. Before work, the layout is determined. There are few options. The main requirement is to put the "rotary" so that the joints do not coincide. For slats without a chapecker, it is not allowed to shift the parts to an arbitrary value, it will not be noticeably.
Facing with the fma must fit with an accurate displacement, since the seams are clearly visible. Usually choose a displacement by a third or half of the plate. This increases the consumption of the material, so it is bought with a margin. The alignment of the foundation is done in advance, so its preparation is in careful cleansing of possible pollution and dust. The surface should be clean.
2. Marking
Laying of cork sex on glue begins with the center of the room. Therefore, the markup is required. If the plates are planned to be diagonally, they take two cords, deceive with dye. With their help, the diagonals are fighting. The intersection of the lines is the desired center. For parallel laying, another markup method is used. The length and width is measured. With their help, the center is determined. At this point there are two perpendicular lines. Tiles will be located along.3. Laying
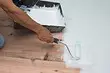
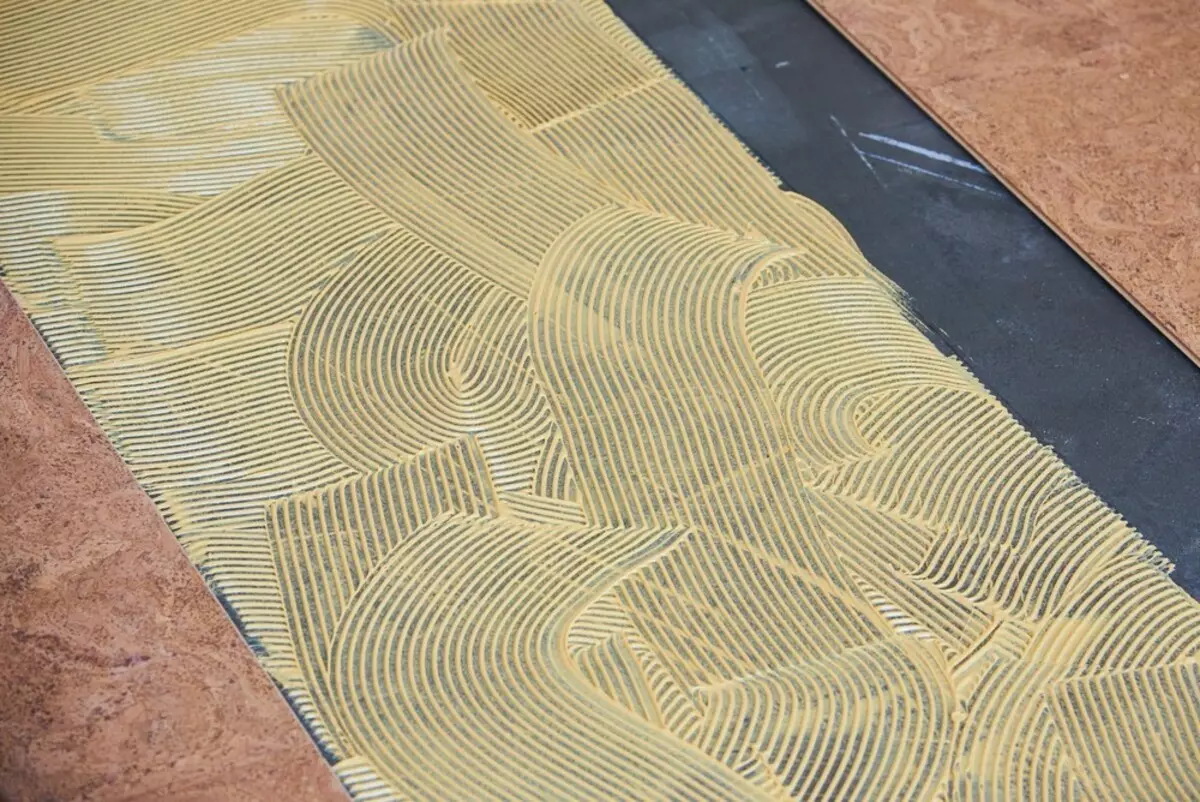
The first row is laid out along the planted line. It must be absolutely smooth, so they choose the plates from the category "without damage". The glue is selected in accordance with the recommendations of the cork manufacturer. In any case, this is a flammable drug with a strong smell. When working with it, special caution is observed. The adhesive means is flashed on the base with a small-grained spatula. After that, it should open a little over 30-40 minutes.
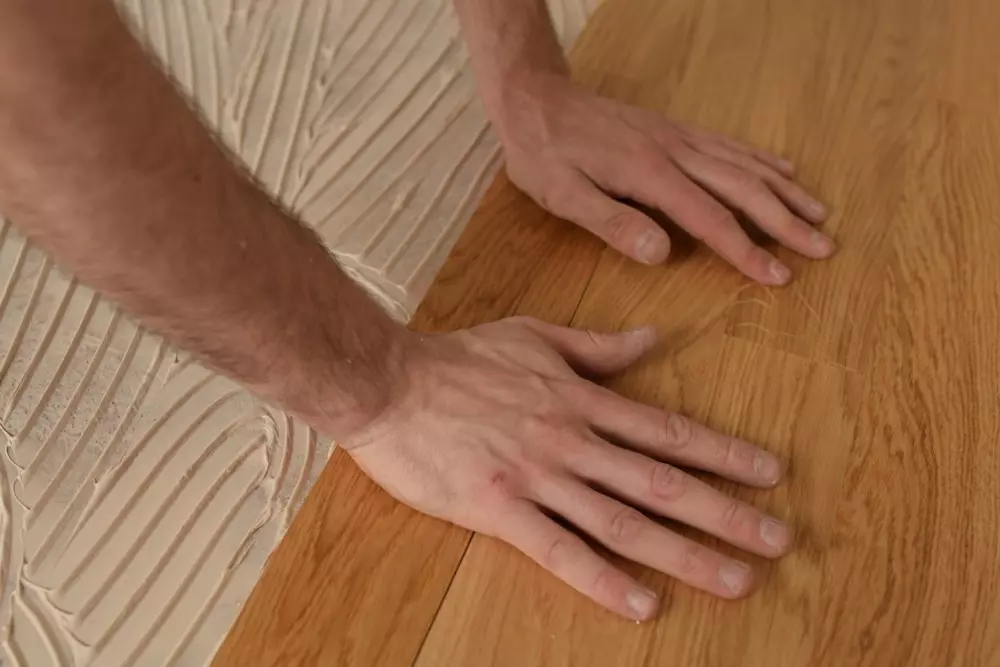
Similarly come with a bar. It is smeared with glue and leave. Therefore, the masters are preparing several plates and a place for gluing them. After the adhesive mixture dried, take the first tile and put it exactly on the markup line. Slightly pressed and tapping with rubber Cyans. The next plate is placed so that its edge goes to the laid bar by about 1-1.5 mm. Align the edge of the parts on the markup, put it on the basis, glue. Near the junction turns out a small wave. Crawling a crying plank, moving towards the junction. The wave is pressed to the base, it turns out a dense, barely noticeable seam. Similarly, the other tiles are stacked. Near the walls are made compensation gaps of 5 mm.

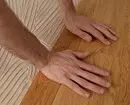
If necessary, trimming is performed. The plug is easily cut by a sharp stationery knife. After sticking the finish, it must be placed by pressure roller. This is the name of the roller weighing at least 50 kg.
5. Mounting plinth
In contrast to the locking system, the plinth is pasted on the floor covering, and then also poured with varnish. So that a one-piece basis is. Therefore, it is important to make tight joints so that there were no noticeable seams. The plinth strips are cooked one to another. In the corners are wedged with an ordinary stouch. Fixed glue.


The last stage is the application of several layers of varnish. They are imposed by velor roller. After the first layer is dry, the surface carefully examines. All found defects close the sealant for the parquet. Otherwise, they will be very noticeable. If the plates are initially closed, the sealant is imposed immediately. After drying, the mixture is cleaned, the base is divened and one or two layers of varnish are applied.