Sooner or later, any furniture will be bored or will be unusable. Every time you buy a new one - you need a big budget, and is it worth it? Mass Market has already nabe the Oskom. Moreover, the restoration of old things is now in fashion.
Today we will analyze how to paint the old chest step by step to look like a new one. As well as give 10 class examples, as craftsmen give storage systems a second life. We are sure that after that you want to take paint, brushes and highlight the weekend for alterations.
How to renovate the old chest of hand: 5 steps
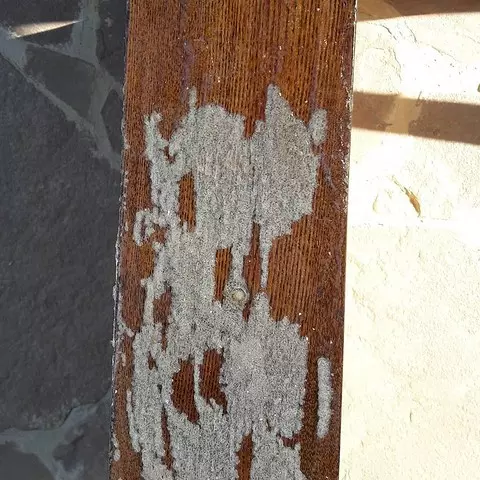
1. Remove the coating
Paint
For this we will need a solvent, a spatula, and ideally a grinding machine.
What does the process of removing the old coating manually looks like: we remove the material with a spatula if we need to use the solvent - it may be acetone or any other store. With it, the decorative coating will go much easier. Take an unnecessary tissue (or rag), soak the solvent and wipe the surface. The old finish should go almost completely. And the remains after you can remove the spatula.

Do not forget the mask and gloves
By the way, if you work with solvents, do not forget the mask and gloves - as it is toxic substances and from vapors you can feel bad and damage the skin.And what if working with a grinding machine? Suddenly you have friends who can borrow technique. Grinder should be with a nozzle - for stripping with abrasive. It is such a nozzle that helps to completely remove the paint coating and leave the pure wooden surface. For perfectly smooth coverage after the machine, you can "walk" with a wood grinding circle.
Of course, this option is faster and easier, but keep in mind that when working with the machine there can be a large amount of dust. Bursting the respirator and glasses.
Plastic film
In the 90s and 2000, the furniture was trimmed with films under the tree. If you need to remove it, the easiest way is to use a construction hairdryer. Hot air will help to easily separate the plastic coating from the base. Follow the simple instructions: first herald one of the parts of the structure - for example, a worktop or door, then picker the film and gently separate it. Repeat the procedure with other details.
If you want to To do It is without a construction dryer, the process will be the same as with paint.
2. Close up cracks and other flaws
Despite the fact that the restoration of the chest with their own hands at home is a simplified version, candid deficiencies cannot be left. Moreover, it is not so difficult to correct them.
Close up irregularities and cracks
It will take a putty for a tree. Please note that it is better to choose a special putty, since conventional building materials may contain large abrasive particles, and eventually damage the coating. And the material for the tree will fall smoothly and neatly.

Wooden putty
Align the surface and wait for complete drying. After you can go to the next step.
3. Spin all the foundations
After leveling, it is important to polish surfaces so that the new coating fell smoothly. Use the same grinding machine or abrasive paper.Video: Instagram Yulya_Tvorcheskaya
4. Apply primer
Also, as in the decoration of the walls, the primer acts as a binder - it will improve the adhesive properties of the new finish. Do not skip this stage. Ask, whether there is a special material for wood in the store, but in general, you can use the most fiscal option. To apply primer, you will need a brush or a paintopult.

Applying primer
5. Krasim
With color, decide in advance. You can combine a few shades - for example, doors or side parts to make another color. Or do you want to make the decor with stencils contrasting? In short, decide what exactly you need.
The pros is advised to make a few painters in advance - see how a specific shade will look in your interior. If you think this trifle is alas, you are mistaken. The fact is that the color of wall decorations, natural and artificial light in the room affect how the shade will look. There are a lot of nuances, and if you do not want to repaint a thing again, it is better to make several tests - for this in building stores sell samples of material.
Choose paint on wood. This is important, as it has special properties to preserve wood for many years, unlike the usual coating.
Apply the material into several layers - it depends on the shelterness of the material. At the same time, each new layer must be applied only after complete drying of the previous one. Look at the process of coloring on video.
Video: Instagram MyHyggeland
Use a brush or roller for this purpose. Large surfaces can be treated with roller, and small - legs or space around the handles - a small brush.
Next we will look at the options of the decor. You can not decorate the surface, but just leave it painted. But sometimes details transform furniture and make it unique.
Ideas that will be inspired by alteration
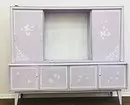
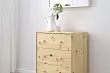
Let's see how you can update the old chest, in real examples.1. Make patterns with stencils
After applying and fully drying the base, make pictures. The simplest idea is to use stencils. So they will work smooth, and the process itself will not take much time.
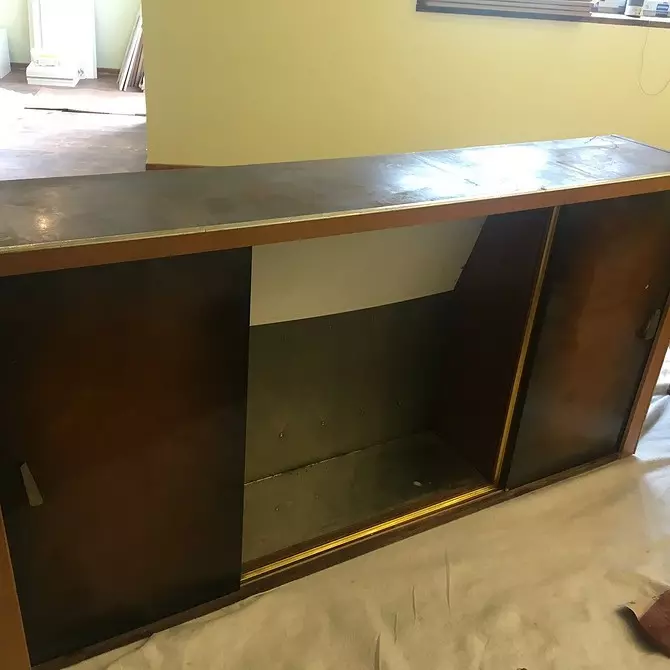
Before
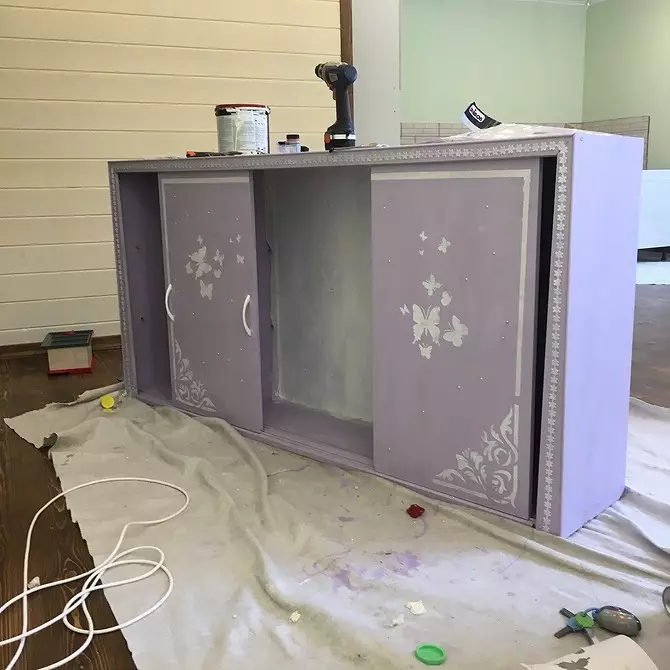
In the process
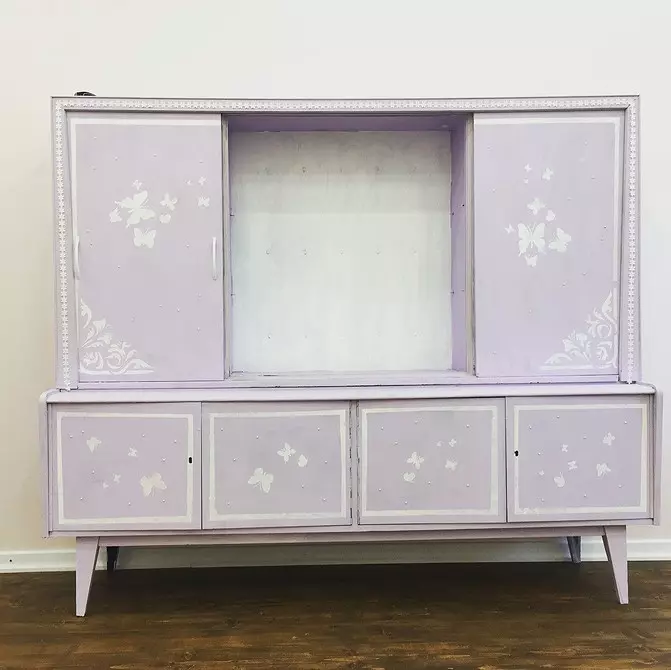
Result
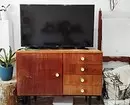
2. Put the base on the legs
This task is more difficult, but thus the old cabinet turned into a stylish piece of decor in the aesthetics MID-Century Modern. It is also important to choose the right color. This is the case when the natural color of the tree shall the blue. And yes, in this case, the uneven paint plays only in plus - as you can see, small disadvantages can be turned into advantage.
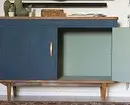
Before
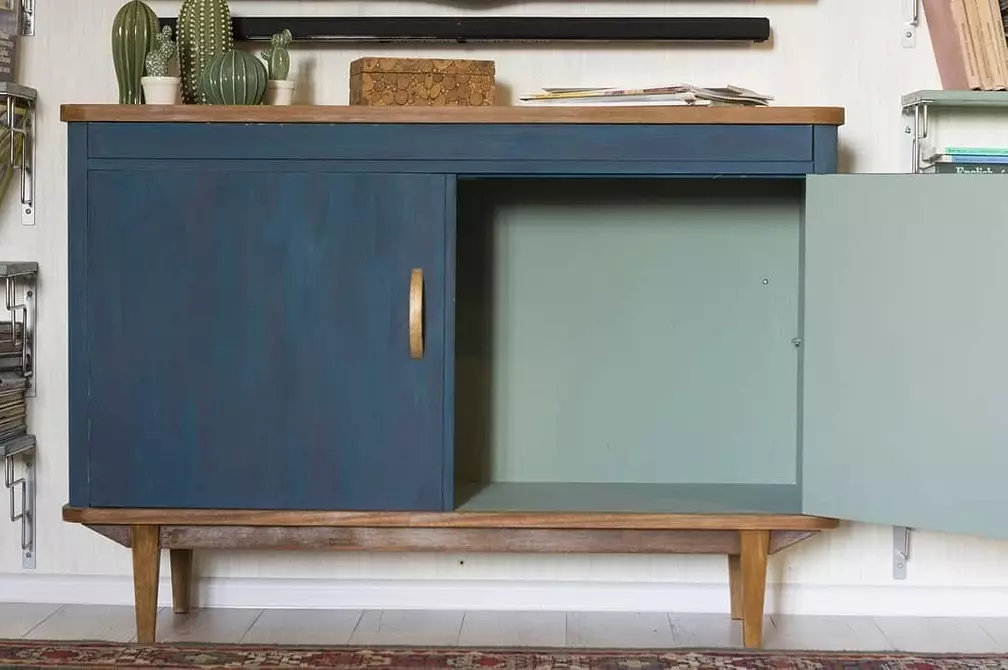
After
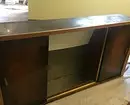
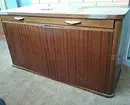
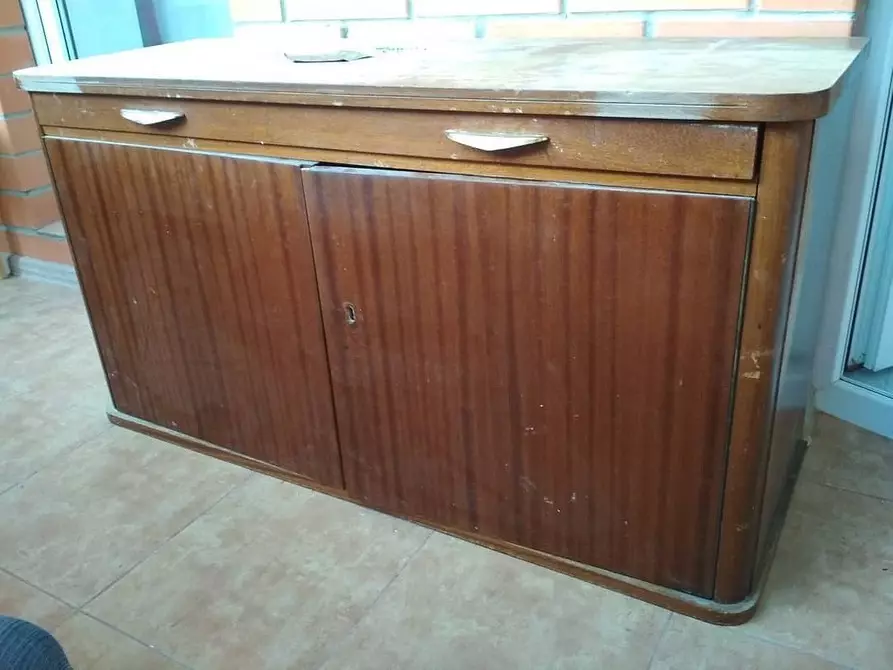
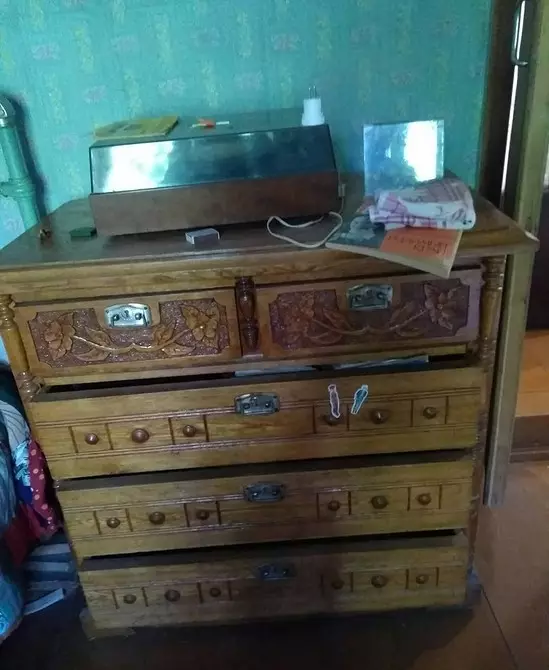
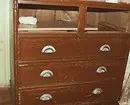
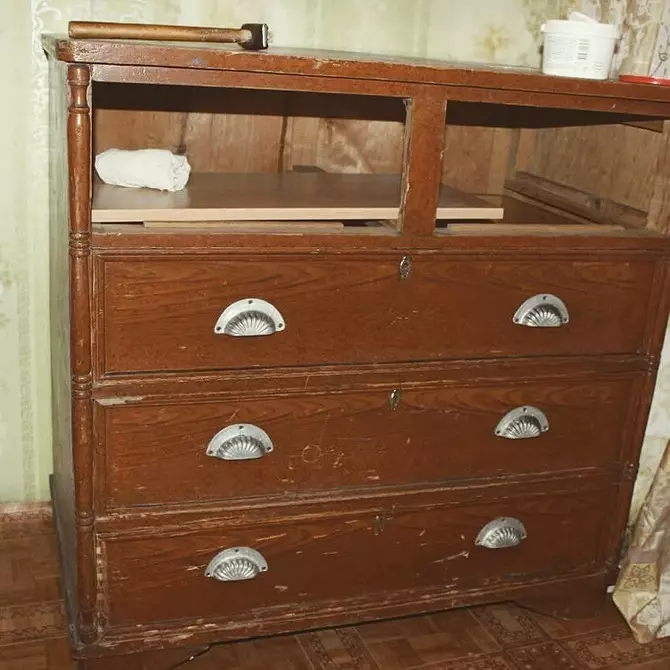
3. Pick the color that will emphasize the noble design
To repaint this dresser into frivolous shades would be a crime, so the owners cleared the surfaces, unscrew the decor and handles and put the paint in almost the color of the old finish, but rushing. In order to emphasize the texture of the tree, the wax was used.
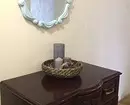
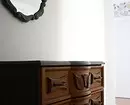
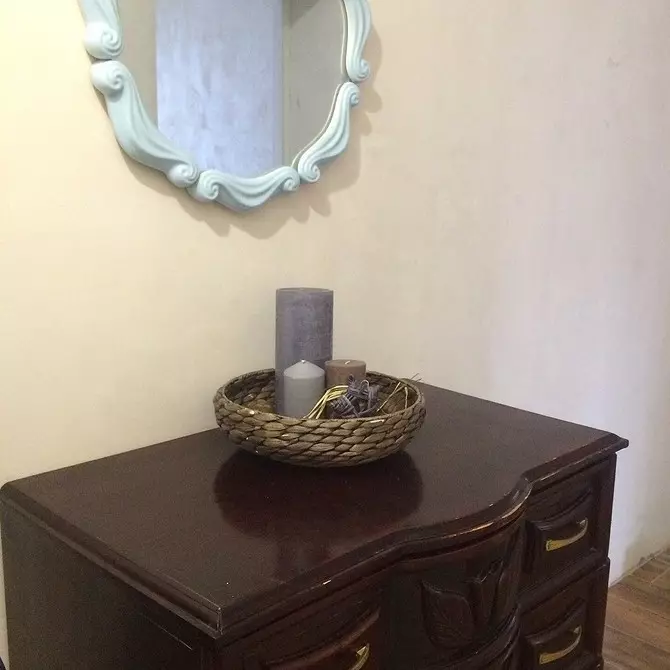
Before
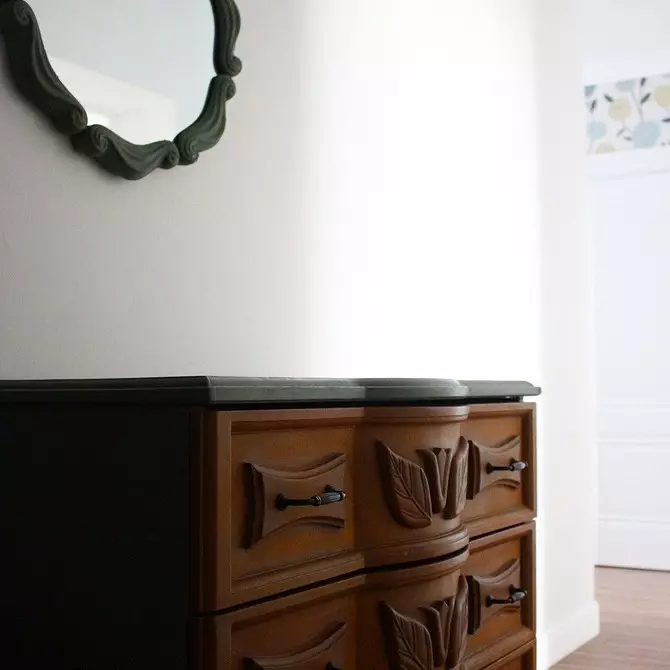
After
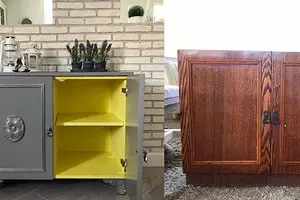
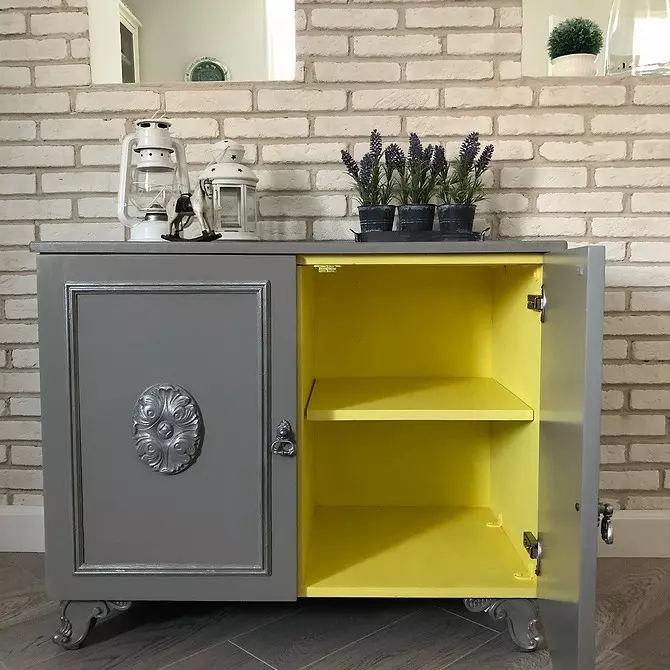
4. Turn the old Soviet bedside table into a vintage piece of furniture
For this, several elements were used at once. First, silver paint for facades. Secondly, bright yellow paint - for internal shelves. Contrast looks unexpected and boldly. And in order to give vintage aesthetics, decorative sockets and moldings were chosen for the doors, and the same carved legs.
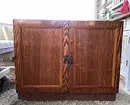
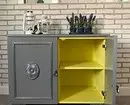
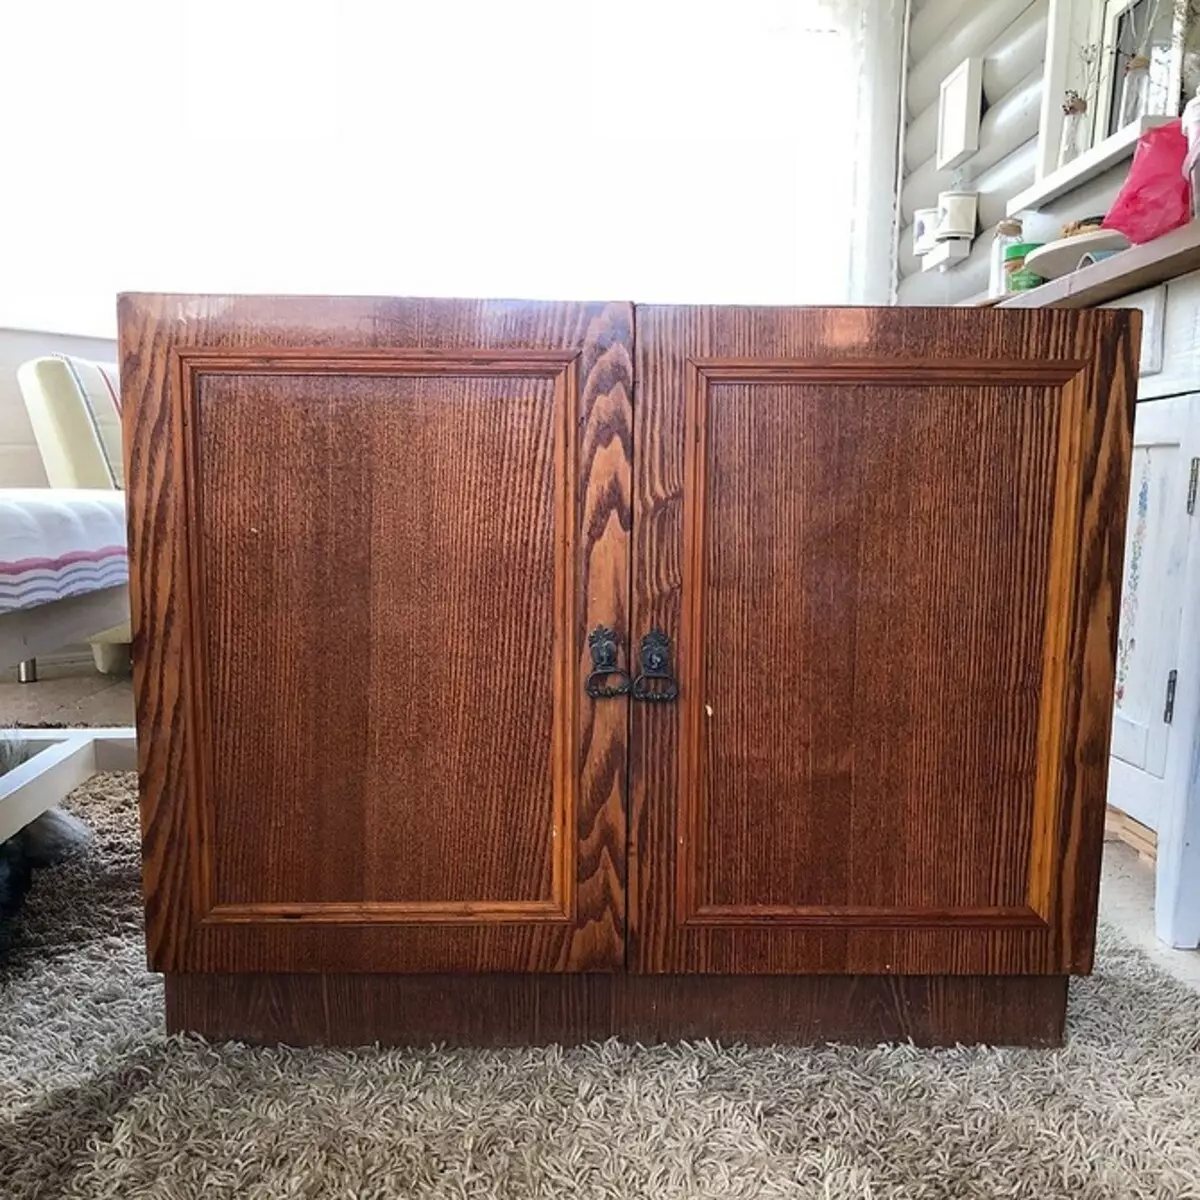
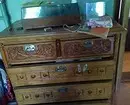
Before
After
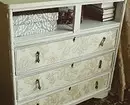
5. Select the relief parts with contrasting shades
Vintage embossed elements on the facade and the countertop can be highlighted in color - for this it is enough to walk the roller on them. So you give the decorations a light shade. What color to choose? For example, in this case, they chose the same shade as on the edging of the table top.

Highlight the relief parts by color
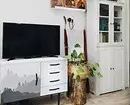
6. Paint in the basic color
White - non-standard idea for vintage dresser. Usually they are trying to be made as close as possible to the original. But in this case, a bright white shade was chosen and replaced the handles.
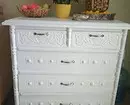
Before
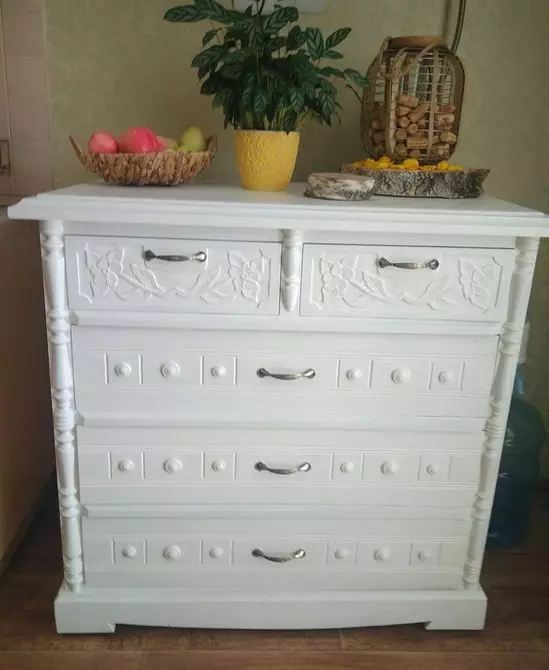
After
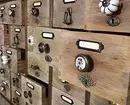
7. Select different fittings
This secreter turned into a unique piece of furniture - for each box, a new handle was picked up (this is noticeable in the photo). And after the drawing appeared on the facade.

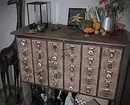
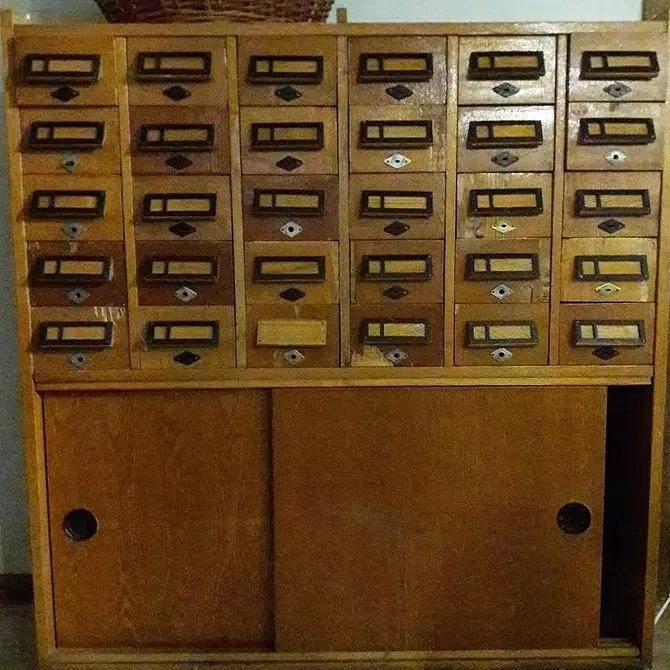
Before

After
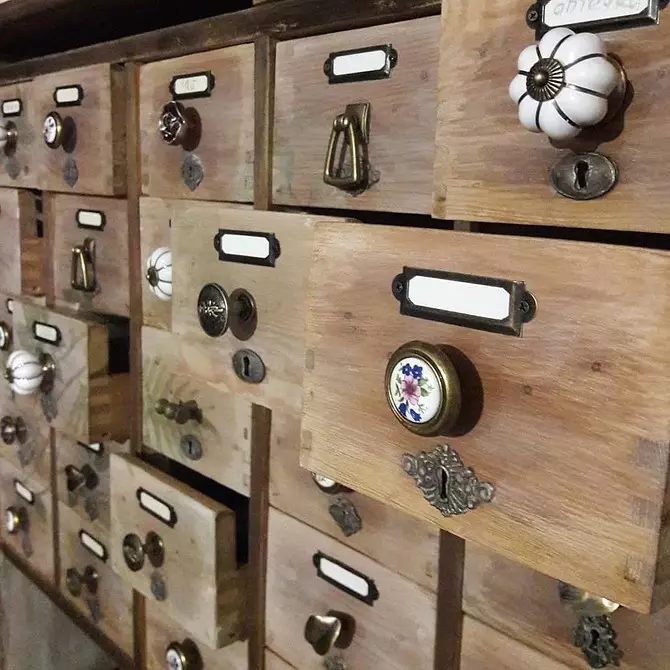
Handles in the near review
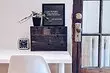
8. experiment with the drawing
And here the main element of the decor is a fantasy image of the mountains. Finished furniture has become the decoration of the room in Scandinavian style.
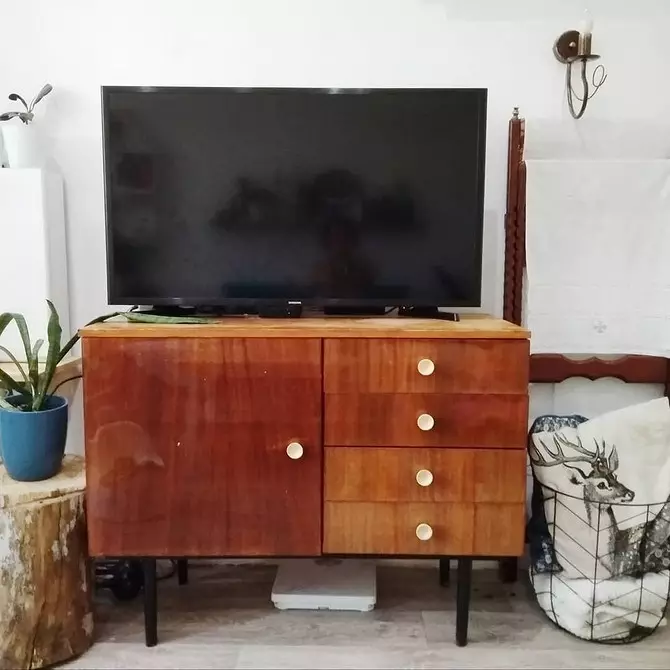
Before
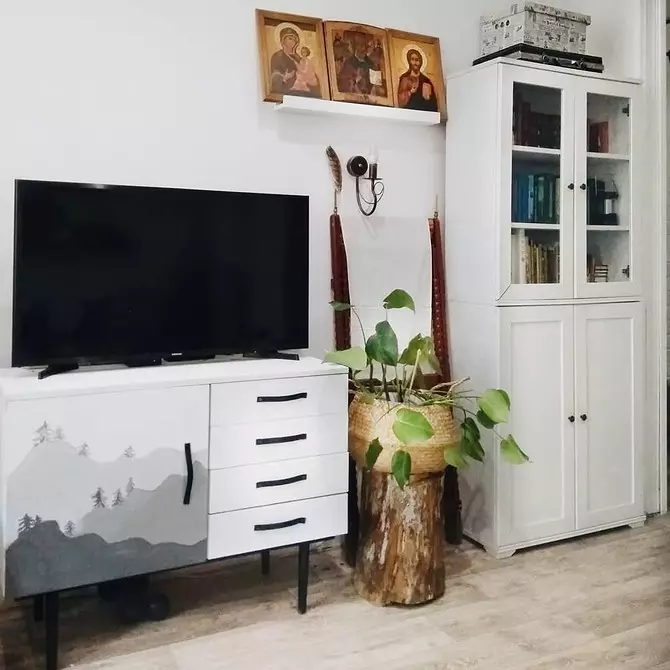
After
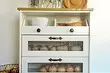
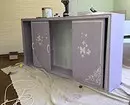
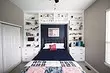
9. How to renovate the old chest with a curtain
When the piece of furniture belongs to the past century, it seems easier to transform it. After all, both styles are relevant. And this is an example, as from the unattractive chest of the 2000s to make a pretty piece of furniture. The surface was painted, and the facades of drawers were decorated with moldings and ... curtains.

How to update the chest with curtains
10. Use the remnants of old wallpaper
The principle is the same as in the previous version, but instead of the curtains used the remains of old wallpaper - every person who did repairs, they are probably there. Just glue them to the doors after painted the surface.
Before

After
As the examples show, the apsekling is really in fashion. Perhaps because the mass market is already tired of the mass market, and in the interior you want to see something unique, and the design items lack the budget for the design items. And maybe the reason is that retro and vintage entered the fashion. Especially with the arrival in the Russian interiors of the Scandinavian style. Fans "hunt" for vintage things on Avito or similar sites buy and restore. Now and you can try your hand. In fact, everything is easier than it seems.