
"Three-dimensional" Eurosalities are one of the most aesthetic fences for the cottage or private house. At the same time, high-quality and properly installed products are able to serve several decades. We tell how not to be mistaken when choosing and installing.
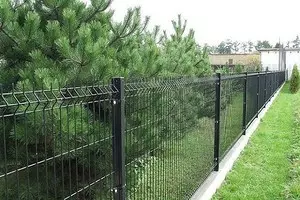
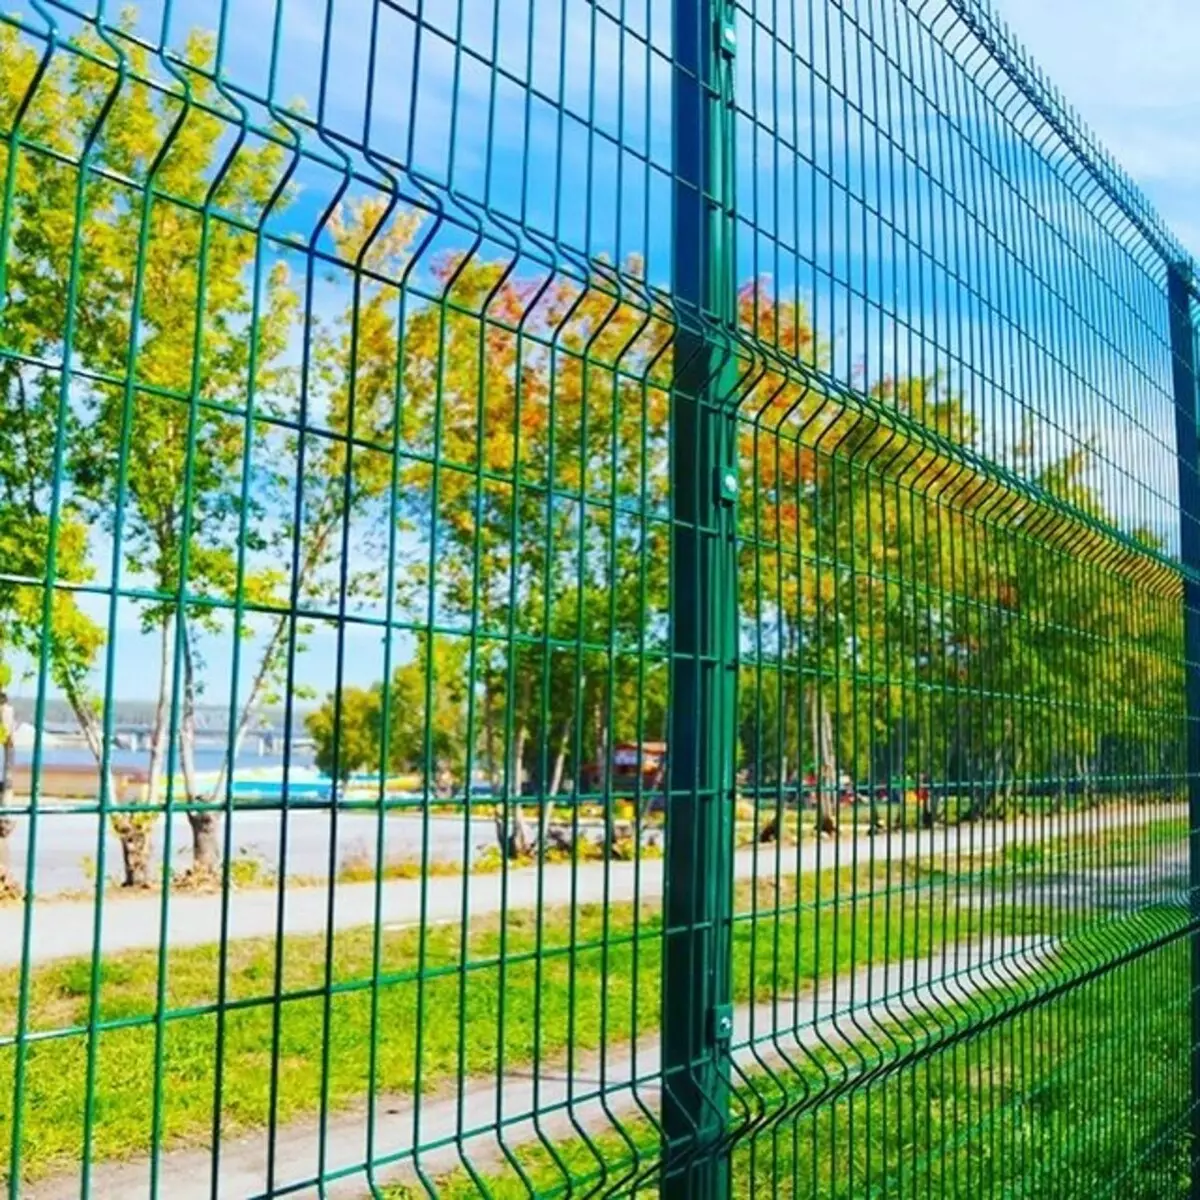
Photo: Instagram Sofit_ural

Photo: Instagram Sofit_ural
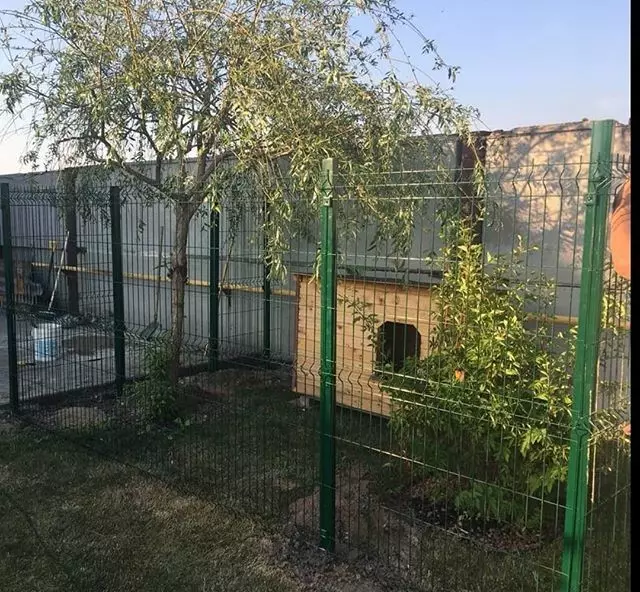
Photo: Instagram 3D_ZABOR_MIREX72

Photo: Instagram Park3D
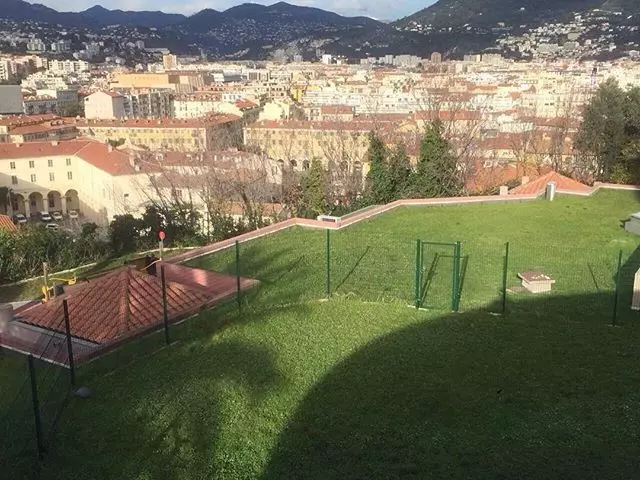
Photo: Instagram Park3d
Photo: Instagram GoodFence
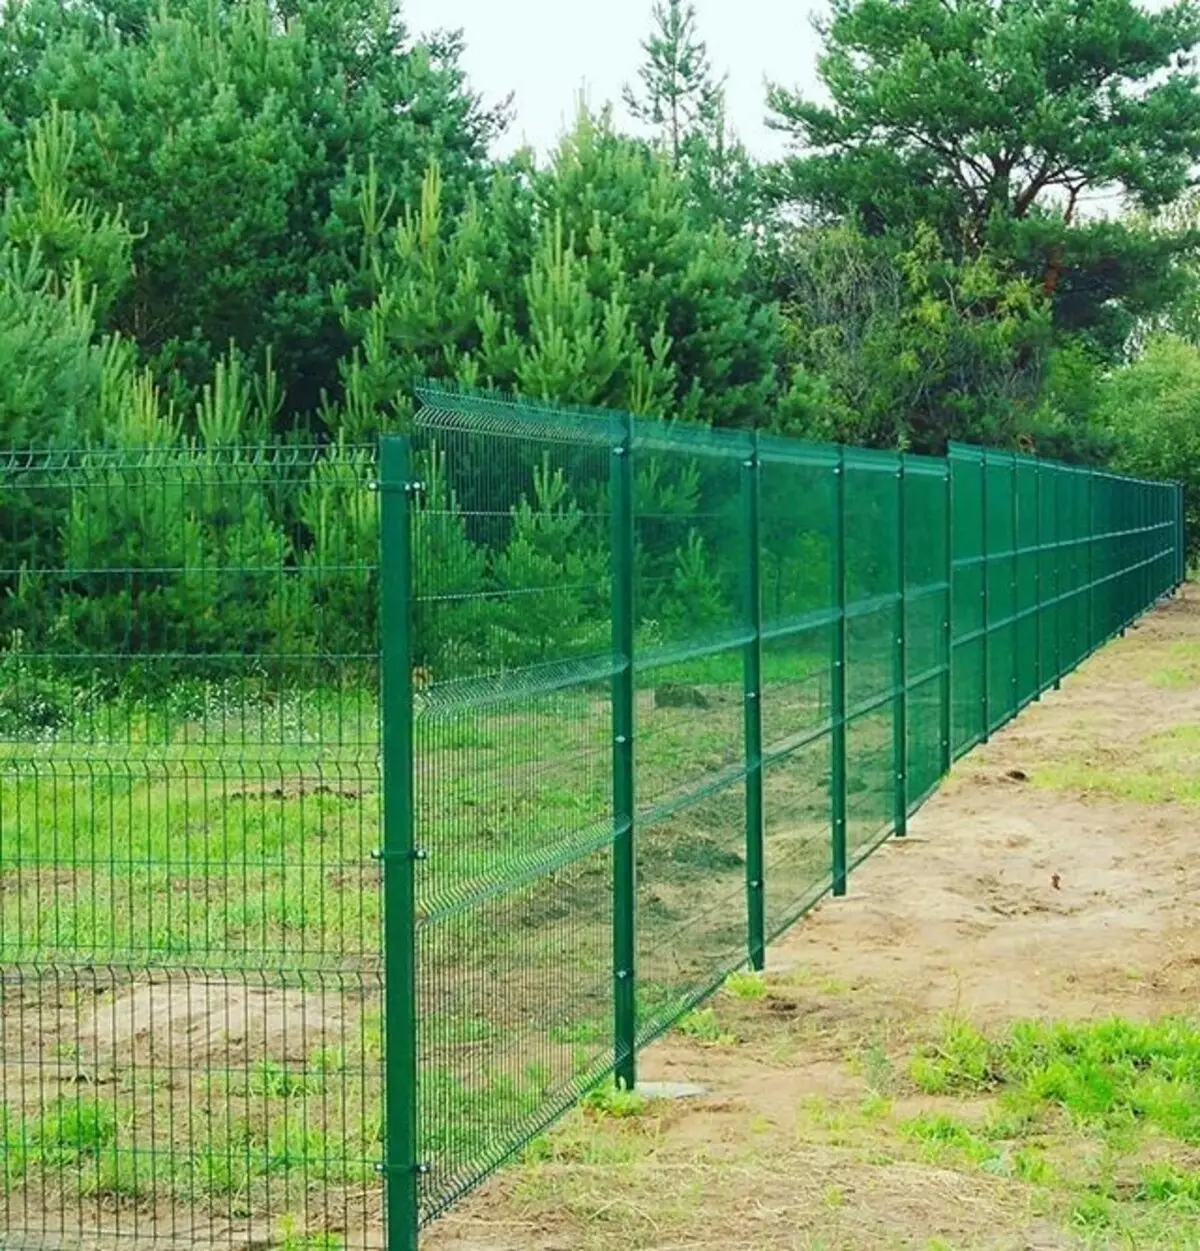
Photo: Instagram GarantMetall32_57
What is a 3D grid for fence
Most often, the concept of "3D-fence" refers precisely to the fence from the Mesh Hitter, or Gitter, that translated from German means "grille". According to the strength of the design is close to wrought, but their value is much smaller.
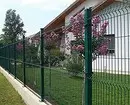
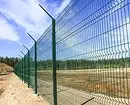
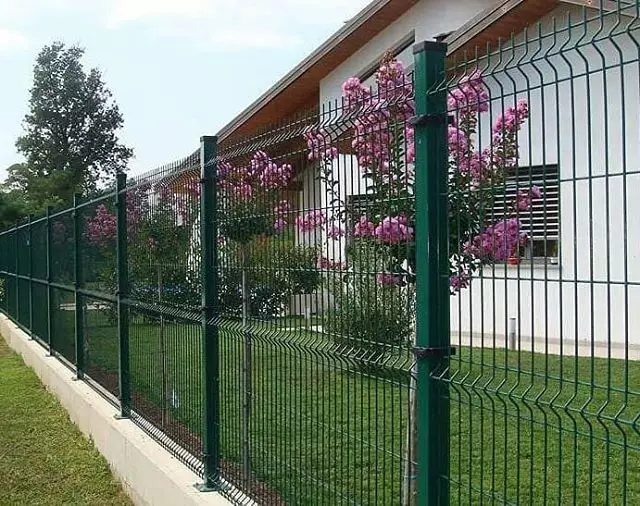
Photo: Instagram SM_PERM

Photo: Instagram Dachnik174
The bulk effect is achieved by giving the rods of curves in the form of an English letter V, which can be located at the bottom, downstairs and / or in the middle of the section. These "waves" are also called rigid ribs.
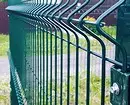
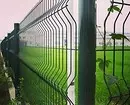
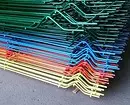
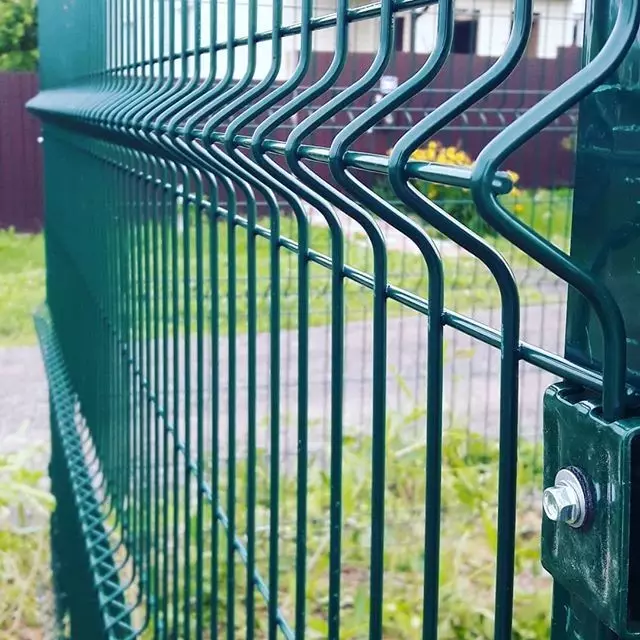
Photo: Instagram Zabor_Fasad

Photo: Instagram Cok_uventa
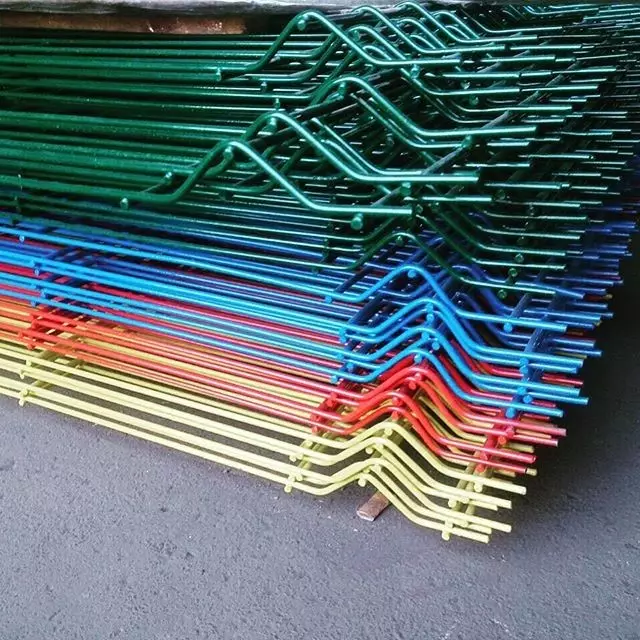
Photo: Instagram Bona_Trade
The optimal diameter of steel rods is 4-8 mm. It also happens 3 mm, but the reliability of the entire structure will be very chrome. The rods intersect and form cells, most often they make them rectangular, size 5 to 20 cm or 5 by 10 cm. Fences are found and with non-standard cells in the form of diamonds, and squares.
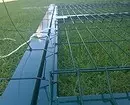
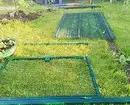
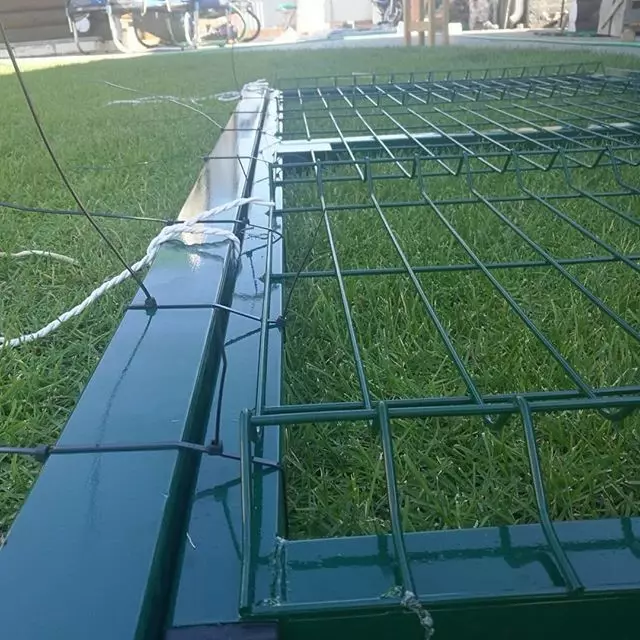
Photo: Instagram Zabor3dizh
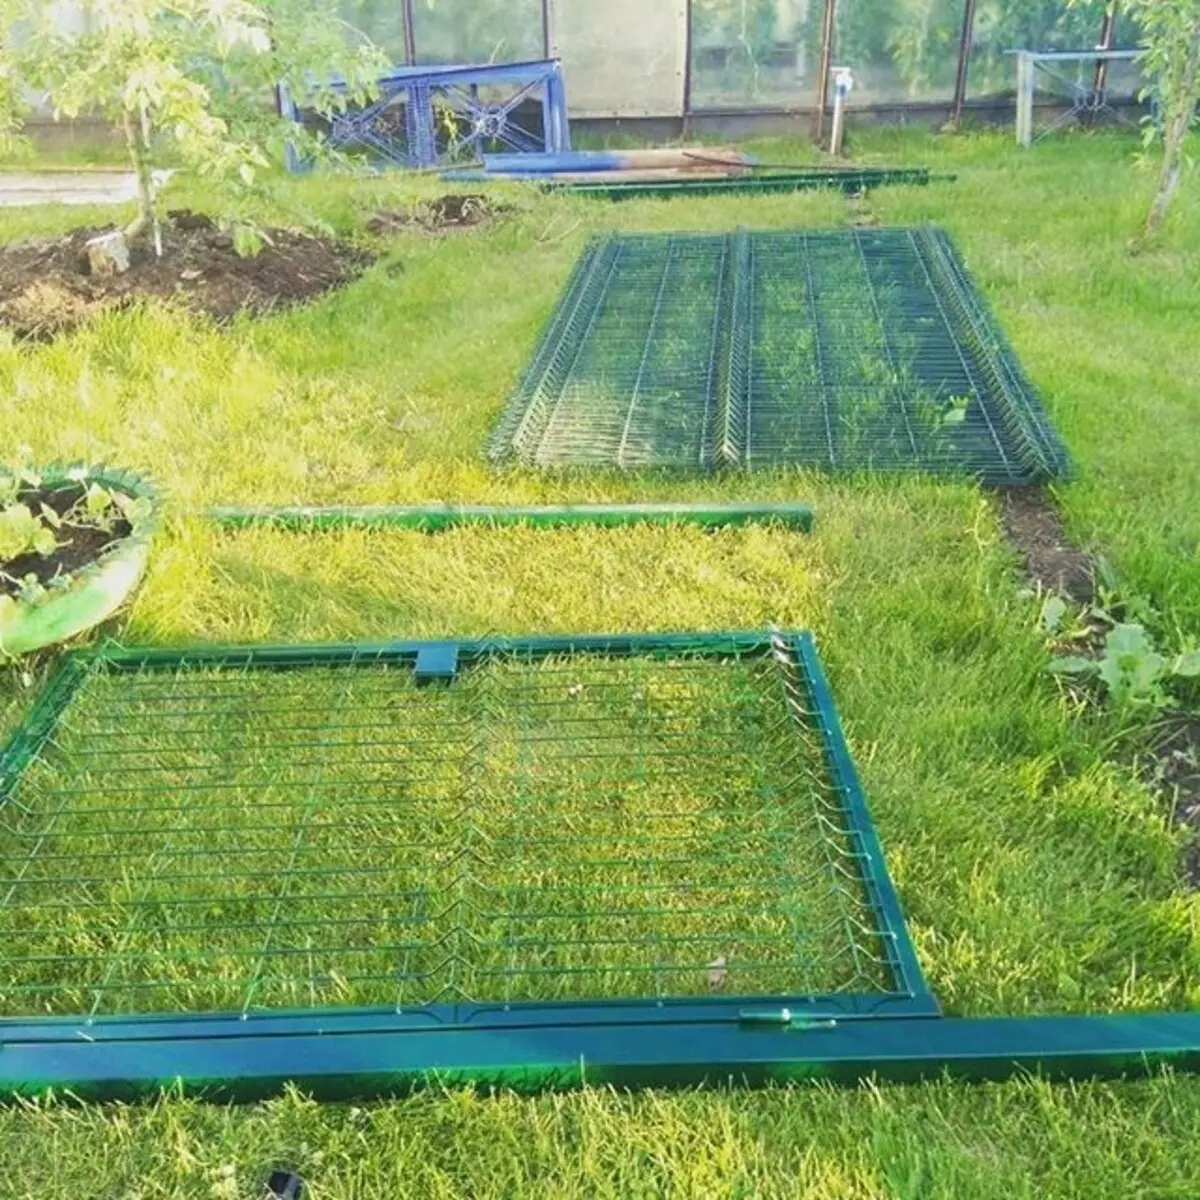
Photo: Instagram gerasimov.pp
Welded 3D Fence: Production Nuances
The highest quality products are obtained when the metal is covered with three layers of protective agents. After welding, the cloth passes several phases of purification. They are then applied zinc (minimum 80 g / m), which protects the material from rust.
The following is nanocheramic - for additional protection against corrosion and exposure to the external environment (for example, from temperature extremes and UV rays).
And finally, PVC or polymer-powder paint (from 100 microns), where the grid is immersed. The finishing coating gives the product a decorative look and protects it from chips, scratches and other damage, since the polymer has the ability to soften the rigid exposure from the outside.
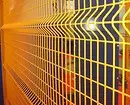
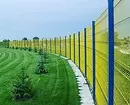
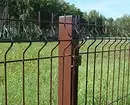
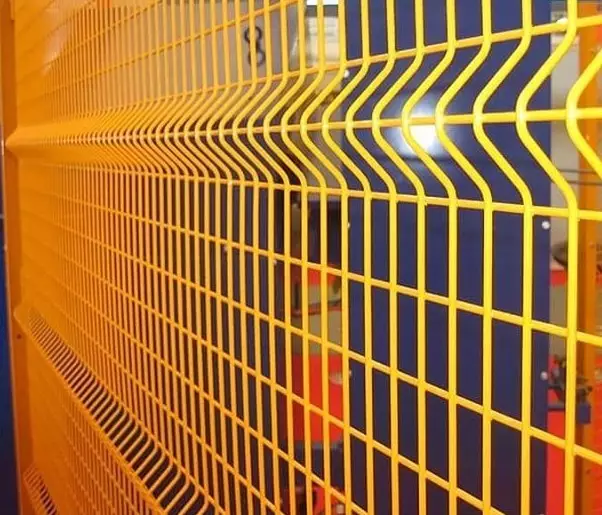
Photo: Instagram awt.co.id
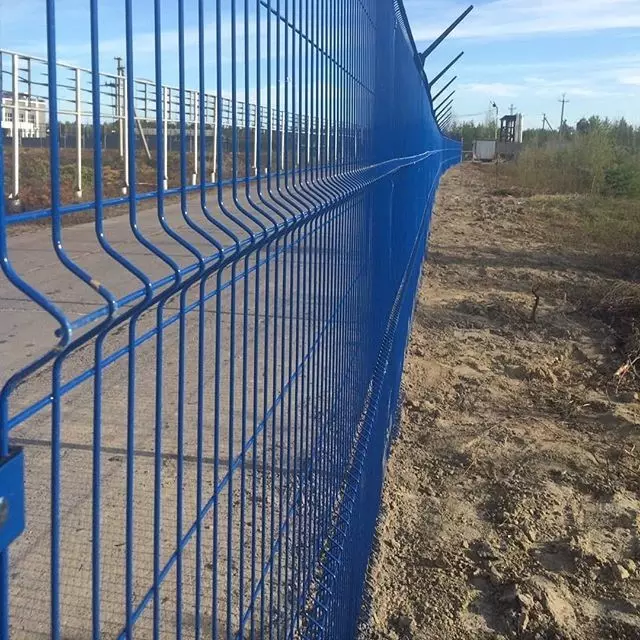
Photo: Instagram Zabor3DIZH 4
Photo: Instagram Park3D
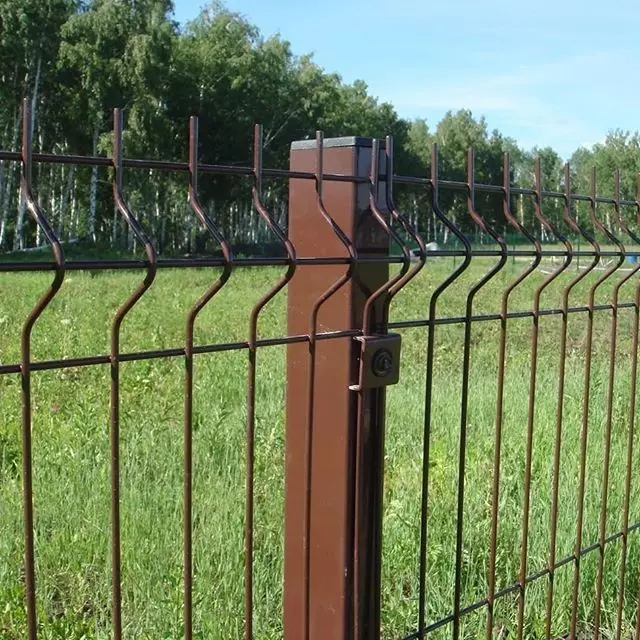
Photo: Instagram 3D_ZABOR_MIREX72
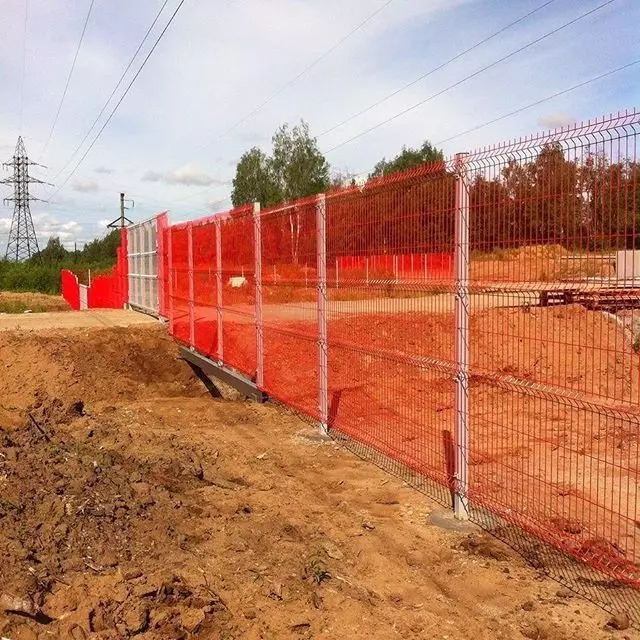
Photo: Instagram Properimetr3D2D
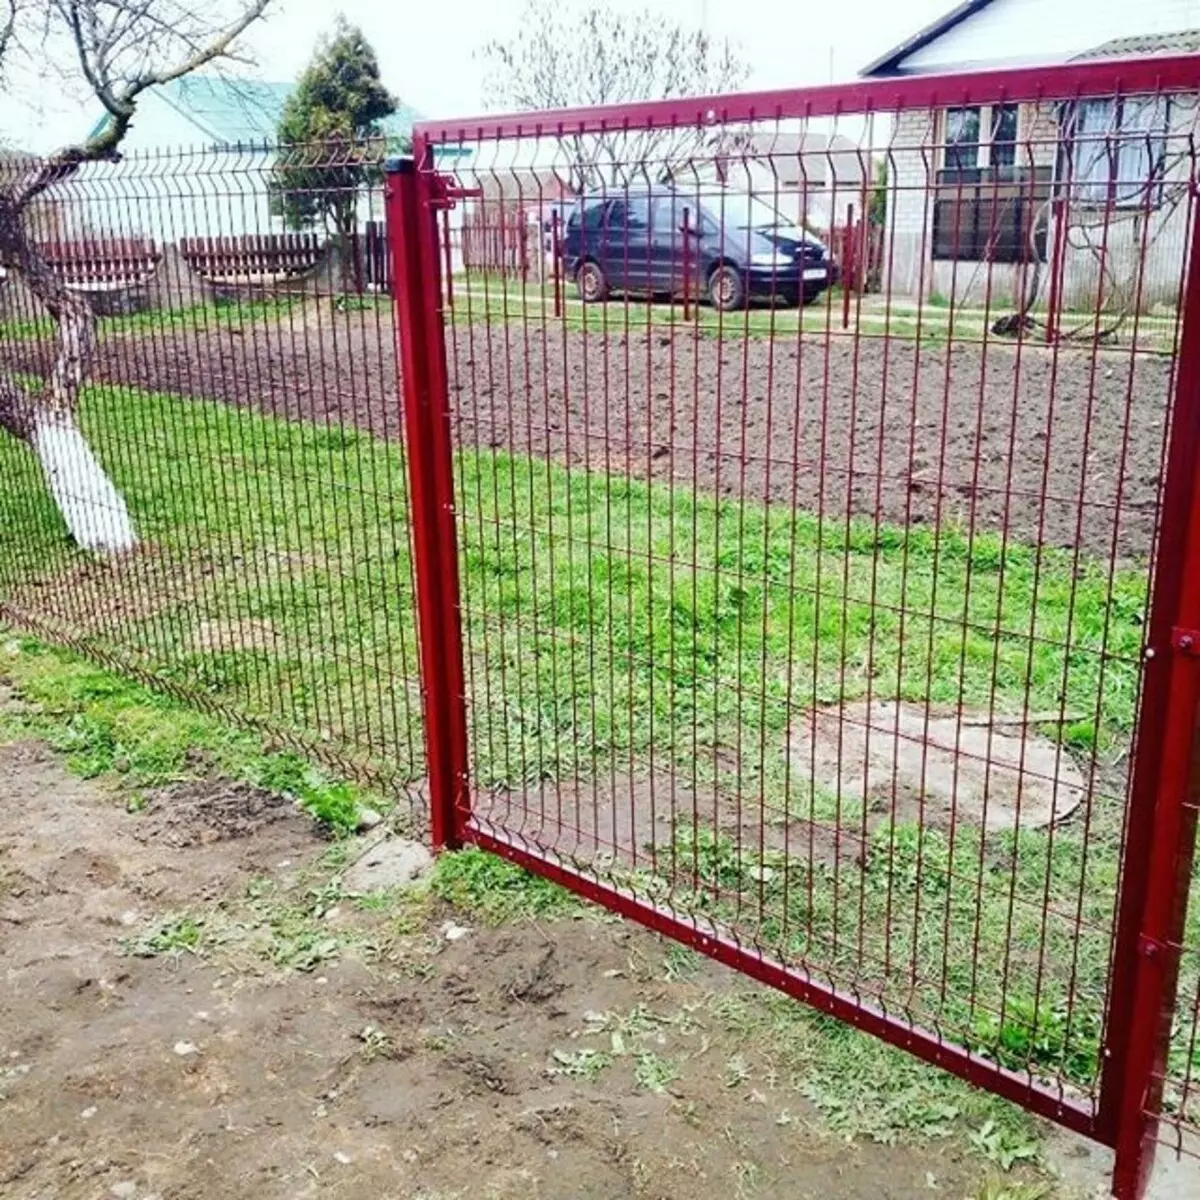
Photo: Instagram Svarka.brest_aleksey
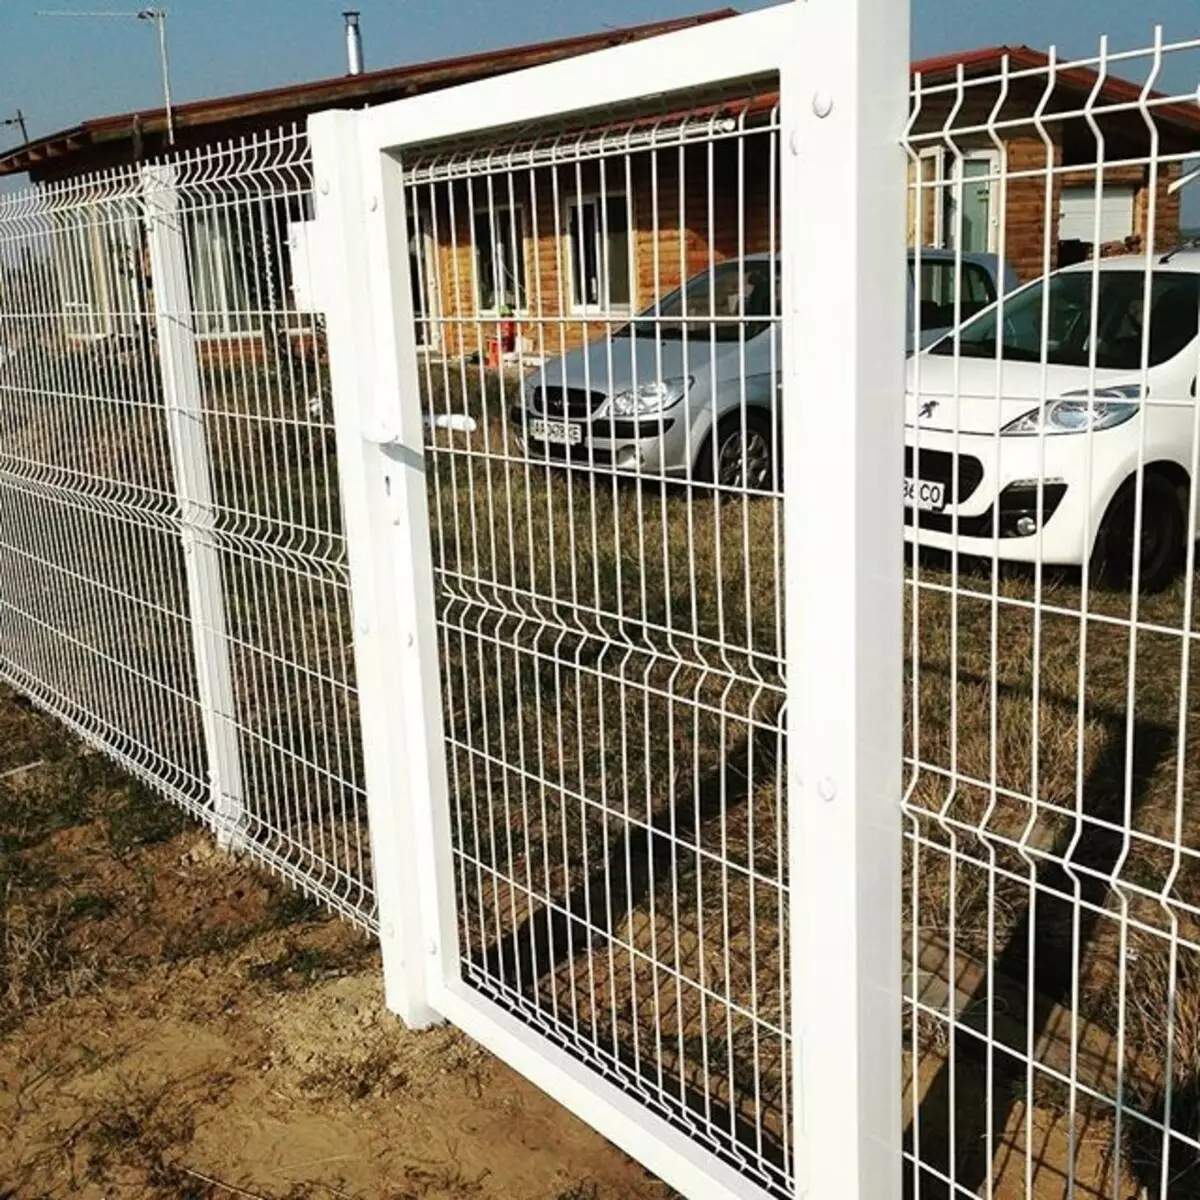
Photo: Instagram Bona_Trade
However, there are also economy variants of 3D fences without staining, just covered with a layer of zinc. They are done in different ways: sometimes it is first digitized separate rods, and then welded, and sometimes, on the contrary, first weld and then quincines. Such hedges are also quite durable.
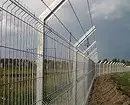
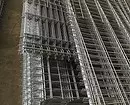
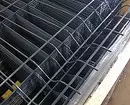
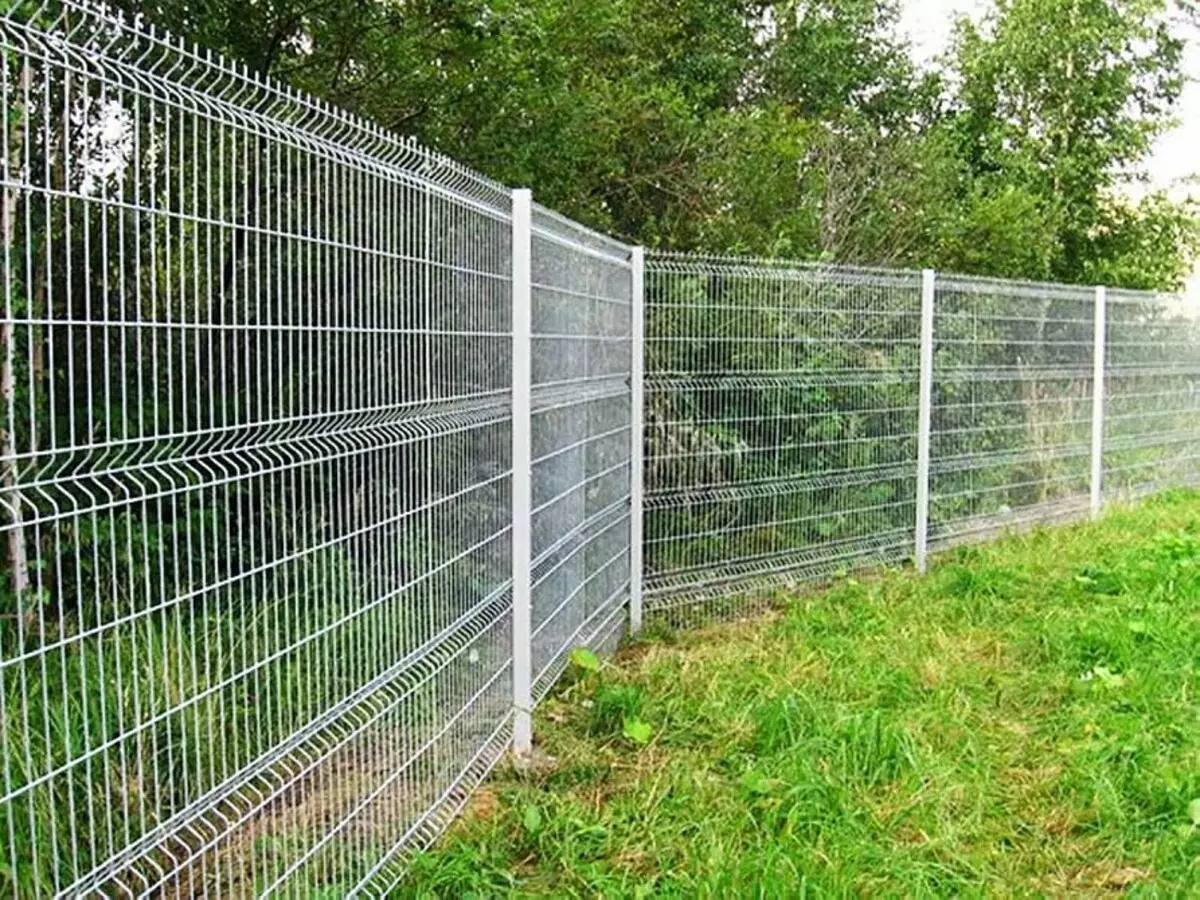
Photo: 3d-zabor.com
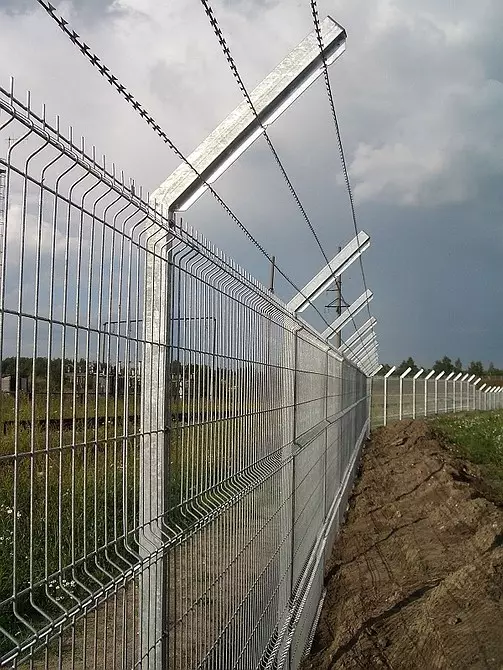
Photo: 3d-zabor.com
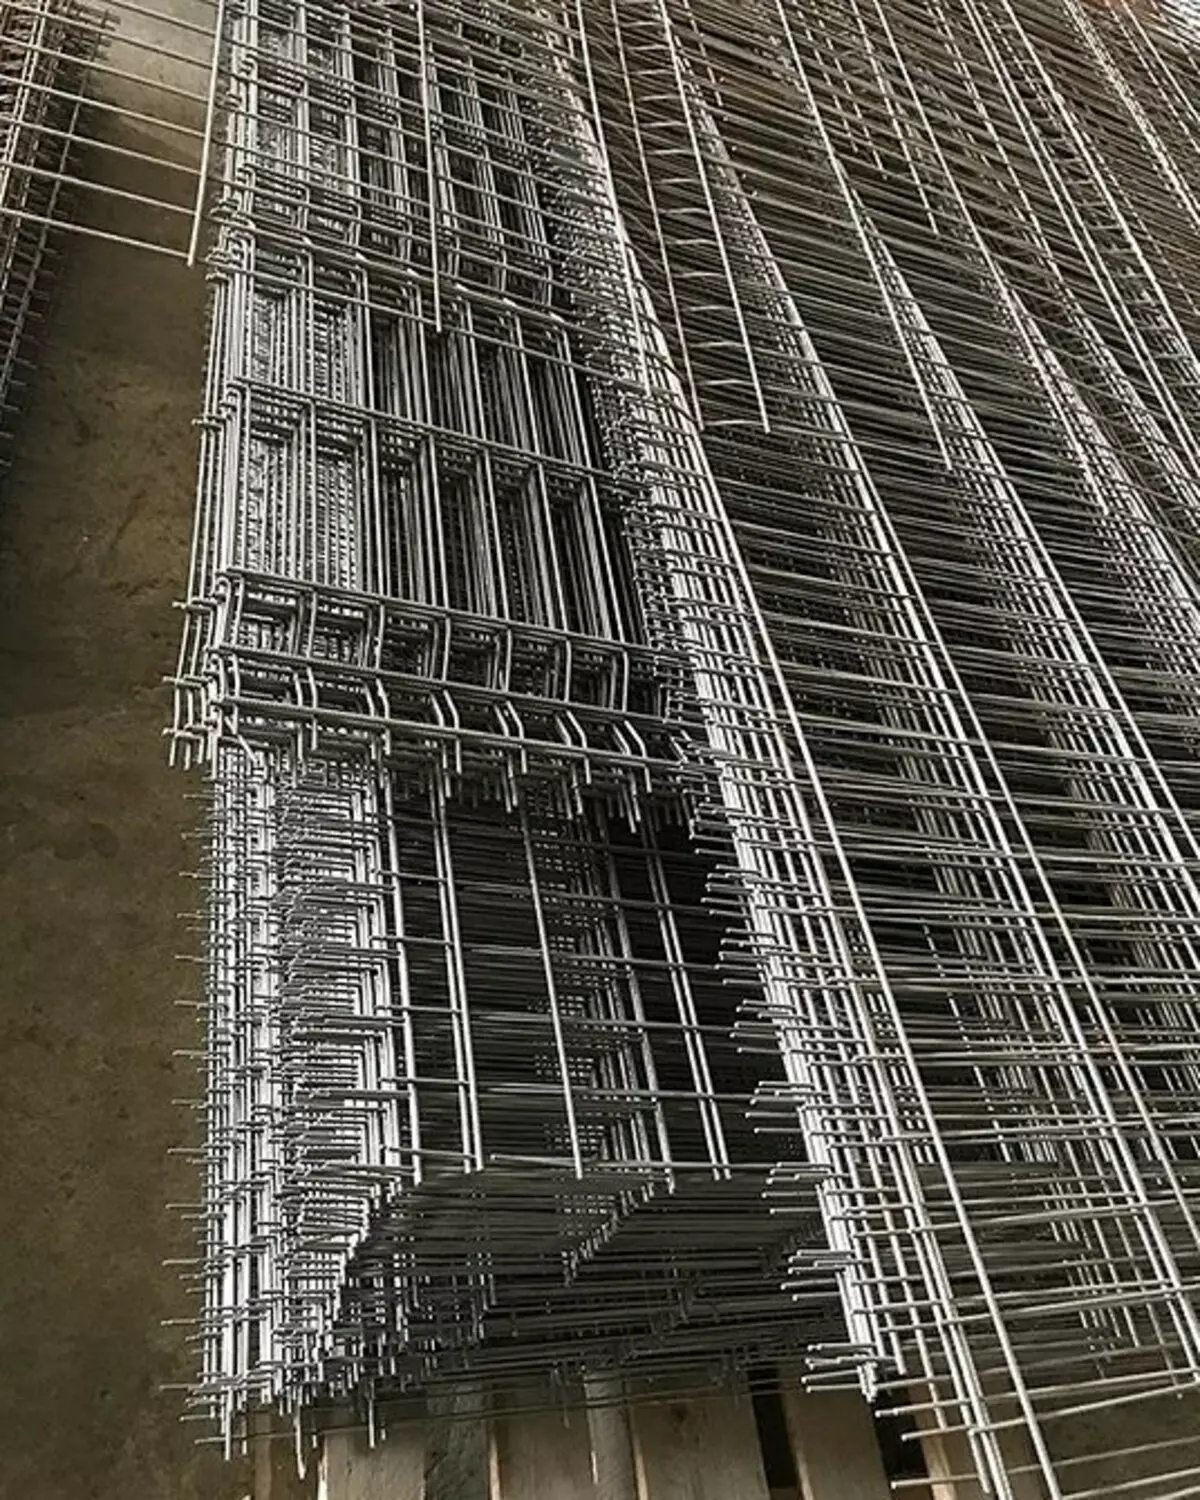
Photo: Instagram SB_PROTECTION_PVL
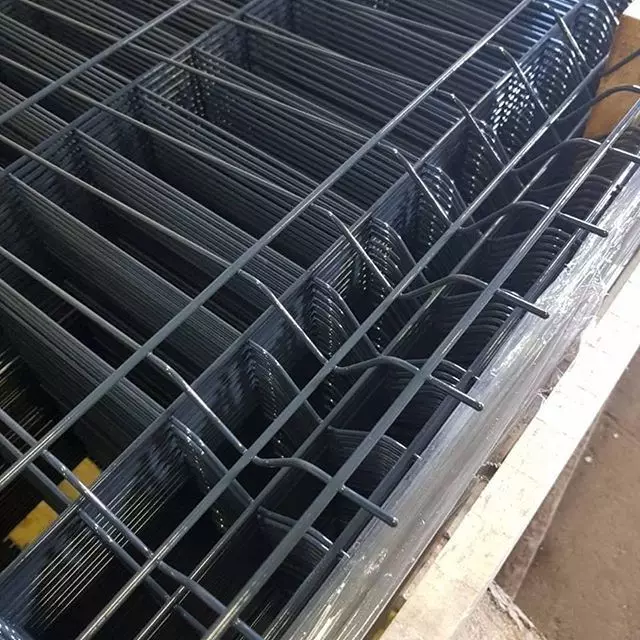
Photo: Instagram vorota_minska
The least "Living" panels are not processed. You can paint them yourself after installing the fence to slow down the process of metal oxidation.
But the factory coating, the more multi-layered, it will still not replace. Recall, the rods are connected by the method of contact welding, have many horizontal jumpers that increase the strength strength. But at the same time, welded points are a weak point of any metal product, and the grid of the Hitter is not an exception. The masters in enterprises are treated with anti-corrosion coatings especially carefully.
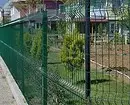
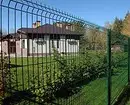
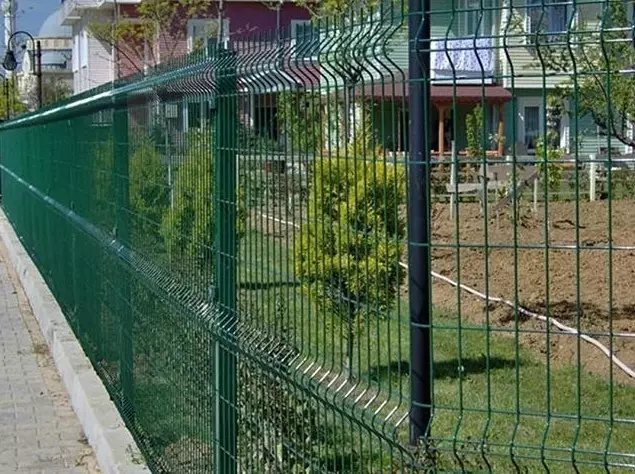
Photo: Instagram granza.zavod
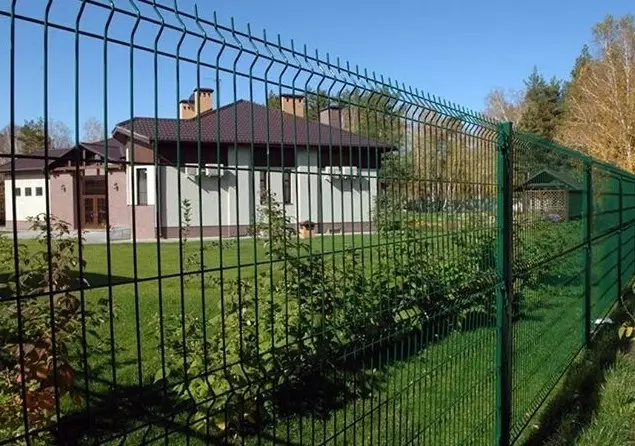
Photo: Instagram Zabortorg1
In order not to buy the goods of handicraft production, it is better not to rely on pictures from the Internet, but to visit the warehouse yourself. There are certificates for products.
Presented samples experts advise not only to examine, but also rustle them with a knife. So you define the thickness of the PVC coverage. In fakes, rods of smaller diameter are often used than it is assumed, and the product you need gives a large layer of polymer paint.
What other non-compliance with production technology? The process of galvanizing the raw materials and application of the polymer is disturbed, and sometimes it is covered with paint without prior galvanizing. Cells can be larger factory, and their number is less, which affects the strength of all fence.

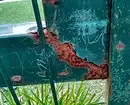

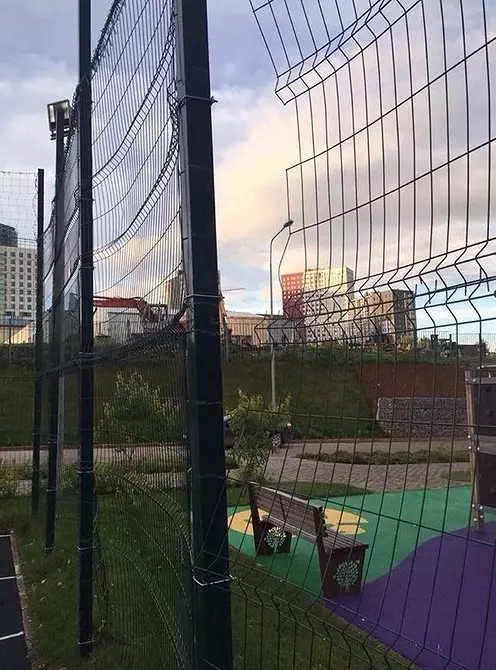
Photo: Instagram Park3D
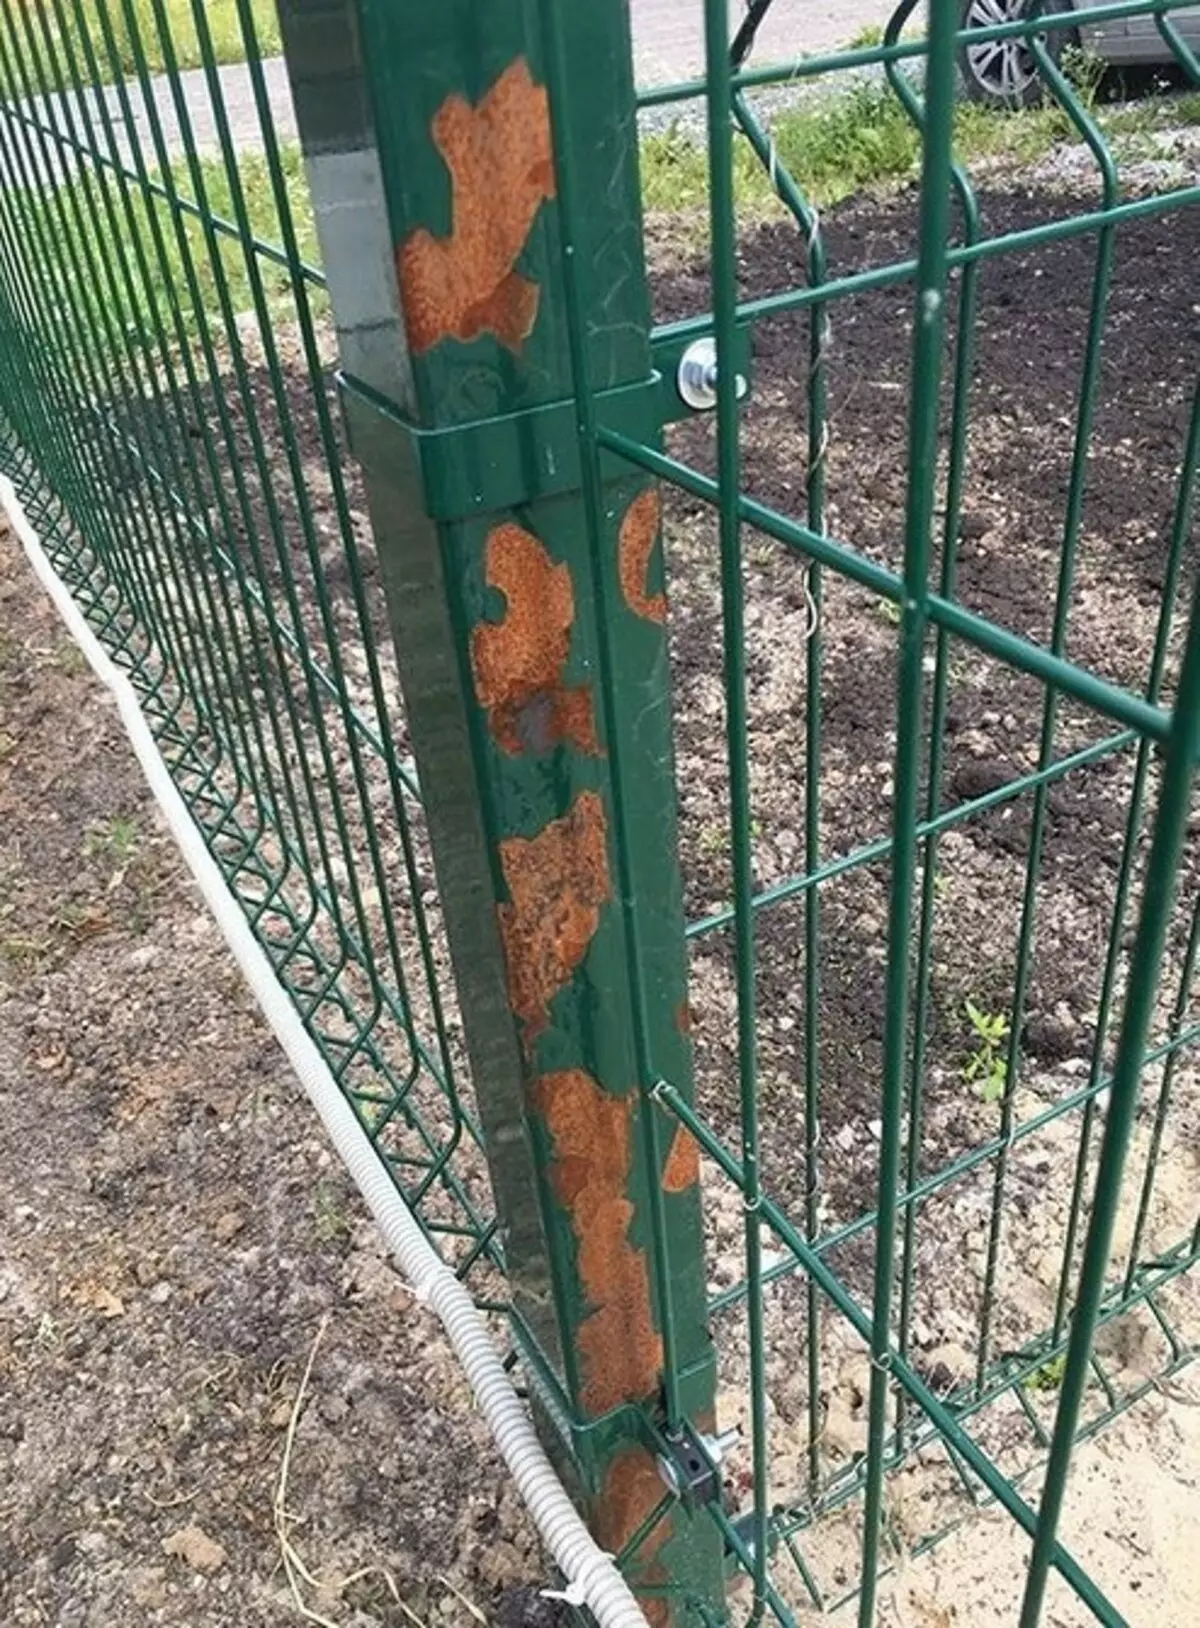
Photo: Instagram Park3D
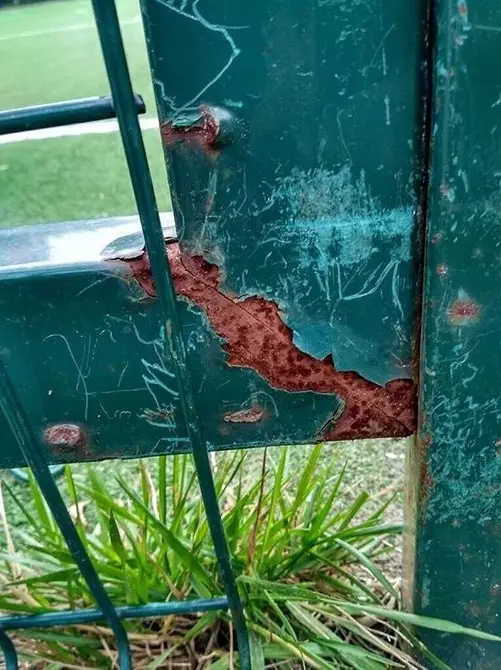
Photo: Instagram Park3d

Photo: Instagram Pro_Fense
Welded fence 3D: pros and cons
| Benefits | disadvantages |
| Stylish appearance compared to many other types of metal fences, especially inexpensive. | Fences from the Hitter will not forgive disorders of the installation technology: they can quickly break and be covered with corrosion. |
| Many colors and configurations. | |
| European eurofacies by weight, so they are easy to transport and mount without attracting specialists. | |
| They are wear-resistant, because to impart a larger stiffness design, the vertical rods are connected by horizontal rods. | |
| Long service life. Manufacturers declare the minimum of 20 years and emphasize that certified fences in proper operation do not lose their visual and qualitative characteristics of 60 years and more. | |
| 3D fences do not block the overview of the plot, visually expand it and do not block the ventilation and flow of sunlight by plants. At the same time withstand a strong wind load: air flows pass through the grid and do not put pressure on it. |
Equipment of welded 3D fences
The product is made in the form of 1.3 m, 1.5 m, 1.7 m, 2.03 m or 2.4, m and 2,5 and 3 m wide for installation of sections.
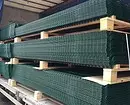
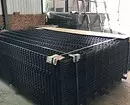
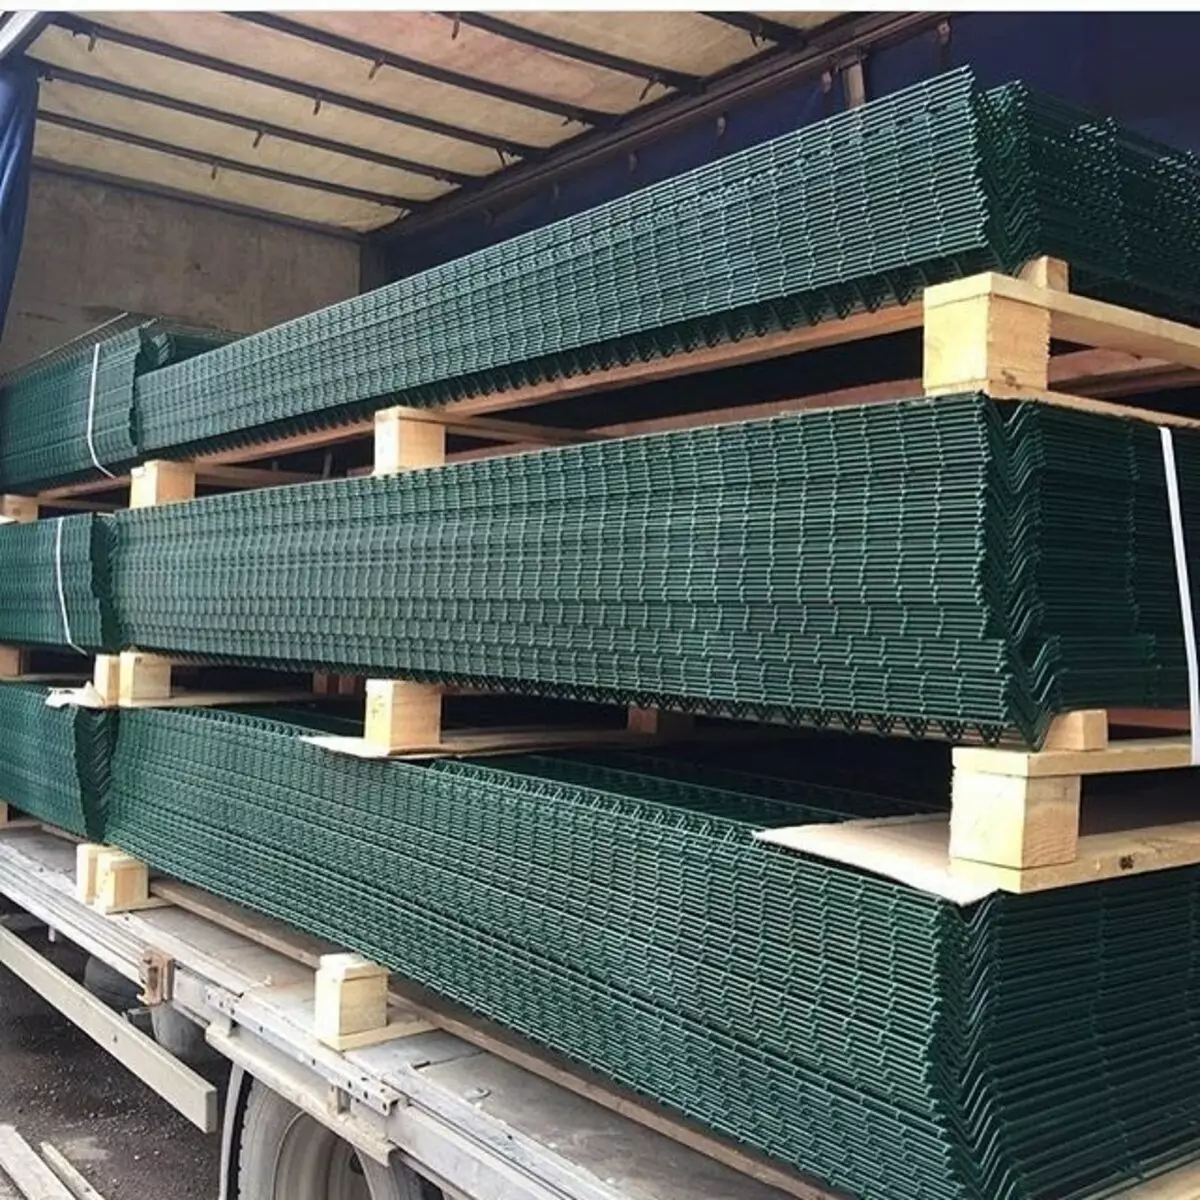
Photo: Instagram Steel.prom
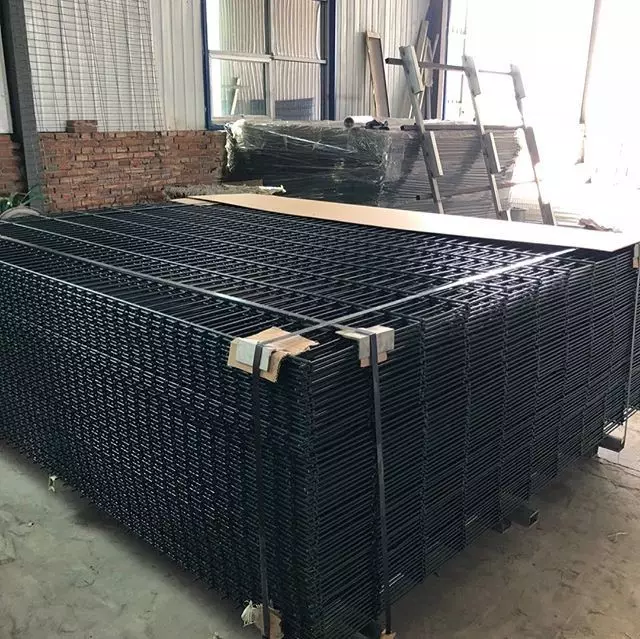
Photo: Instagram Zabortorg1
The bundle pillars and fasteners (clamps and brackets) are included. You can add fastener with a tear nut and an anti-vandal bolt, devoid of sharp faces and protrusions, but having a semicircular hat. After installing these fixtures, only Bulgarian will help disassemble the fence.

Photo: Instagram Zabortorg1
The pillars are manufactured by a similar method as the grid for the fence, and they pass the same stages of corrosion processing. Supports are round or square cross sections 60 by 40 mm, 60 by 60 mm, 80 per 80 mm. Inside the hollow, the thickness of the walls is in the range of 3.5 mm. In the metal there are holes - they are necessary for fixing the guiter.

Photo: Instagram Zabortorg1
The upper and lower ends of the supports are closed with plugs, thanks to this, neither moisture nor dirt will fall inside.

Photo: Instagram Park3d
Poles are different by configuration. Those that are intended for concreting have an elongated lower part. And those that can be installed on the ribbon foundation, concrete, asphalt and other solid surfaces, the flat base is welded at the bottom, which is called the flange.
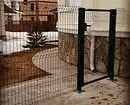
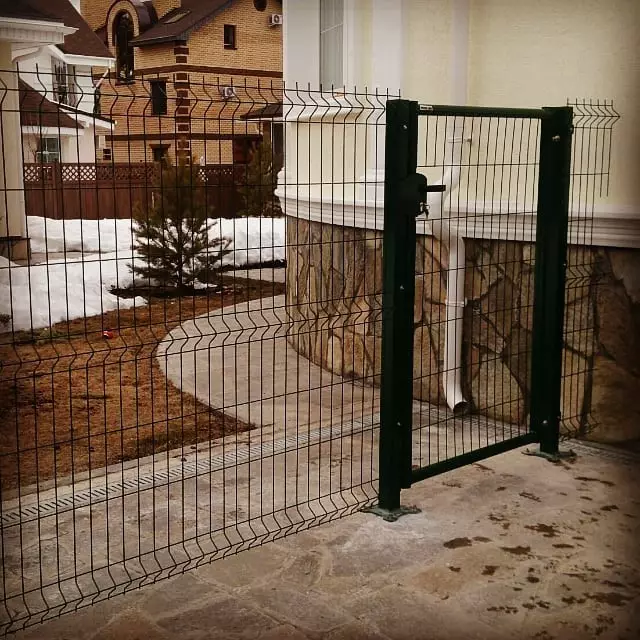
Photo: Instagram SM_PERM

Photo: Instagram GDA_Group
Other types of 3D fences
In essence, any convex fence can be considered three-dimensional. Such fences are made not only from the grid, but also from metal, wood.Wooden fences
From this material you can create the most bizarre designs, "playing" with their appearance. To work use dense wood of good quality. It may be pine, oak, ash, aspen, alder, silky, Siberian larch. Interestingly, the last of the listed breeds is not afraid of the main enemy of the tree - moisture. On the contrary, it only rustles from the water.
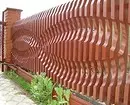
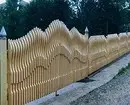
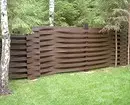
Photo: Instagram Centrzaborov.ru
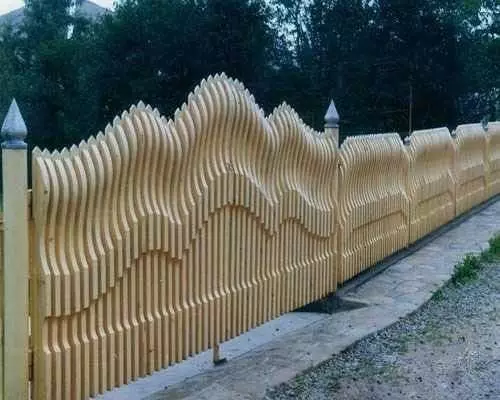
Photo: Instagram Centrzaborov.ru
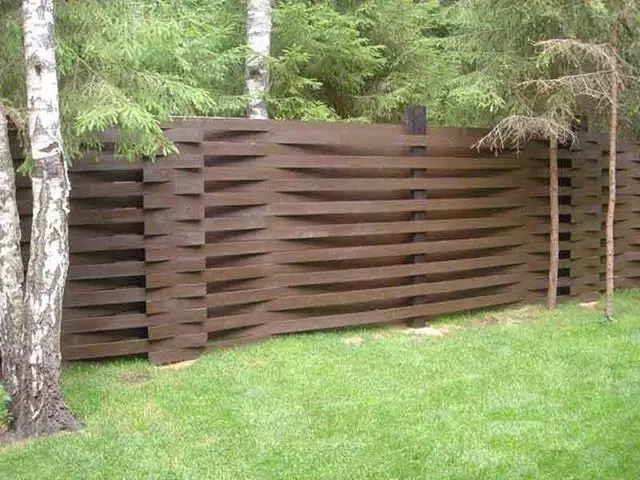
Photo: Instagram Centrzaborov.ru
Metal fences
They are most often made from sheets of professional flooring.

Photo: Instagram hopper.ufa
Either from this material, narrow stakes of 8-11 cm wide and 50 cm high and a height of 50 cm to 3 m are cut. Such a fence was called Ershtrokenik.

Photo: Instagram Centrzaborov.ru
Manufacturers claim that their products from the professional flooring (no matter, railings are or solid sheets) are capable of serving at least 50 years due to special processing. It, as in the case of a gitter grid, multi-layered. Zinc, anti-corrosion coating, primer and colored polymer layer are applied to steel. Paint the finished product sometimes on both sides, and sometimes only with facial - for cheaper.
Metal sheets and planks are released both with a treated top edge and acute. The latter option is undesirable for low fences - you can hurt.
Also, when buying Ershtrokeck, it should be borne in mind that individual rails can do individually and drive later through the rolling machine, eliminating the jar along the edges. And they can cut them out of a solid sheet of hardware and not carry out machine processing. The price is lower, and the appearance is worse.
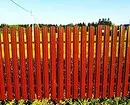
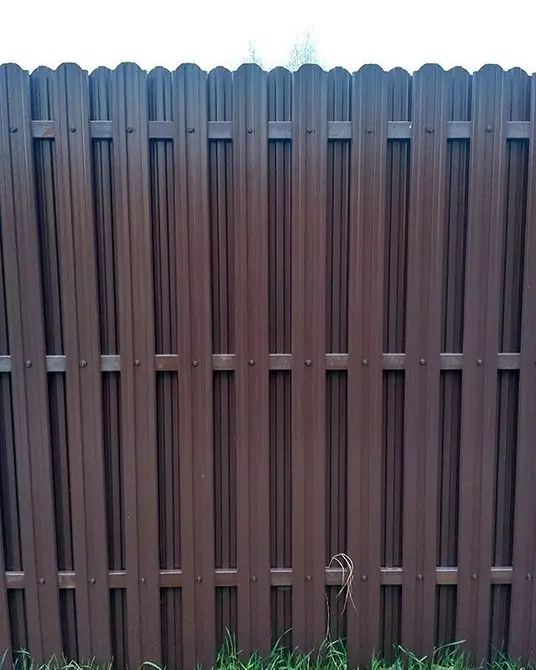
Photo: Instagram Metallika69
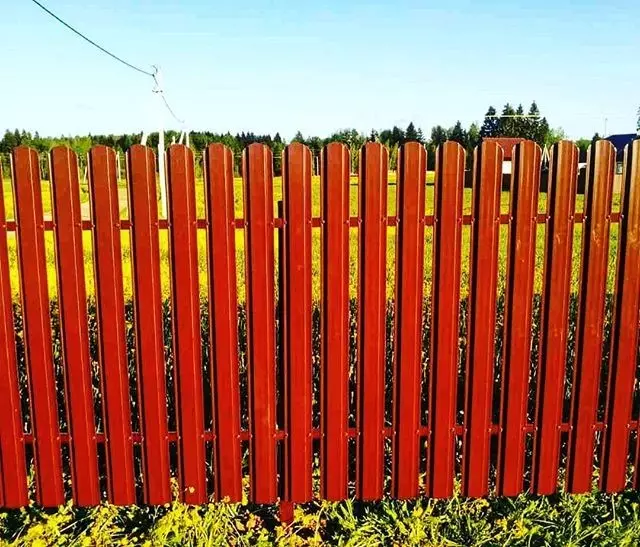
Photo: Instagram Mos.zabozy
Installing 3D-fence with racks
Sequencing:
- Clearing and measuring the plot.
- Align the territory, if there is a height difference.
- Determination of the type of soil.
- Marking of the site around the perimeter to determine the places of support racks.
If the fence is selected from the grid, the width of the spans depends on the size of the finished sections. If you collect a fence from a tree or metal, you need to consider the weight of the material. What it is more, the closer the rack should be located.
Next, the process of work depends on the type of support pillars. Let's start with the racks that you need to immerse in the ground.
They can be scored in the ground, can be inserted into the pre-prepared wells and concrete completely or partially, and can be fixed by the method of bouting. In any case, the lower part of the pillar is lower than 1 meter long.
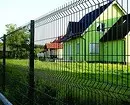
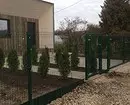

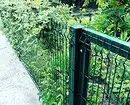


Photo: Instagram Zabor_Fasad
Photo: Instagram Zabor_ss

Photo: Instagram Zabortorg1

Photo: Instagram Andreianov.ilya

Photo: Instagram CZENTRFASADAIKROVL
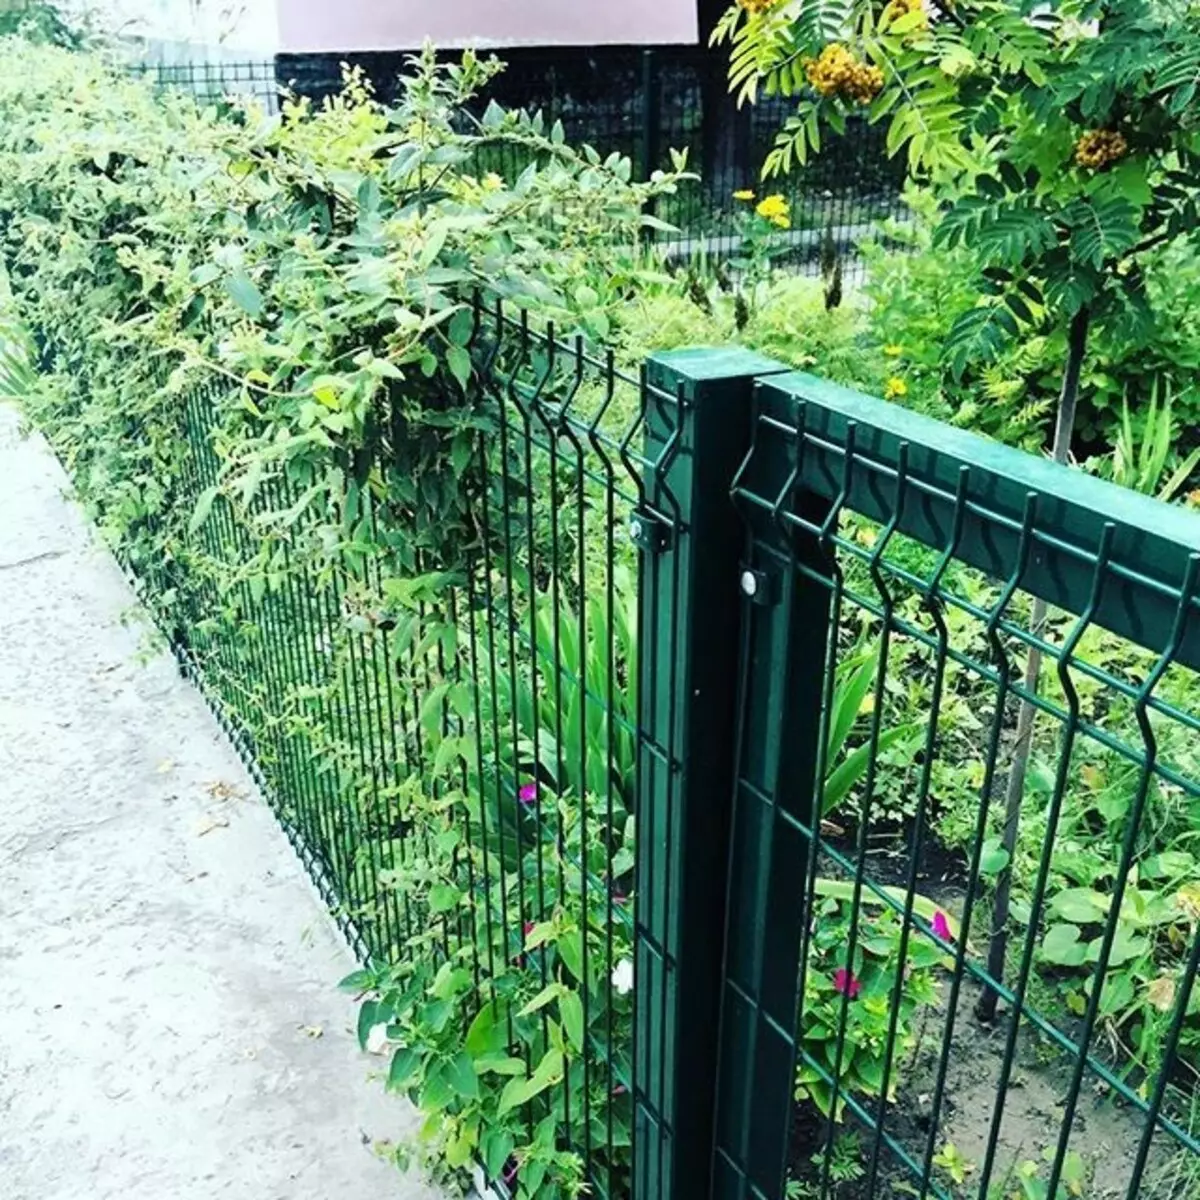
Photo: Instagram Bona_Trade

Photo: Instagram granza.zavod
Earth racks
It is carried out with the help of a sledgehammer. In order for all the pillars to be smoothly, you need to use the roulette and the level to ideally put the supports at the corners of the site, pull up and lower the rope and navigate it.
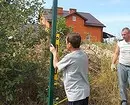
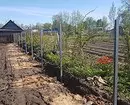
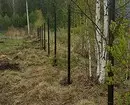
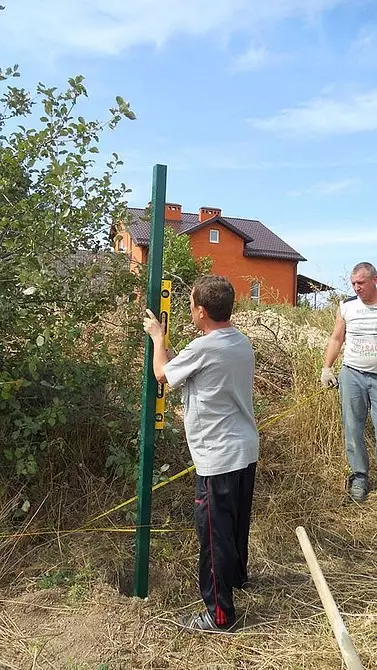
Photo: 3d-zabor.com
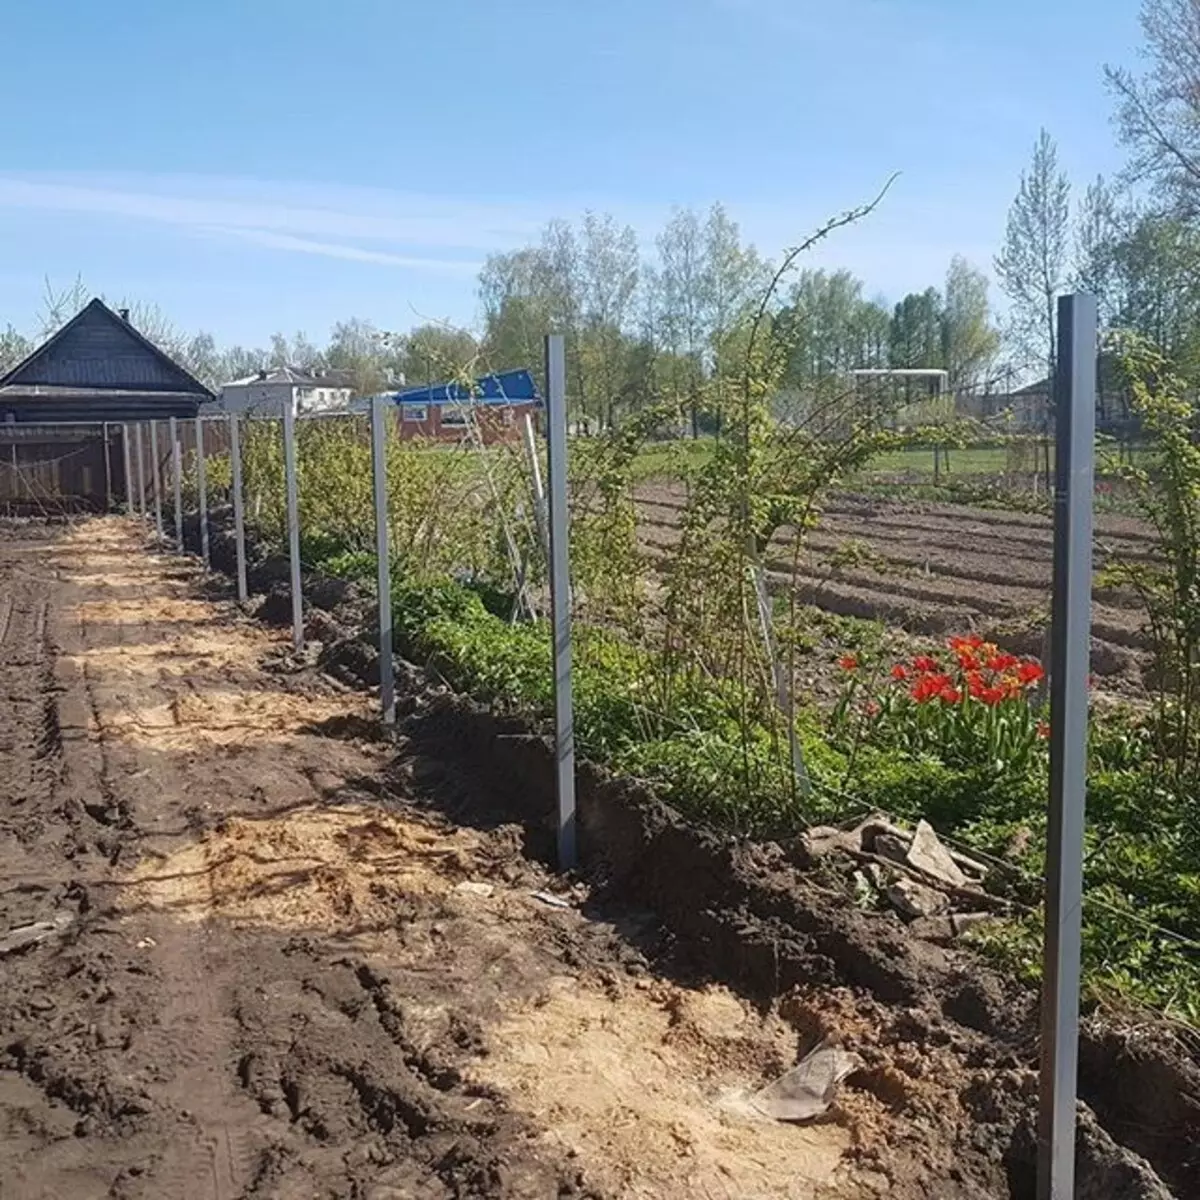
Photo: Instagram Zaboryvtveri
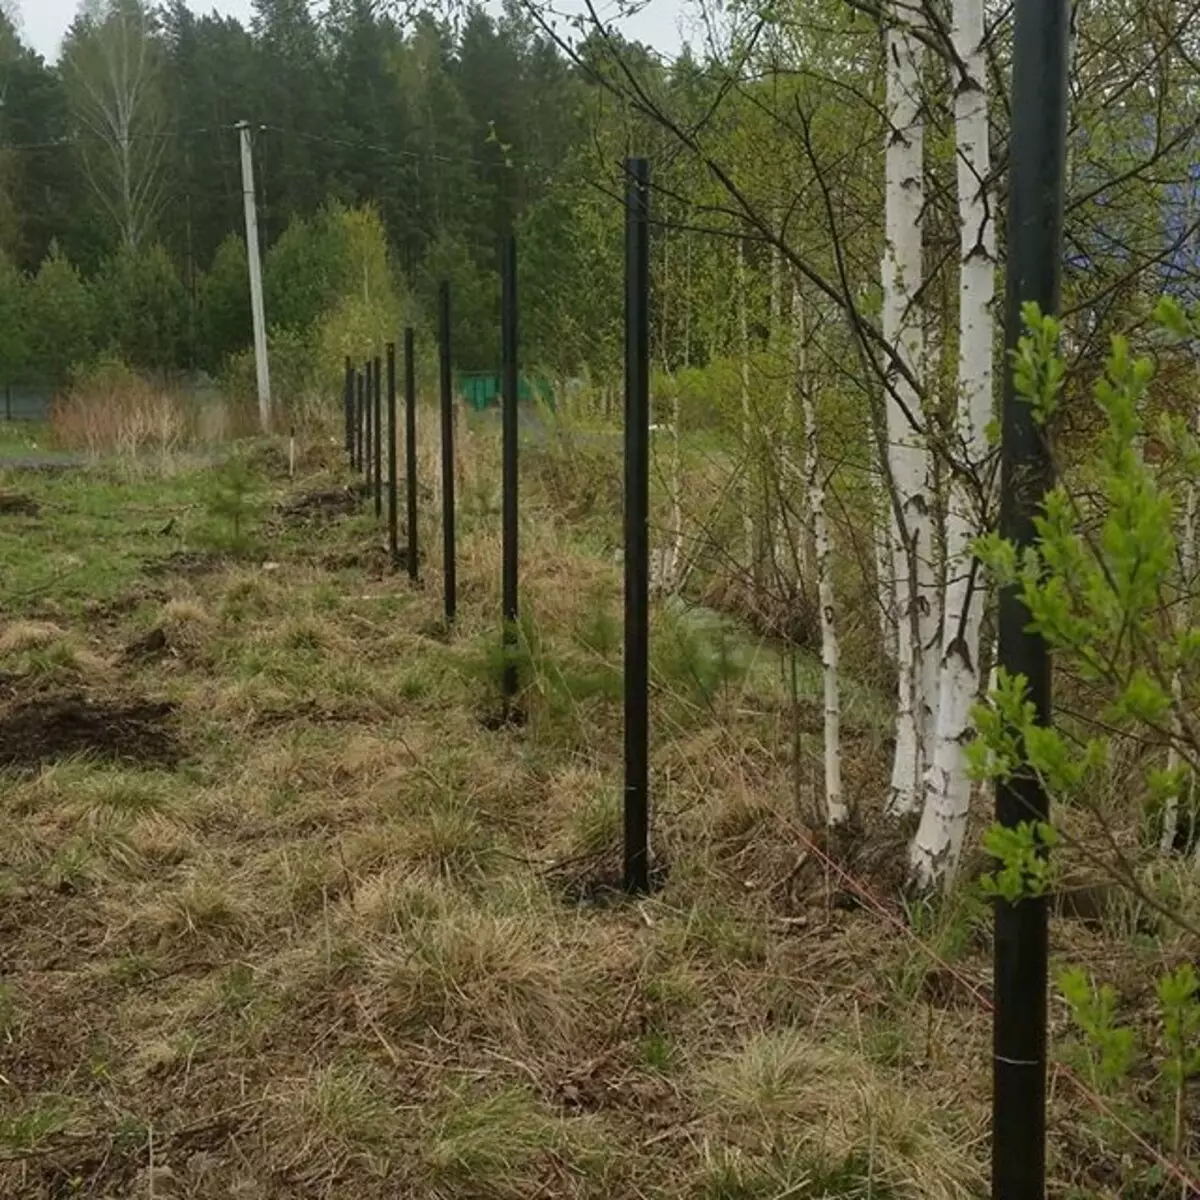
Photo: Instagram Zabor_Vintovie_SVAI_EKB
In order not to damage the metal hammer, while driving it is better to use the lining - it can be a thick board.
Full concreting
This method is good for light sand soils.
Manual or automatic drill at right angles in the ground "drilled" holes equal to the diameter of the pillar, and a depth of at least half a meter. And if the soil is too loose, movable either is adopted with water - 1.5 m and even 1.7 m.

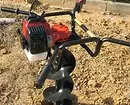
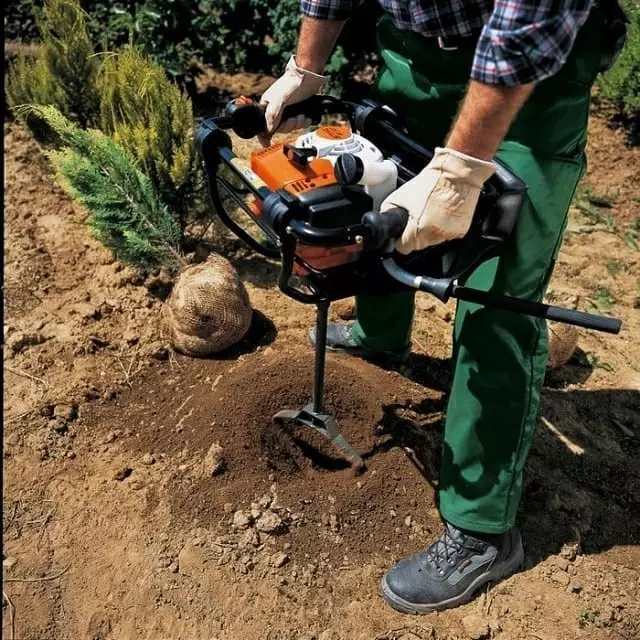
Photo: Instagram ckoba2004
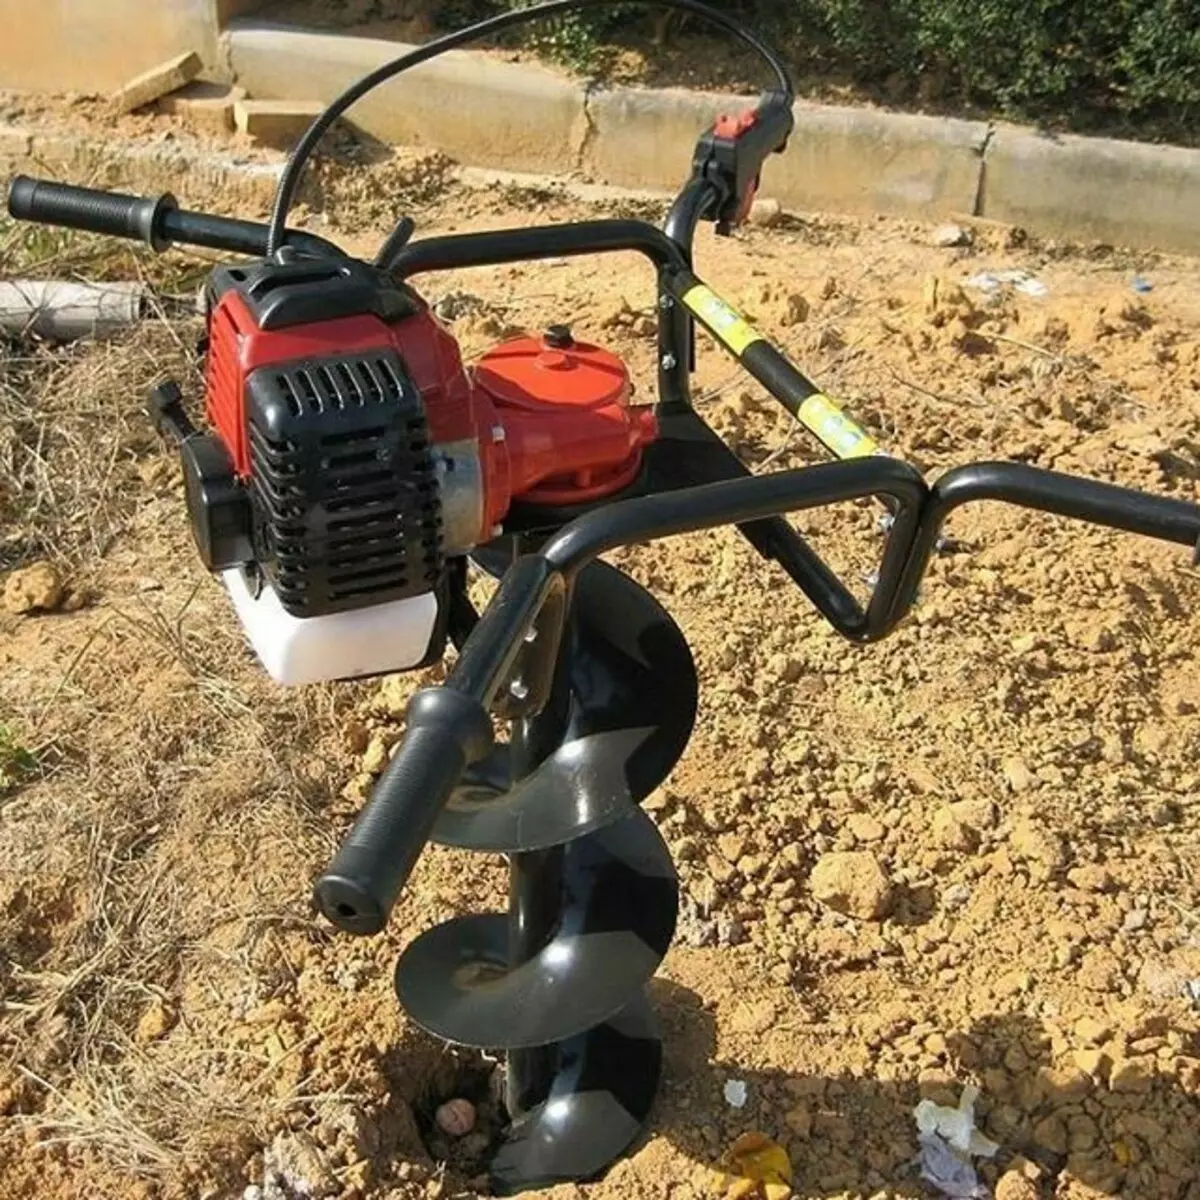
Photo: Instagram ckoba2004
In the most extreme case, you can use a shovel, but make it suitable in size and form round holes, of course, will not succeed. However, in areas where many roots of trees or stones, one brown is still not to do with it: you will have to combine it and the shovel.
Pubs under the posts fall asleep with a small layer of sand and spill with water - it is necessary for a good dumbness.
Now the queue setting and fill the installation of the column. We support each post struts.
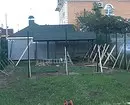
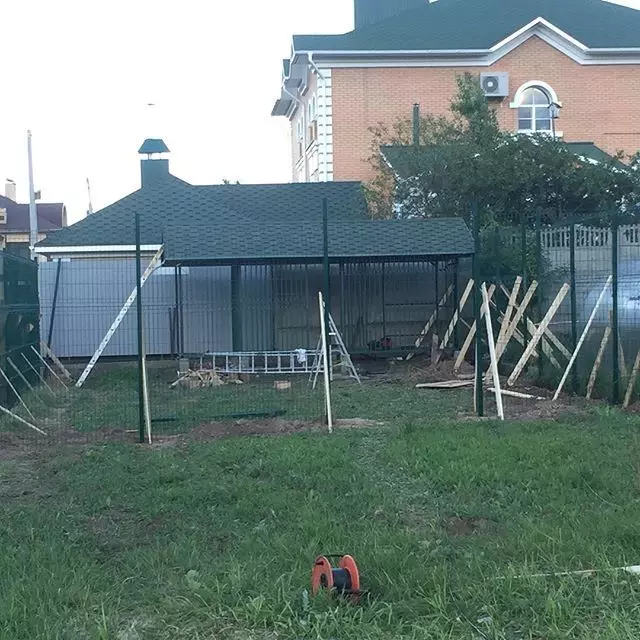
Photo: Instagram Chebfence
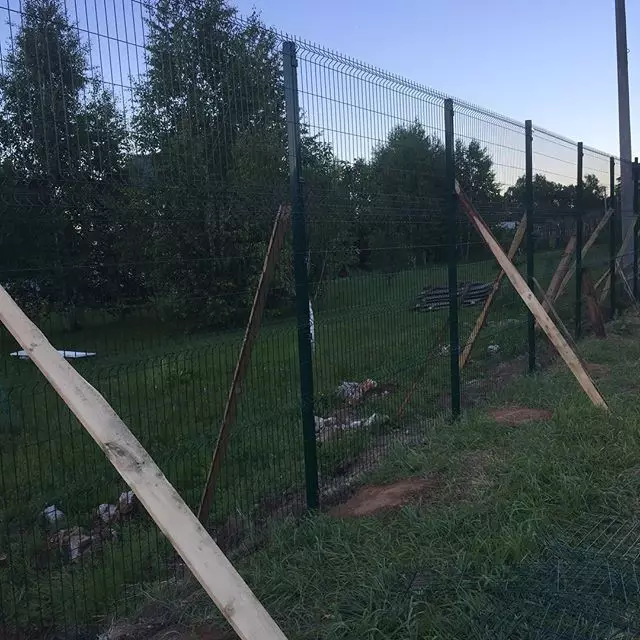
Photo: Instagram Chebfence
It is necessary to pay at least a day, and it is better for several days until the concrete grabbed, and only then start the installation of sections, gates, wickets. It is not necessary to remove the strut at once - let it be better for about a week.
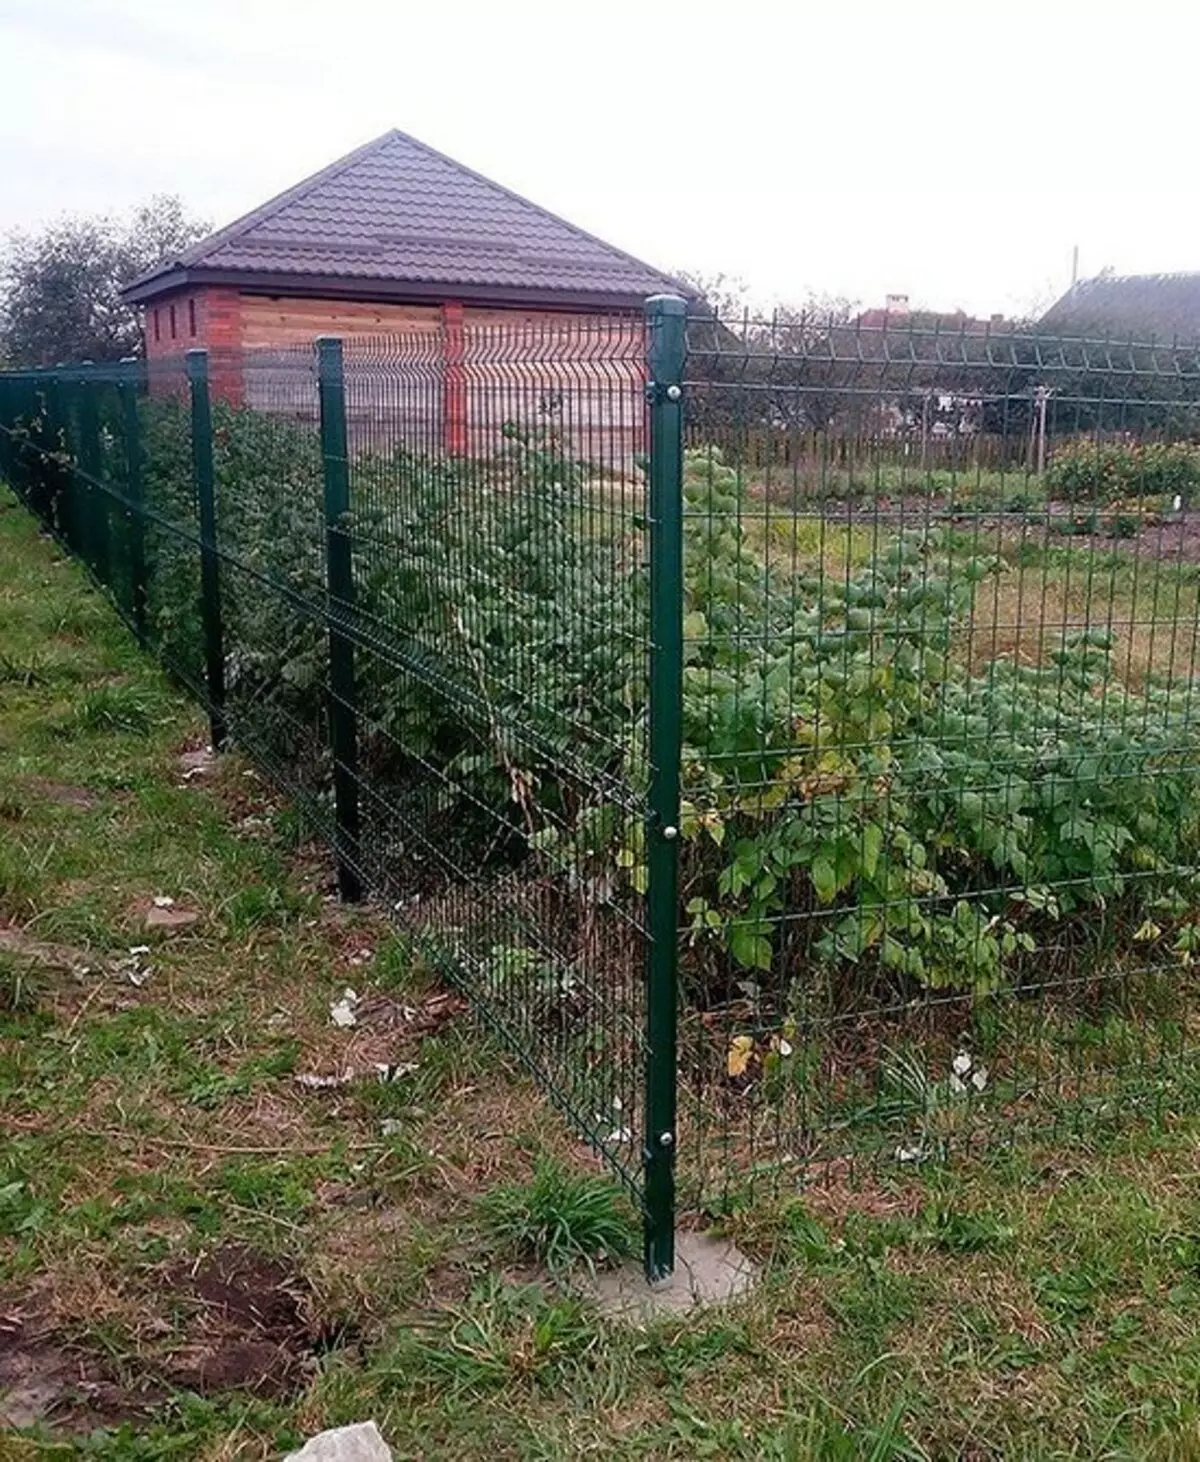
Photo: Instagram Svarka.brest_aleksey

Photo: Instagram Zabortorg1
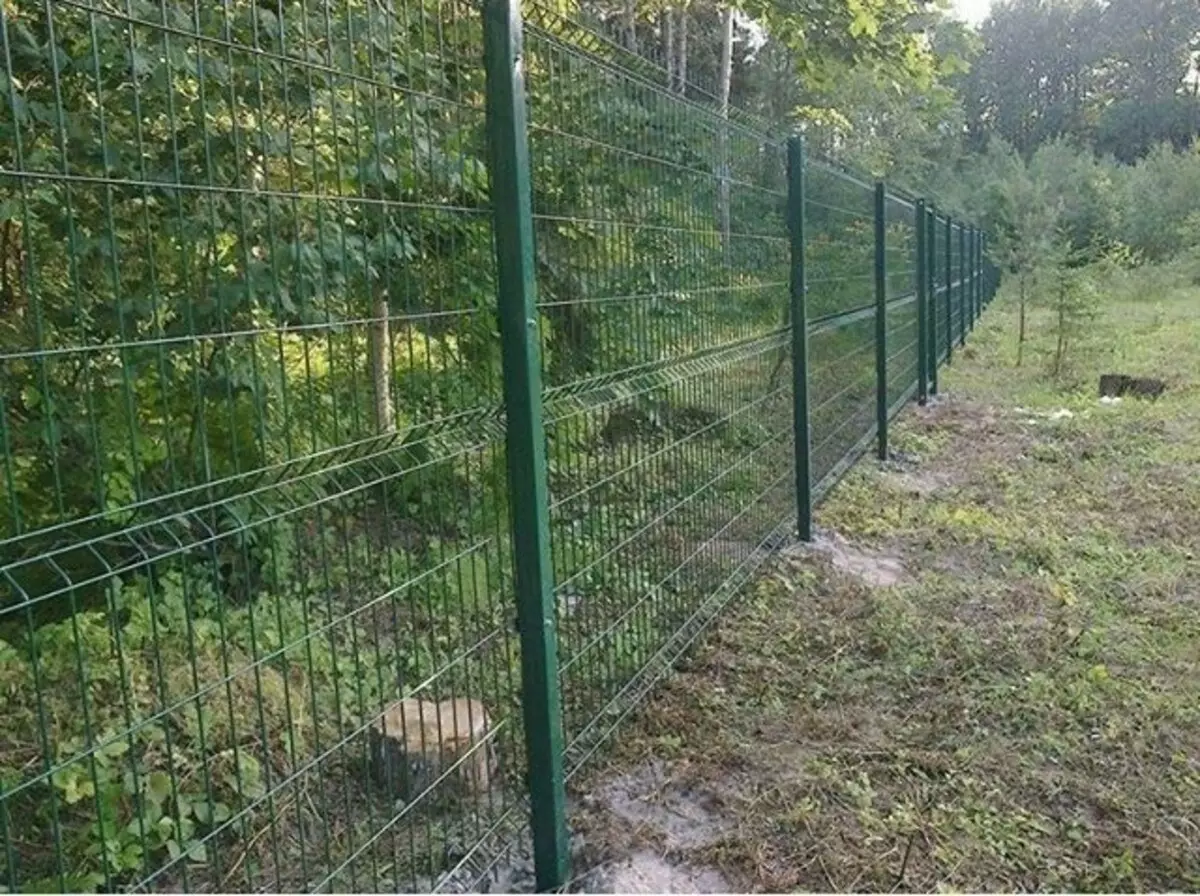
Photo: Instagram Zabor_FensStroy
Partial concreting
The depth of the well is 50 cm. Plus another half-meter pole manually ripped into the ground, as described above. The upper part of the support is poured concrete.
Can be done differently. Drop the hole in 1 m, half fall asleep the earth, the rest is concrete.
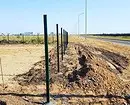
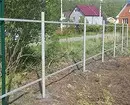
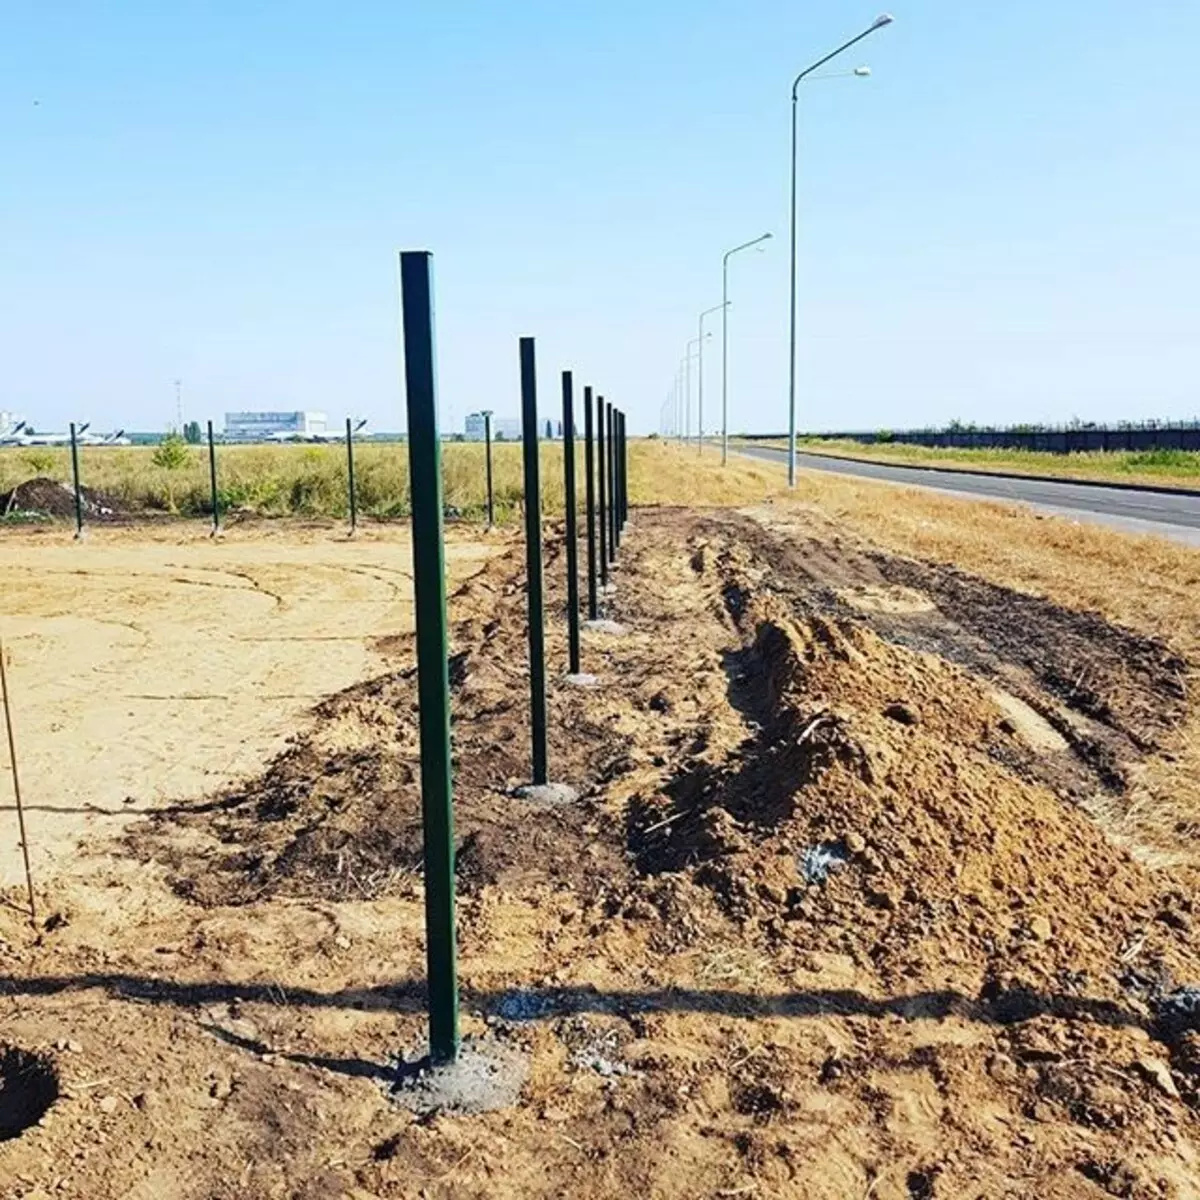
Photo: Instagram Pro_Fense
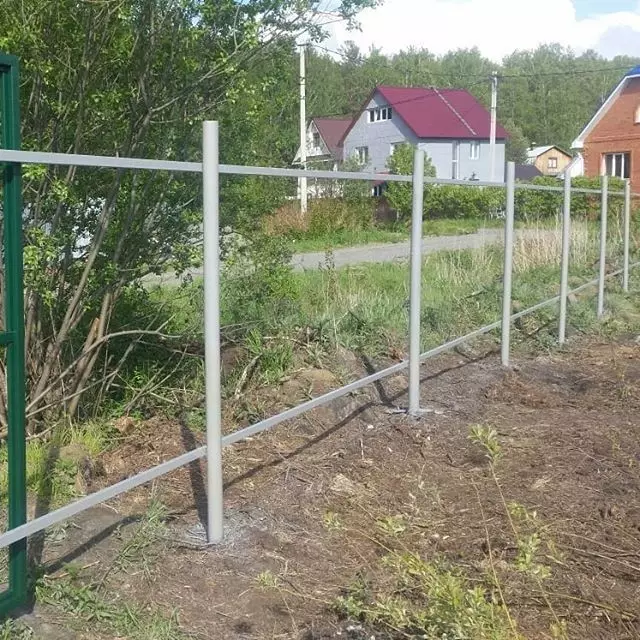
Photo: Instagram Zabor_Vintovie_SVAI_EKB
In both cases, the solution does not forget to pant with metal bars to drive the air. Then it will become stronger.
Installing columns without fill with concrete
The first way: using screw piles, which are screwed into the ground like self-assemblies to a depth of 1.5 m. These piles are fixed with bolts of pillars, having a flange below, or weld them (welding places are then additionally processed from corrosion). This is the fastest, but also the most expensive option.
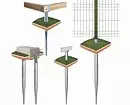
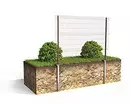
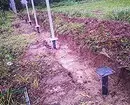

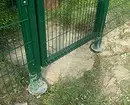
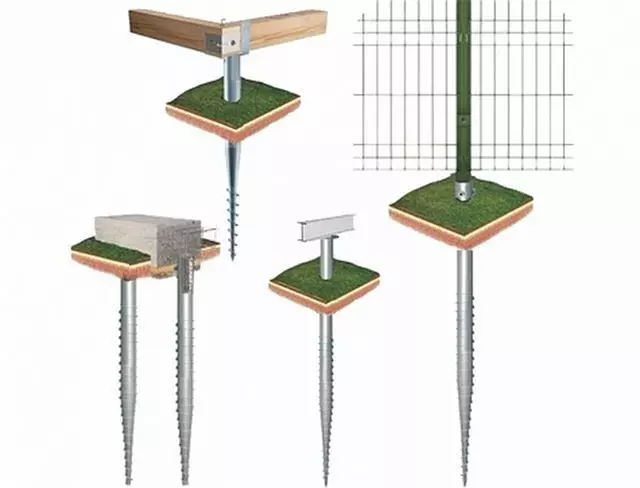
Photo: Instagram Zabortorg1
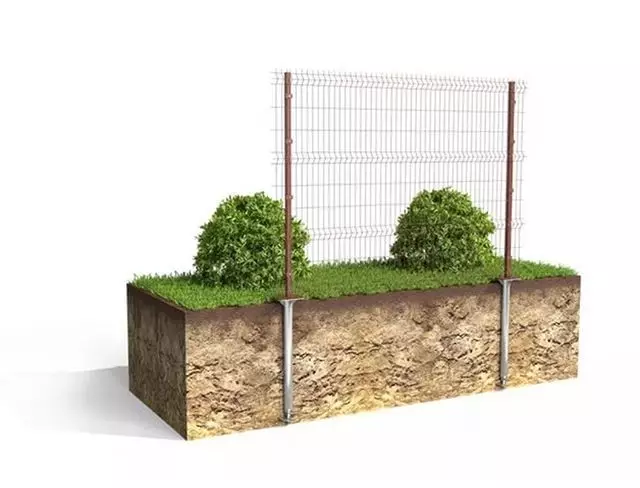
Photo: Instagram Zabortorg1
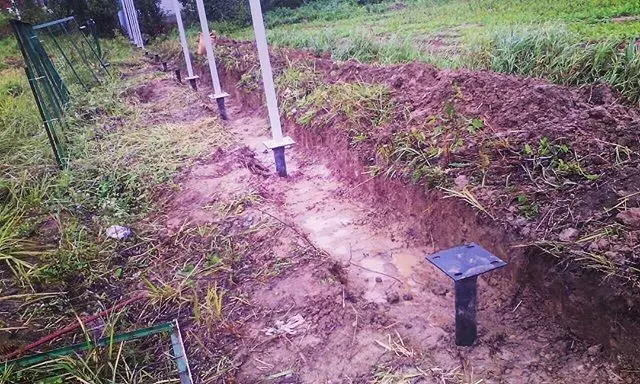
Photo: Instagram Ramsvai
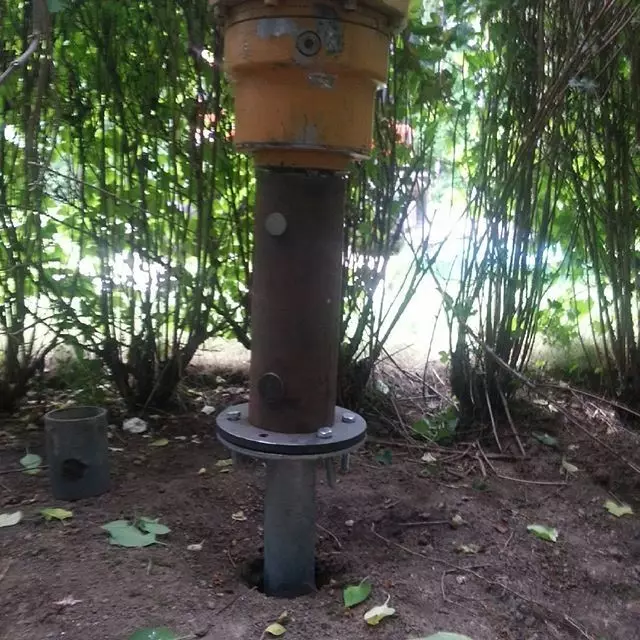
Photo: Instagram Svaiprof.ru
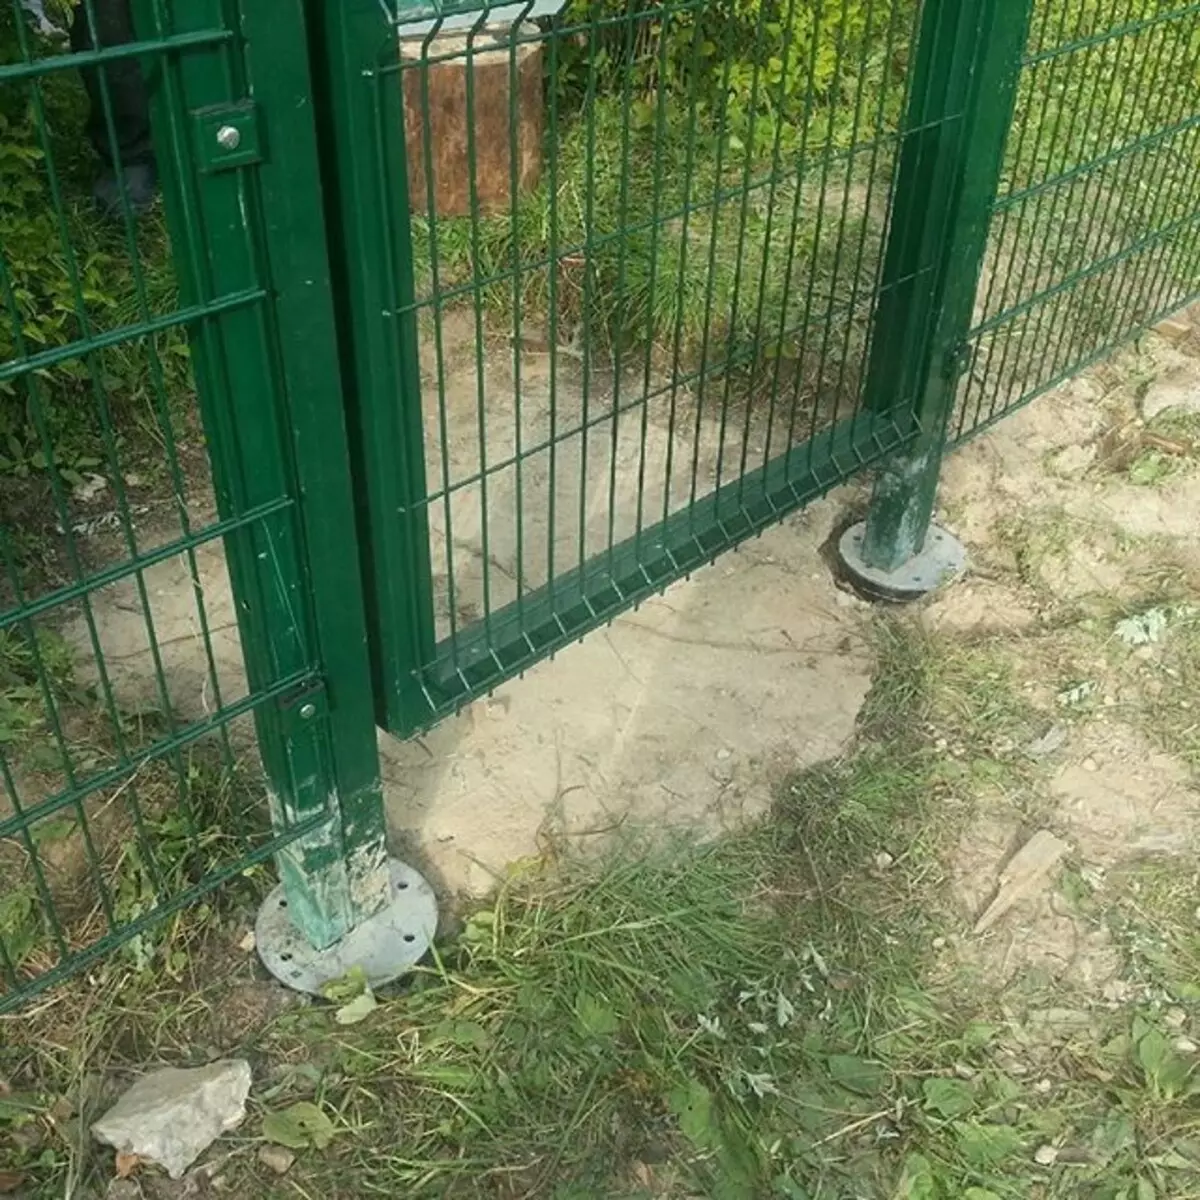
Photo: Instagram Svaiprof.ru
Second: drilling of a beet of a depth of at least a meter. Next, install the pillars and carry out the stake: the mixture of rubble and extracted soil are poured into the holes, each layer is wetted with water. This method is suitable for low fencing on bubbly and adipiled soils.
Also possible by installing purchased metal supports on the flanges, if there is a ribbon foundation or a fence will stand right on the asphalt.

Photo: Instagram 3D_ZABOR_MIREX72
Anchor bolts are used to fix the solid base.
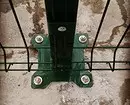

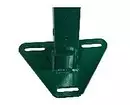
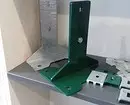
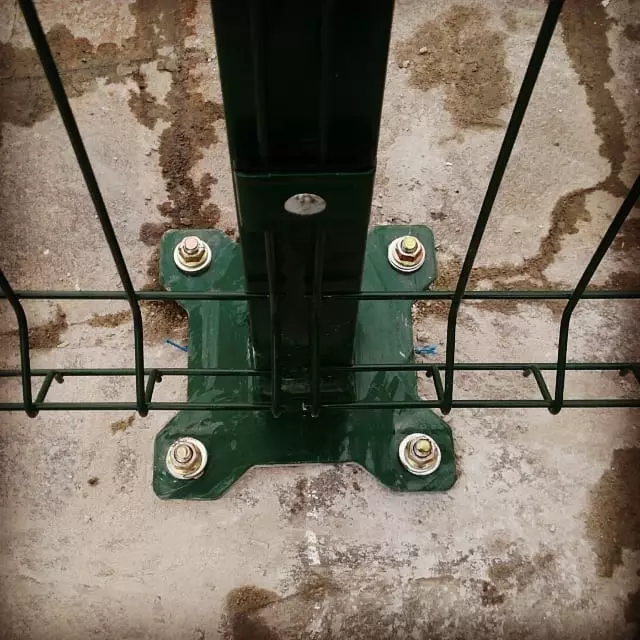
Photo: Instagram SM_PERM
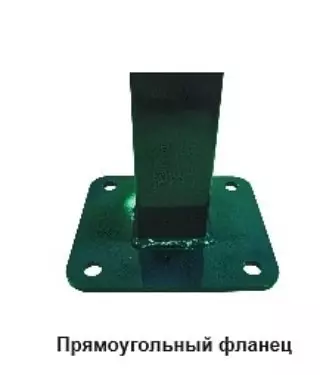
Photo: Instagram Zabor_Fasad
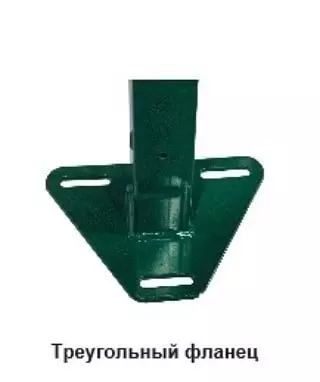
Photo: Instagram Zabor_Fasad
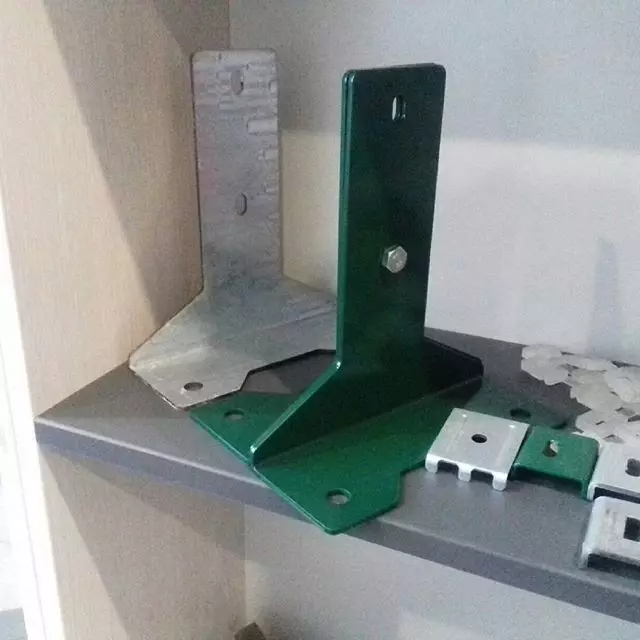
Photo: Instagram KRONSHTEINBIZKRD
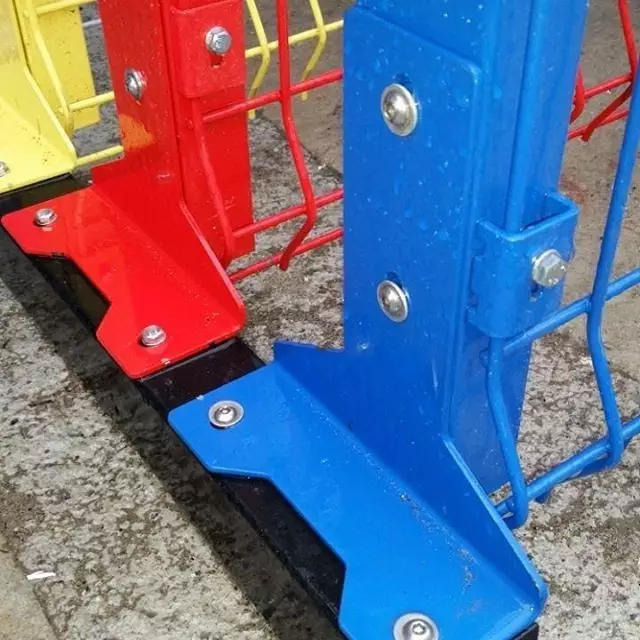
Photo: Instagram rezka_metalla_laser23
One of the options for high-quality installation of intake pillars is presented on video.
Homemade Supports for Fences
If you make metal racks under the fence with your own hands, their parameters will be similar to those described above: the thickness of the profile tube is approximately 60 to 60 or 80 per 80 mm, the walls are about 4 mm, the height is equal to the desired height of the fence. Plus, you need to consider the length of the lower part, which goes under the ground - meter or more.
For wooden poles, square or round bars with a transverse size of up to 100 mm are taken if the height of the fence does not exceed 2 m. And if it is greater, the diameter of the racks must be proportionally increased by 25-30%.
The lower parts of the poles that will be in the ground should be treated with a preheated bitumen. This applies to both wooden and metal supports.

Photo: Instagram Mos.zabozy
Frame for the European or Profile
Unlike the grid, the Hitter, in this case, one can not do with vertical racks. We need more transverse lags on top and bottom. And if the fence is above 2 m, then in the middle. These crossbars will reliably fix the metal sheet and the stakeholder bar. Wooden lags are not suitable, since in places fastening wood can rot. It is best to take square pipes with a size of 40x40x2 mm.

Photo: Instagram RSK_GSC66
There are also ready-made supports. They are already released with plugs from moisture ingress and holes through which professional flooring can be attached.
After installing the columns, lagows are attached to them. If the method of concreting is used, you need to wait for a complete drying of the solution so that the fence does not lead to the side.
On the territory having a bias, lagows need to be installed with a displacement (as in the photo).

Photo: Instagram Cleaning_Sochi
When the frame is ready, it is covered with an anti-corrosion agent.
Fastening 3D grid to columns
The grid is undesirable to weld, because then the connection points will have to additionally process from rust, and still it will not provide 100% protection.

Photo: Instagram Zabor_FensStroy
Still use a brackets for which the holes are drilled in the pillars, then the bolts are inserted and the fasteners are tightened. This is also not the best way out, because again the metal is damaged.
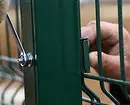

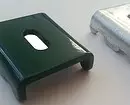
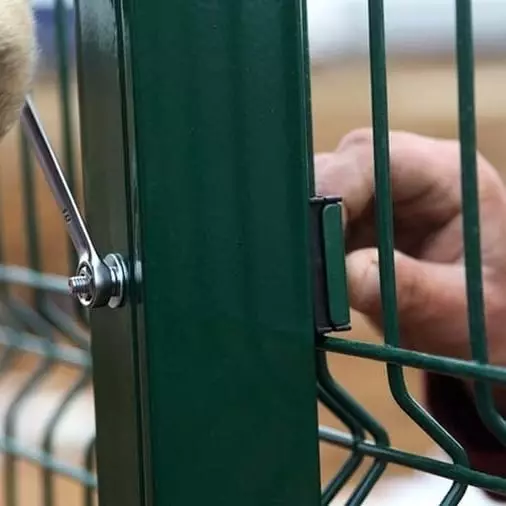
Photo: Instagram 3D_ZABOR_MIREX72
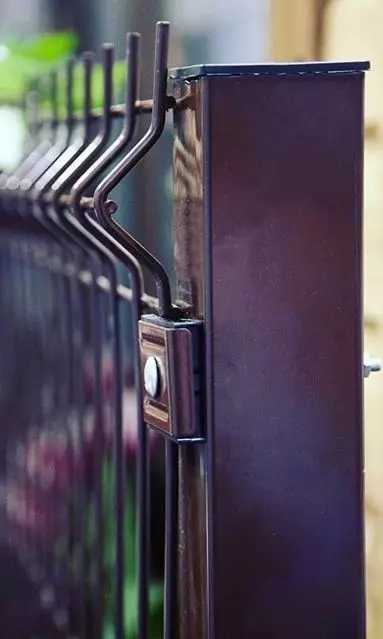
Photo: Instagram Zabor_Fasad
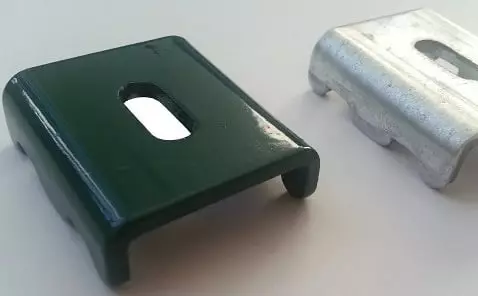
Photo: Instagram rezka_metalla_laser23
It is better to take a clamp. They wrap up with a support from two sides and are tightened by bolts, and the material remains as intact.

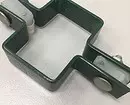

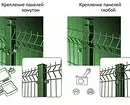
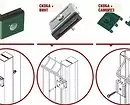
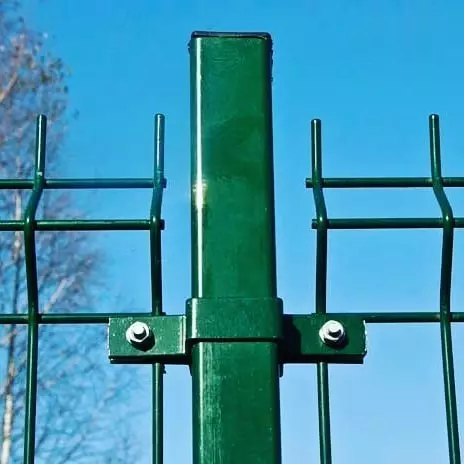
Photo: Instagram Zabor_Fasad

Photo: Instagram zabory.navesy.Besedki
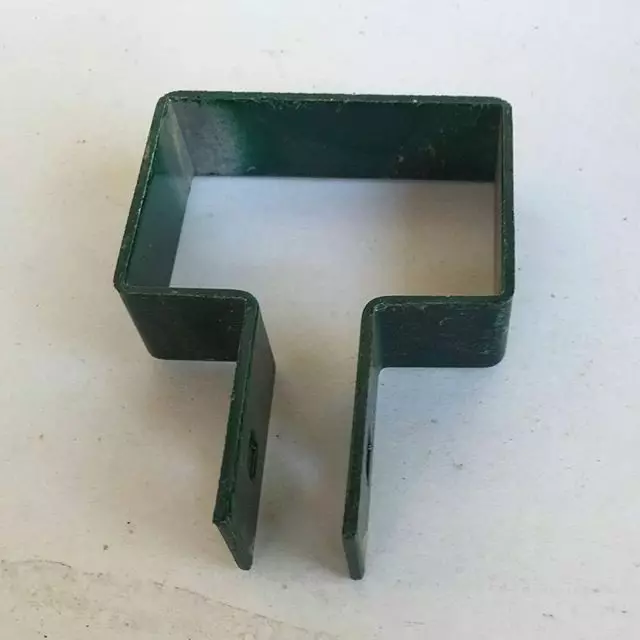
Photo: Instagram KRONSHTEINBIZKRD
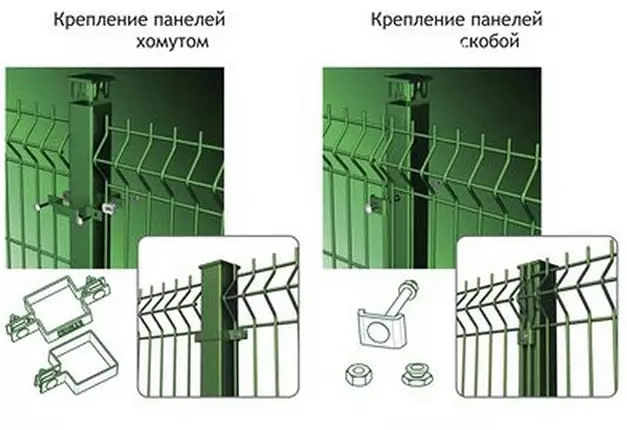
Photo: Instagram Zabortorg1
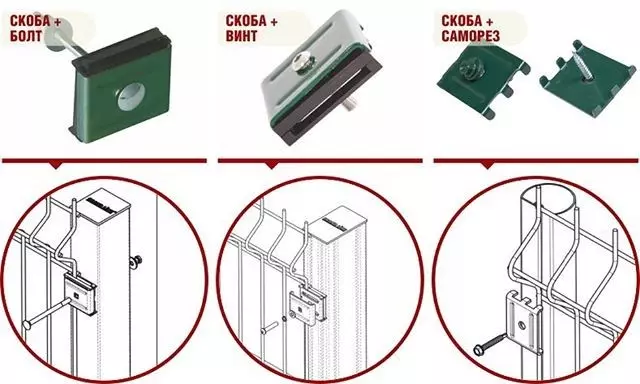
Photo: Instagram Zabortorg1
All, the fence is installed. True, someone may not like the fact that the site is completely visible from the street. In this case, you need to make a choice in favor of another fence or plant high curly plants around the perimeter capable of braking the grid.

Photo: Instagram Bona_Trade
And you can make a combined fence from the corrugated floor and 3D grid. It allows you to observe privacy around the perimeter and save the space in the rest of the courtyard.

Photo: Instagram Mos.zabozy
Installation of wooden fences
For them, wooden and metal pillars are used, which are injected into the ground or fasten to pre-concreted standings.
All material - and intricate shields, and supports - are treated with protective means from the destructive influence of microorganisms, moisture, air.
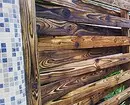
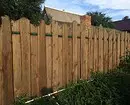
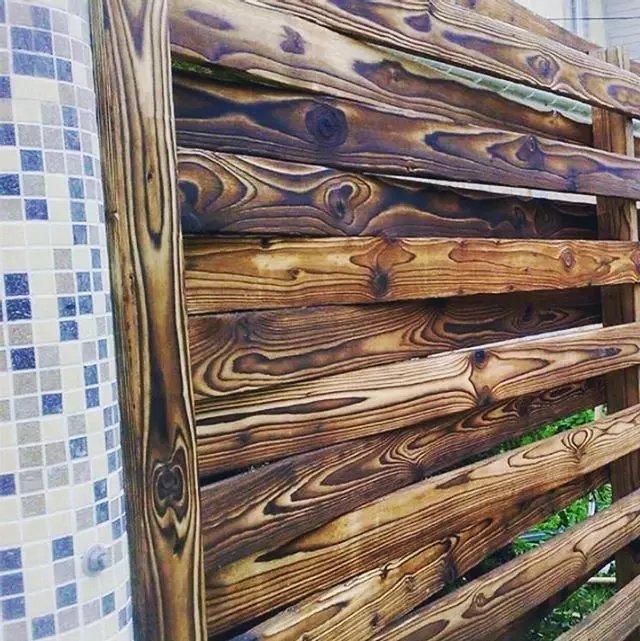
Photo: Instagram TermoOOBotka
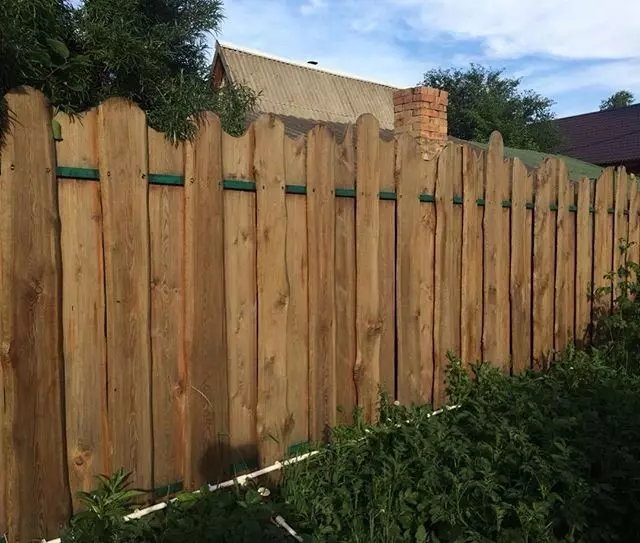
Photo: Instagram Maslo_54
From above, you can walk the Swedish paint if the design is completely wooden. This tool has a decorative effect, although it does not look like paint in the usual understanding. Rather, it is a preservative for wood.
Recipe for Swedish paint
On 8 liters of the finished product, you need to take 4 liters of water, bring it to a boil, add 300 g of iron vitrel and 200 g of salt. Stir until everything is dissolved.
I bring to a boil (and simultaneously mixing the mixer for a drill another 400 g of flour with 2.5 liters of cold water). After boiling with a thin flower, we pour into a solution of flour with water and stir the mixer. With the advent of the first bubbles, we felt some more water, add any dry alkali-resistant pigment. We still wait a little when the mixture begins to "move", add 300 g of natural olifa (alkyd pouring it is impossible to light up). After a few minutes of stirring, turn off.
The mixture is unsightly obtained, but according to the craftsmen, it is able to protect the fence from destruction for 15 years. From above, you can cover the surface of any conventional paint.
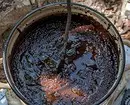
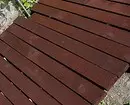
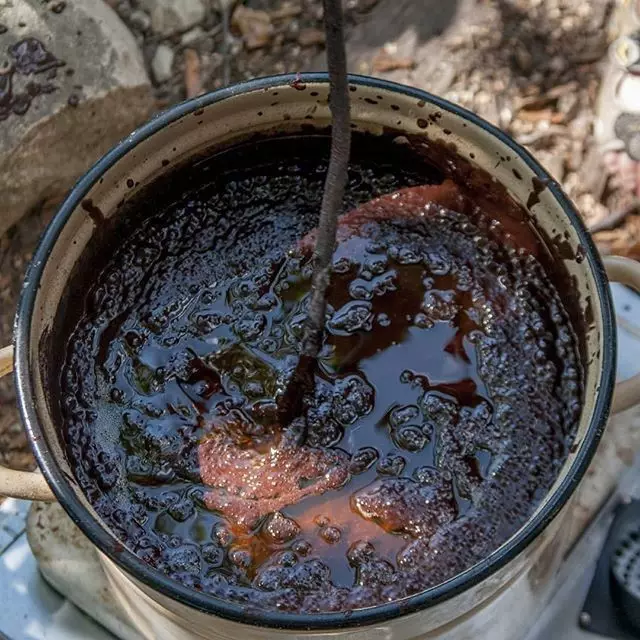
Photo: Instagram Olka.krash
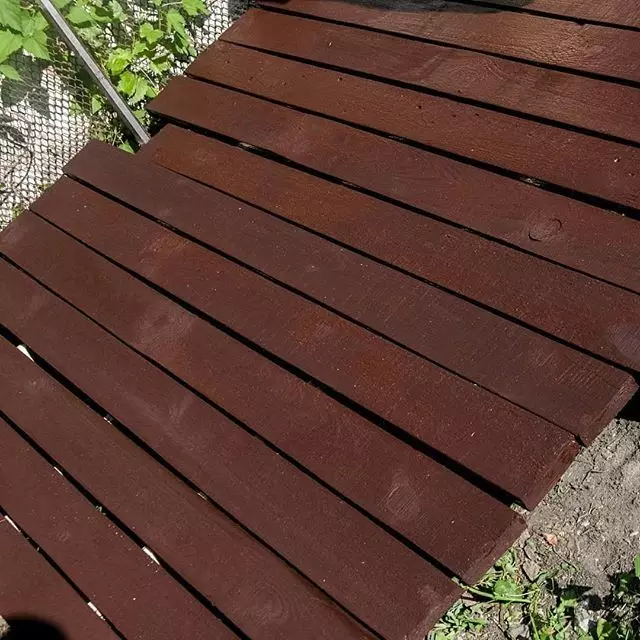
Photo: Instagram Olka.krash
The columns attach crossbars, only smaller cross-section than supports. To them, you need to nail / screw the planks. The end of each fastener should be released from the reverse side of the lag, then it is neatly bent.
Fastening professional flooring
Sheets are screwed by special self-draws. Such screws are equipped with a special lining rubber band and have a large washer. All this minimizes the likelihood of metal damage and the appearance of corrosion. The only one, you need to follow the density of the adhesion of the screw. If it is pressed into the metal, the connection site is quickly engaging rust.
Many masters are taking advantage of the use of exhaust rivets: they do not require access to the back of the surface and firmly hold the metal sheet (it is much more difficult to tear off the pipe than the screw to the screw).

Photo: Instagram iRIVET.RU
Recall, professional flooring has a wavy structure. It is attached to lags on the bottom wave, and the sheets are connected to the top.
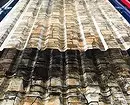
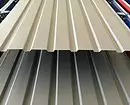
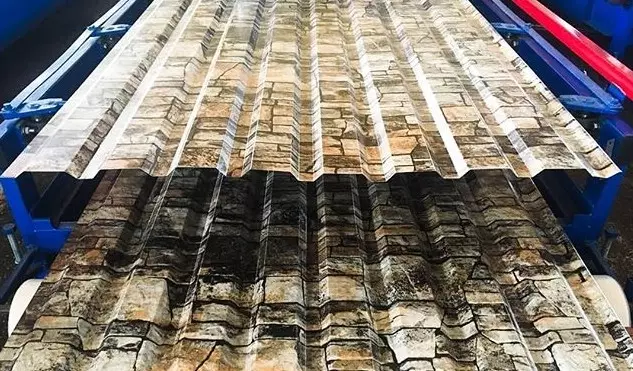
Photo: Instagram Most.asia
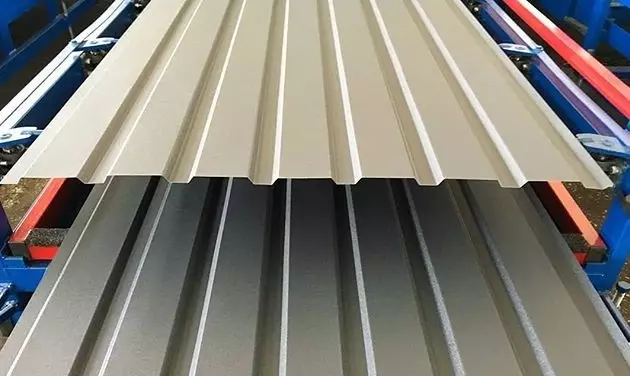
Photo: Instagram Most.asia
Upper Overcome Specialists recommend decorating a P-shaped plank. She will give an aesthetic appearance.
Fastener of Evristechnika
Reiki are screwed to lags by self-drawing at the rate of two screws on each crossbar. Self-tapping screws are needed from a stainless steel, otherwise they can affect the process of corrosion, which will turn on the planks themselves.
There are labels on lags, where you need to drill holes. Then the staketin is applied to this place and drill it at the top either below. Fixed with screws, align and drilled at the other end.
How exactly to mount the "boards" is a personal matter of everyone. Someone likes them to stand back to each other, and someone with a gap of several centimeters.

Photo: Instagram Evroshtaketnik_STAV
Prices for 3D Fences
The ultimate cost of eurofacles depends on the region, configuration, characteristics of the material, design sizes.
If we are talking about a fence from the Hitter grid, the cost of the route starts from 500 rubles, it is real for the sale and for 350. But again - remember that you need to check the quality of the product. Cheap - not always good.
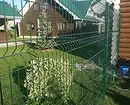
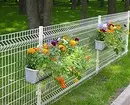
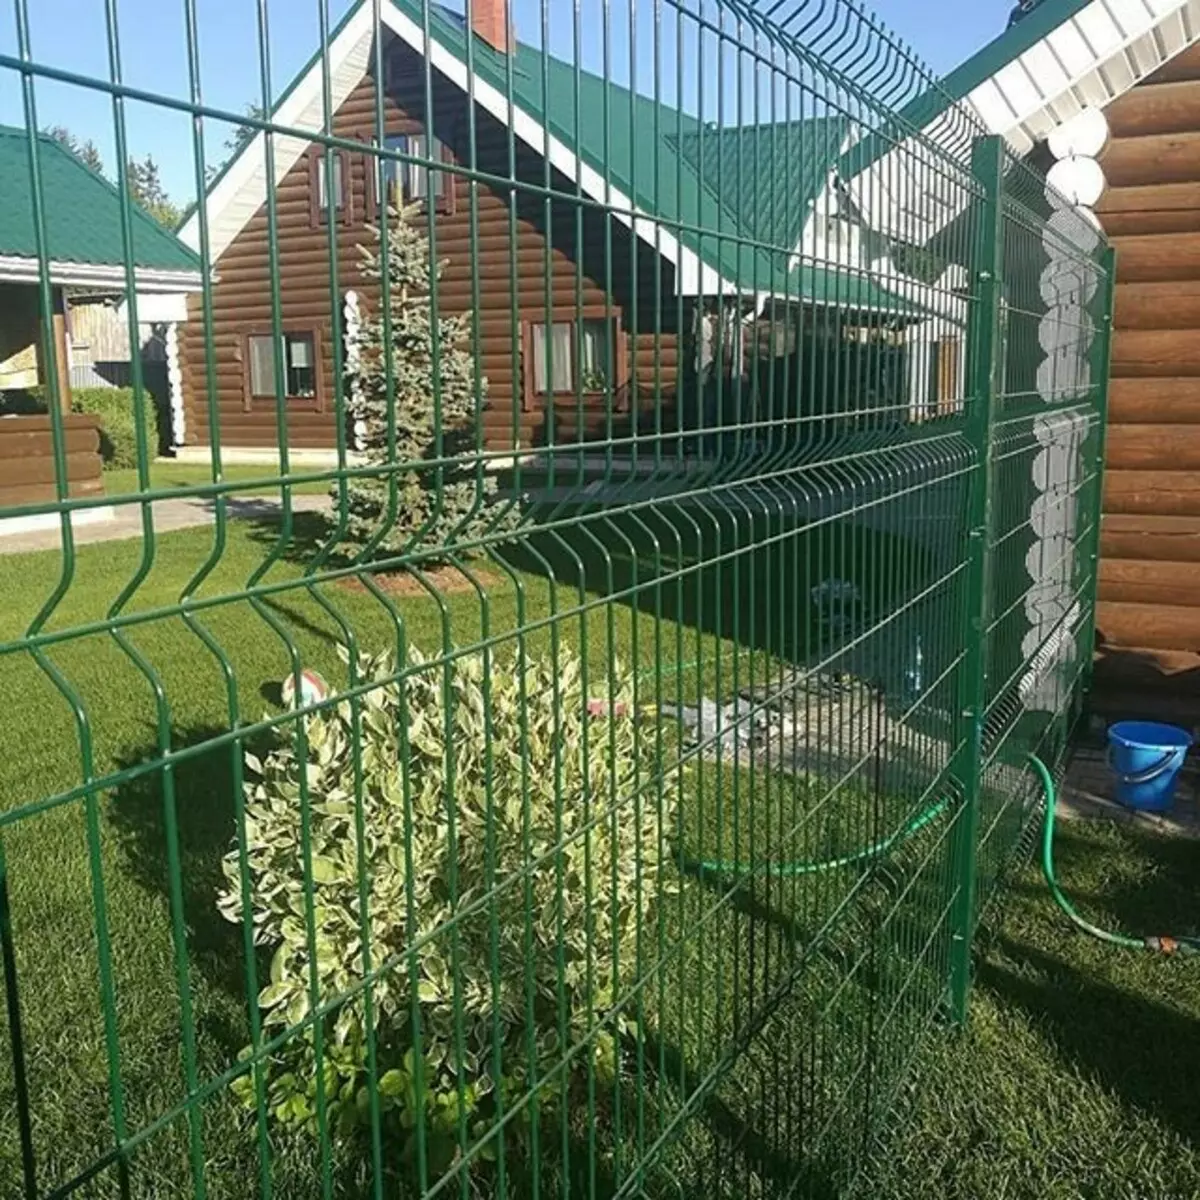
Photo: Instagram Zabor3dizh
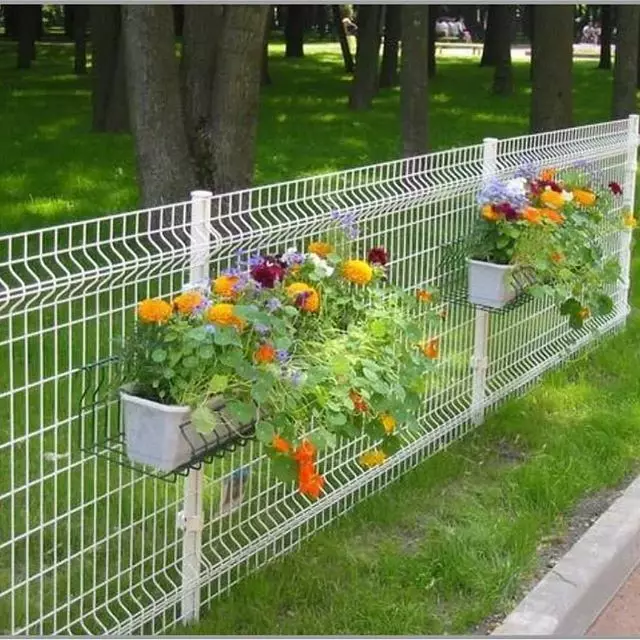
Photo: Instagram CZENTRFASADAIKROVLI
Prices for steel sheets depend on their height, metal thickness and finishing coating, as well as many other parameters.
Professional flooring will cost at least 700 rubles per stranded meter. But the Ershtroker is considered to be magical. The cheapest strips with the treated (spilled) edge, 85 mm wide, 1 m high will cost in the area of 40 rubles.

Photo: Instagram zavod_profnastil
The final cost of a wooden fence is influenced by the number of boards used. If they have to lay them out and give the volumetric form, the material will leave more than if you hit them horizontally, for example in a checker order. One pine fenceboard is worth a minimum of 130 rubles (thickness - 2 cm, length - 1.5 m, width - 10 cm).
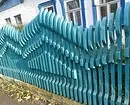
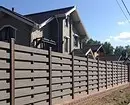
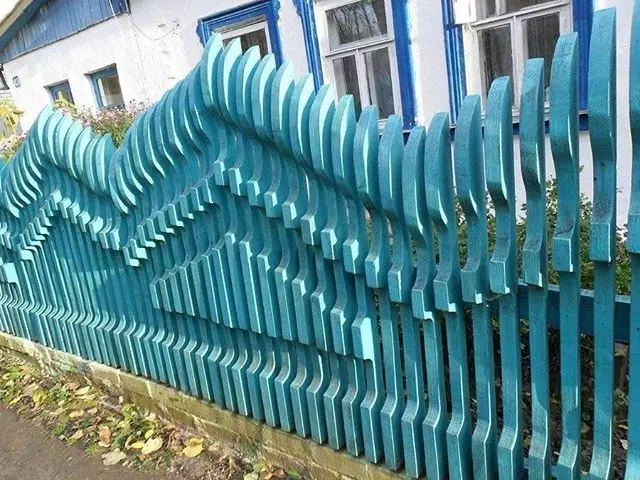
Photo: Instagram Centrzaborov.ru
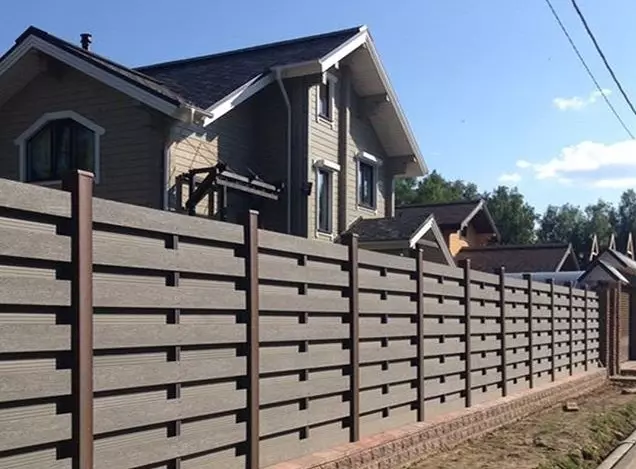
Photo: instagram kazan_zabory
3D-fences manufacturers
The tree is a common type of raw material treated with small, and large firms in different regions of Russia. Boards find no problem. Metal sheets for fences are also excess in each region.

Photo: Instagram Tichonson
A little harder is the case with Hitter grids. Certified enterprises in Russia, which specialize in their manufacture, are relatively few. They distribute their products either themselves or through dealers. Among the major federal factories - Gud Fens LLC, Falstime LLC, Peterierimeter LLC, SibstruService LLC and others.
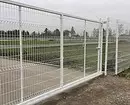
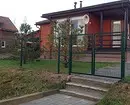
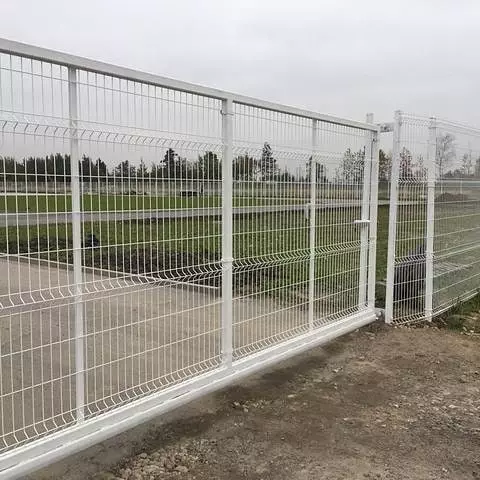
Photo: Instagram Good__SPB
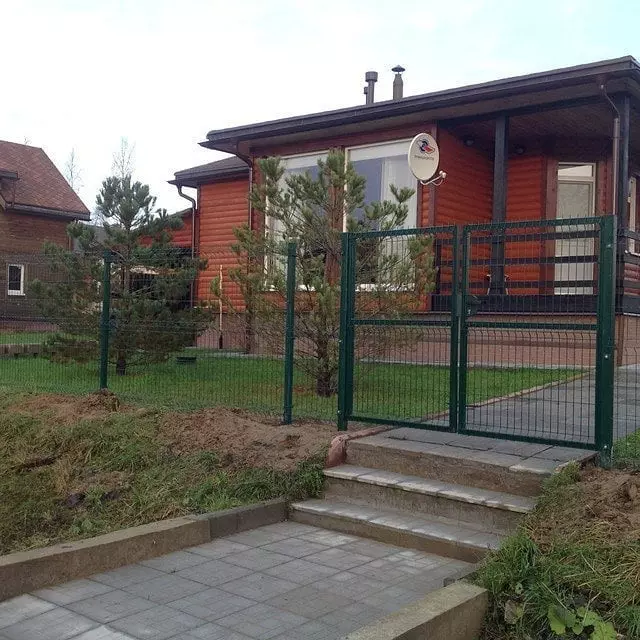
Photo: Instagram Good__SPB