We tell why you need to put the surfaces under the shoes of the wallpaper, which is to prepare for work and give detailed instructions how to do it right.

The choice of finishing materials is wide, but despite this, many choose wallpaper for walls. Moreover, now the range is not limited to paper stripes with a pattern. The texture and design of the material are diverse. Before sticking, you need to prepare the basis. We'll figure it out how to put the walls to wallpaper correctly, to get a good result without much effort.
How to independently prepare walls before sticking wallpaper
Why it is necessaryWhat to prepare before work
Phased technology description
- Preparation of the basis
- applying starting putty
- laying of the finish mixture
Why should we put the walls
Wallpaper canvases, especially thin, cannot be glued to the unwarked base. All defects, whether it is large bulbs and pits or barely noticeable depressions and cracks, will be noticeable. This will spoil the type of finish. In addition, if the wall surface is dark or with stains, all this will also be noticeable. The color of the coating will suffer, on a background it will become darker, it will seem dirty. Spots will also be noticeable.
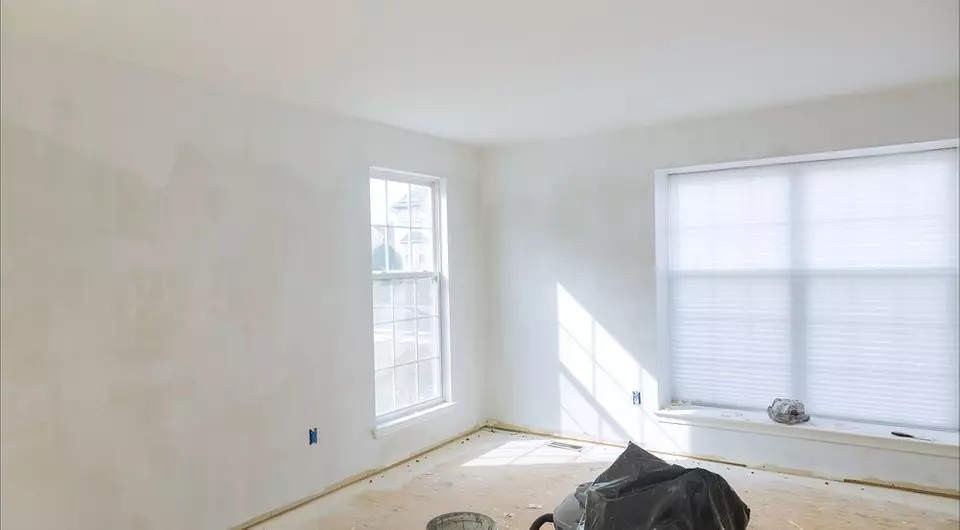
Therefore, glue the wallpaper canvas only on the perfectly smooth, dry and light wall. It is such that she becomes after the shtlivania. It is mistaken to think that the surface plastered along the beacons is ready for the finishing finish. It is so if you are supposed to put the tile or install the panel. But for sticking wallpaper, as for painting, this is not enough. The stucco is coarse-grained, it does not cover small irregularities. Therefore, the shtlocking of fine-dispersed mastic, which will hide all defects.
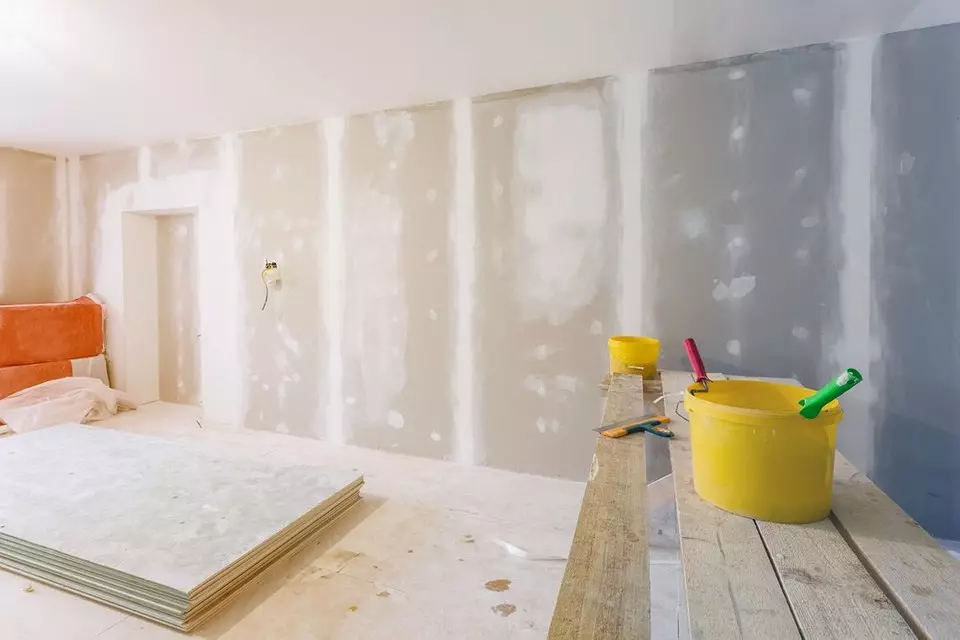
The spacure of the walls of plasterboard under the wallpaper is also necessary. Sheets are smooth, but between them there are joints that need to be treated. In addition, pits remain from the fasteners recessed into the surface. They are also close to the spacion mixture, otherwise they will be noticeable. There is a possibility that over time, non-selected hats of self-sustaining can be powered and become a source of red divorces on the canvas. And one moment. If you stick the canvas to not covered GLCs, it will not be possible to remove it without damaging the plasterboard.
What to cook for work
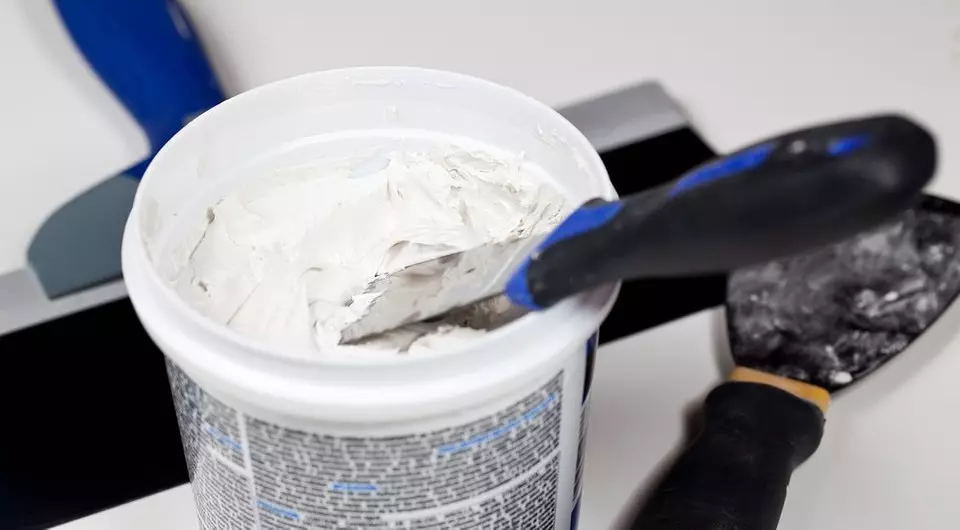
We can put in different compositions. In stores for sale ready-made paste-fated in buckets. This is a good, but expensive option. Therefore, most often choose dry mixtures, cement or gypsum. Before applying, they are bred by water.
Two types of spacion mixture will be required: starting and finishing. Start - the largest coarse. It easily aligns small irregularities, so it is put first. The finishing solution is superimposed. He is a finely dispersed, lies with a layer of 1-1.5 mm, so it closes the smallest irregularities. If the basis is relatively smooth, you can set the universal composition. It combines the properties of both varieties.
Before applying a putty paste, the base is ground. Therefore, the primer will also need. The composition is chosen, focusing on the base material. If there is a risk of fungus, buy a primer with an antiseptic.
In addition to materials prepare tools. Support spatulas. Take two straight lines: medium and large as well as corner. Rule or smooth long rail, raw grater or sandpaper, long-tailed roller with a brush for priming. If it is supposed to use a dry composition, you will need a packaging for a kneading mixer.
How to put on the wallpaper walls of plasterboard and other materials
Prepare the basis for sticking wallpaper is easy. We offer a phased description of the technology of applying putty paste with their own hands.1. Preparation of the foundation
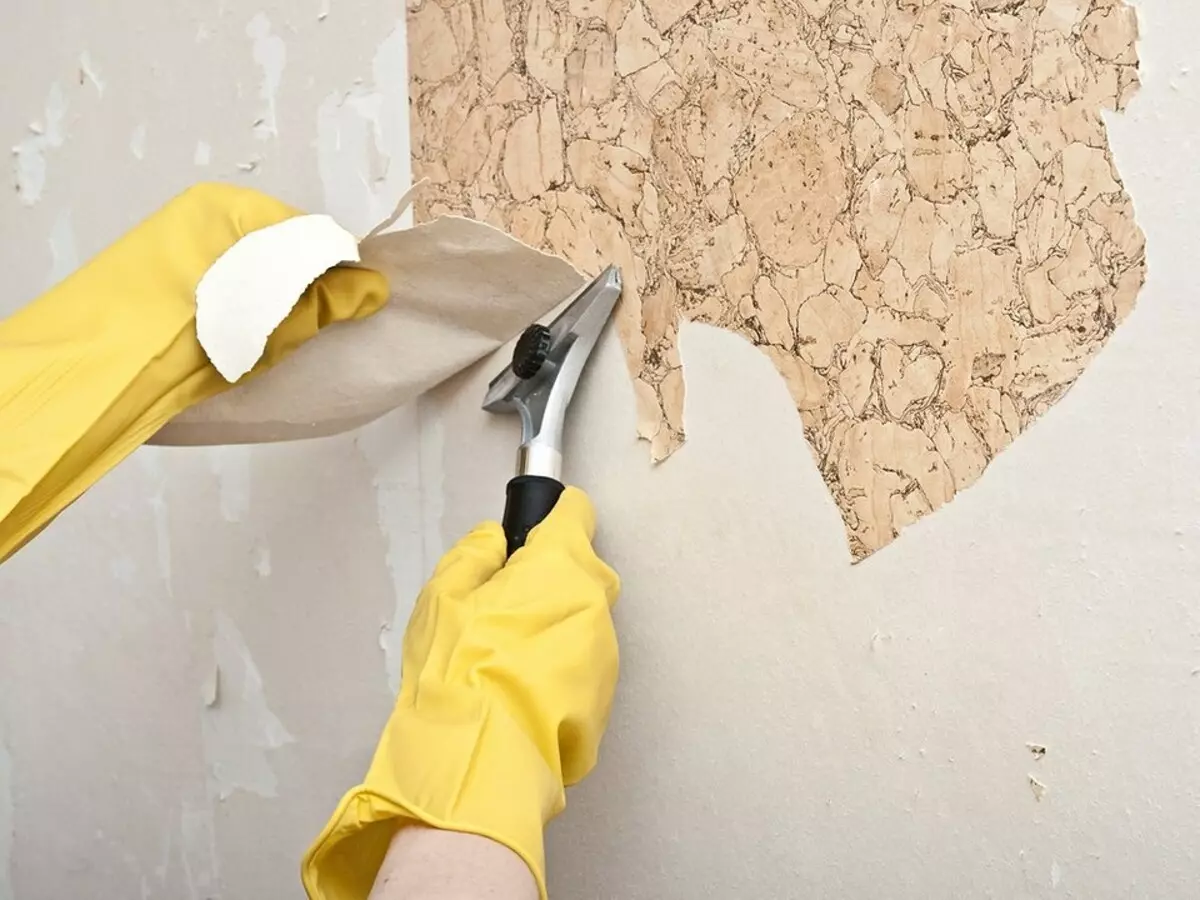
Before work prepare the basis. First, take it from her old finish, if it is. Water-emulsion paint and whitelle wash away or believes. Oil and enamel compounds are cleaned with a wash or heated by a construction hairdryer, then believed. Wallpapers are discharged, then removed. Sowing old putty or plaster is also better to remove. If, after these manipulations, significant irregularities remained, they will have to align the surface with plastering solution.
The base purified from the old coating is carefully examined. All defects will probably be noticeable on it. Speakers are shy or knocked down. Get rid of cracks. Do it.
- Deep crack is expanding. That is, a sharp tool is shy at an angle of its wall so that it can be completely fill in the repair formulations. Small cracks are not needed.
- The tassel neatly purify the inner surface of the defect, remove the dust and the remains of the old coating.
- Ground the crack, they abundantly apply primer on her inner sides. Give time to dry out.
- Tightly fill the cavity to the repair mastic: starting putty, cement mortar, mounting foam, etc. Waiting until the material cuts out, cleaned with sandpaper.

If with your own hands, putting the plasterboard under the wallpaper, the foundation is prepared differently. All joints of the GLC are sickled by the reinforcing ribbon-sickle. The tape is placed on the start-putty, and they close it from above. The spatula neatly recall the seams. A small amount of spacion mastic closes each dent from the fastening caps, neatly align the spatula. The surface prepared in this way is left to completely dry the mixture.
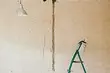
The last preparatory stage is the priming. It is carried out at all without exception. The primer improves the adhesion of the base, closes its pores. This increases the adhesion strength of the base and finishing materials. The primer is superimposed by one or two layers. The exact instructions are on the packaging. Before applying a new layer, be sure to give the previous way to completely dry.

2. Application of the starting layer
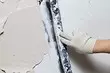
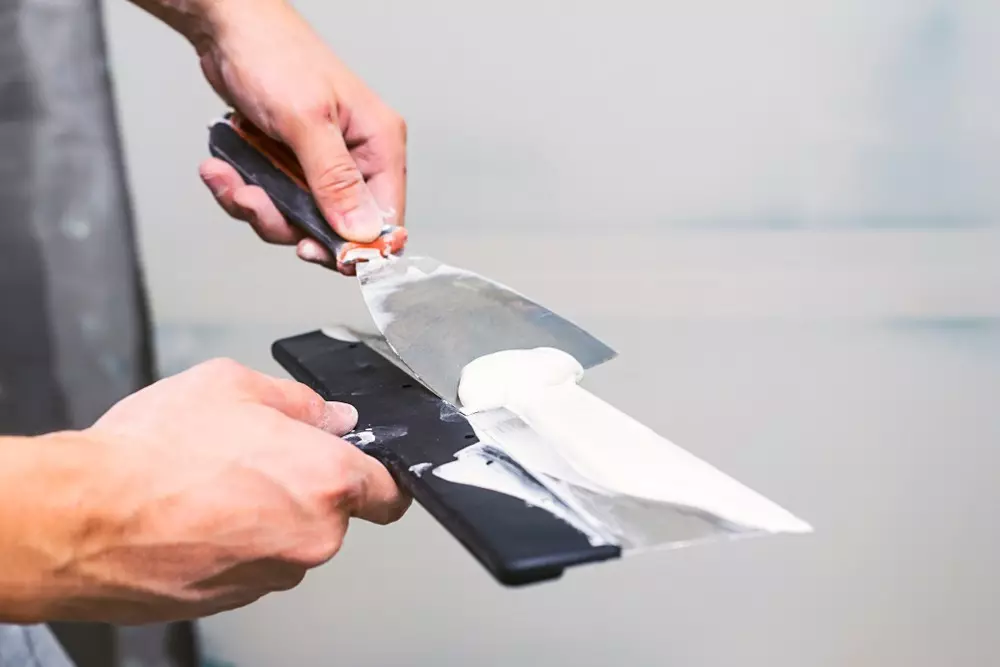
First prepare a solution. Clean water is poured into the bucket, then powder falls asleep. In this case, it is necessary to accurately observe the proportions indicated on the package. Intensively mix the composition before getting a thick paste. Better to do this mixer. Important moment: kneading mastic needs small portions. She quickly harms, you can not have time to work out the entire prepared solution. Then he will deteriorate. The starting layer is superimposed.
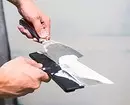
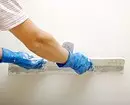
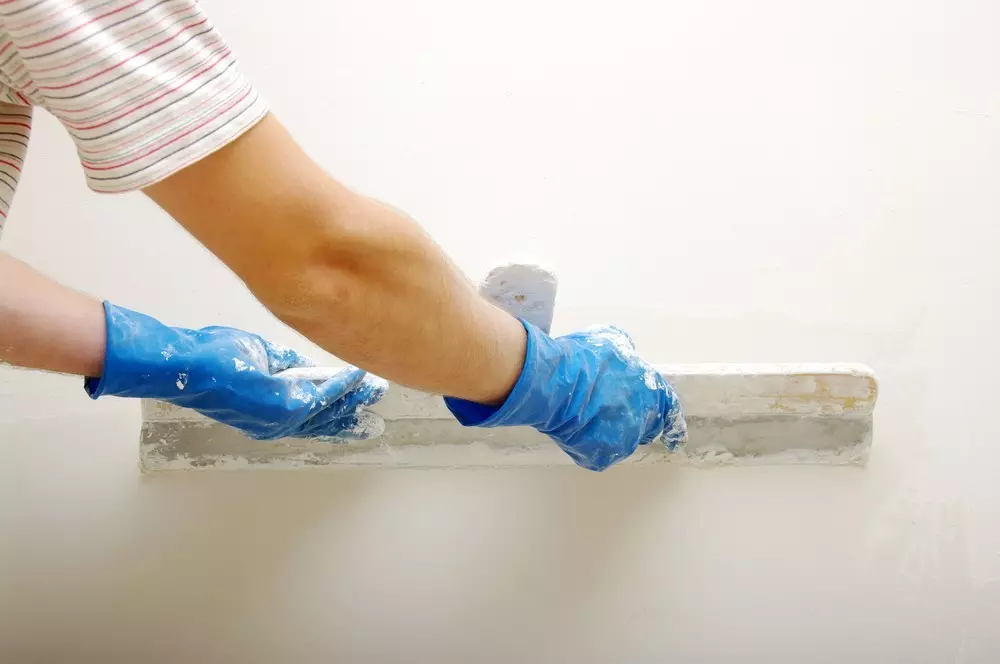
- A medium or small spatula is buried with a paste from the tank, put it on a long spatula.
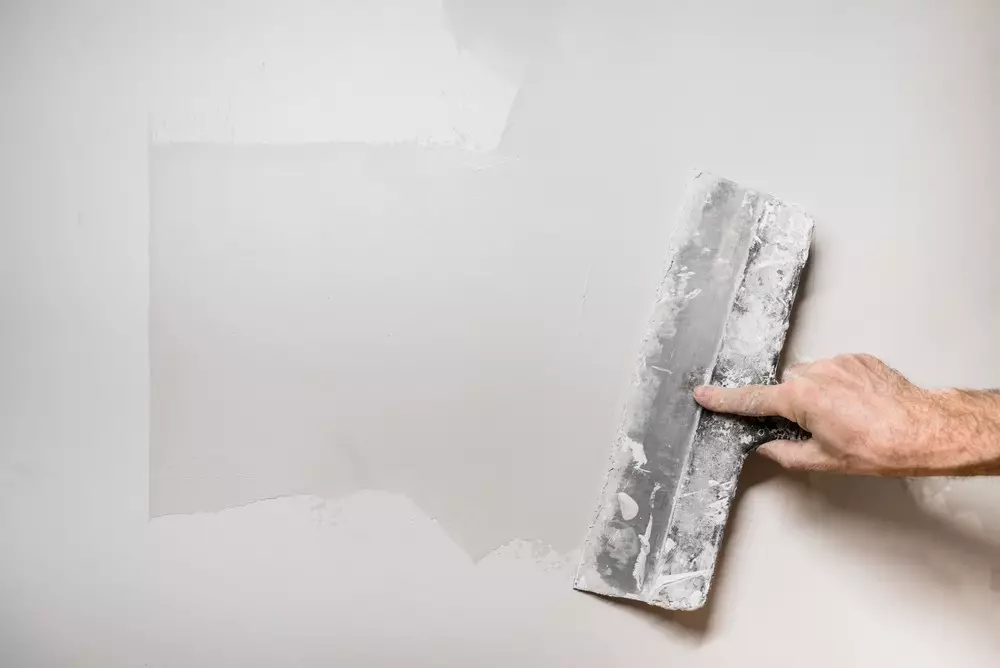
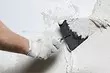
- Begin to apply a putty mixture from the angle. It is distributed on the plane by uniform movements of the tool. Hold it under the tilt of 45 ° to not leave traces. The height of the application layer is 1.5-3 mm. In areas with depadies that need to be laid out, you can make a layer slightly higher. The solution is applied by strips with an adhesive in 6-8 cm.
- After the site is covered, check the accuracy of application. To do this, take a rule and spend them on the wall. It will collect the surplus of the putty paste and make noticeable fragments for which you need to put more mastic.
- Exactly putting a putty in the corners helps an angular spatula. It is installed at the top point of the corner and go down gently. It turns out exactly and beautiful.
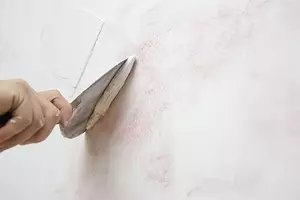
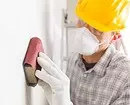
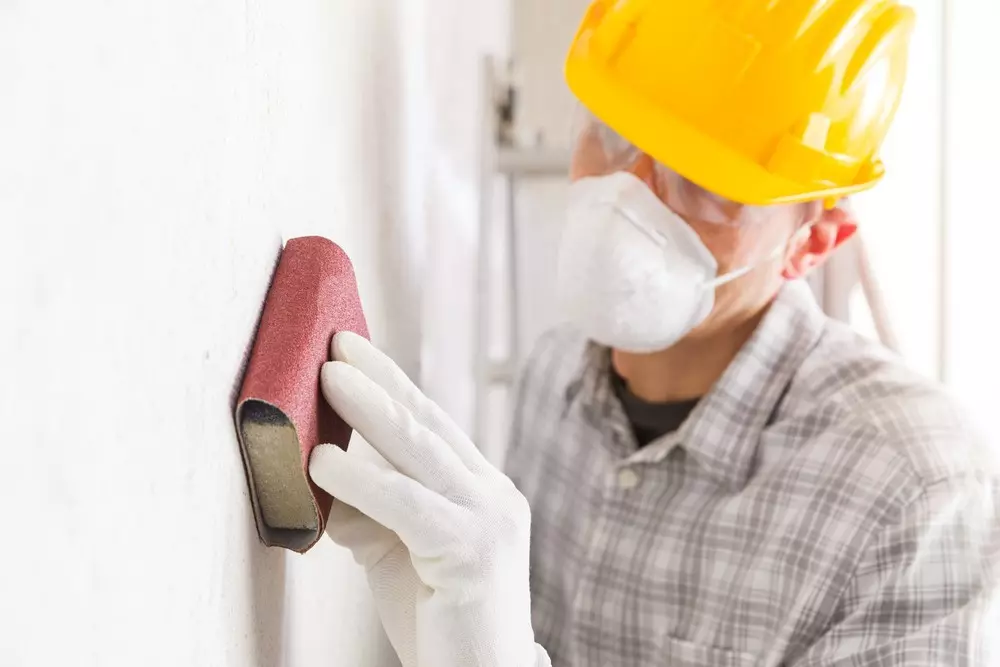
- After the paste is applied to the walls, but still does not clarify completely, the surface is pushing. Make it with a clutter grater or grinding machine. Pull with uniform movements in a circle counterclockwise. Processing every section of the plane. Leave to complete rejection of the material.
At this stage, it is possible to stop if dense or embossed wallpapers are selected for sticking, such as embossed or foamed vinyl.

3. Work with finishing solution
Finish-putty is the smallest. She hides the smallest irregularities that stayed after processing starting paste. Apply it in the case when it is supposed to stick sheets of thin wallpaper. Under them you need the perfect base. Divorce putty mastic according to the instructions on the package. At a time prepare a small portion.
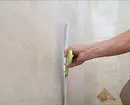
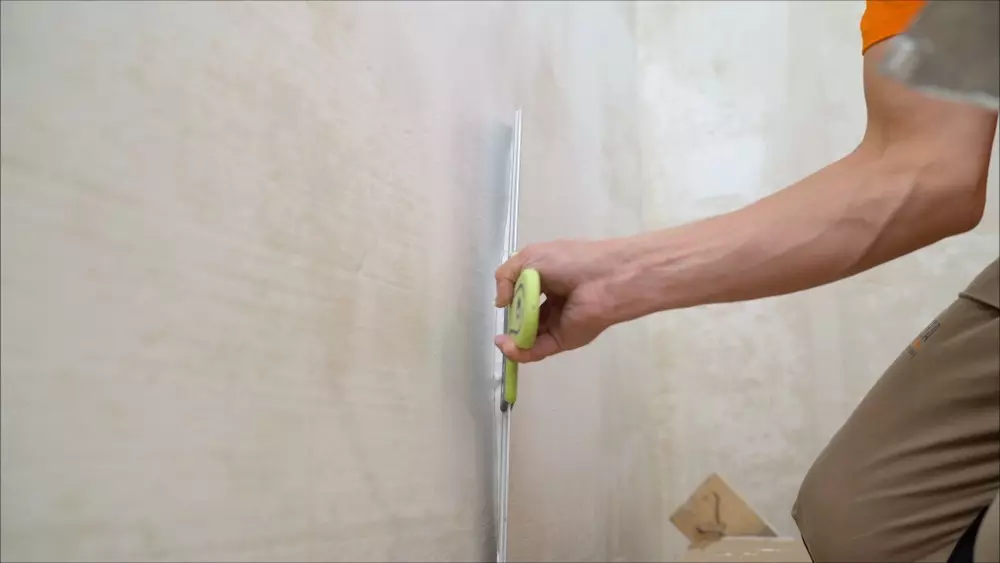
It is superimposed by mastic similarly start. The difference in the altitude of the layer. It should not be more than 1-2 mm. The paste with a light pressure is neatly stretched by a large spatula on the plane. Start with an angle or from the window, the direction of movement is from the bottom up. The angles are processed by an angular tool, you can use a straight spatula of soft rubber.
To control the accuracy of application use highlight. Luminaires are exhibiting at different points of the room so that they shine on the wall. It helps to see the errors.
The finish mixture is superimposed by two layers. The second is applied to the deceased first. Both after grappling are rubbed. For the grouting of the first, an fine-grained sandpaper is used, the second is treated with a leather or suede nozzle.
For the decorator, without experience, the putty of the walls can seem not easy. Especially when the finish putty has to be superimposed. Everything will work out if you follow the instructions and take a little before work. Important moment: Materials and tools must be high quality, then it will be easier to work.