
Step-by-step instructions for mounting a plasterboard box on the ceiling, as well as tips for choosing materials and finishing this design.
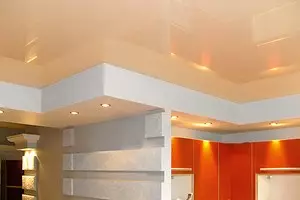
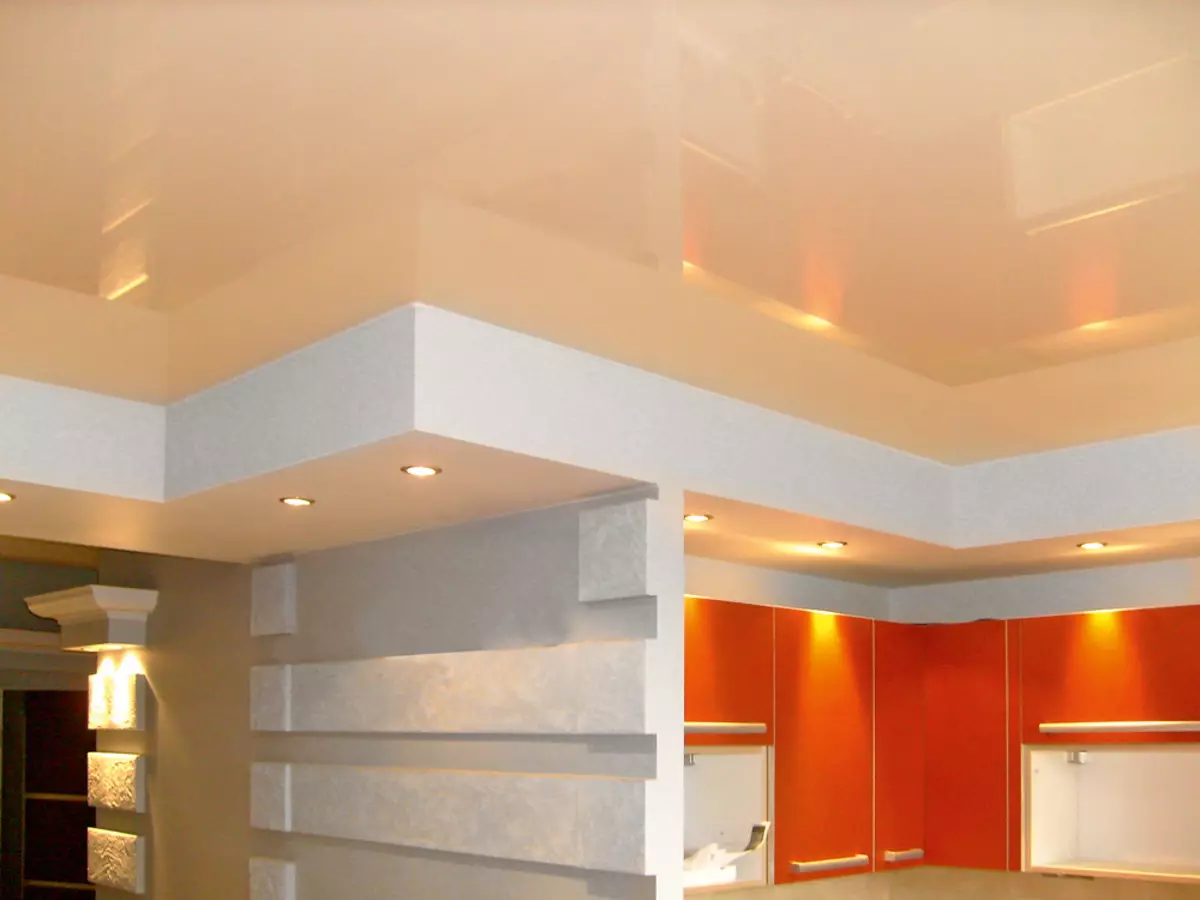
Photo: Saros Design
If you want to equip an apartment on the latest technology, you can hardly do without a channel air conditioning system. And if you also follow the interior fashion, you want to hide eaves for curtains and equip some rooms with built-in point lamps, the directional light of which will ensure comfort and visual comfort.
To implement such projects, you need a niche of a depth of 60-150 mm, to create which in the apartment you can, only lowering the ceiling - in the whole room or locally. The first solution is hardly suitable for typical housing, where the ceiling height does not exceed 270 cm. It is more expedient to assemble a frame box, which practically does not change the proportion of the room.
When mounting kilutes
A plasterboard box is arranged after the end of the main wet processes - the construction of masonry partitions, fill the floor screed, plastering walls and ceilings. The fact is that plasterboard sheets are gaining moisture from the air and increase slightly in size, which entails the risk of blinking surfaces, and cracked may appear on the joints. The finish putty ceiling can be carried out both before and after assembling the box.How to install lamps
To install modern point lights with LED bulbs, the ceiling from overlapping is only 60-100 mm, with incandescent lamps - by 80-120 mm. Over the ceilings made of drywall, the wiring is carried out in a flexible sleeve or a box of self-refining PVC or use a cable with marking containing the abbreviation "NG" (in non-combustible insulation, which does not emit with the combustion of poisonous gases). At the same time, the unfinished wire is allowed to be placed along the shortest path. The connection of wires by a twist is unacceptable - make sure that the installers use terminal clamps.
Installation of the ceiling box
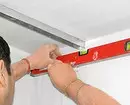
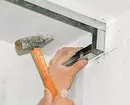

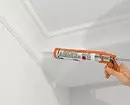
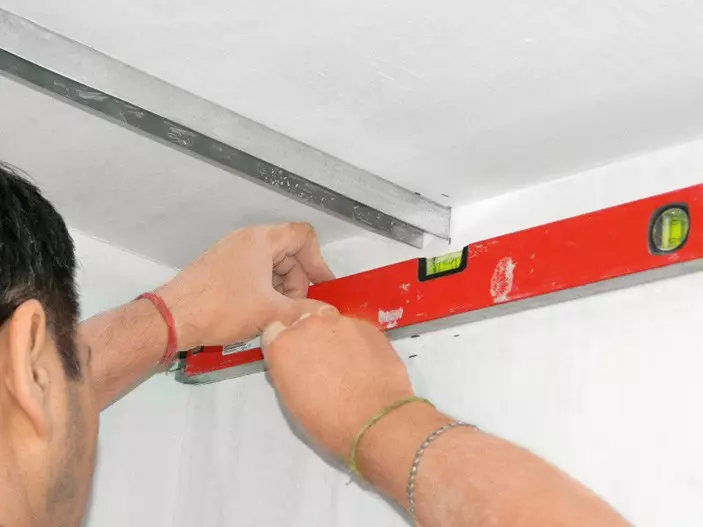
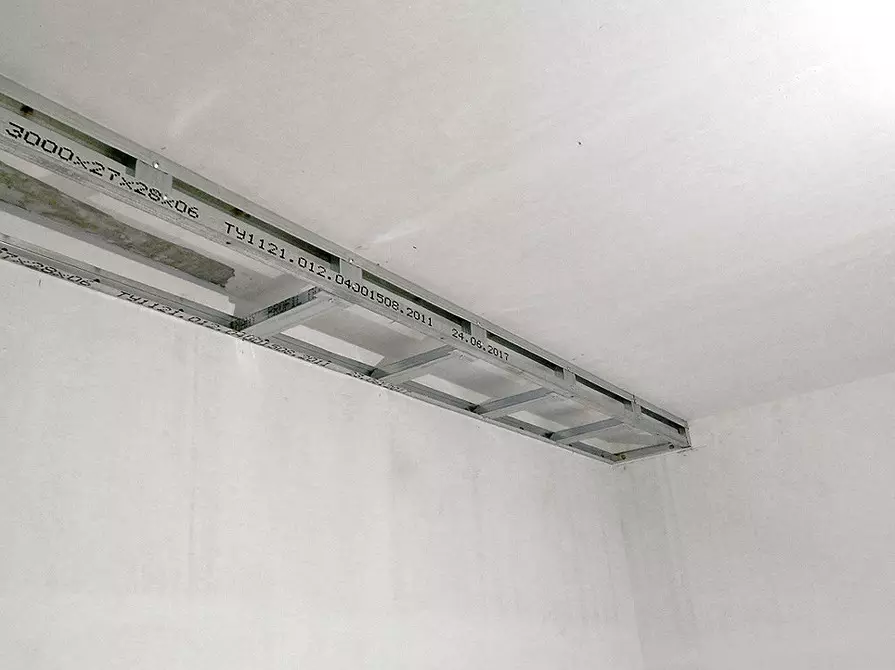
Taking advantage of the roulette and level, on the walls and the ceiling applied markup. Photo: Vladimir Grigoriev / Burda Media
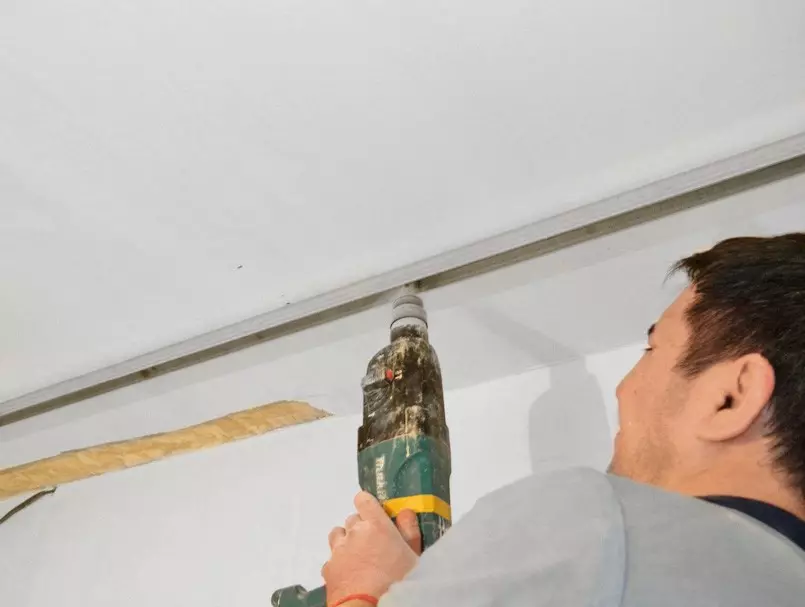
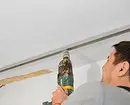
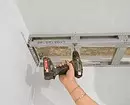
The guides attached an anchor-wedges, which have no more than 400 mm in increments. Photo: Vladimir Grigoriev / Burda Media
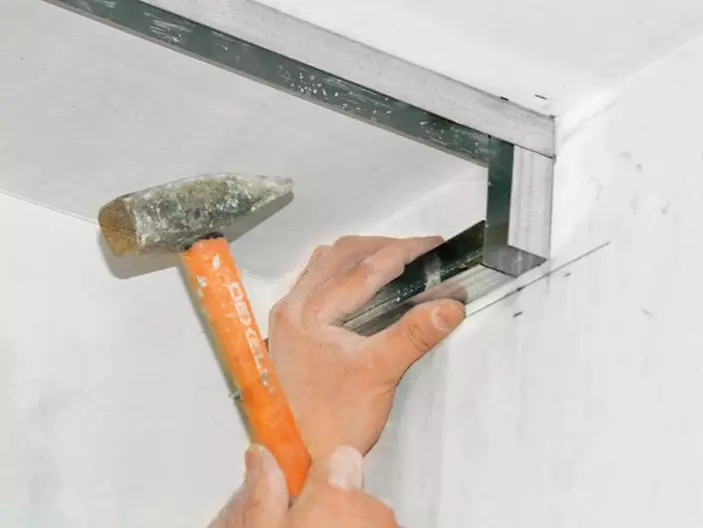
Photo: Vladimir Grigoriev / Burda Media
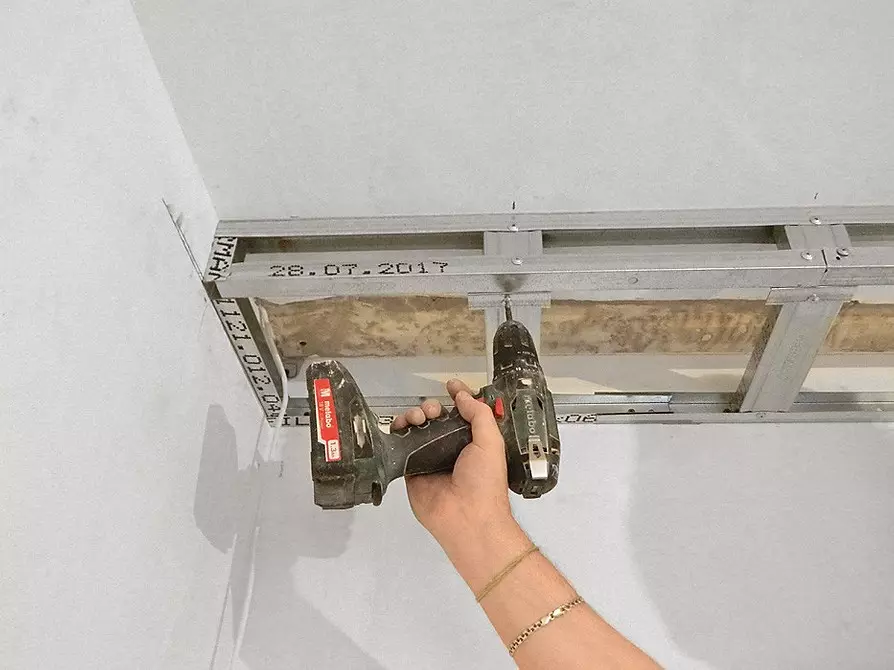
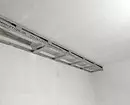
The frame was collected using self-drilling screws. Photo: Vladimir Grigoriev / Burda Media
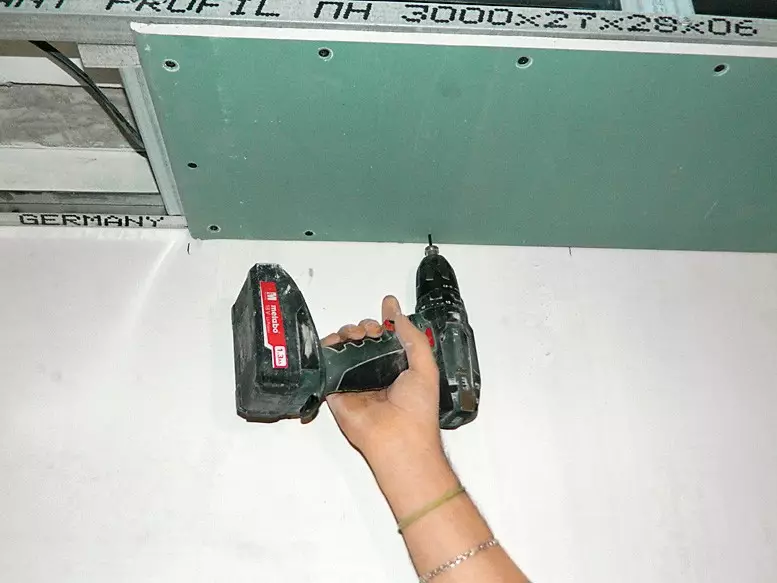
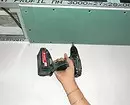
Plasterboard attached with self-draws with a step of no more than 250 mm using the nozzle with the reducing depth limiter. Photo: Vladimir Grigoriev / Burda Media
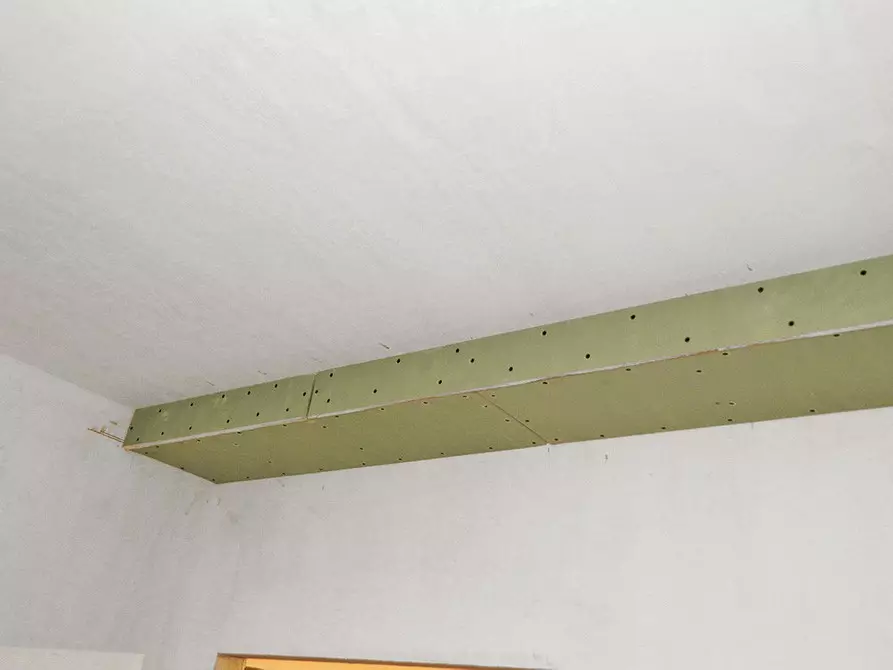
Photo: Vladimir Grigoriev / Burda Media
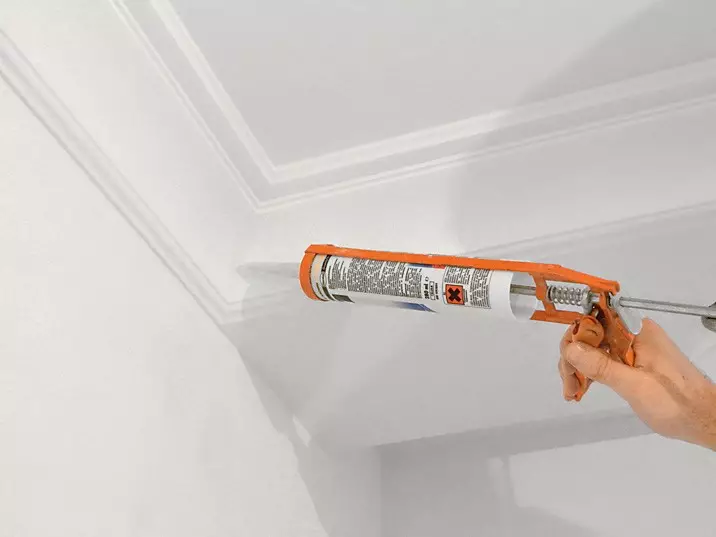
The box was decorated with polyurethane cornices. Photo: Vladimir Grigoriev / Burda Media
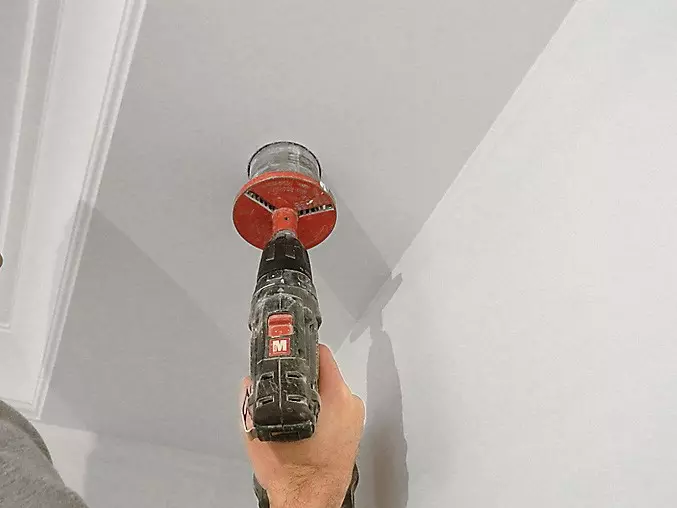
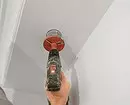
Holes for lamps did a drill with a crown nozzle. Photo: Vladimir Grigoriev / Burda Media
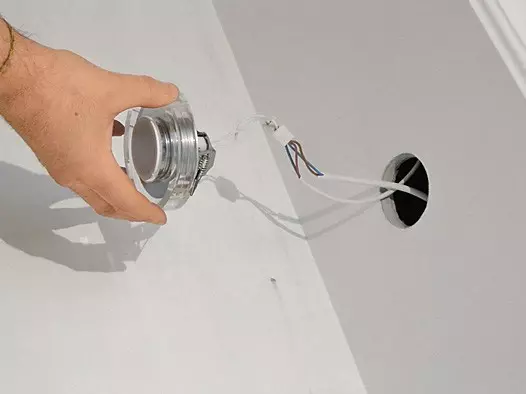
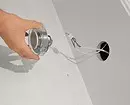
Wiring to six LED lamps led by cable Vggling (a) -frls 2 × 1.5. Photo: Vladimir Grigoriev / Burda Media
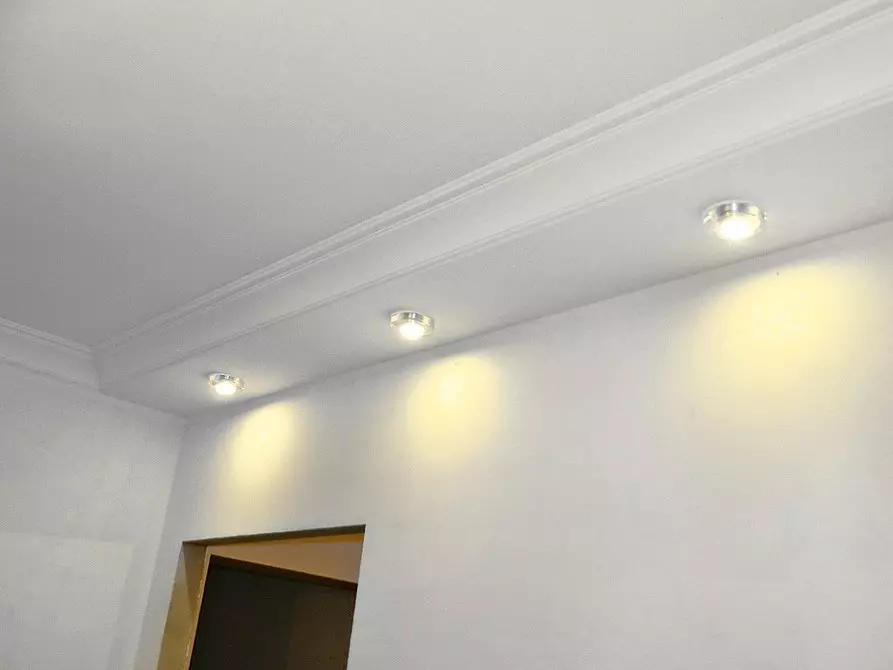
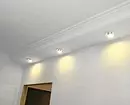
Installed lamps and checked their work. Photo: Vladimir Grigoriev / Burda Media
What materials use
The box frame is collected from P-shaped guides and carrier profiles with a thickness of at least 0.55 mm thick.Glkl thickness is 5.5 and 12.5 mm with a thickness of 10.5 and 12.5 mm; The second option is preferable, as the design will be more rigid and durable. If the box is mounted in the kitchen, you need to purchase moisture-resistant sheets (GCCV), and choose a steamproof paint as a coating, for example acrylic. For the bathroom, special sheet materials on a cement basis are better fit.
How to mount framework to overlapping
According to SP 2.13130.2012, the limit of fire resistance of the attachment nodes should be not lower than the limit of fire resistance of the stuck structures, so it is allowed to use only metal fasteners - spacer dowels with screws or anchor-wedges. The second provides a higher installation speed, but do not forgive mistakes: pull the clogged wedge is almost impossible. Dowel-nails for fastening are unsuitable due to a small diameter hats, which is easy to break through the profile wall through.
Inside the ceiling boxes, it is impossible to lay pipes with liquids and combustible gases, and the channels for the supply of cooled air should be insulated to avoid condensate falling.
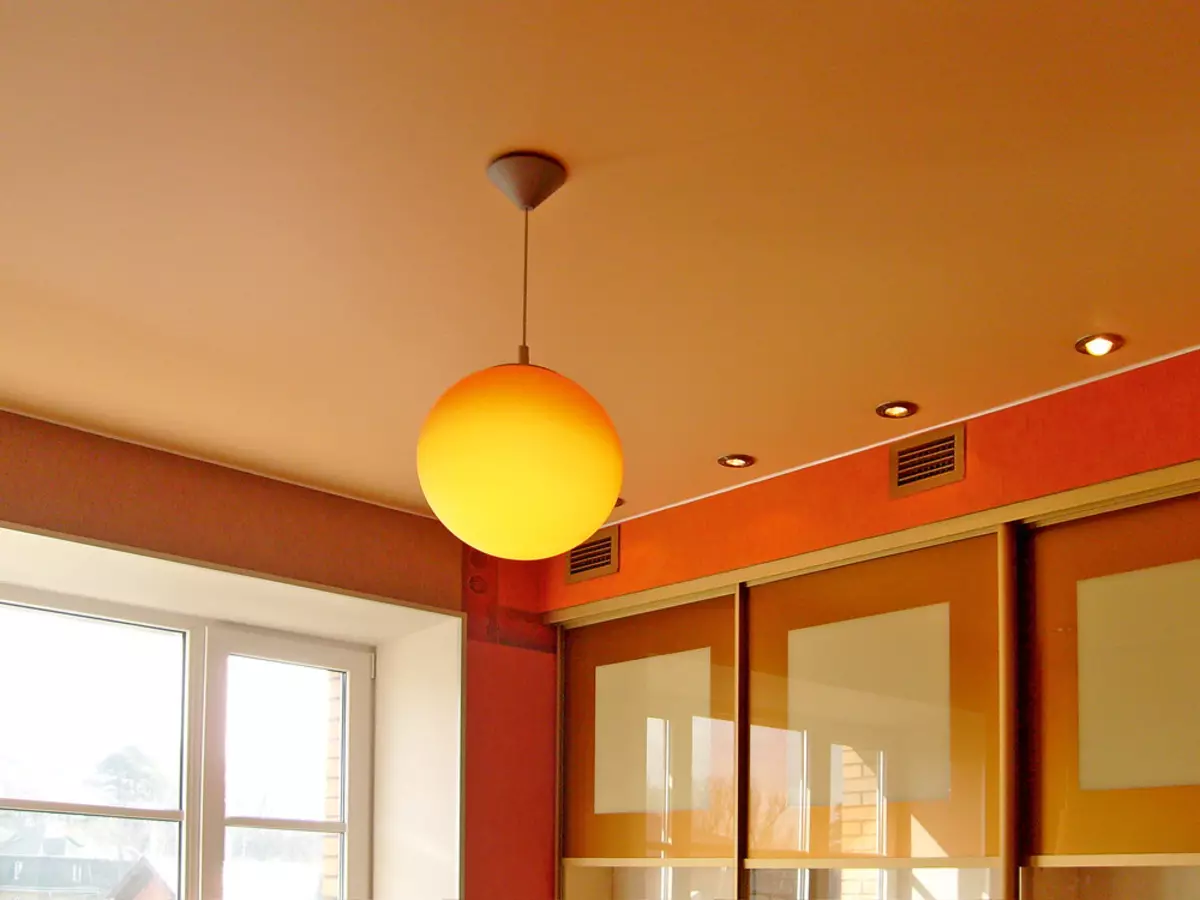
Photo: Saros Design
How to separate kluts
After graduating from the seams of sheets, the sheets are expanded (if the chamfer from the edges were not removed in advance) and rub the plaster-polymer putty, for example, "Knauf-Uniflot", with the reinforcement of a paper tape. After a day, they are applied with a solid layer of plaster replacement and surface surface.
To make the appearance of the box more decorative, on its side walls can be pasted wide "stucco" eaves from foamed polyurethane. For the finishing decoration, any interior paint will suit.