We tell how to equip the street summer shower or make a full-fledged cabin inside the house.

In the summer it is difficult to do without regular water procedures. If in a comfortable apartment, it is very simple, then outside the city is much more complicated. How do you make a shower at the cottage and forget about the problem? We will analyze the two possible options.
How to make a shower cabin at the cottage
Summer street construction- Slum system
- Frame
- Materials for plating
- Water tank
- Choosing a place
Stationary system
- Partitions
- Screed under the base
- Mounting pallet
- Plum
- Fencing
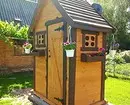
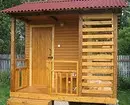
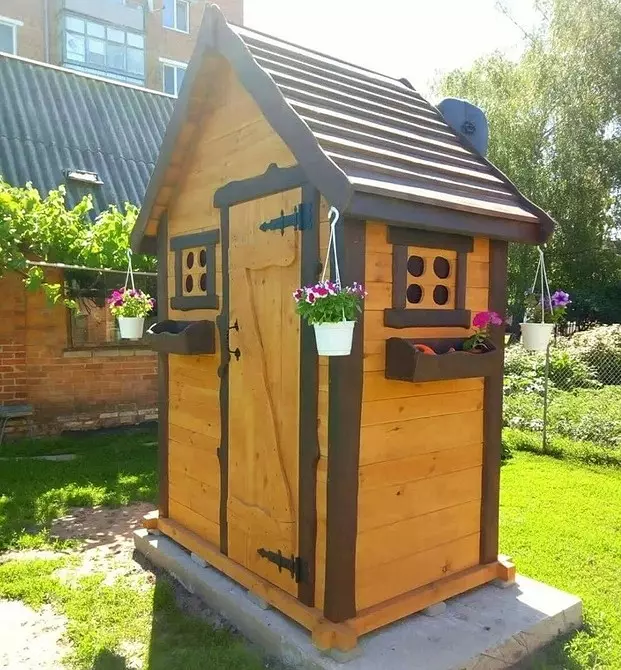
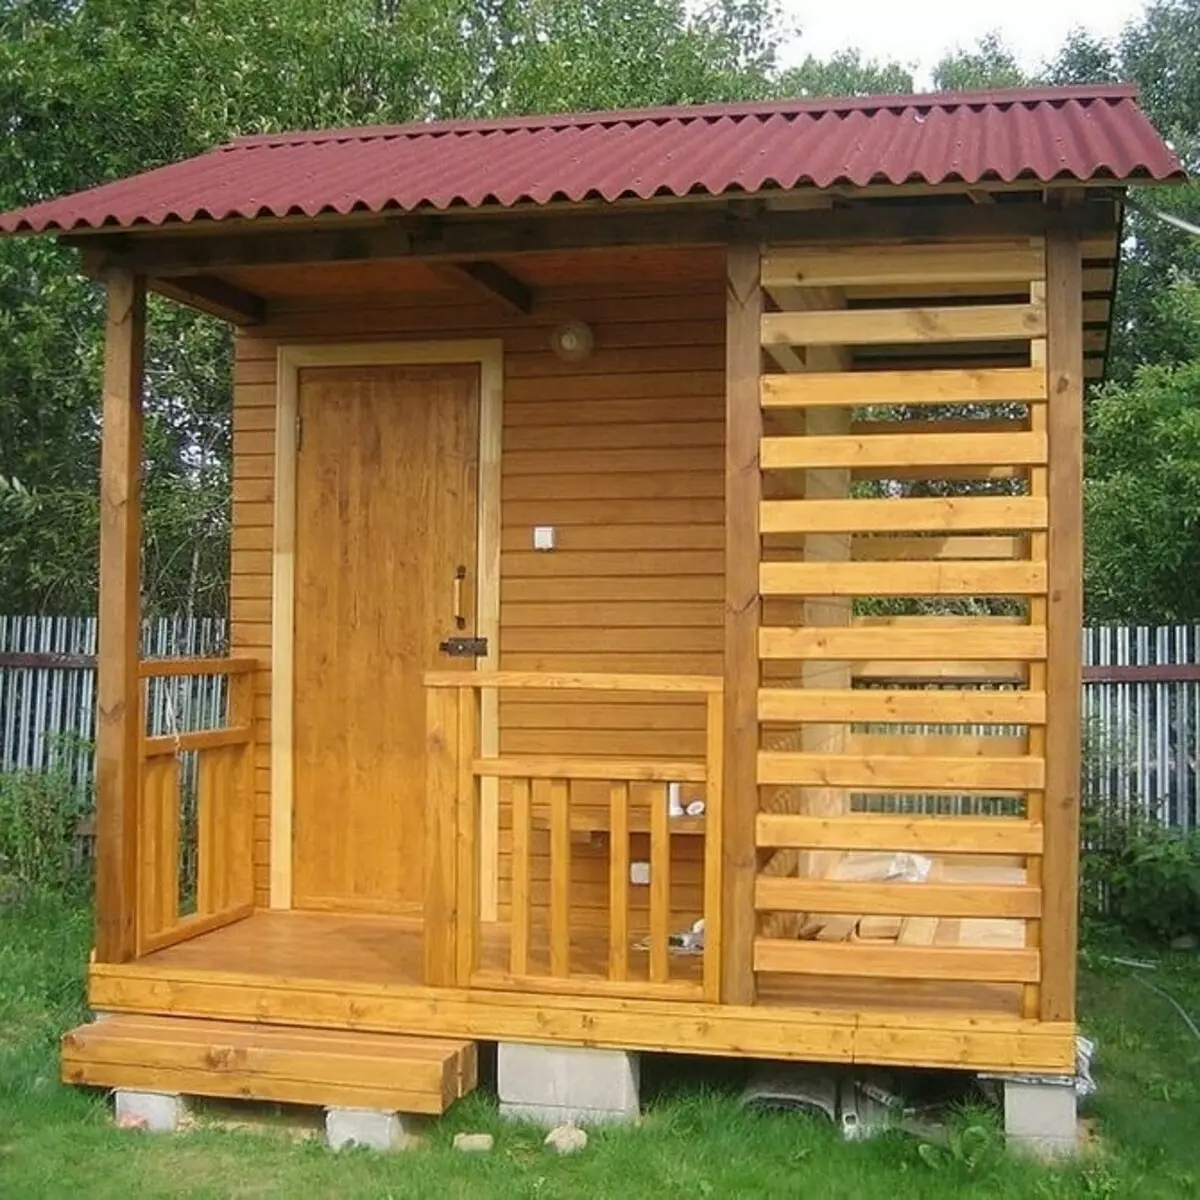
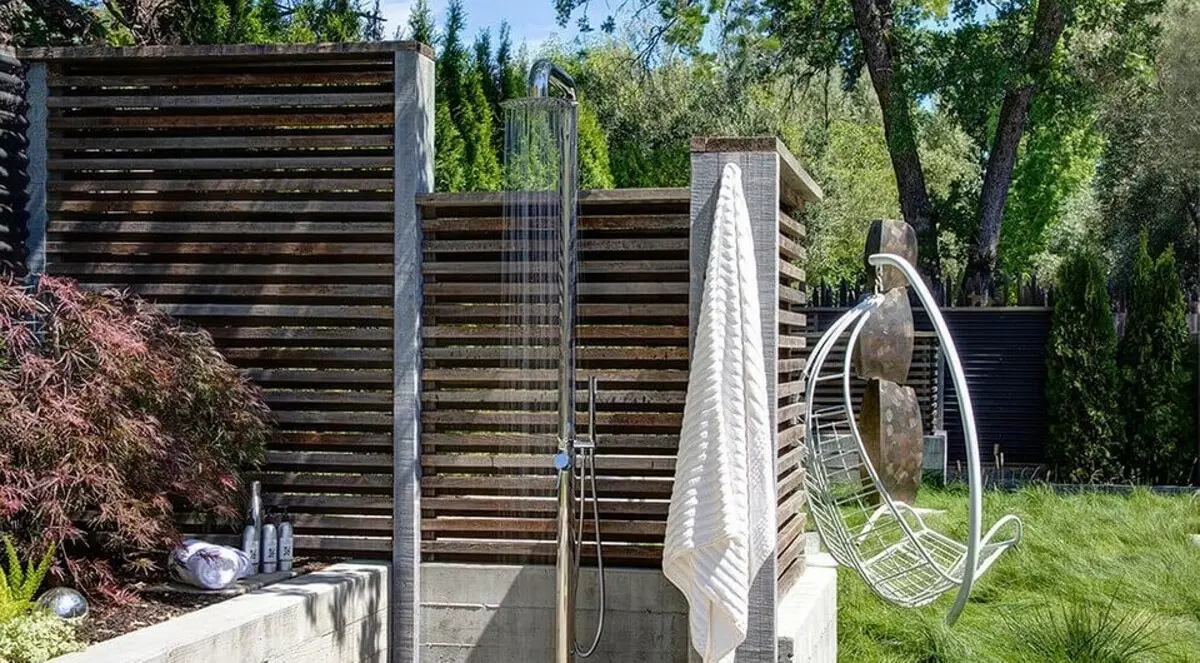
Street summer shower for giving with their own hands
The design is extremely simple. She is quickly going anywhere. Includes several elements.
Slum system
Water contaminated during washing must be disposed of. Options may be several. The most popular is the construction of a drain pit under the shower. Their sizes must correspond to each other. The depth of the pit is small, about 50 cm. The bottom of the rubble layer is poured, which is a little cleaning soap water. At the edges of the pit, slag blocks are put, the pallet is stacked and the frame is going.Another variant of the distribution of the drain is the removal of water in the country septicch or sewer. This is the highest possible solution. It will only be necessary to pave a pipe that will connect the country souls with a sewer system or septic. The latter in this case will fill much faster, a frequent pumping will be required.
Frame
Collected from wooden bars impregnated with a protective solution, or from metal pipes and profiles. In the first case, the system will be easier, it can be installed on the base of the boards that close the drain pit. Metal system is more massive. For it, it will be necessary to pour the base of concrete. While the solution is not frozen, it is put in advance the welded frame and align it. For draining in this case, there is a removal of a drainage pit or septic.
The frame is not needed for the overhaul, erected from the brick. In this case, the foundation will be required. It will be a lightweight option that can withstand the weight of the walls. A trench of a depth of about 400 mm is digging for it, it falls asleep with a broken brick and poured with a solution. After frozen on the foundation, brickwork is exhibited. For drain, in such cases, the removal is often used in a septic or drain pit.
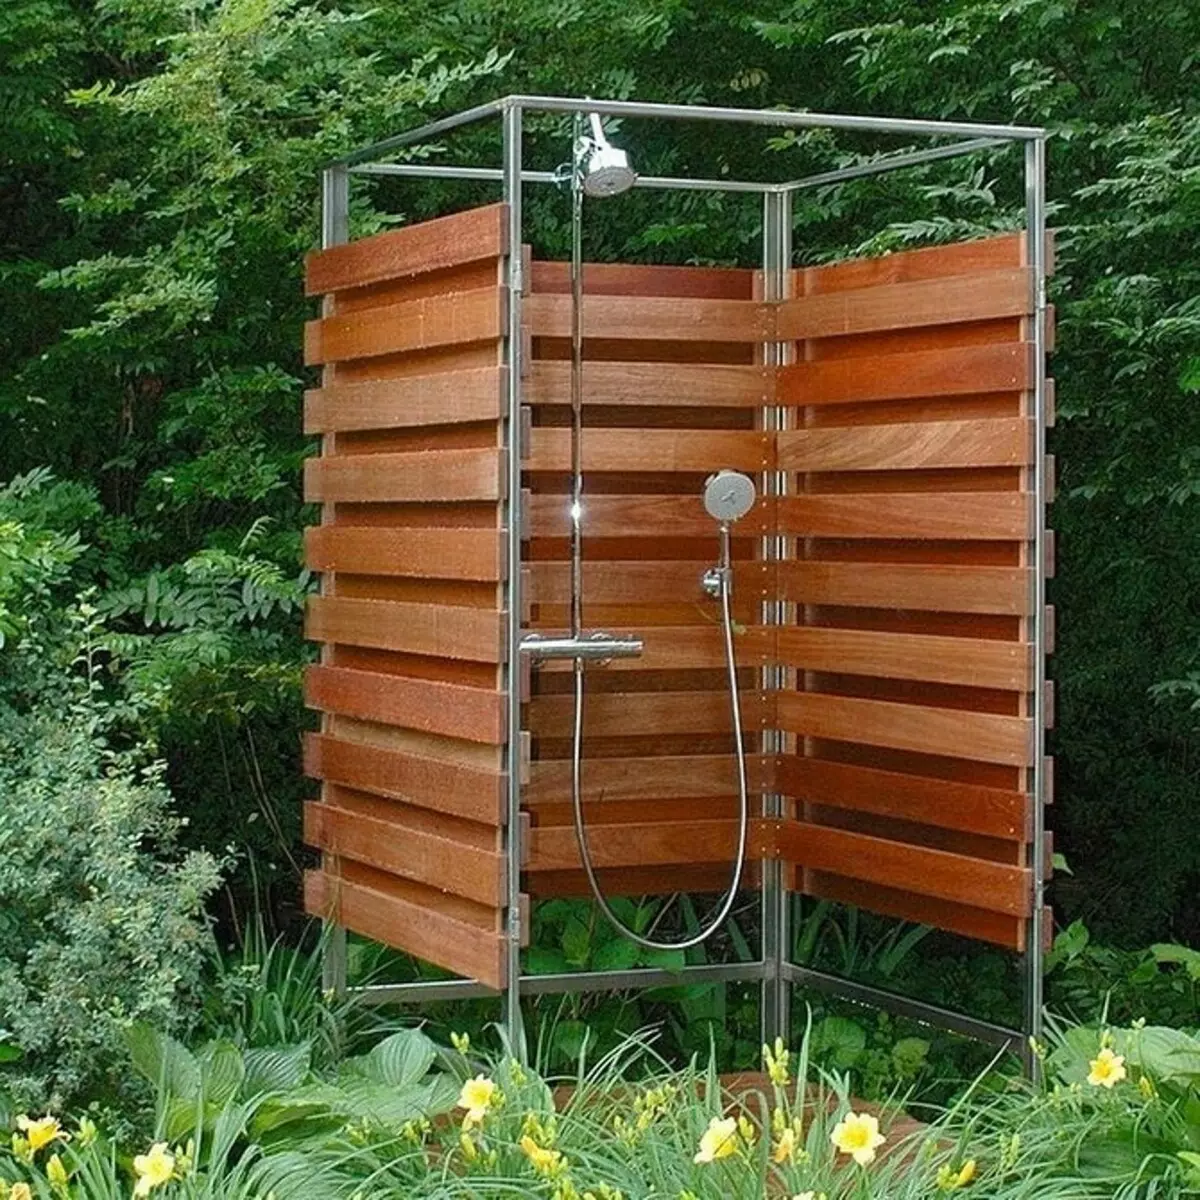
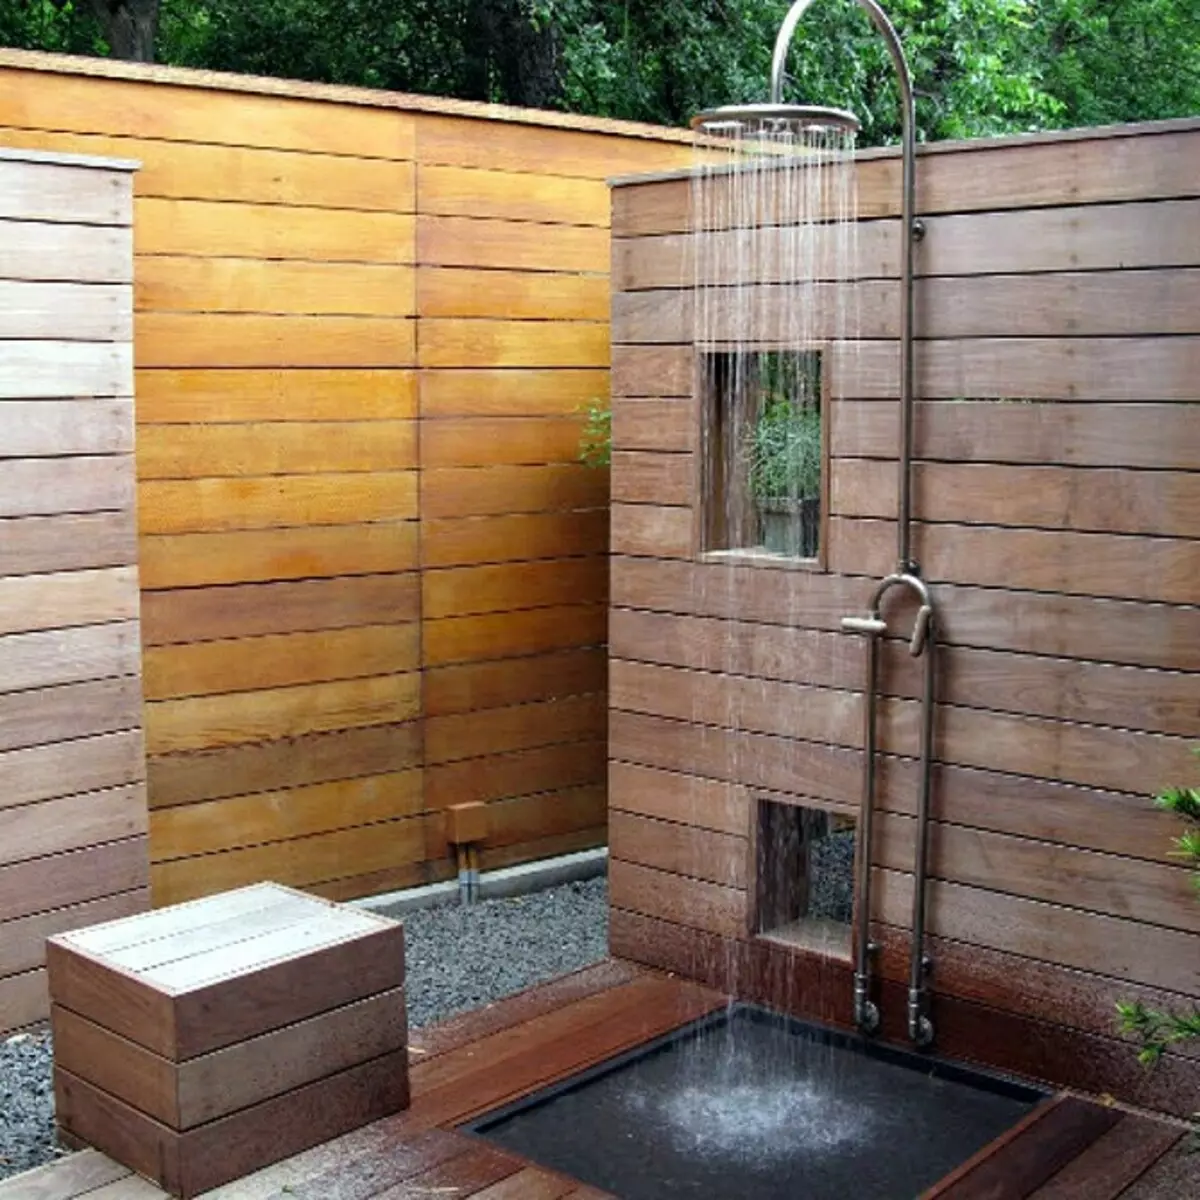
Materials for plating
We can enjoy the prepared foundation with the most different materials. They are chosen, guided by their own wishes and opportunities. The table presents the most popular options.
| Wood | Polycarbonate | Profiled sheet | |
|---|---|---|---|
| Dignity | Environmentally friendly, simple in processing, available at a cost, attractive view. | Flexible, lightweight, resistant to mehangic effects and low temperatures, durable, moisture resistant. | Relatively lightweight, durable, resistant to mechanical effects, loads, temperature drops, durable. |
| disadvantages | Low resistance to moisture, so before assembly is treated with a special protective solution. | Low ultraviolet resistance, significant thermal expansion, requires a special clearance. | If the protective layer is damaged, the metal begins to corrode. It must be taken into account when installing and handle the material neatly. |
| Tool for cutting | Saw-knife | Circular Saw | Bulgarian with a gear disk or scissors for metal |
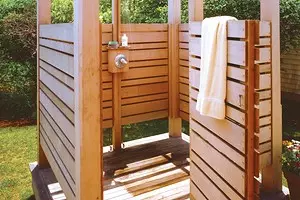
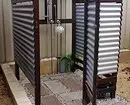
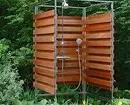
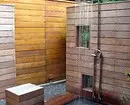
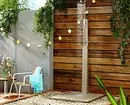
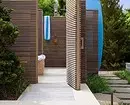
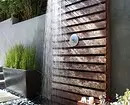
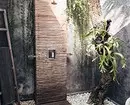
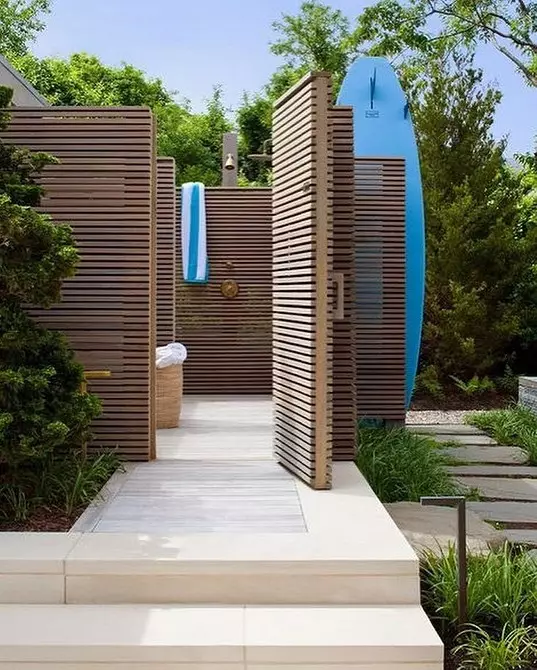
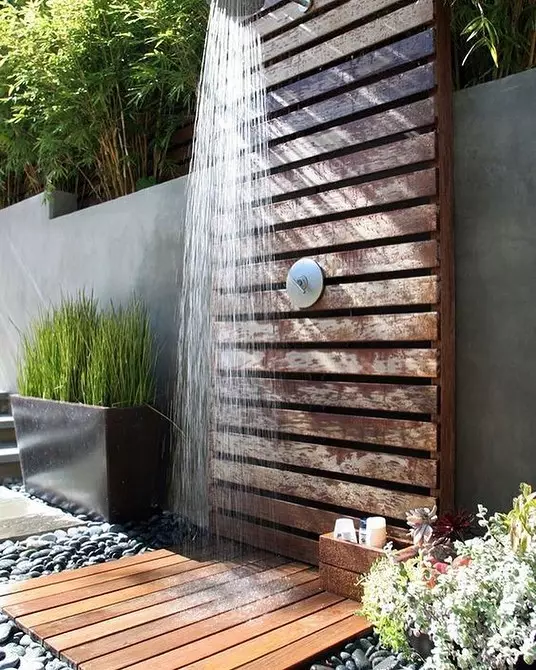
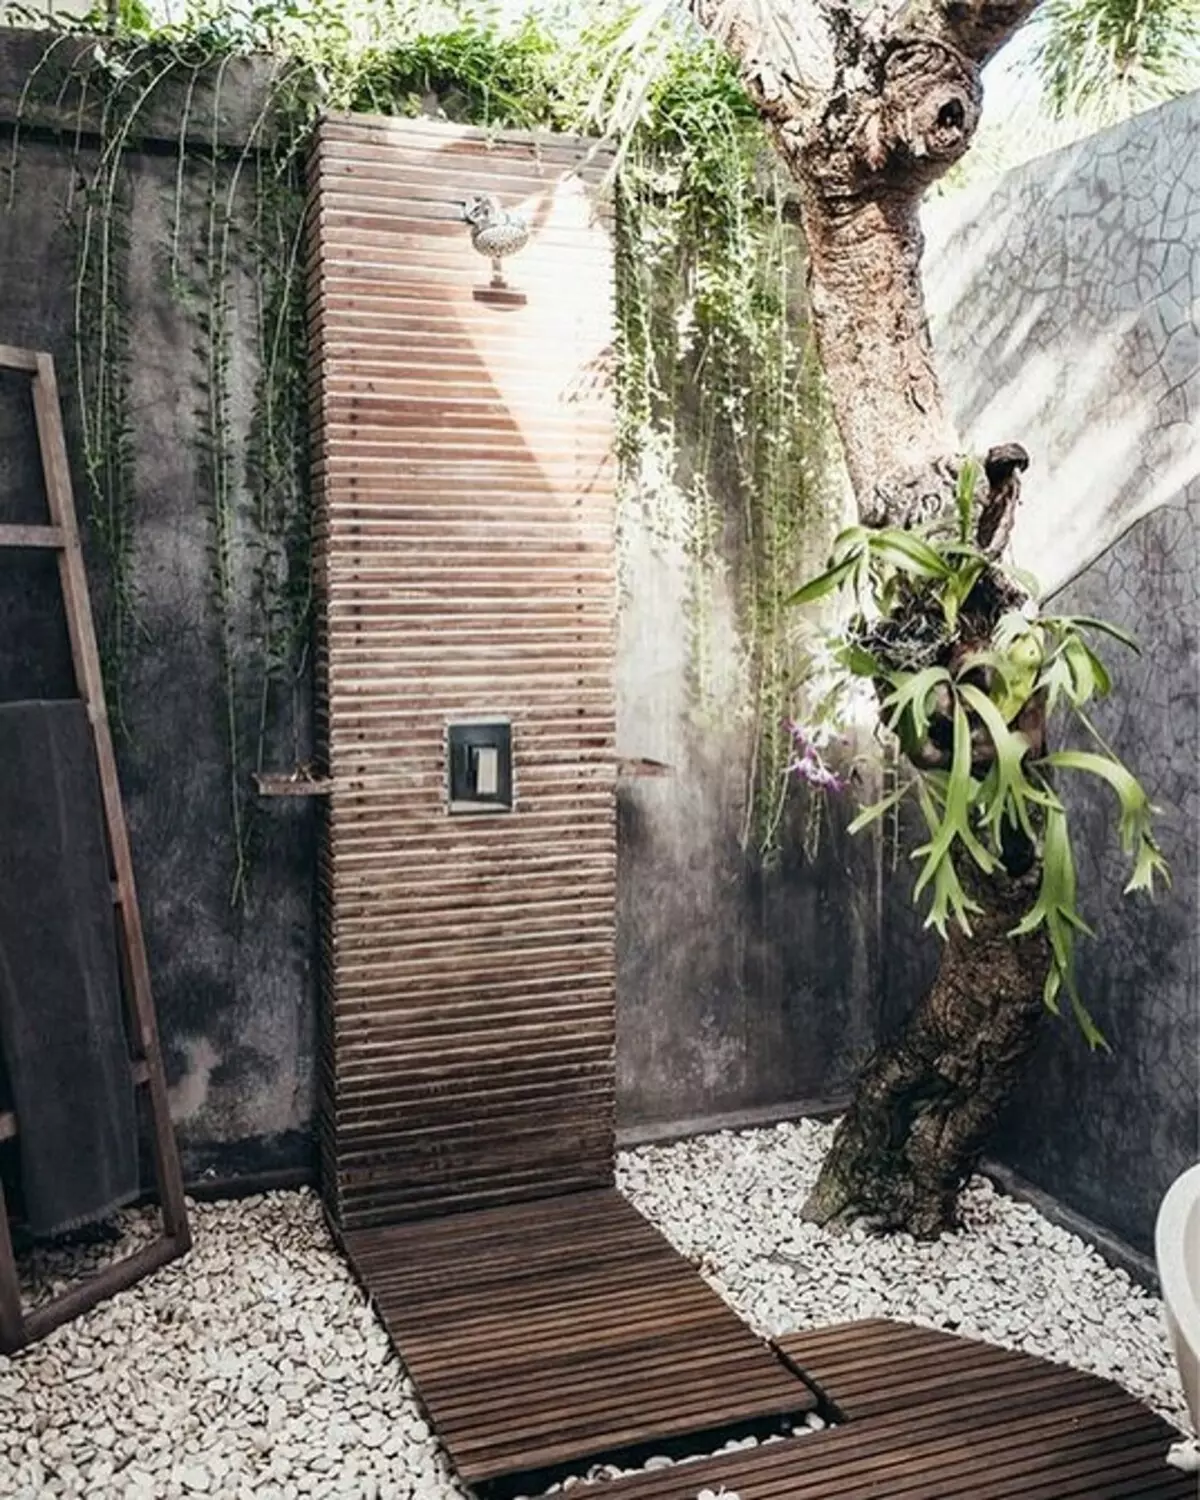
For the frame of the frame, the plastic panels woven from the plate plate, tarpaulin or any other dense material can also be used. In the photo, a few interesting decisions of the soul at the cottage built by their own hands.


Water tank
For summer facilities, metal tanks are best fit, although plastic are used. Capacity is calculated individually, an average of 35-40 liters per person. But there are certain limitations. Too large tanks, more than 200 liters, is not recommended. First, they have a significant weight, secondly, the water in them heats up very slowly.It is best if the tank will have a flat shape, so liquid warms faster. To accelerate heating, the tank is painted in black and stretch the plastic film over it. Alternatively, you can use a solar collector. To heal water, you can install a TEN, any suitable model. Then the country's shower can be used in cool days.
Scene for summer design
Well, if the cabin will stand in the sun. So it will be possible to use natural insolation to heal water. It is desirable that the structure is located near the house. Then in cool weather do not have to freeze after water procedures. It is important to remember that for the normal flow of soapy water, the construction needs to be located on a small elevation. If you put it in a short, and even on clay soils, you can get a smelling swamp in the shortest possible time.
Stationary souls in the country
From the point of view of layout and design, it is customary to distinguish between the cabin, compartment and shower zone. The cabin has a wall and door. Usually, to simplify construction and save space, the construction is placed in the corner of the room - then you have to install only one wall and door.
The compartment is a niche, with a door or without it, equipped with a watering or a hydromassage panel. A niche is created at the stage of reconstruction of the bathroom due to neighboring utility rooms, the corridor is either "burned" within the bathroom. Sometimes the house layout tells the solution. Both in the cockpit, and in the compartment usually include a pallet for draining water.
As for the zone, she does not have visible boundaries: the mixer and watering agent can be mounted on the wall or in the wall (the watering can be placed on the ceiling), under which the drain ladder or drainage canal are embedded in the floor. It does not brave space, so such a layout is in demand by the owners of real estate during the arrangement of medium and large bathrooms (from 6 square meters. M).
Start work with building a soul drawing. The main thing is to think in advance the eyeliner and sewer pipes. The first pave from the riser inside one of the newly erected partitions or under the overlap of the capital wall. The easiest way to hide communication in the voids of the design of plasterboard (gypsumless) sheets. Easy construction allow ready-made solutions, such as the C-366 system (KNAUF). To ensure the sound insulation of the void partitions are filled with mineral wool.
It is important to know that the frame of thin-walled steel profiles is too weak base for fastening the equipment. To establish, for example, a mixer of hidden installation or panel, it will be necessary to increase the design of the installation frame. The latter can be welded on the spot from the corners or pipes of the rectangular section, or purchase the finished - similar products are offered, for example, Geberit and Grohe.
Plumbing partitions also erected from gypsum plates or bricks. Then the water pipes are packed in the stages, and the watershed reinforcement of the hidden installation are placed in specially provided niches. The last method requires large labor costs. We will analyze the manufacturing technology of the main elements of the system.
Partitions
In the recommendations, as you, with your own hands, build a shower at the cottage Plumbing partitions with space for communications are allowed to erect from drywall. With new construction, it is better to make them from a monolithic concrete, full brick or gypsum. At the same time, pipes, collectors, pressure gearboxes and mixer housings are hidden in voids. Such a solution allows hydromassage nozzles on the wall.Screed under the pallet
The tie in the bathroom is cast on top of the layer of roll or bulk waterproofing, which is applied on the slab plate with an occasion on the walls to the height slightly greater than its thickness. If it does not exceed 50 mm, it is possible to use the usual sand-cement solution of the brand is not lower than M150. With a greater thickness, it makes sense to acquire a special cement-polymer mixture and in the volume ratio of 1: 1 Add to a solution Small clay crushed stone.
The screed necessarily reinforces the road grid. When the drain floor is required to give the surface of the slope of 1-3% towards the ladder. It is easy to do with cement-polymer putty. Note that some formulations need to be applied no later than a day after the casting of the main layer, others are well falling only on the standing concrete. After the screed is completely dry, its and adjacent walls at a height of 50-80 mm will be waterproof with special bitumen-polymer membranes allowing cladding tiles.
Choice and installation of the pallet
It is necessary to take care of the laying of a drain pipe from a riser or a sewage line. Usually it is lit into the tie of the floor. It can be used both polyethylene and polypropylene tubes with welded joints and PVC products with a fuse-tube. The pipe must be laid with a small (2-3%, or 2-3 cm for 1 m) bias in the side of the riser. Since the required thickness of the screed increases with an increase in its length, then experts recommend placing the structure as close as possible to the riser.
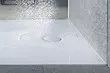
The range of equipment is extremely wide. It is made from acrylic, stainless steel, composite materials, cast iron, ceramics, artificial and natural stone. At the same time, products from acrylic and enameled steel are used in the greatest demand. Leading companies produce square (80 x 80, 90 x 90, 110 x 110, 130 x 130 cm et al.), Rectangular (90 x 70, 100 x 80, 120 x 90 cm et al.) And angular models. In the latter, one of the corners is rounded, so they should be purchased complete with radius doors.
By the installation method, all pallets are divided into outdoor and embedded. The first is installed on the finishing floor, align horizontally (for this you serve as adjustable legs), then equipped with a drain ladder (usually it is sold in the set), connect to sewage. At the end, the space is closed under them with a decorative plastic panel.
For the embedded element, the podium is usually built. Such products are cast from polymer concrete, they collect from waterproof plywood on a frame of metal profiles or larch bars, laid out blocks.
Digger device
All plumbing devices are equipped with a hydraulic displacement that impedes the flow into the gases from the sewage. The standard height of the drain route or channel with a 60-millimeter hydraulic and 90-96 mm. This means that the surface of the showerful pallet or drain floor should be raised above the slab overlap at least 100 mm. In addition, when the drain arrangement must be considered:
- The capacity of the equipment should be 1.5-2 times to exceed the maximum water consumption of shower equipment.
- Preferred models with drying and disrupting the hydraulic assembly (for this purpose built-in valves).
- The design is obliged to provide easy access to the hydraulic assembly for its cleanings.
- Channels are more expensive than labors, however, make it easier to cast a screed (if you place it with the wall, it is enough to give the surface of the floor to one side).
- Drapp or canal can decorate the interior. There are models of original design, with built-in backlight.
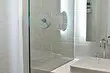
Choosing a fence
The fence for the scene size can be ordered on a specialized enterprise. Today, you can find the walls and doors more often on sale, made of tempered glass - transparent, matted "sandblasting" or tinted. Its thickness is 8-10 mm. Products from acrylic or polystyrene glass are somewhat cheaper, but much less durable.
There are two design solutions: with a frame and without it. Frame cabins (their strapping are performed from anodized or painted aluminum profiles, less often from chrome steel) are sold in the form of sets of constructors with elements of standard sizes corresponding to the size line of the pallets. The height of the fence varies within 2000-2200 mm.
The walls are installed on the pallet side. If the profiles are already equipped with polymeric seals, the design is collected using invisible screws and attach to the wall anchor bolts. If not, in places of connection, a sanitary silicone sealant is applied to the metal.
In frameless systems, glass elements are joined with each other and fasten to the walls using direct and corner connectors, brackets, loops, etc. Holes under fasteners must be performed on production. This design looks easier and more effectively frame. But that it was durable, glass canvas to base and walls should be fixed using clamping slats. And for sealing joints, transparent silicone seals are suitable.
Cabinet can be equipped with a swing or sliding door (doors). The first is desirable to hang onto positional loops - then the sash will be closed without your help. The slotting of the sliding door, as a rule, moves on four rollers - two upper and two lower. In this case, the smoothness and lightness of the stroke depends mainly on the accuracy of the assembly and adjustment of the mechanism. Recently, showers became equipped with doors on an open roller suspension. They are easily moving, attract attention to the original view.
The shower is often equipped with a conventional wall mounted mixer and a universal watering can on a vertical bar. However, the built-in equipment is more convenient, and it looks more elegant, because almost does not protrude from the wall. The storm canoe can be installed on the wall and on the ceiling. It makes sense to supplement it with manual equipment, even better - hydromassage nozzles. Well, a universal solution is an embedded panel with shower functions, horizontal hydromassage and a hand wage. In conclusion, we offer video how to build a shower in the country with your own hands.