
Fabric, scissors, sewing machine ... So it turned out a functional screen for the Wooden Shirma frame.

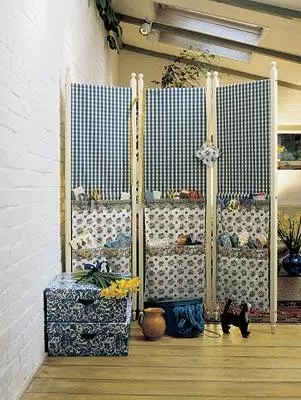
In each house there is probably an unsightly or litron corner. Hide it from prying eyes with this screen. To make a screen with pockets for working tools Use a bright, summer fabric.
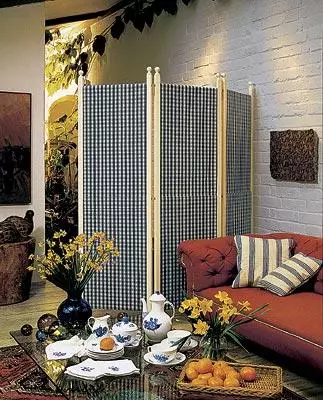
Wooden frame of this screen is ready for assembly. It can be the colors of ancient pine, white or, as in our case, a pleasant cream color. We will show how for eight easy operations to make a screen for a screen. You can use any tissue, but blue-white or any other cell is more convenient for work, as you can cut and adapt tissue along the squares of the squares.
You will need
- 3 m tissue into a cell with a width of 137cm.
- 1.5 m fabrics in flower with a border width 150cm.
- Cotton threads.
- Circass Shirma of three panels.
Manufacturing process
To make the screen for the screen, follow our simple instructions, and to attach it to the frame, use the technical assembly instructions.
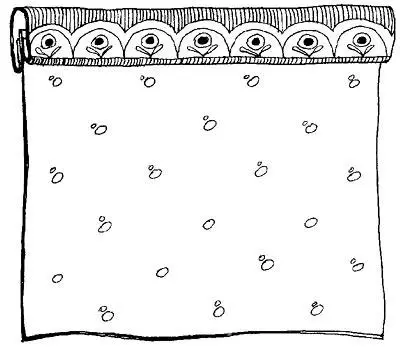
- Cut a piece of fabric into a cage, 3m in length, 45cm wide. Send and push (smash) a long edge from two sides, so that the width becomes 41.5 cm (exactly by the width of the frame). Schedule close to the edge using cells for a smooth lines.
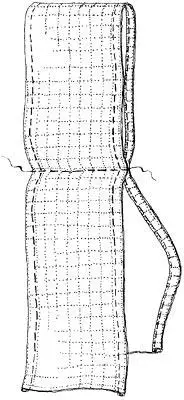
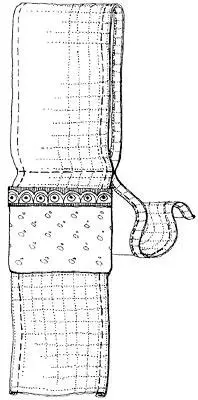
- Fold the fabric with short sides together, the invalid side inside, fasten and step across across, retreating 70cm down from the bend of the fabric. (See cris 1). When the screen is ready, this seam will be above the central shirma rack and help maintain pockets. If you want to make a screen without pockets, lower this operation. Make two more panels in the same way.
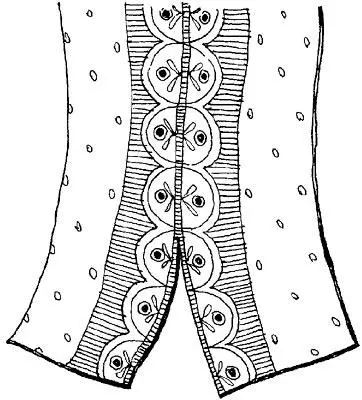
- Cut out a piece from the fabric into a flower with a border in the middle, leaving about 8cm floral fabric on each side. Cut this piece in half to kaymet the two strips of 50cm long (see cris.2).
- Cut 6 bouquet fabrics each 3645cm, from the remaining fabric in the flower. Connect the top edge of each pocket with a ribbon of kayma to make a decorative edge. Put the ribbon along the top edge of the pocket face inside (border up) so that untreated edges coincided. Make a line along the edge, retreating 1cm. Unscrew and scroll out. Turn the pocket to the edge so that the fold is going along the edge of the edging pattern. Turn the raw edge edge edge and set to the wrong part of the pocket. Fasten the line (see crisp.3).
- Attach one pocket to the front side of one of the three parts of the screen so that the edges of the edging lay about 4 cm below the central lines. Turn down the lower edges, then pin your pocket (only to the top of the screen). Excellence the edges of the edges of the screen and pin. Take the bottom edge of the pocket and the two sides, then check out and step up the vertical line, dividing the pocket into two parts (see cris.4). Repeat the operation for the rest of the upper pockets on other panels.
- Attach the blanks of the lower pockets to the front of the screen, retreating from the central line 35cm. Print to the place and step up, as shown above. If necessary, make vertical separation lines.
- Turn down the bottom untreated edges of the screen face inside so that they coincide. Pull up so that the seam was 72.5 cm below the central seam. Remove the material. Make sure that the central line is located above the central rail. This screen should easily strain on the frame.
- Collect the shirma frame, as indicated in its technical instruction, then pull the tissue. Make sure that all pockets are sewn to one side of the screen.