We choose the right material, we carry out calculations and put the fence in accordance with the step-by-step instructions.

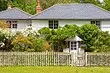
A high-quality and beautiful fence is necessary to any site. Traditionally, for its manufacture, wooden elements or forged metal parts were chosen. Later, the professionalist and chain grid were partially replaced. Relatively recently at the construction bases there was a metalket. Relatively inexpensive, but durable and easy-to-install material. We'll figure it out how to put a fence from the erupteer with your own hands.
All about the independent installation of the fencing from European
Selection of materialTypes of design and calculations
Assembly instructions
How to choose a metal bag
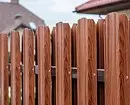
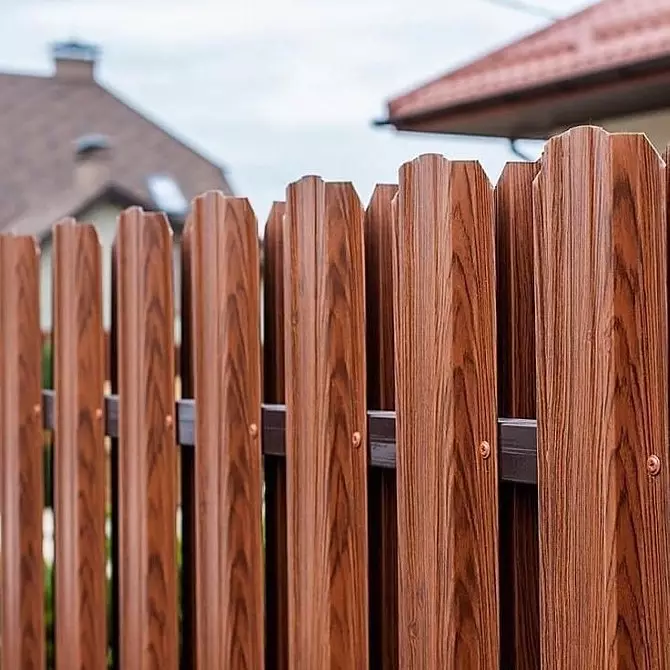
To the fence stream for a long time, you need to choose the correct material. Specialists advise paying attention to several important points. On stability to loads affects the profile of the planks. W and M-shaped plates are convenient because it requires one self-tapping. It is put in the center. But the wind, strangling under the lamel, bends and deforming it. Often even breaks with stable. Therefore, the best choice will be a semicircular or P-shaped profile. It is fixed at the edges of two fasteners, keeps reliably and is not deformed.
The height of the profile determines its strength. For the fencing is quite a height of 20 mm. It is important to presence and the number of rigid ribs. They look like small grooves located on the surface of the plank. Than they are more, the greater the load will be able to withstand the stakenik. The thickness of the metal from which the plates are made, also matter. Products from 0.5 mm steel are quite suitable for the fencing height less than 2 m. 0.6-0.7 mm Metal is chosen for horizontal fence.
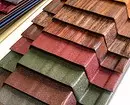
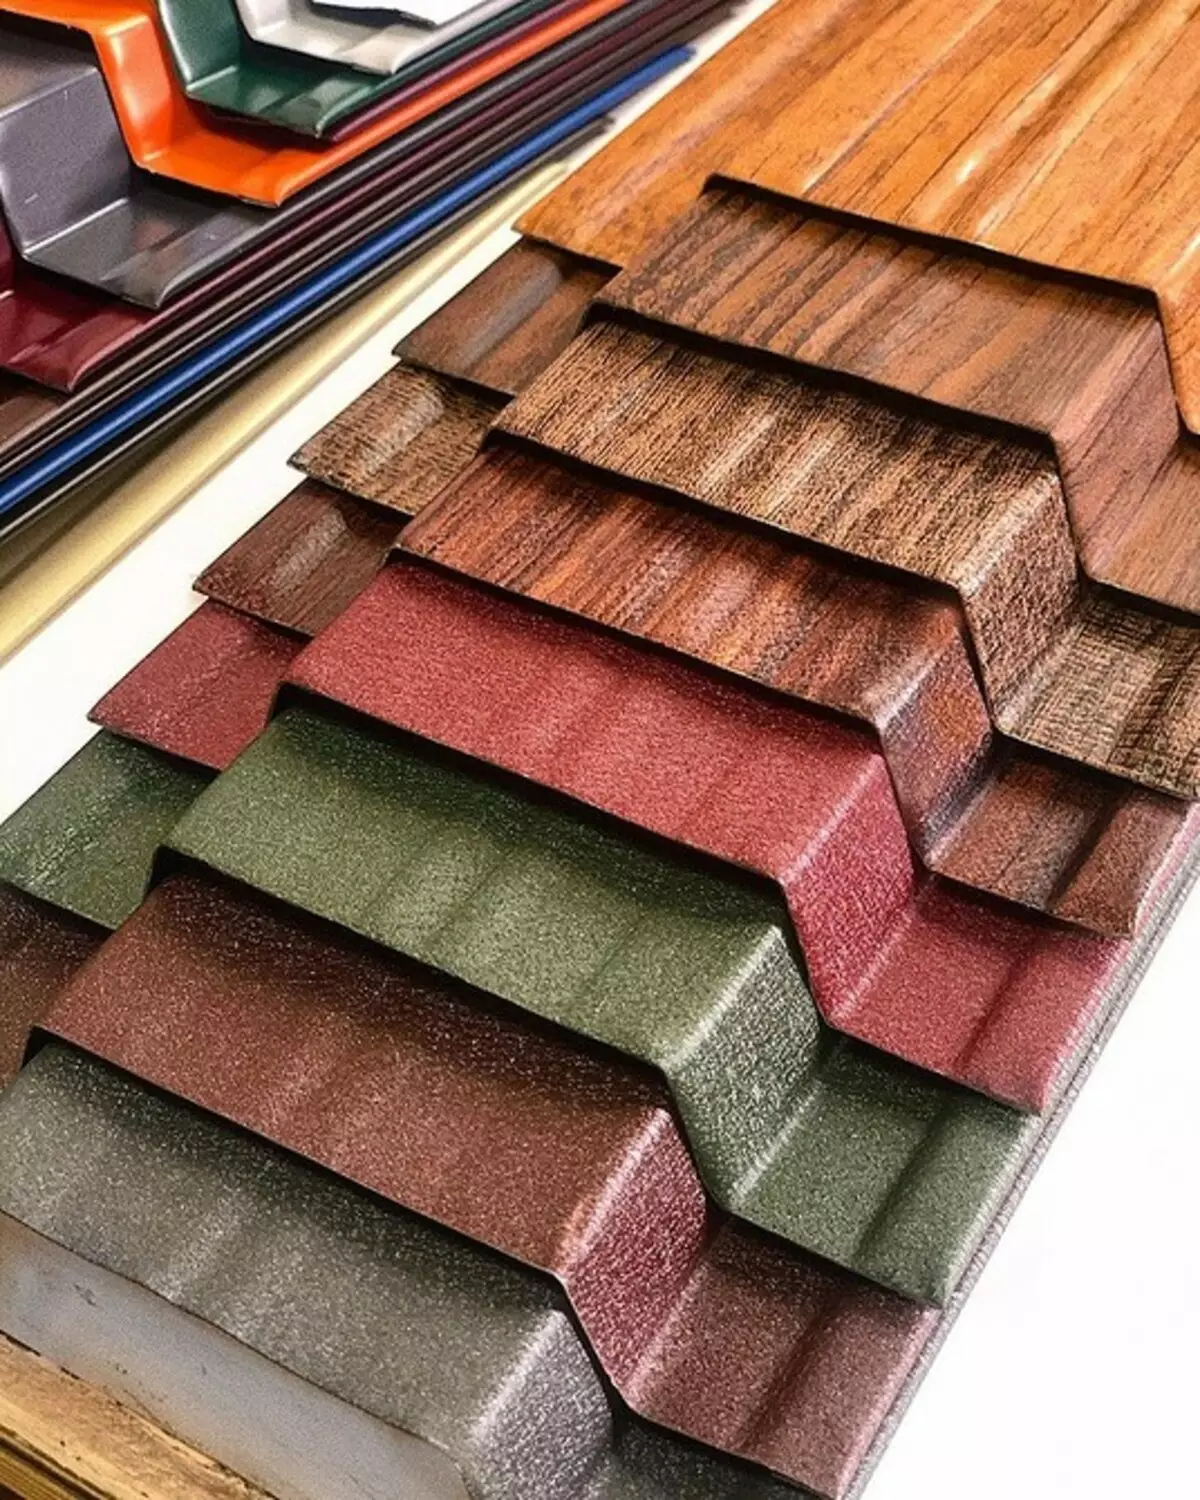
Durability is determined by the type of protective coating. Galvanized details are most vulnerable to external influences. The service life is limited to 10-15 years. The appearance is also not the most attractive. But the price is lower than the analogues. Polyester, synthetic polymer, prolongs the operation of the plates to 25 years. Matte variety of polyester serves even longer - 30 years or more.
The best is the coatings of PVDF, Polarla and Plastisol. The stakenik coated with them retains its characteristics at least 50 years. Moreover, even if the fence is in aggressive conditions: near the busy track, not far from the boiler room or plant, etc. In addition to protective properties, polymers attract an attractive look. They can be different colors and with different textures.
Design options and preliminary calculations
Before proceeding to the mounting of Ershtroker, do it yourself, it is necessary to determine the type of future design. Many options. First of all, they decide how supports will be manufactured. It can be posts from foam blocks, bricks, concrete with facing or without it, stone or metal. The last option is the easiest for independent work. The masonry is difficult to perform the involvement of specialists.
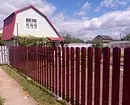
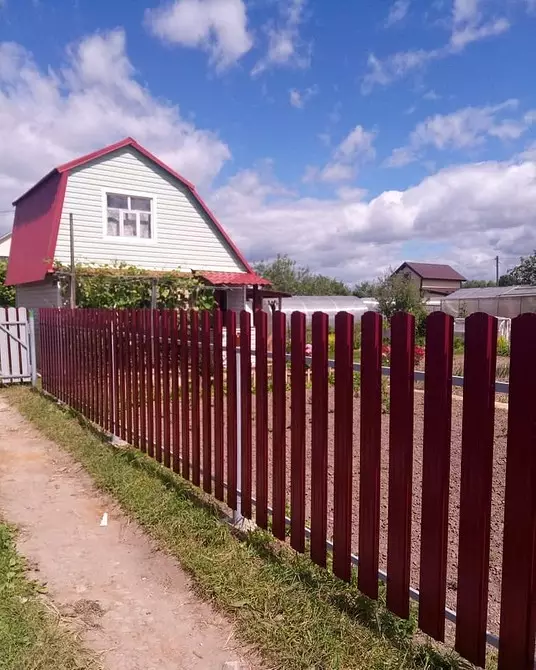
Planks have one or two rows. In the second case, the so-called chess is performed when the lamella of the subsequent series is set at the intervals of the first. They reliably close the territory from wind and curious eyes. True, the plot is significantly shaded, which can damage green plantings. It is necessary to take into account when choosing a number of rows. It is possible to horizontal or vertical plates.
After the design type is defined, proceed to the calculations of the required amount of material. Calculate the number of lamellaes simply. It depends on the step with which they are fixed on the basis. It is usually equal to half the width of the part or is already 5-25 mm. These are numbers for a single-row fence. This design is permeable for air and light, looks attractive, visually not "disintegrating".
If there is their own hands, a chess fence from Ershtroker is installed, the calculations are slightly complicated. The step is selected equal to the width of the plate or wider it by 5-25 mm. This makes it possible to preserve sufficient fondness of the fence. There is another moment. It is necessary to take into account the width of the transverse elements. If it is more than 20 mm, then with each additional 10 mm step decreases by 5 mm. It is advisable to consider the size of the fence sections. They should place an integer part of the details. Then they will be distributed evenly, without non-standard lumen near the support.

How to make a fence from eurftnik do it yourself
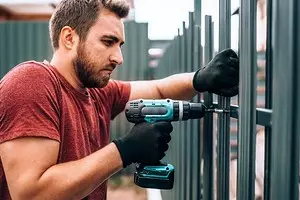
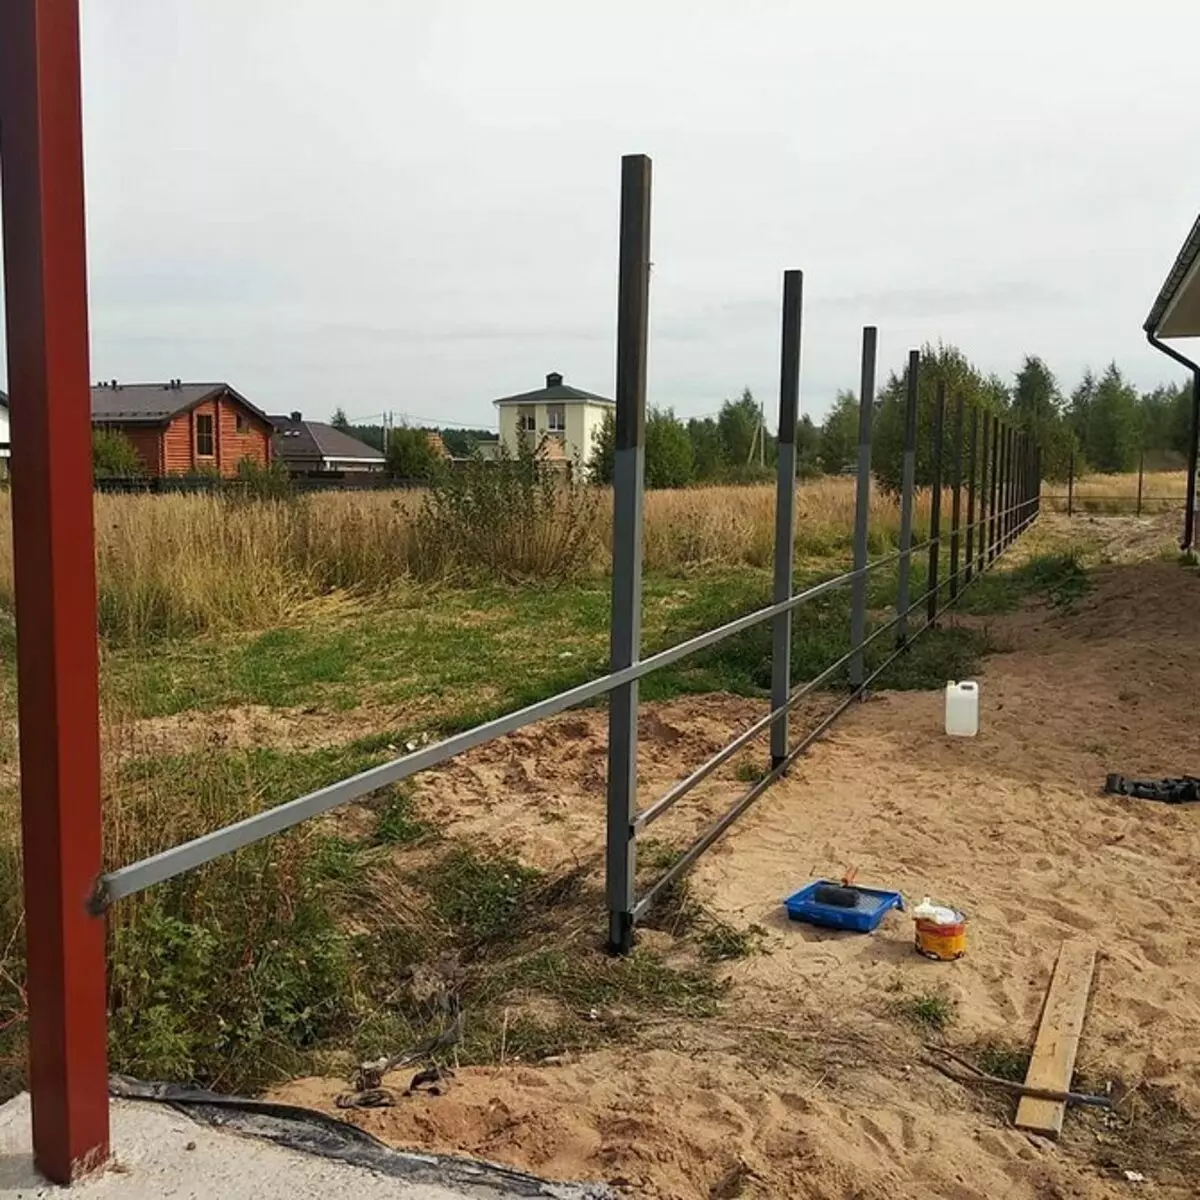
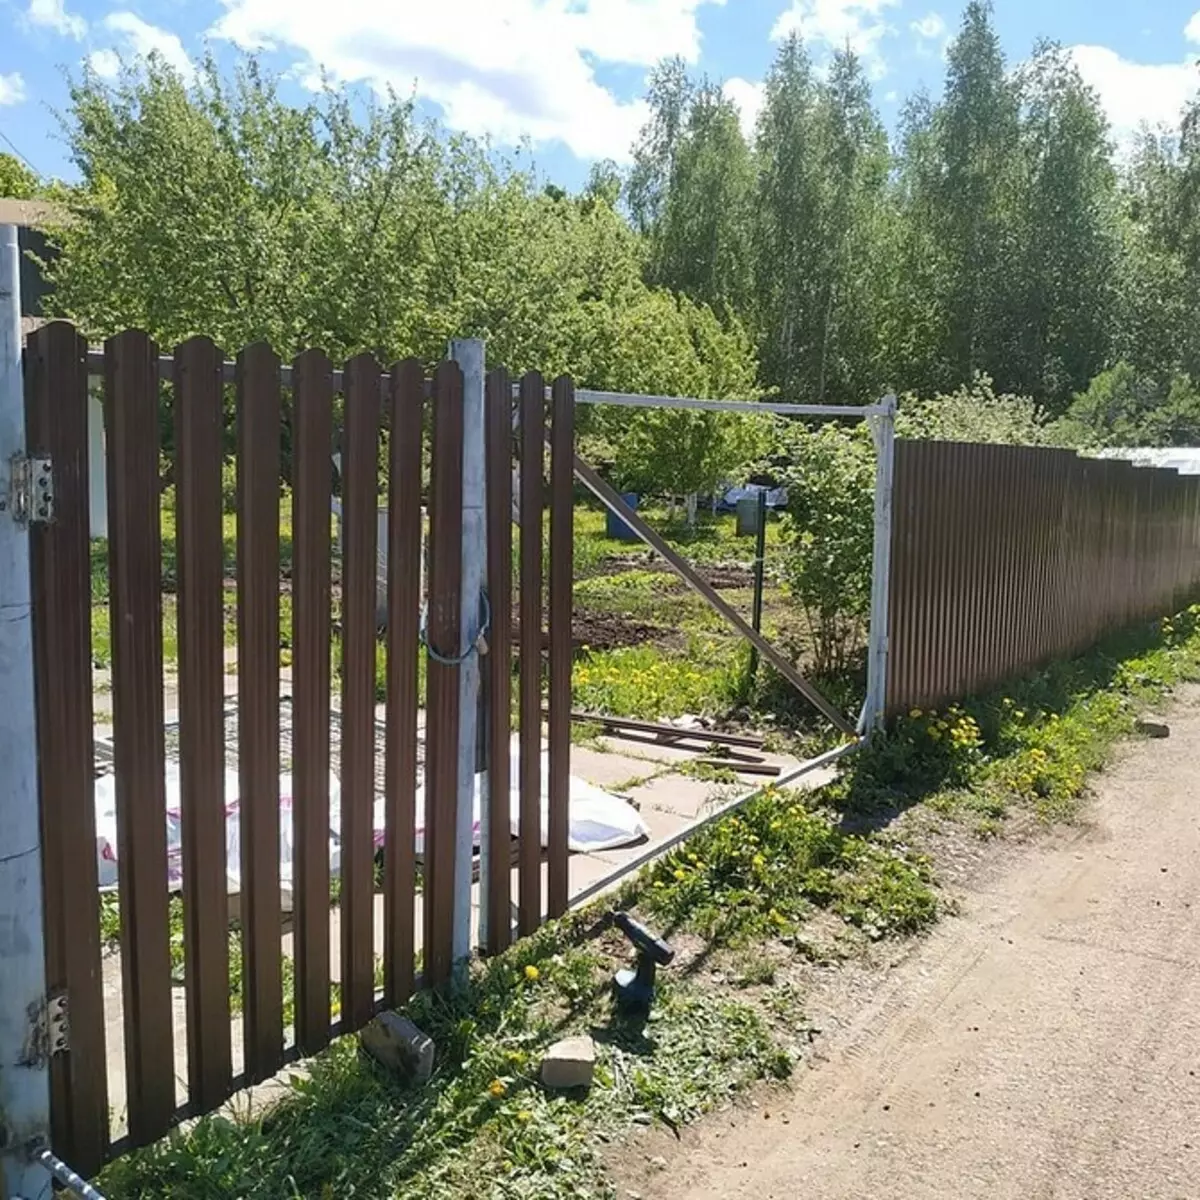
We will look at the stages of the manufacture of a simple single-row design on metal columns. First bought materials. The number of lamellae is calculated according to the instructions above. They are plusing another 5% in case of possible damage during installation. For fixation, roofing screws are required with plastic gasket. For M-shaped systems, they buy two fasteners on the lamella, for other varieties of four.For support, they take a round or profile tube, the diameter of which is 5-6 cm. They will stand at all reference points with the exception of the input groups and the corners of the site. There are more durable pillars. For them, they take a profile with a side of 8x8 cm or a pipe with a diameter of 10 cm. Steel should be a thickness of at least 2-3 mm. For consumption, metal plate 4x4 or 4x2 cm is used. The total length of the profile corresponds to the double length of the fence, if its height is not more than 1.7 m. If higher, then triple. Then there are three transverse lags, the number of self-samples increases.
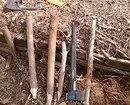
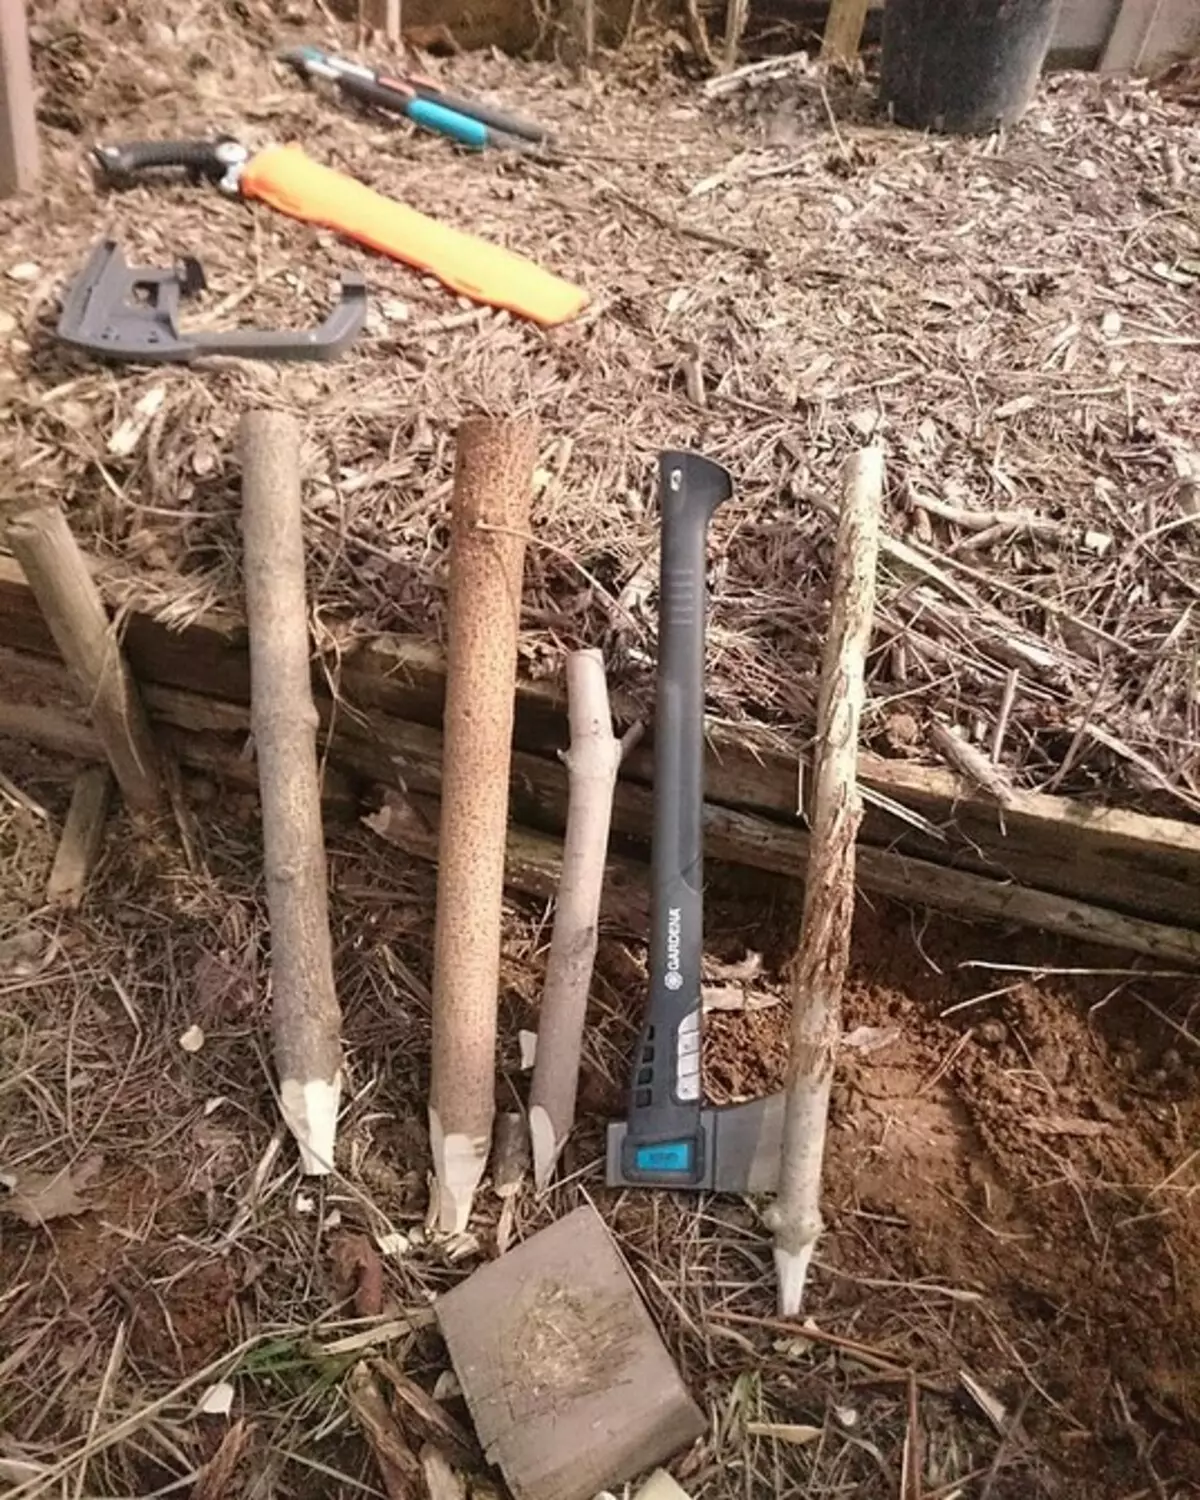
The primer and varno-painting composition for processing supporting elements, a mixture of gravel and snowing sand, ingredients for a concrete solution, tools for work. We offer step-by-step instructions for assembling a fence from Ershrester with your own hands.
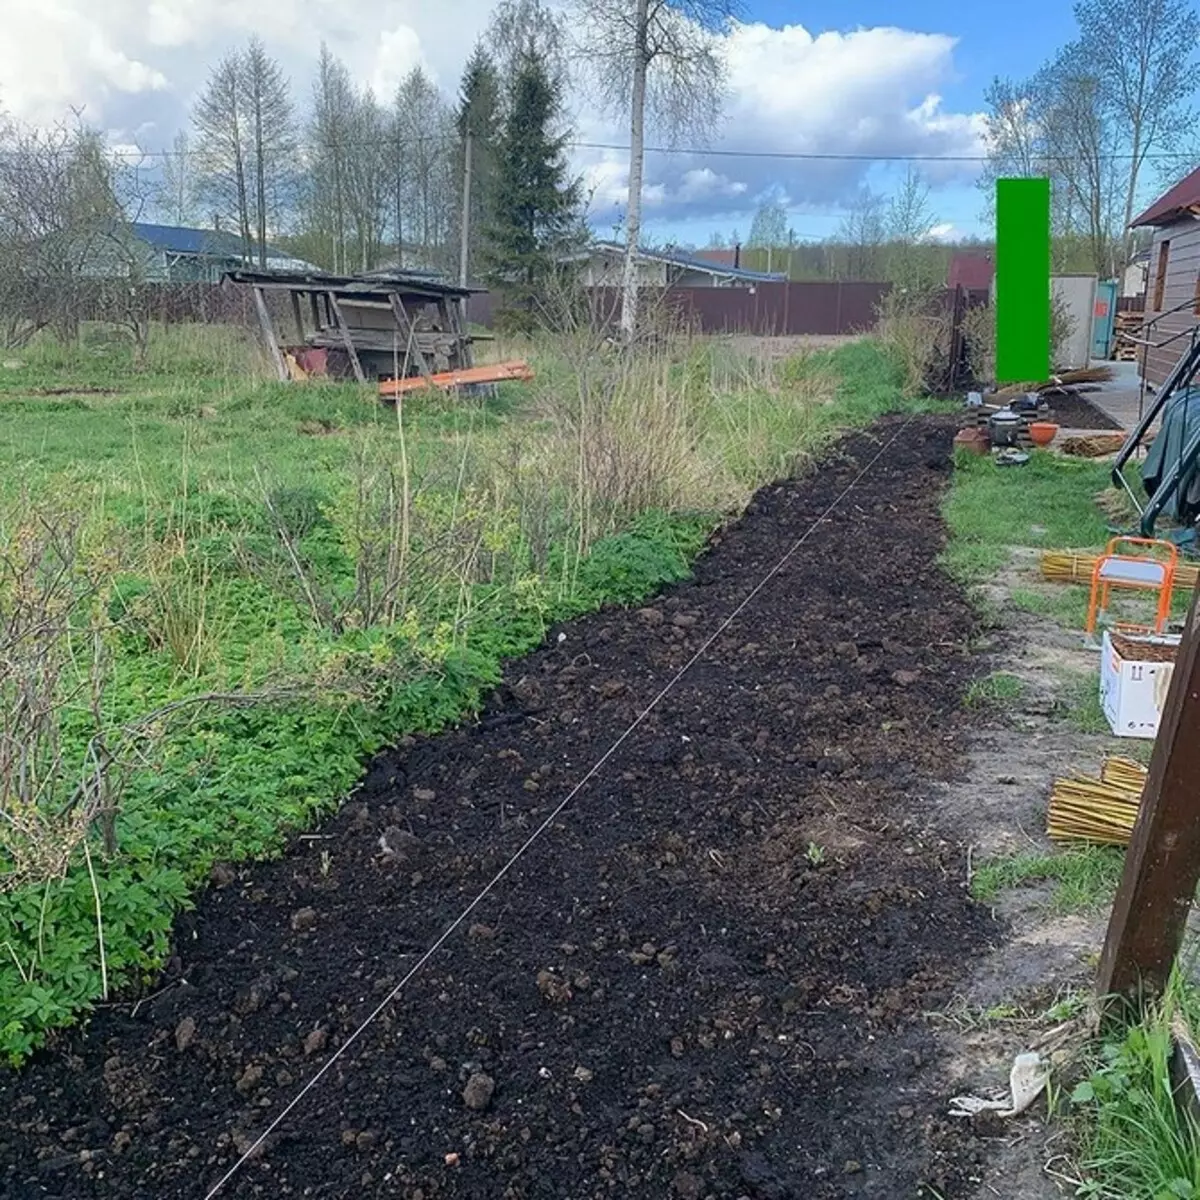
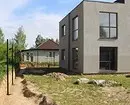
1. Place the site
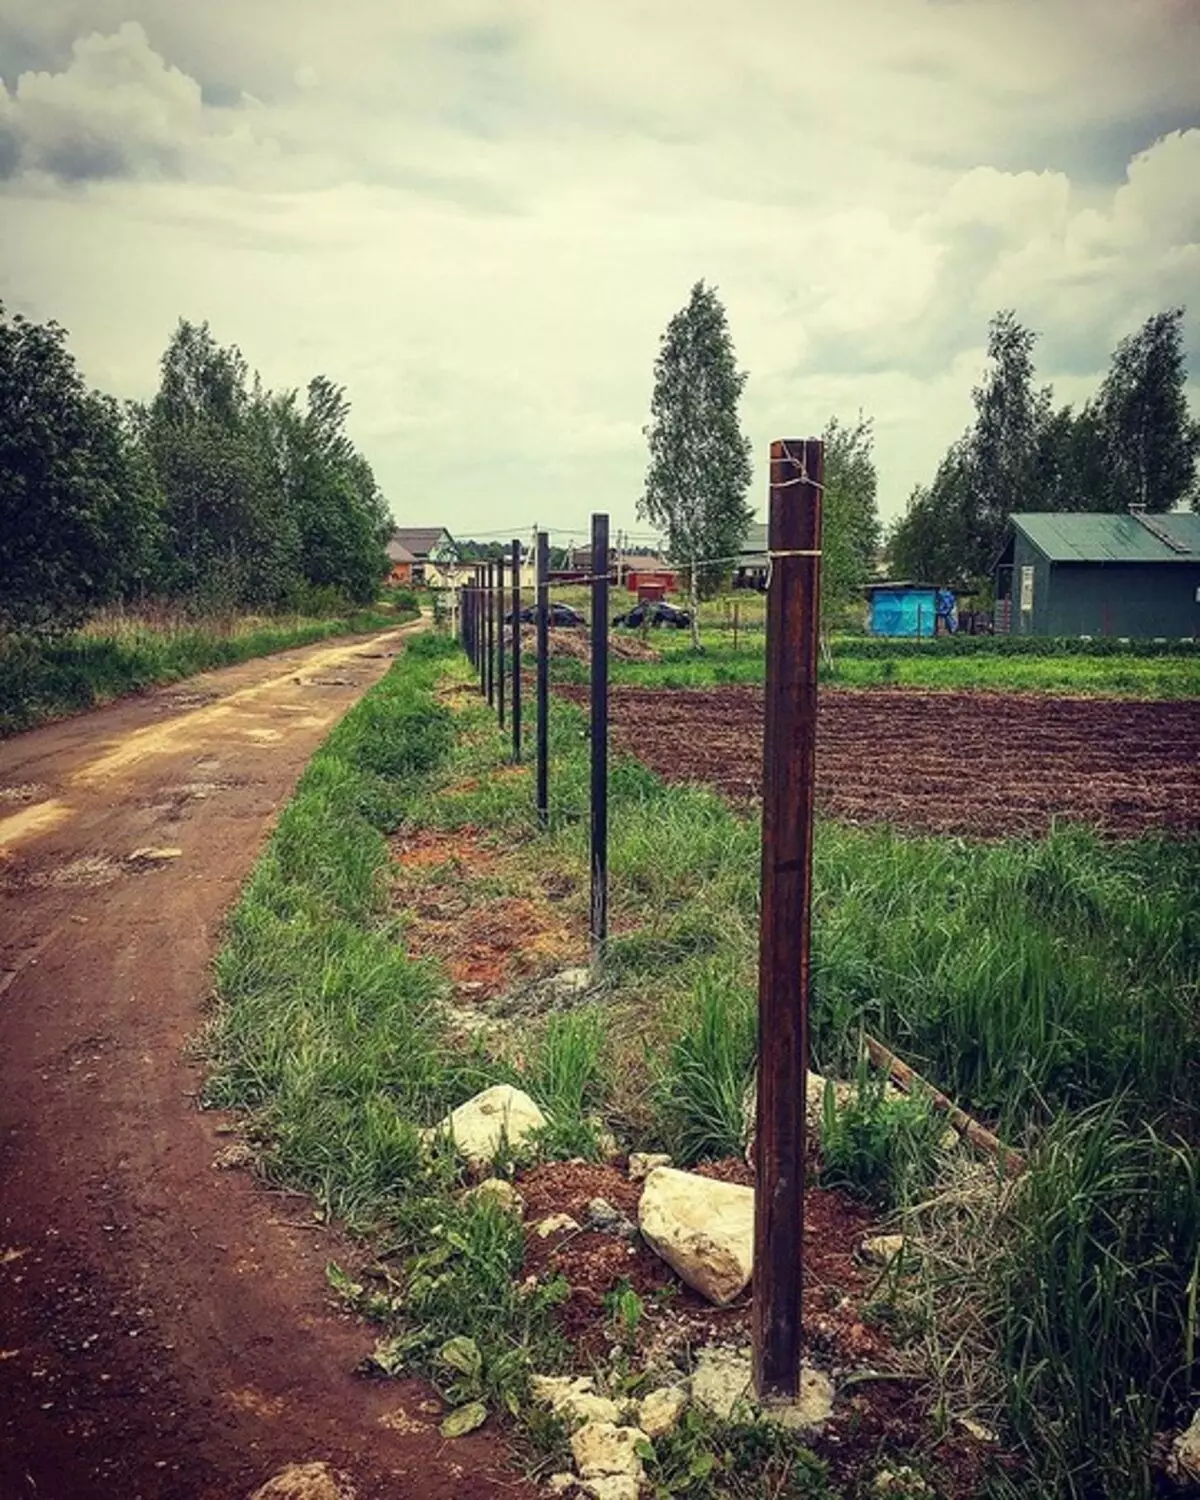
Take pegs and clog them exactly at the corners of the territory. Then the categorous cord is stretched between the guidelines strictly horizontally. Next, there are places where intermediate supports will be put. Depending on the size of the metal package, the length of one section is usually 250-300 cm. In some cases, these values are slightly reduced or increased to place the columns as much as possible.
Important moment. The distance selected for the section is measured only by rope. It is impossible to measure on the soil. His irregularities distort measurements. At the point where the support should be, scored pegs. Necessarily under the rope.
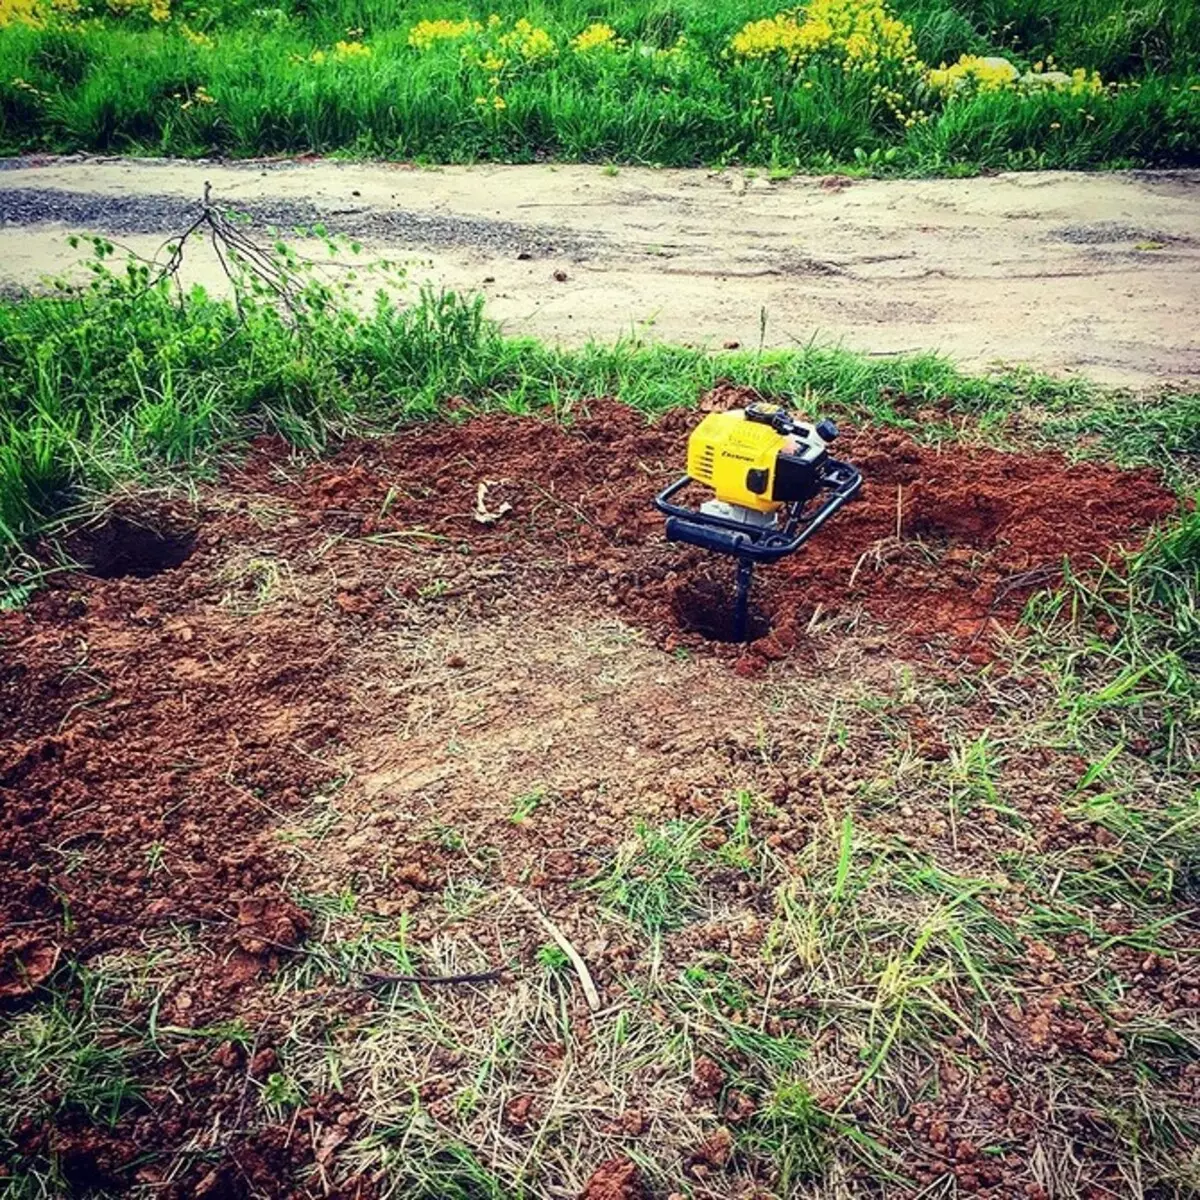
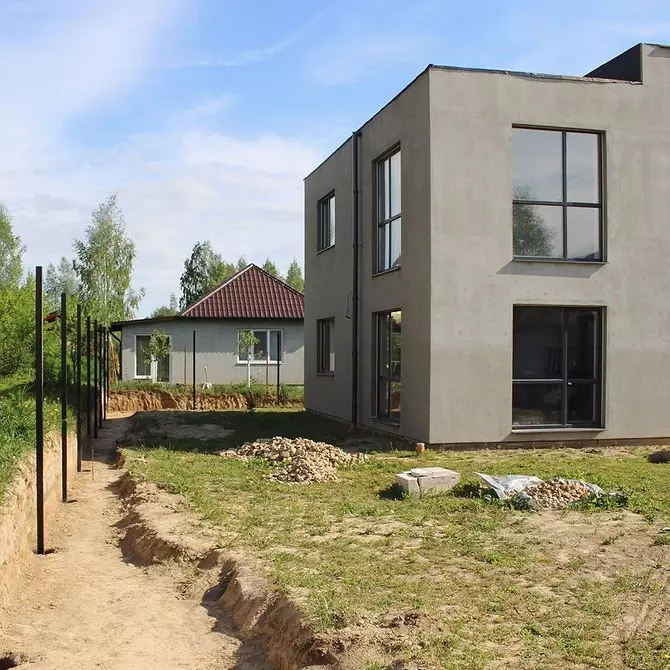
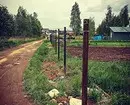
2. put the support elements
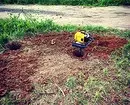
After the markup is applied, proceed to the installation of columns. They prepare pits, the depth of which should be 10-20 cm more than the level of ground freezing. If you break less, there is a danger that the details in winter simply will be squeezed.
The pocket diameter should exceed the sizes of the post by 10-15 cm. Hand-made coppe is allowed, but it is a very long and time consuming process. It is best to use Yamobur, petrol or electric. This will greatly simplify the work.
At the bottom of each of the dug holes, the gravel-sand mixture is laid with a layer of 10 cm. This cushion is slightly moistened, then tram. The material must stick to the dense layer.
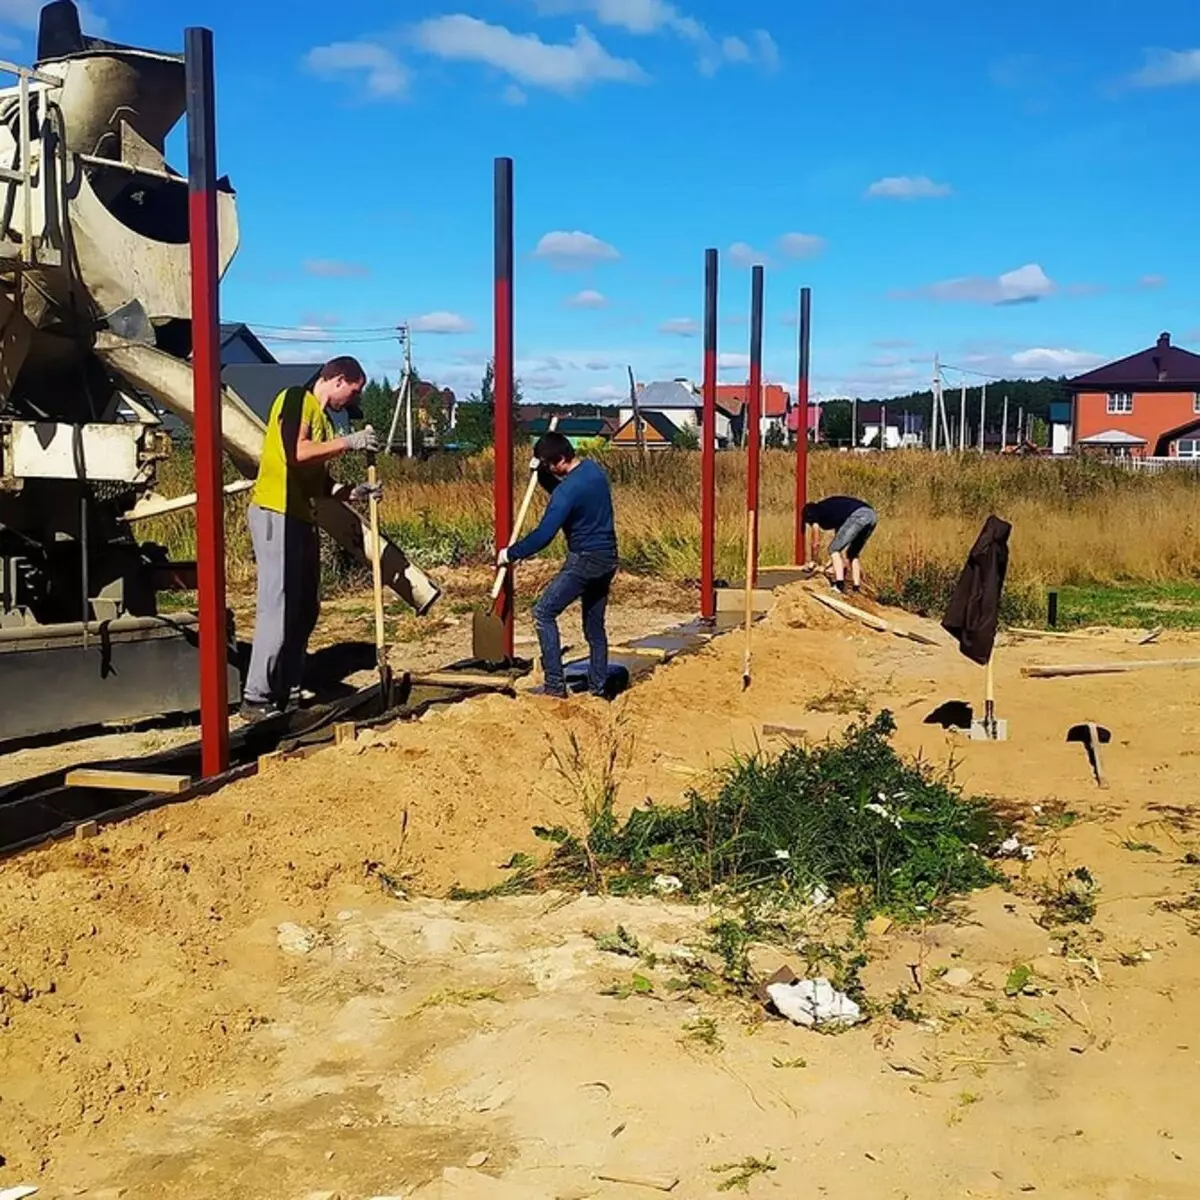
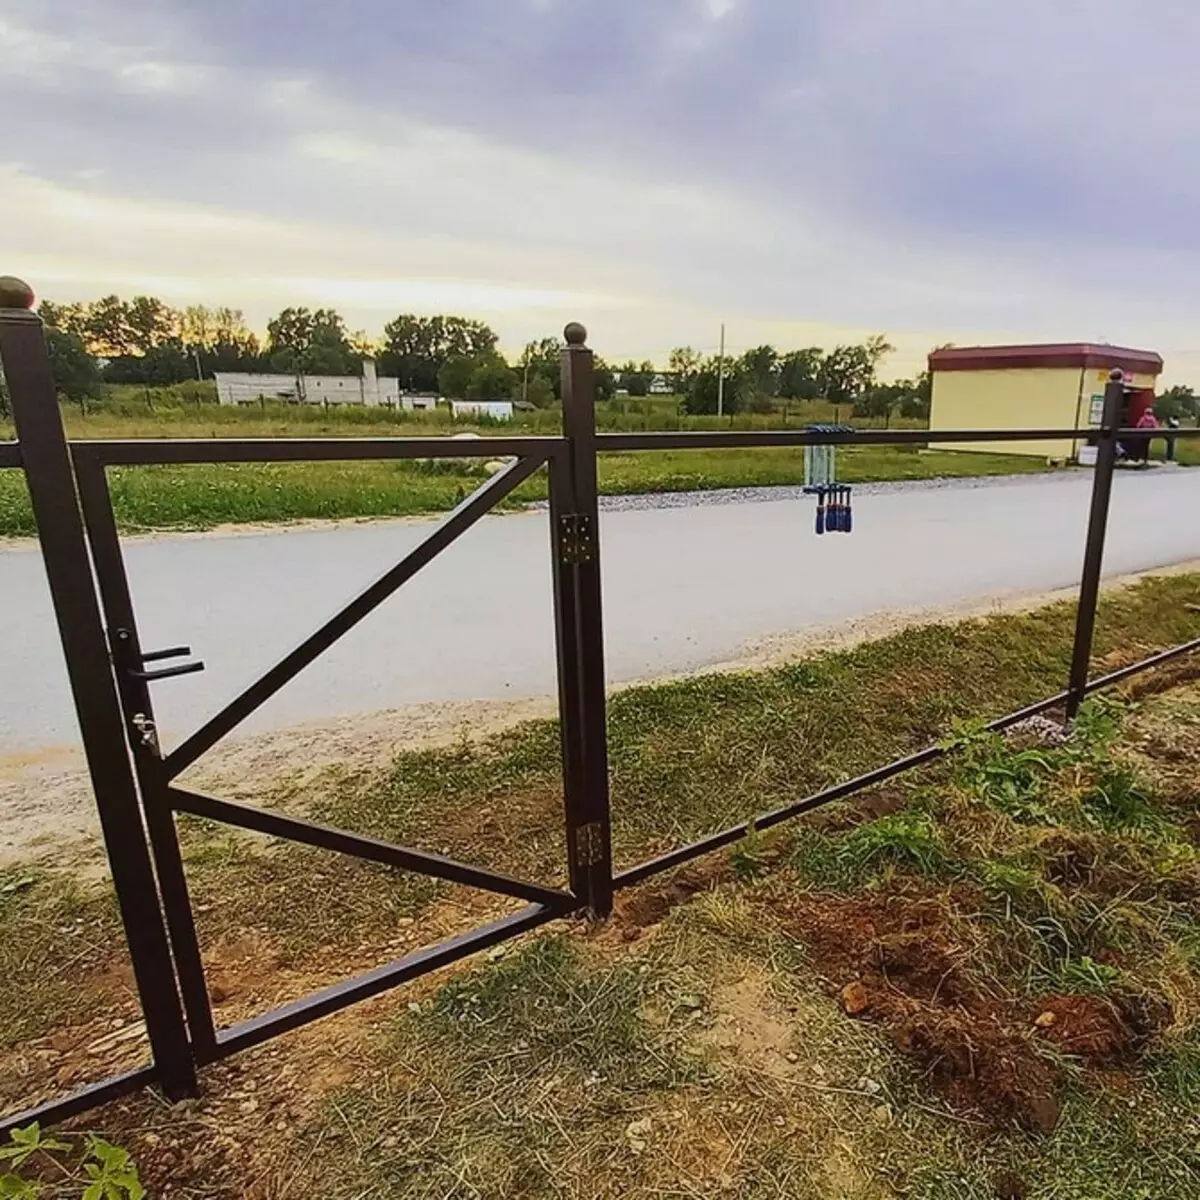
The columns are installed from the angle and the input group. More massive parts are used here, but the installation principle is the same. The pillar put exactly in the center of the prepared pit, with the help of the level align it strictly vertically. After that, the wooden bar is placed on top, so as not to damage the pipe, and begin to clog it with a sledgehammer. Periodically stop and check the vertical. If necessary, it is corrected.
Rightly driven column costs smoothly without support. But at the end of the installation, it is still supported by three struts. After all the angular supports and the entrance group are installed, the cord is stretched between them at one height. All items should be at the same level. If it is not so, they are cut or scored deeper.
3. Pour concrete to the ground
To finally fasten the support elements, the pit fill with concrete. Do it in stages. First only poured a third volume. The concrete mixture is compacted, piercing the reinforcement rod. After another third, it is compacted. Check the pillar vertical if required, it is corrected. Remove struts, poured the remaining third. Leave for six to seven days. During this period, the concrete will clarify, gain the necessary strength.
4. We put the transverse lags
Scroll from below and on top put at a distance of 20-30 cm from the edge. If the third is needed, it is fixed in the center between them. First, on each reference element, the selected distance mark, then the cords are pulled between them. They are necessarily aligned horizontally. This will be a guide for cross. They are fixed exactly through the cord, fixing with screws, x brackets or welding. The collected frame is so ground and color.

5. We put a metal bag
The last stage is made by the installation of Ershtrokerka with their own hands. It is starting with marking. Kapron lace stretches where the lower edge of the lamellas should be. Similarly come with the upper edge. After that, they put the first record and fix it with roofing self-drawing. Next place the position of the remaining parts. Install each of them. Before fixing, you must check the vertical location of the lamellae.

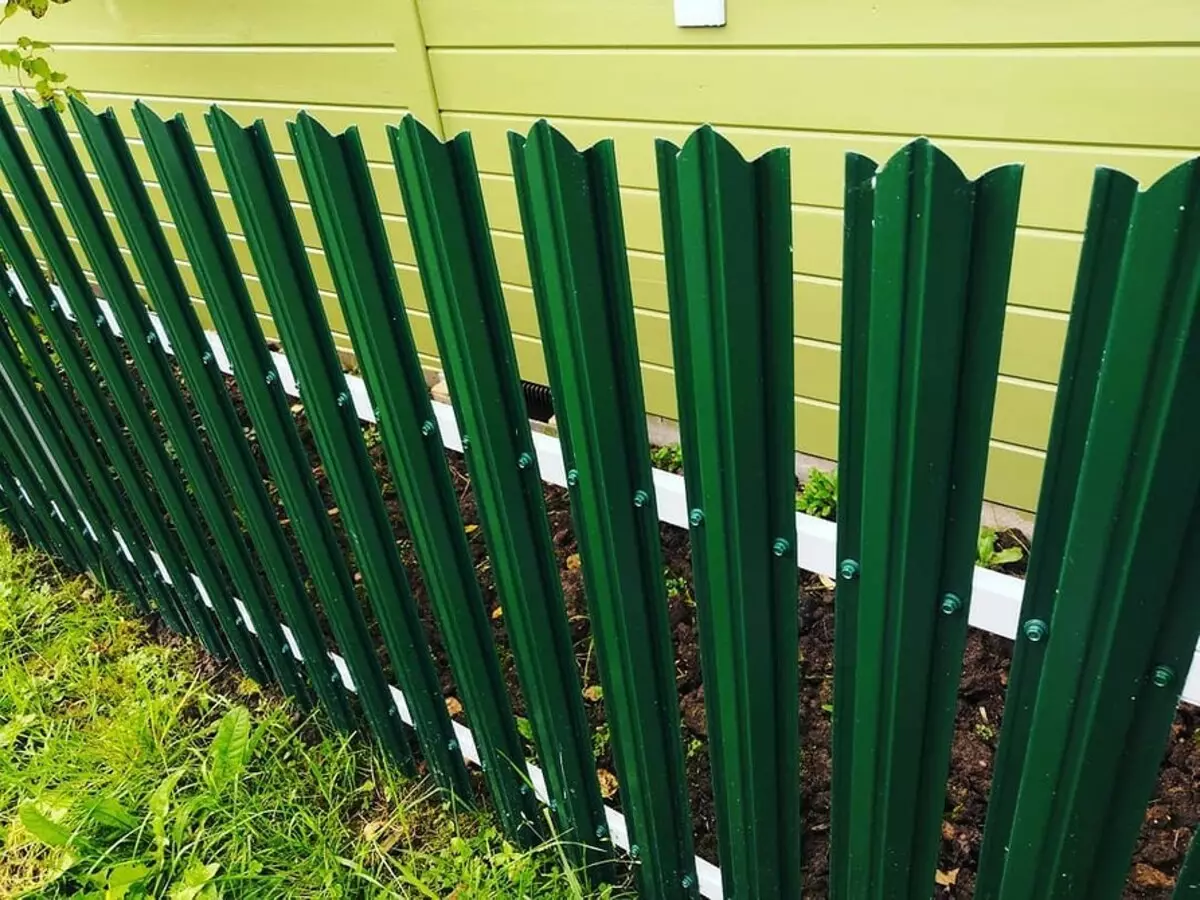
This assembly technology is suitable for fences with curly riding. All operations are performed similarly. Only at the installation stage there are some differences. The cord, placing the upper edge, is not needed. Instead, one section is collected with a given form of the upper edge. On it all the rest are located. The installation of the installation of caps on the fence supports is completed. They will protect against water.