
We tell about the characteristics of the block house and give step-by-step instructions for finishing them the facade of the house.
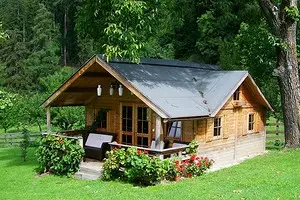

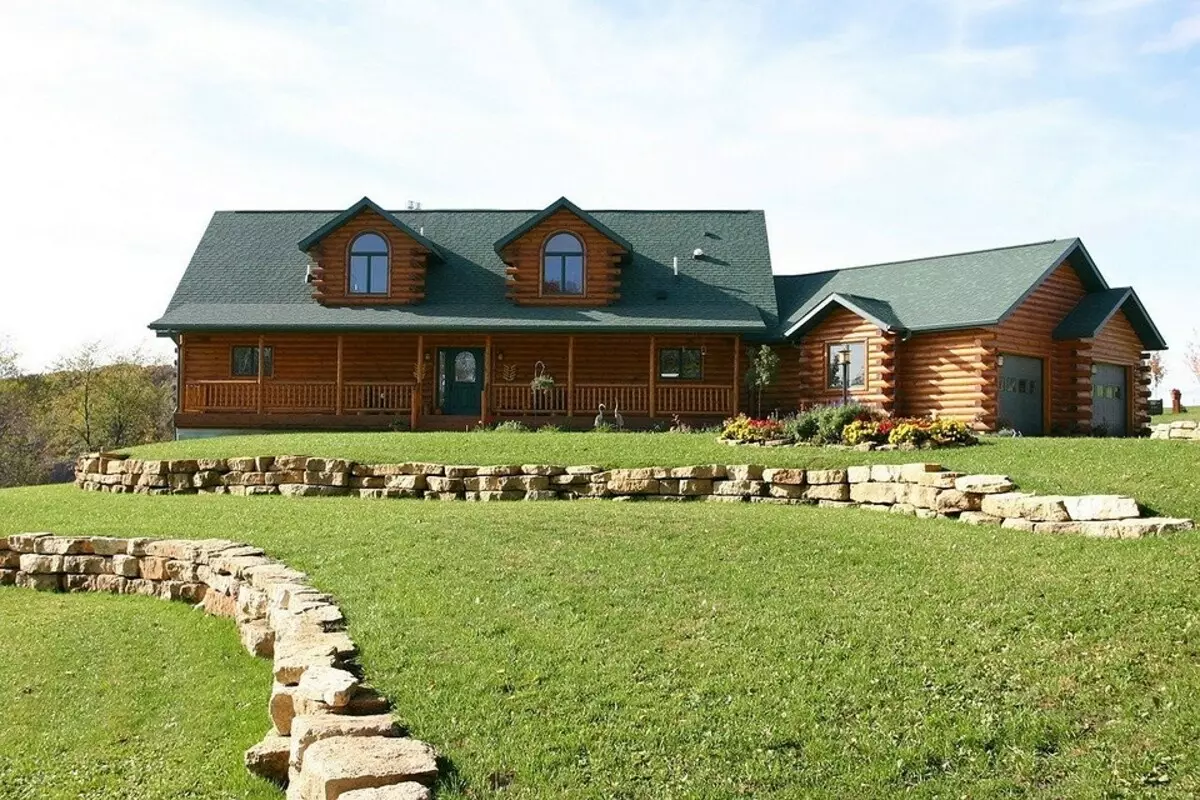
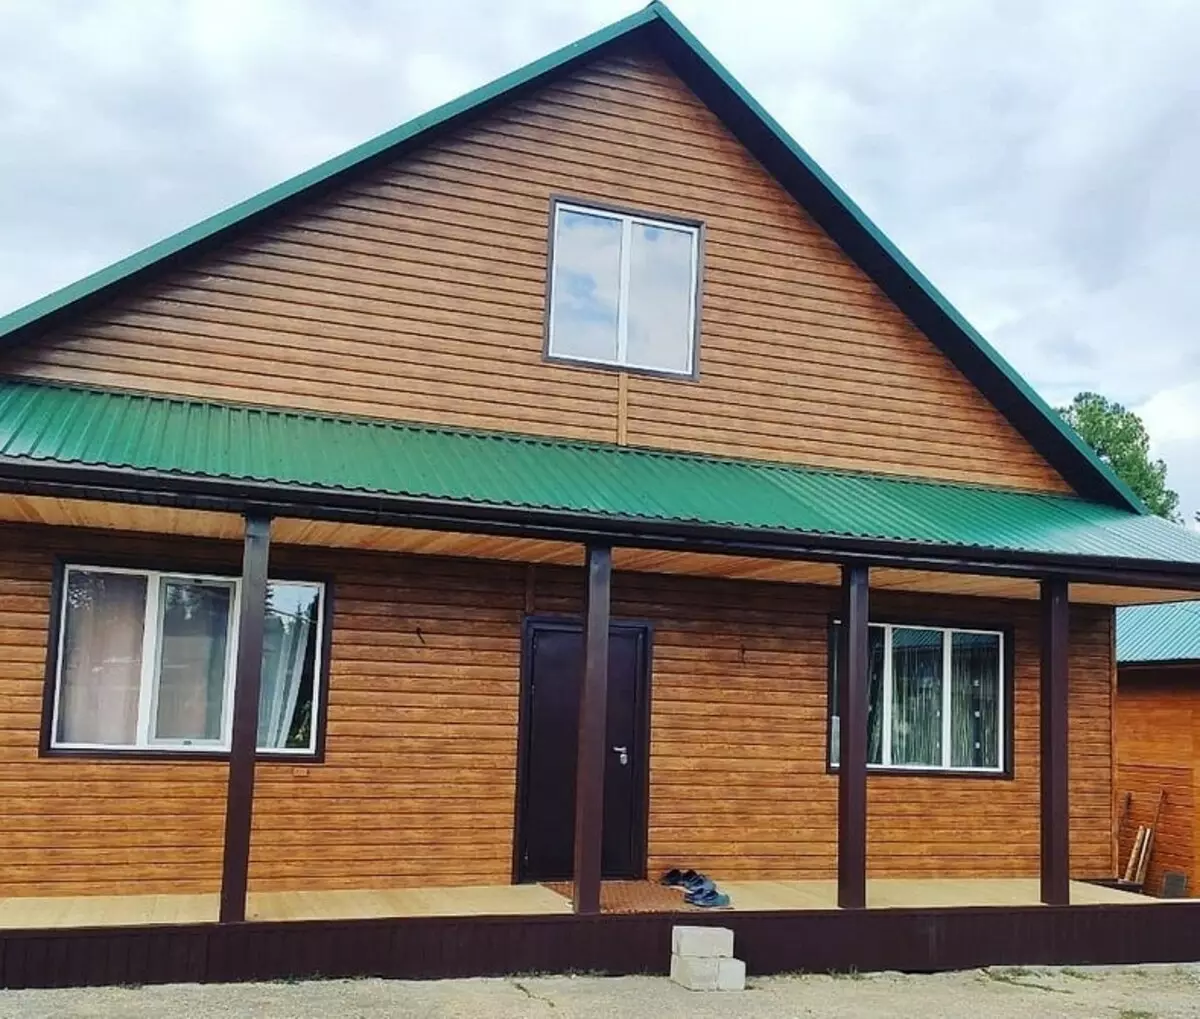
Wooden log house - it is environmentally friendly, firmly and very beautiful. But it is not always possible to put such a building. But you can always fall the design as you like. There are finishing techniques imitating a structural from a solid log. One of them is the cover of the house by a block house. We will figure it out how to properly prepare and mount the material.
All about the trim of the facade by block mobile
Features of the materialWhat you need to prepare
Instructions for cladding
- Preparation
- Obeshtka
- insulation
- Installation lamella
Features of finishing
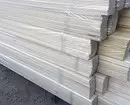
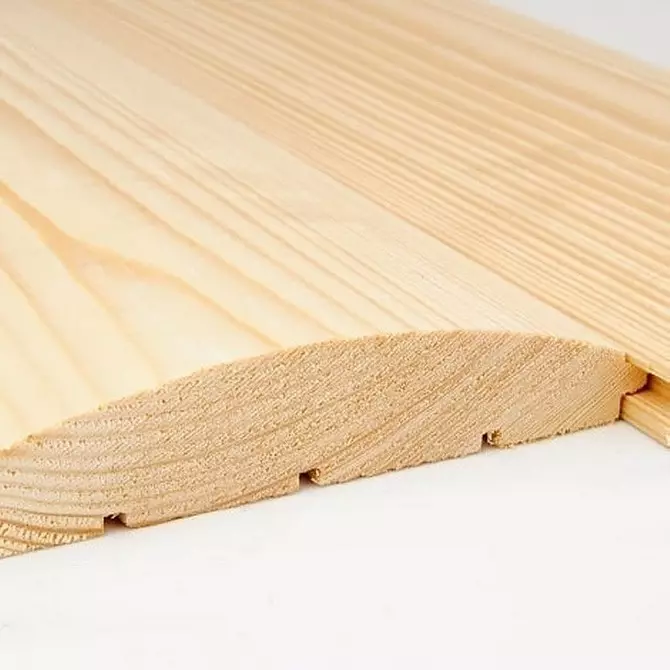
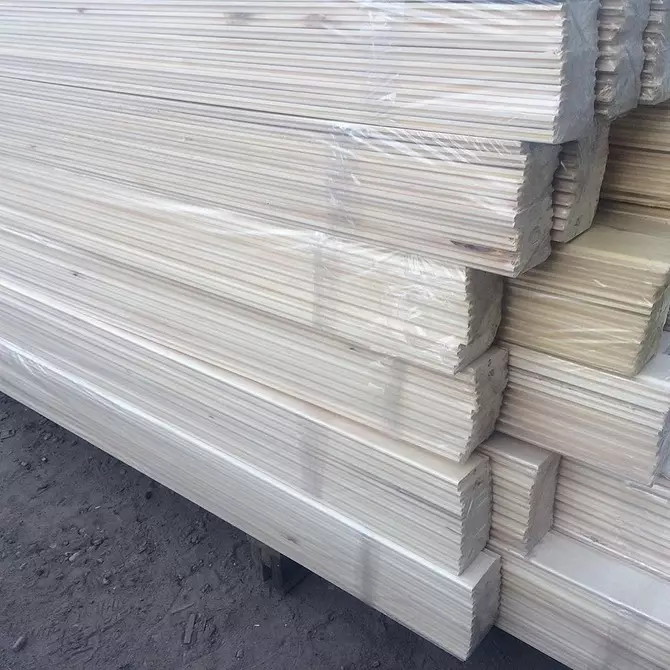
Block House is a type of sawn timber, which is used for the inner and external wall decoration. One of the options for lining. Convex lamellas assembled mimic shed from a solid log. For the docking of the slats installed locks by the type "Paz / Schip". Wood quality overlap is different. Plates differ in fortitude.
Timber varieties
- A. The best material without rotten bitch, signs of diseases and defects. Small cracks are allowed, but only on the ends. The presence of healthy bitch is possible, but not more than one on the temporon meter. Its diameter can not be more than 15 mm.
- B. On the front part are allowed shallow cracks, but not longer than 30 mm. On the surface are wormworms, no more than three pieces. Also allowed a maximum of two healthy bitch on p. M.
- C. Natural vices are allowed in the form of defects of wood structure, blue, etc. There may be cracks up to 5 cm. Live swirls are allowed in any sizes and quantities. The dead can also be, but only the misunderstanding.
The manufacturer can produce batches of mixed fortiness, for example, Sun or AV. Their price, respectively, is slightly lower. Significantly different lamellas on raw materials. They produce a focal, cedar, spruce, oak, pine block house. The characteristics of the material are significantly different. In addition, there are not only wooden planks, but also plastic, and metal. This is a type of siding, so it is mounted similarly to this facing.
What you need to prepare
For the trim, the facade needs to prepare materials and tools. Start with the selection of lamellae. Determine their desired width. Experts advise for large buildings to choose wide plates, for small - narrow. So they will look better. There is no total size standard for cladding, so manufacturers work on their own. It is necessary to know and buy all the necessary details only at one company. Otherwise there may be discrepancies.Wooden lamelles
For the facade, plans are chosen with a thickness of at least 35 mm. The length of them is different, in the range from 2 to 6 m. It is desirable to choose the facing so as to minimize the number of joints. Ideally, they should not be at all, since the docking of the elements is quite complex. The amount of material is calculated with a small margin so that in the event of an unexpected damage or other reasons it is still enough.
If the calculations are carried out on their own, it is necessary to remember that the panels have two types of width: useful and general. The first does not take into account the size of the spike, therefore, it is used in counting. We must not forget about the area of all window and doorways. It is taken away from the total area of the facade. When buying a lumber is worth paying attention to several important points. First of all, you need to carefully examine. The unfinished manufacturer can produce low-grade products for high quality. The presence of rot or dead knots is a reason to look for another seller. Be sure to check how easily the castle elements are joined. If you have to make significant efforts, this is a sign of bad goods. Wood must be hermetically packed and stored in the room or under a canopy.

Fasteners
An important moment, how to mount a block house. It is installed on a vertical crate. Different fasteners can be used for fixing.Types of methov
- Saws. Inexpensive and efficient option. The details are well fixed, but there is a high probability of the appearance of the fracture cracks. With an excessive force of twisting wood cracks. Given that the width of the groove is small, you have to screw the fastener into the face of the finish or skip the fixation site.
- Kleimers. Special attachments of special shape, wear on the item. This somewhat slows down the assembly rate. The kleimer connection allows you to easily dismantle the trim, then collect it again. Skoles and cracks of the grooves are completely excluded. The price of fasteners is higher than that of the analogs.
- Nails. Use finish elements with small hats. They are put in spike either into the outer surface. The last version spoils the type of finish, so not recommended for use.

Insulation
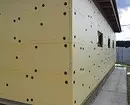
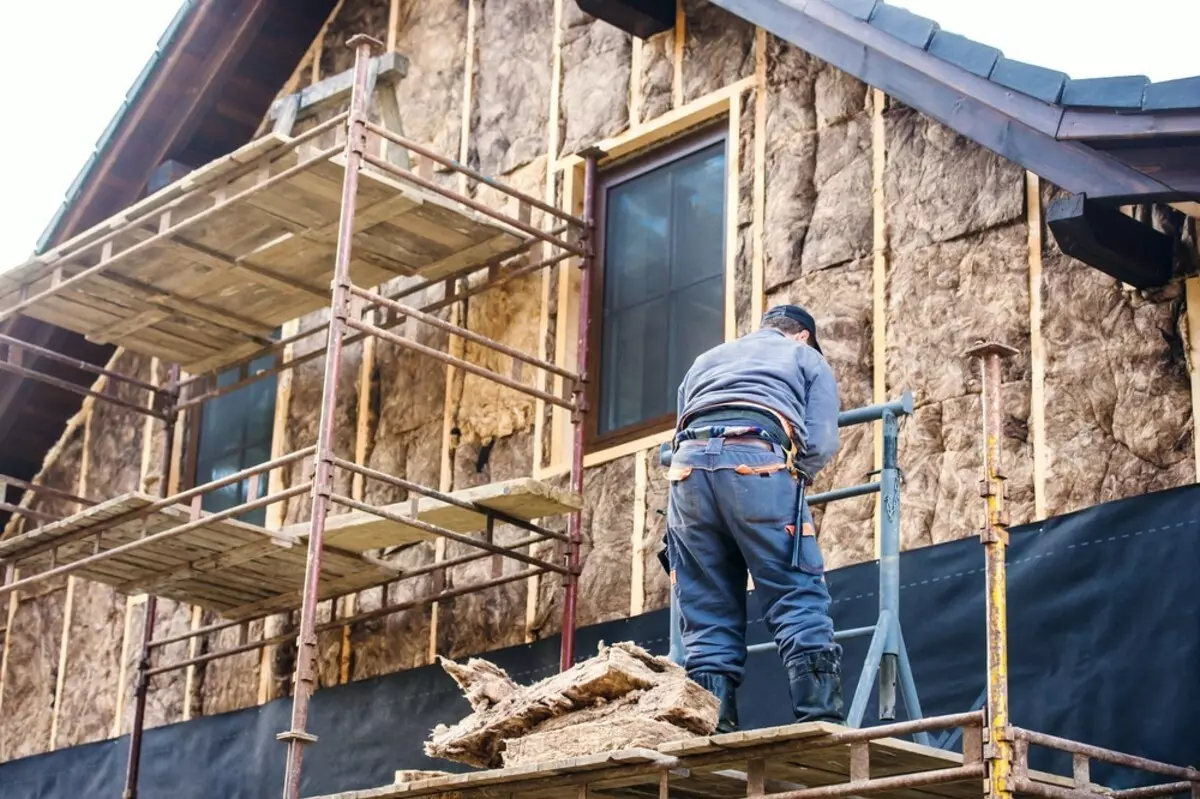
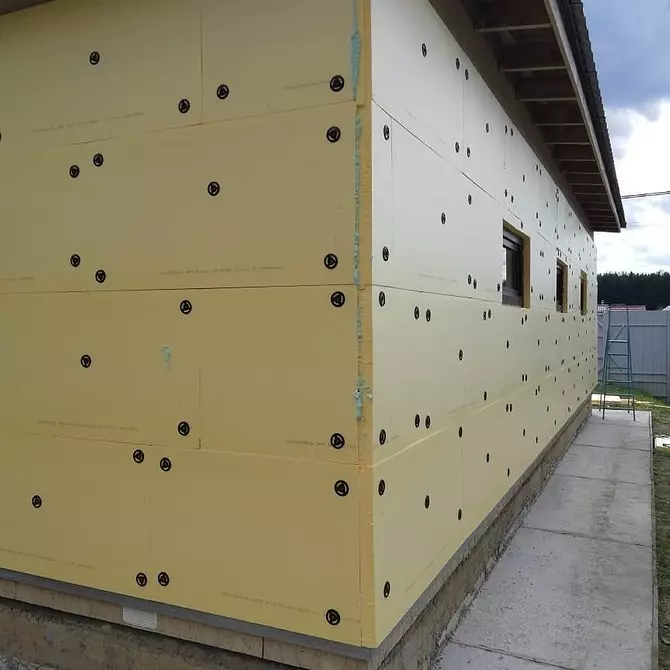
Most often under the trim, the insulation is stacked. This makes it possible to improve the thermal insulation of the building. Choose any material suitable in characteristics. This is usually extruded or rolled mineral wool. Its main drawback is high hygroscopicity. It absorbs moisture, loses thermal insulation characteristics in wet. Therefore, you need high-quality waterproofing. It is necessarily acquired a high-quality membrane for isolation.Sometimes a foam or variety is chosen for thermal insulation. They are not afraid of water, they are distinguished by low thermal conductivity, easy to install. Their main minus is high flammable. They are easily ignited and well support the fire. In the process of burning give toxic smoke. It is dangerous for residential buildings, but is suitable for household buildings.
Obsek and Double Elements
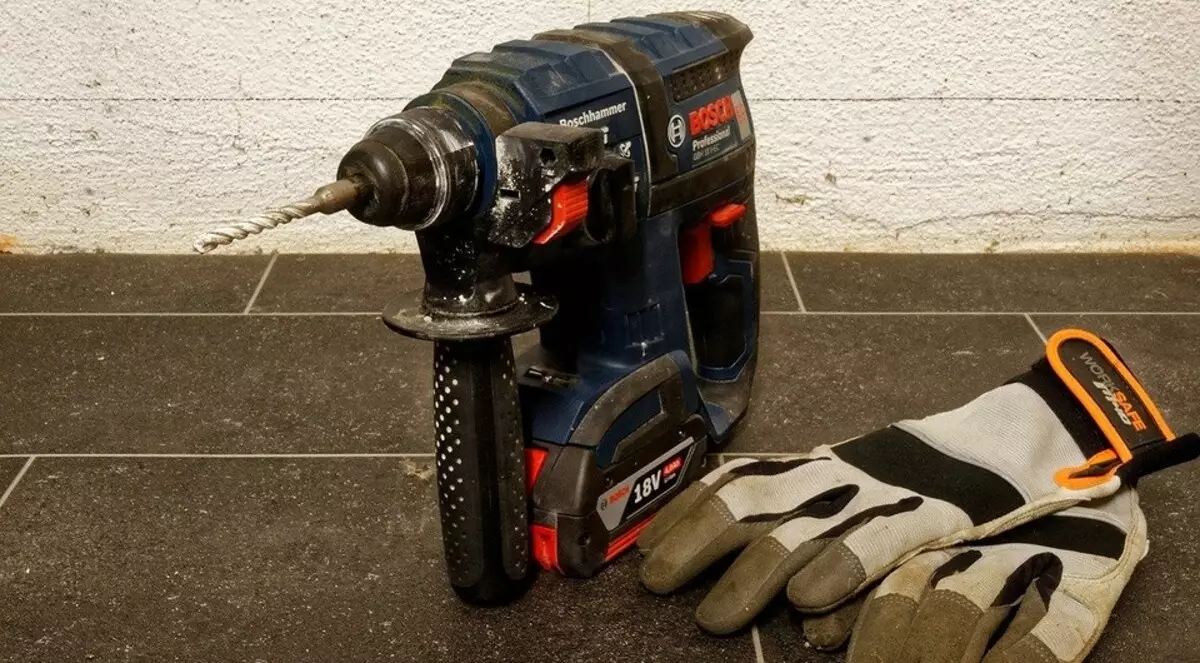
To assemble the frame to consolidate the insulation, bars or metal rail guides will be required. Their height should coincide with the thickness of the insulation plates. Under the controls for the skin, 30x20 mm rails are chosen. There are no special challenges for sawn timber. All joints and fitting angular compounds are carried out with carpentry methods. Sometimes they are simply covered with boards or use metal dotories. Then they need to buy in advance. The minimum set of mounting tools includes a screwdriver or screwdriver, electric drill, level, roulette, hammer. If the screws will be used, it will take shilo. They are making centers of future holes. In addition, the tools will be required to prepare the walls to finish. What exactly depends on their state.
Proper finish at home by block house outside
Finishing works can be performed with your own hands. We will analyze in detail how to sow the construction of wooden planks.Preparatory work
Start with the preparation of sawn timber. They need to be impregnated with antiseptic drugs and antipirens. Details are removed from the packaging, the solutions are riveted, leave for drying. If painting varnish or paint is planned, it is also better to do in advance. Soaked wood soaked wood. Waiting for it will dry, then cover with varnish or paint. Do not save on paints and varnishes. It is better to buy high-quality formulations for outdoor use.
Then proceed to the preparation of the facade. The durability of the future decoration depends on the quality of preparatory work.
Facade preparation sequence
- We dismantle the drains, brackets, air conditioning, etc. We remove all foreign objects.
- We inspect the facade on the subject of squeezing and weak sites.
- Fully remove and cleaned all peeling and sprinkled fragments.
- Wall defects close in putty. If there are a lot of them, it is possible to complete base plastering.
- On the surface prepared in this way, two layers of primer are applied. The first is necessarily under before applying the following.

Installation of the crate
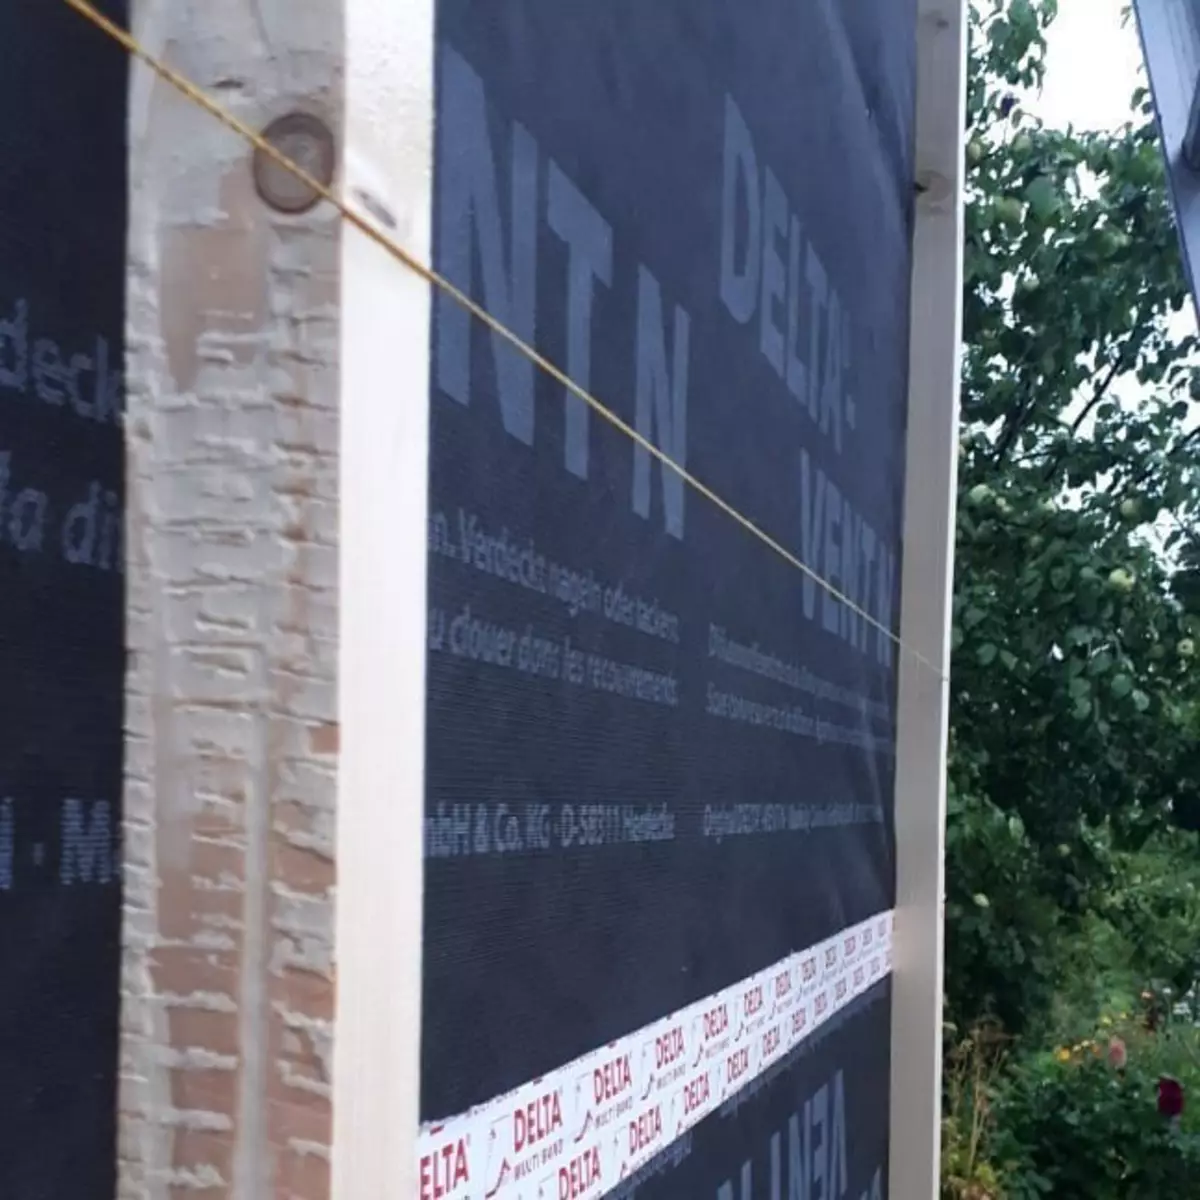
This is a carrier design to which cladding is attached. It performs several functions at once. First, it forms a ventilation gap, which is necessary for a normal air exchange inside the wall cake. Secondly, lines the plane of the facade. Thirdly, supports insulation. In the latter case, a two-layer system is set, in which the first layer first keeps the heat insulator and levels the plane, and the second carries the trim and forms an air gap.In some cases, vaporizolation is laid before installing the crate on the base. Its presence depends on the type of insulation. Thus, for impermeable insulators, the type of polyplex or foam is required only internal protection. For vapor-permeable wat, you need an internal and outer layer. The pair-waterproof membrane is placed on the base from the bottom with the baits with the allen in 150-200 mm. The joints are reliably sick by the construction scotch. Sales should not be.
Then the first crate frame under the insulation. Do it.
How to put a cerebse
- Check the surface geometry with a plumb. If there are deviations, they will need to be aligned, lattaya under the rakes of the chips.
- Sut off the angle of 100 mm, fix the first rake. Checking a touch horizontal. Similarly, put the item from the opposite side.
- We plan the position of the rest of the regions. We do this, taking into account the width of the insulation. It must be tightly into the gap between the bar.
- Alternately fasten the rails. If necessary, align their position.
- Install vertical elements. The easiest way to do is on metal corners, but you can do without them.
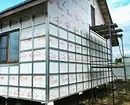
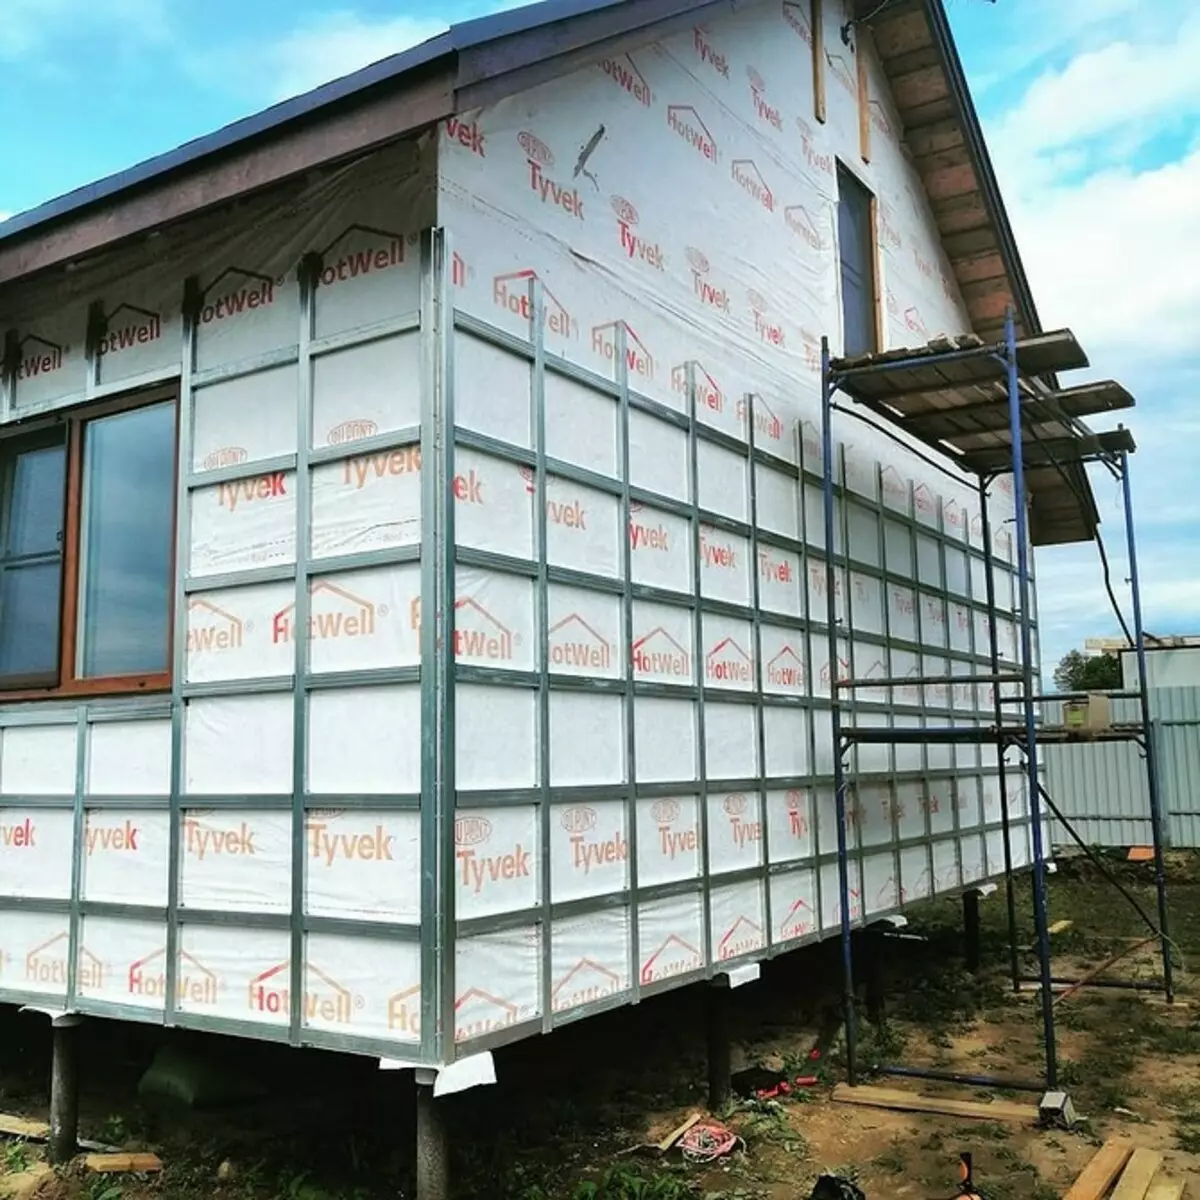
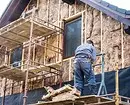
Installation of insulation
The plates are tightly inserted into the interrepusted gaps and are fixed by special rondon fasteners. These are long self-tapping screws with a wide plastic hat. Important moment. Gaps between the plates and bars should not be. These are potential cold bridges, in which condensate will accumulate, which is especially unacceptable for cotton heat insulators. They wedge and dramatically increase the thermal conductivity. All the gaps and cracks outside are neatly married. After the foam hardens, it is cut and embark on the installation of the external vapor insulation layer. It is stacked similarly to internal. The membrane is installed by the bands below. Outstanding 150-200 mm is required. The jokes are sickling with scotch.
Installation of decorative lamellae
On top of the crates put a counterclaim. She is mounted on the sheathing. We offer instructions, how to strip the house by a block house.
- With the help of the level, repeat the line of installation of the first row.
- Cut the protruding fragments of the crates.
- Exactly on the outline of the line exhibit the first board. Fix it selected in advance.
- We continue laying, moving up to the roof.
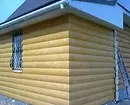
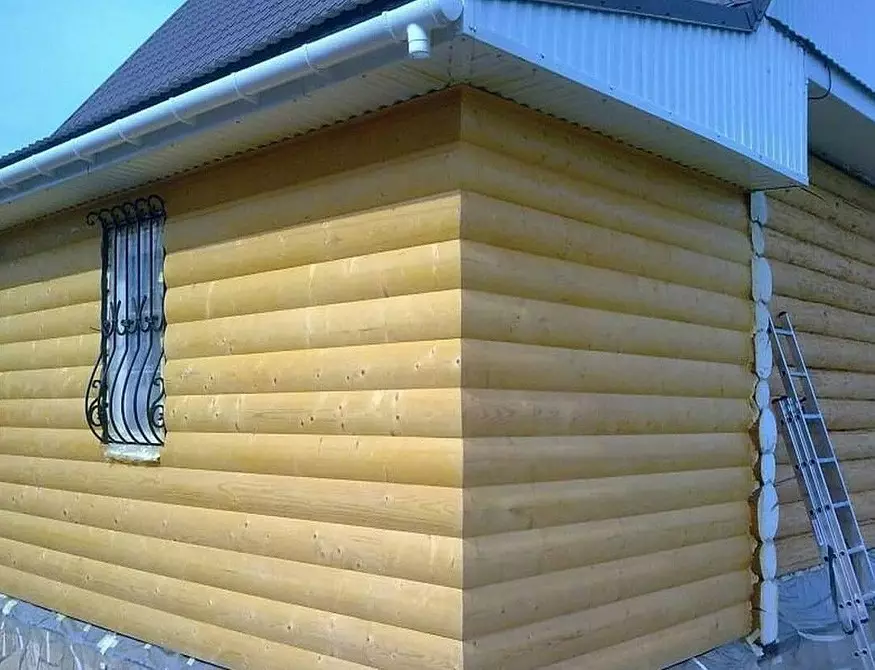
Sew house is quite simple. The most difficult moments are the execution of joints and corners. The joints appear if the wall is longer than the boards. In this case, the easiest way to "collect" all the joints on one vertical. At the end of the work, it closes on top of the board. Sometimes it is painted in a darker than the facade, color. Similarly, corners and window openings are covered. It simply, quickly and does not require special skills. The minus is that the appearance of the house or the bath is spoiled.
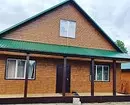
There is another technique for design, but it is much more difficult. The jokes are in a checker order. Carefully customize sections, measure the dimensions of each board. So the compounds become invisible and do not spoil the facade. Even more difficult to accurately dock parts in the corners. External joined at the same level, internal symmetry. In both cases, the ending of the ends under the angle of 45 ° is performed. Immediately do everything as accurate as possible. Therefore, use stubs or make a template. Delicted parts are treated with skin to remove burrs. Try to each other, if there are some flaws, correct them. Put boards in place. Be sure to protect the cut ends from rot. You can simply cover the corners with boards, but it is ugly. In the photo, a block house is made correctly. It turned out high-quality imitation of a log building.
Facing without insulation is easier. The counterclaim is not needed, pair-waterproofing too. But the ventilation gap is performed, through which air flows to the walls. He will not give to accumulate moisture, which eventually can destroy the trim.