We tell what tool to choose depending on the fneting material, how to carry out work with a stub and in what cases you can trigger directly under the ceiling.

During the repair, everyone came across a problem - how to cut an angle on the ceiling plinth. Even with proper application of the markup, it is not possible to cut the carter strictly along the line - it snacks, sintering and crumbs. Exactly fix it in the hand under the desired degree seems to be possible. Visits and other devices leave noticeable dents. Even if you cut perfectly smooth blanks manually or on the machine, the installation between them will remain a big gap. This is despite the fact that on the floor when a fitting details form an impeccable connection. It comes to the conclusion that it is impossible to carry out a paddown at home and requires the help of professional builders. Fortunately, everything is not so bad. With the task you can cope yourself.
All about cutting the corners of the ceiling plinth
Materials and toolsDocking factory products
Calculation of parts
Cutting with stusl
- internal junction
- External joke
Cooked on the ceiling
Elimination of defects
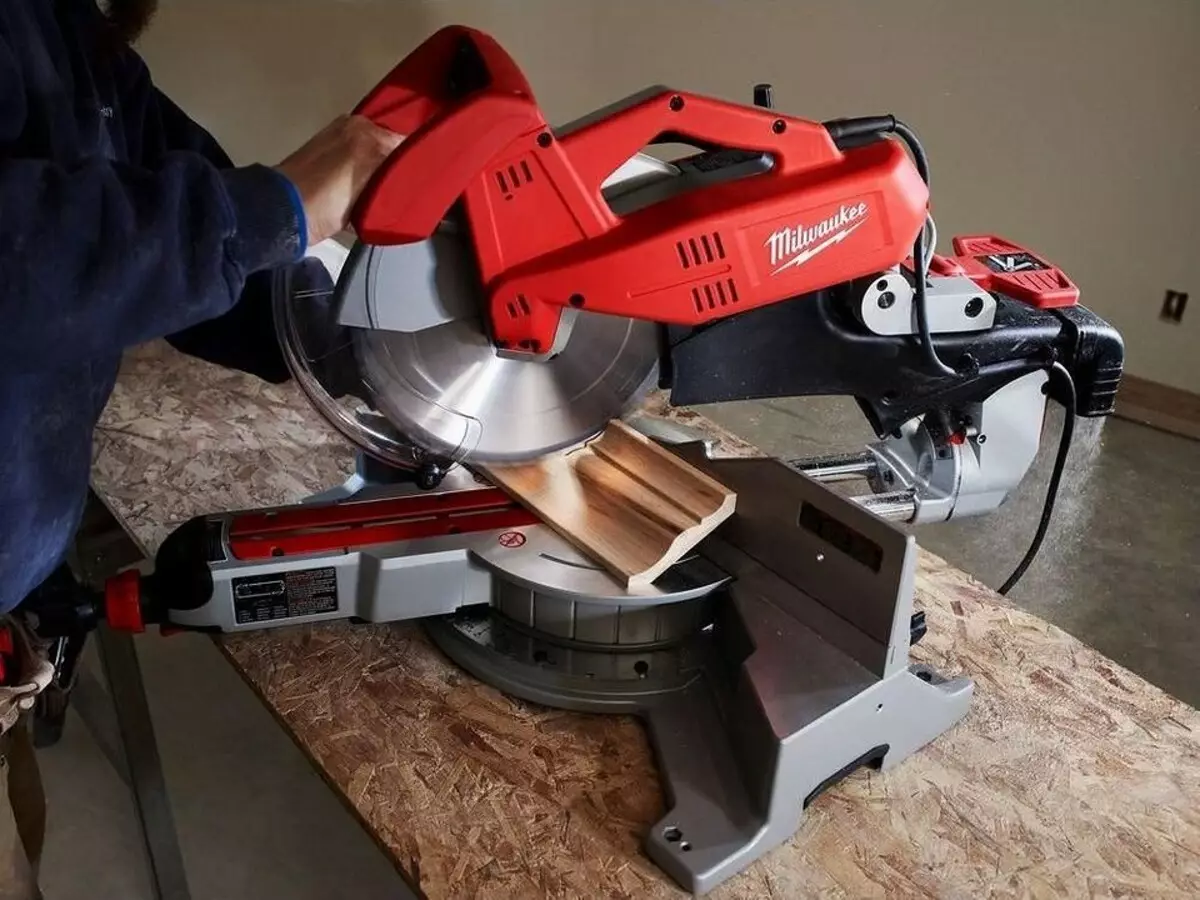
In the workshop engaged in woodworking or repair of metal parts, such an operation does not cause difficulties. The bar is put on the machine, fixed in the desired position, then removed with an excess circular saw. The machine has a device that allows you to rotate the baguette under a given degree and measure the required distance from each side. Without accurate devices, it is much more difficult to work. After applying marking, you need to hold the blade in the correct position. Making a diagonal cut is much more difficult than straight. Such eye operation should be carried out. You must measure everything carefully. There are several ways to simplify the task and avoid errors. First you need to choose a suitable tool and understand what scheme to act.
Selection of tools for cutting different materials
- Poles from polystyrene - despite their softness and low strength, it is difficult to work with them. They impenetrate, crumbling, bend. To fix them, you need to apply a certain force, but dents remain on the foam even after weak pressure. You can get a flat line with a very sharp blade. It does not create pressure on the edge of the trimming and easily passes through a soft porous structure. As a rule, they use a carpenter or a kitchen knife, or a hacksaw with small teeth.
- Polyurethane and plastic products - they are much stronger and dense foam. The surface is more difficult to minimize. A special tool is used for cutting - a saw will open the end, and the usual blade will have to work for too long. If there is no such device, a long sharp kitchen knife is suitable or a saw with small teeth.
- Wooden baguette - the end can be cut off with a saw on a tree. Solid rocks, for example, oak, it is easier to handle with a metal-hacksaw.
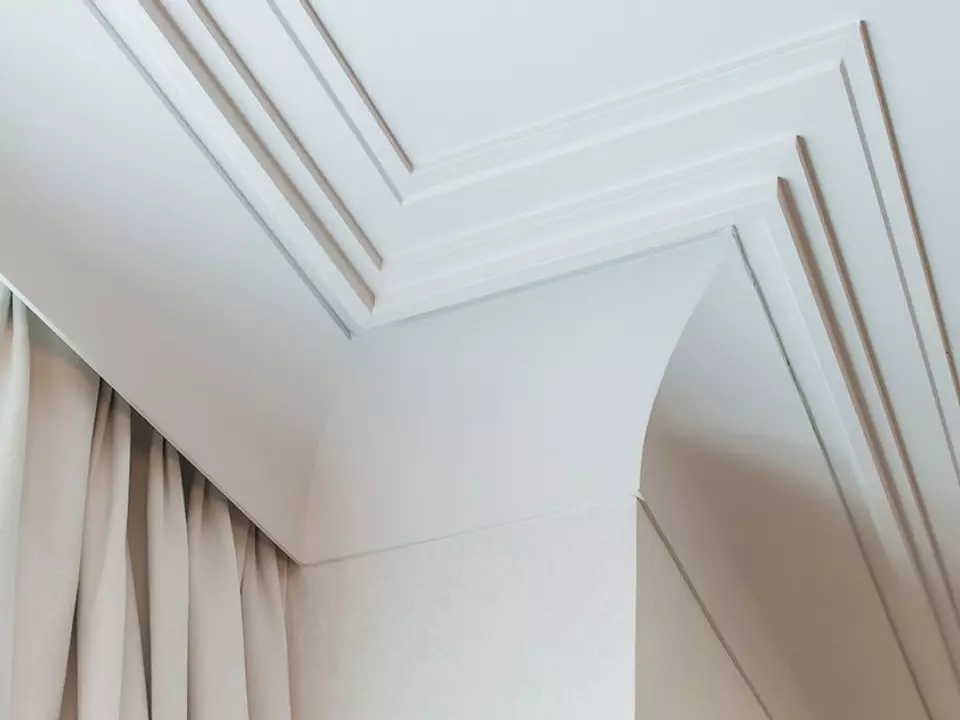
Methods for docking factory products
- The use of finished corner elements that are glued to the internal and external sides. We produce wide and narrow baguettes. They differ in material, form and color, but it is not always possible to choose them under the interior.
- Internal connectors for the ceiling - ordinary rails are glued to them. Such connectors fill the inner space formed by the straight ends of the rails located at an angle of 90 degrees to each other.
- Docking couplings - baguettes are inserted inside the docking decorative boxes.
The size and form of details must match the main set of profiles.
How to calculate the line of connecting parts on their parties
On the rear top side of the plinth, the distance equal to its width is laid. It is measured from the edge and spend a line parallel to the end. On the top face, it forms a square with him, on the side, if its dimensions differ, - an elongated figure.
When finishing the column or free opening, the markup is applied as follows: from the corner of the plank facing the room, the hypotenuse dividing the square in half is carried out on top. Her projection is transferred to the edge facing the wall. For this, the space, measured on the verge, is also divided into diagonally in the diagonal, leading to the hypotenuse. Excess piece is cut off on two diagonals.
If the joke is addressed inside, the diagonal is drawn in the opposite direction.
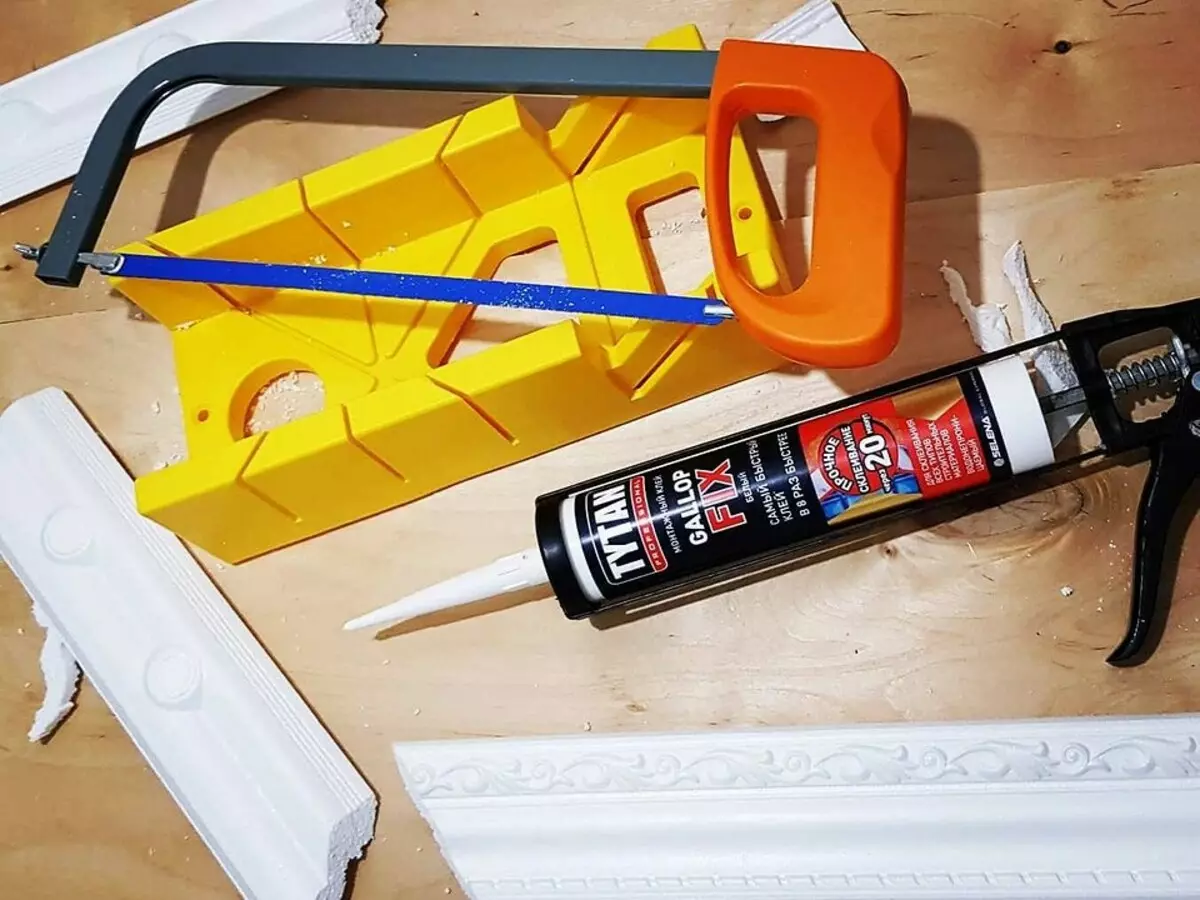
How to cut the ceiling plinth in the corners using the stub
This tool is a P-shaped chute. In his sidewalls there are several slots for the blade. They are located so that the blade can be installed under a given degree. The device is easy to find in the construction market and in the store. To make it yourself, you will need a P-shaped profile of a suitable width or an oblong box.In the middle of the workpiece, the square is drawn and the furrows are done on it in the sidewalls until the bottom. Having placed the saw in the furrows, the most distant from each other, we get 45 degrees we need. The sidewalls should not bend and fuddle when cutting, otherwise the blade is stuck in them, and the cut will be uneven. You can work only with products from solid materials that hold the form well. You need to make sure that the product is absolutely reliable, and his sides will not be twisted in the most responsible moment. When in the hands there is a sharp object, you can get injured.
Internal jack
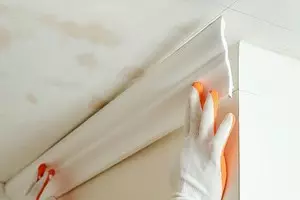
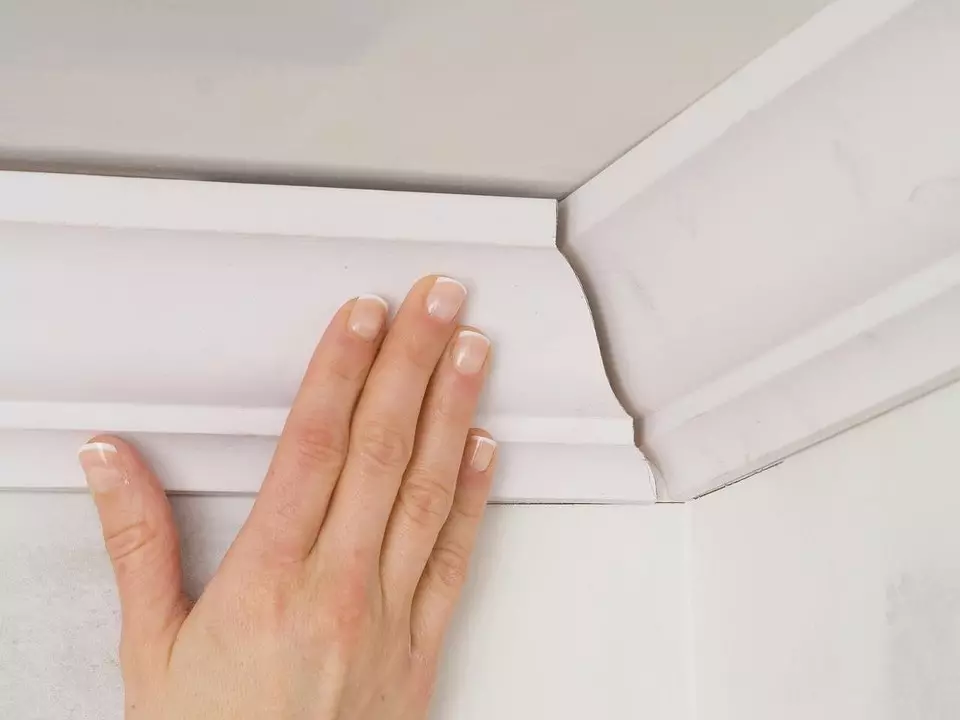
Before gluing the ceiling plinth and cut the angle, it is applied to the installation site. It is necessary not only to check how much the base is smooth. It is easier to understand, in what position the item will be, and to properly put it in the stub. Imagine that his bottom is the ceiling. Let's place the rail. Turn the tool to your open side, from which the bulk of the baguette looks out for installation. Now we press the baguette by its perpendicular rear edges to the bottom and the left wall. Insert the saw into the holes so that her handle was left and was closer to us. When working cannot be pressed on the handle, otherwise dents will remain at the edges. The canvas should move smoothly, trying to avoid the appearance of burrs and chips.
If the holes in the sidewalls are too broad, it is necessary to monitor the skewers of the saw. In the manufacture of stubs, it is advisable to take into account the thickness of the canvas. The product should be cut easily and freely. The clearance with the walls is necessary, but it is better to minimize it - it will simplify the task and help avoid mistakes.
One of the most responsible moments is the final stage when the cut almost reached the end. A hanging part of the workpiece must be fixed in hand. Plastic and expanded polystyrene are often driving under their own weight, creating dents. Wood can crack along the fibers. Suffers, as a rule, the bottom of the front part. Cannot fix it is impossible. The array will be easy to put down, returning a slice in its place. It will need to cut off and fasten to where he came off. You can use PVA glue, "moment", any other composition. The debris is tightly pressed to the smeared surface. Surplus glue is neatly removed with a cloth or a napkin.
The second level is a mirror reflection first, so we apply it to the right side of the stub. The rest of the technology does not differ from the manufacturer of the first strip. It cuts under the same angle, but from another sidewall.
Outdoor sty
In this case, the details are fixed as well. To spend the racks, pressed against the left side, the saw inserted from the right side.In the case when the rack is an integral part of an external and internal joint, first design internal. Then the rail is applied to the place of installation to make marking for external. Make it immediately very risky. You can cut off the more superfluous, and then the length of the precast element is not enough. There will be a noticeable gap. It's easier and faster to perform actions in the correct sequence. After cutting the angle of the ceiling plinth with your own hands, look at the video.
How to cut the corners of the ceiling plinth under the ceiling
The method is used in the case when the walls are irregularity - direct areas shifted relative to their axis, and bends. The transporter does not help here. Products need to be attached to understand how to carry out the markup line. The error can be measured, but to calculate the bend of the surface is much more complicated than the linear deviation. If you do not consider a rounded form, a small gap will remain. It is necessary to put up with this when it is possible to make a shell only on the floor - hard parts are difficult to process in a suspended state. The easiest way to make the prefabricated elements of soft polystyrene on the weight.
The foam cartel is alternately pressed to two twisted customs so that he repeats them with the form, and dreamed with a pencil. There should be two conditionally perpendicular lines. The place of their intersection serves as the main landmark. It is isolated so that the lines are noticeable on the surface. The bar is then applied again, pressing the end, and trim from the resulting point before the intersection of the walls. The perpendicular element is also treated. The main thing is to keep the knife directly and not deviate from the specified direction.
The trimming is done on the eye, so the errors will probably appear. To eliminate them, the blanks are applied together and remove the extra material. Only after that they are planted for glue.
To transfer the line to a complex relief is harder than to spend the knife on it. You can put several points in the ruler, then remove the rail and cut it in a more convenient position.
The method is suitable for inner and outer corners.
How to eliminate defects
It should be noted that it is almost impossible to do without cracks. This requires perfectly smooth walls or accurate measuring instruments. Before installing the edge of foam and plastic cartoons, poured a sharp blade or knife. The tree is saw and become emery.
After removing too much material, you should not throw it out the item. If it has a white color, the inner space of the seam is filled with putty or residues of the material. You can pick up or make a thin plate of the desired thickness from them. When conducting such jewelry work is easy to cut your hand. Remove the extra millimeters is just as difficult as to fill the empty space.

Reiki from a natural unpainted array is difficult to close with putty. Problem places are closed with inserts from the same piece of array. They can also be hidden behind the decorative adapter coupling.