
We tell how to clean the ceiling, which solution is suitable for staining and what to do if you want to apply it to the old layer of whitewash.

There are many different options for modern finishes: stretch, suspended ceilings. However, still remains relevant and budget way - to bother the surface. Fresh finish will help refresh the room and add it more light due to white. We tell how to whiten the ceiling with your own hands and what is needed for this.
All about whitewash ceiling
PreparationMaterials
Technology
Application on the old layer
Precautions
How to prepare the ceiling
In order for the whirlwinds to lay on the surface exactly and through it later, the stains of dirt or fat swept the spots, be sure to pre-prepare the ceiling. Typically, the process passes in gradually and looks like this.
Removing the old layer
To do this, you will need a regular sponge or brush for washing dishes, a spatula and soap solution. The process of getting rid of the old coating will be light or complex depending on which material was used. If you do not know what the surface was painted, spend on it a wet finger. Chalk easily erased, the lime will simply wet, and the water-emulsion paint will remain unchanged. The last two coatings will have to scrape with a spatula, chalk is enough to wash with a sponge.
Process the ceiling with a soap solution in parts. If you want all the whole, the surface will dry, and you will have to repeat the procedure several times.
The more carefully you will spend the surface from the old layer, the better the new one: the clutch will be stronger and will not give to form unwanted bubbles. The plains of the ceiling along the old whitewash is also possible, but in this case the result may not be the best.
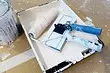
Before work it is worth noting the floor and furniture with a waterproof material. It is best to use construction polyethylene for this.
Getting rid of mud
After you are all cleaned, inspect the ceiling: whether the mold, rust or other dirt manifested there. If you discovered rusty drips, wash them with water, and then process places with 10% copper sulfate solution. Mold must be removed with a special solution that can be found in any economic store.
From the rest of the stains, too, it is worth getting rid of the usual washing. Fat can be lined with soda. If the stains still have a stubborn, fasten them with a solution of synthetic oil and lime. Substances need to be divorced in a proportion of 1 to 20. The resulting cleaner is worth it for stains 3 times until they disappear.
Surface leveling
You can do it yourself at home, it is enough to figure out the necessary technology. If you decide to strike the old layer, then the shortcomings of the surface should be filled with the same solution as the ceiling was. For example, if you have a layer of limestone plaster, then the gaps need to be treated with it.
Use adhesive putty to process the purified ceiling. It is easy to use and keeps well after. Use a regular spatula to apply. First, finish all the cracks and excavations across, then apply putting along. After the surface, you can walk with a pumice or fine-grained skin - so you will get a flat base for applying Belil.
Than to whiten the ceiling in the apartment do it yourself
For the processing of the ceiling, you can use different substances. Each of them has its pros and cons.a piece of chalk
The surface treatment with chalk gives a snow-white coating. Accordingly, the room will look brighter than it was before repair. However, the coverage has disadvantages: chalk will be squeezed on a little bit, so a larger amount of dust appears in the room. You will have to carry out wet cleaning more often. Also, the material is unstable to moisture, so you should not process the bathroom.
How to make a chalk solution
In a capacity with 5 liters of warm water, add 30 grams of glue or grated household soap. Clay can be PVA, carpentry or "bustilate". Next, add 3 kg of chalk by serving 3 kg, constantly stirring the solution. To whitewash the ceiling with chalk without divorces, the material is worth sizing in advance. For more than white liquid, you can float 20 grams of blue. The proportions are designed to the surface with an area of 10 square meters.

Lime
Lime-made whitening is characterized by plenty of positive qualities. It is moisture-resistant, so suitable for processing and bathroom, and a kitchen, where it is often wet. In addition, she kills the fungus, which often spreads in raw rooms. Also, lime is capable of correcting small shortcomings: westing in cracks, she lines them a little. The disadvantages of the blots include the fact that it is capable of causing allergies, and what does not have a crystal snow-white shade, therefore loses to other finishing materials.How to make lime
For 10 square meters you will need 1.7 kg of lime and 40 grams of blue. Divide them in warm water. Watch out for the consistency: Lower the metal part into the container with a solution, remove if the whirlwinds flow from it, it means that it turned out too liquid. It is worth adding some more lime, until it turns out a thick consistency.
Water-emulsion paint.
The water-emulsion looks good after drying. It can be applied to the old coating, as it will be well lipped to the already existing layer. Users marked its durability: after time, it does not fly away from the surface with flakes. Cons Paints are rather minor, if we are talking about finishing works inside the apartment: it is worth applying it only at temperatures above 5 ° C.Look a little video about what kind of types of bliss to consolidate your knowledge.
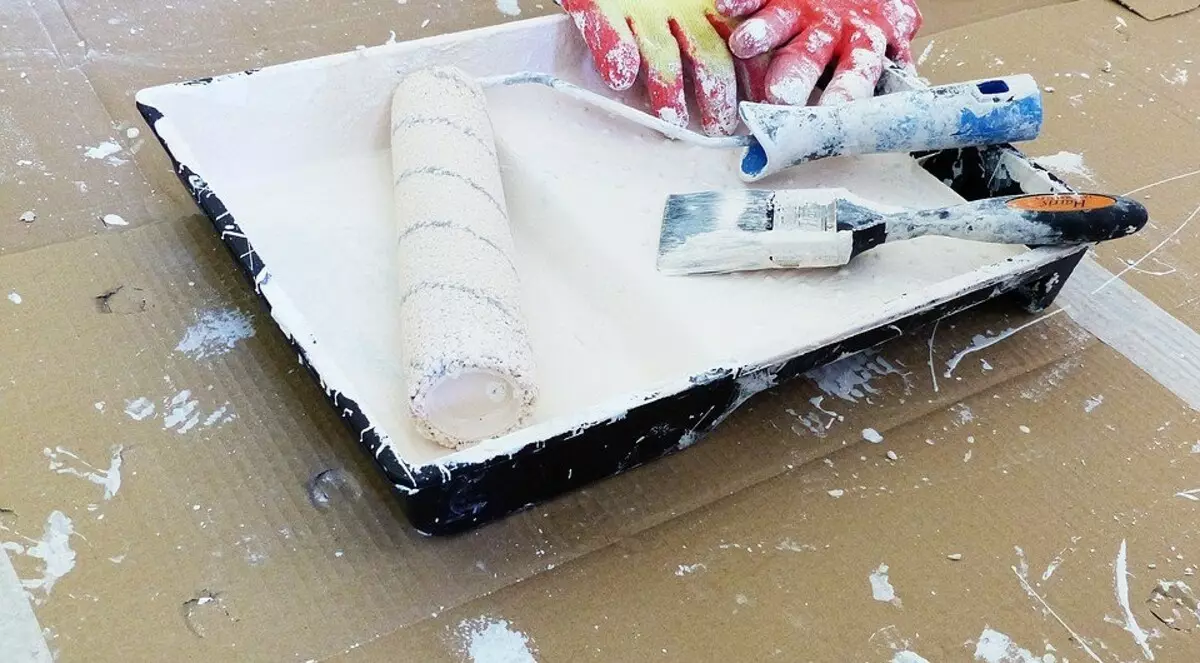
Shooting technology
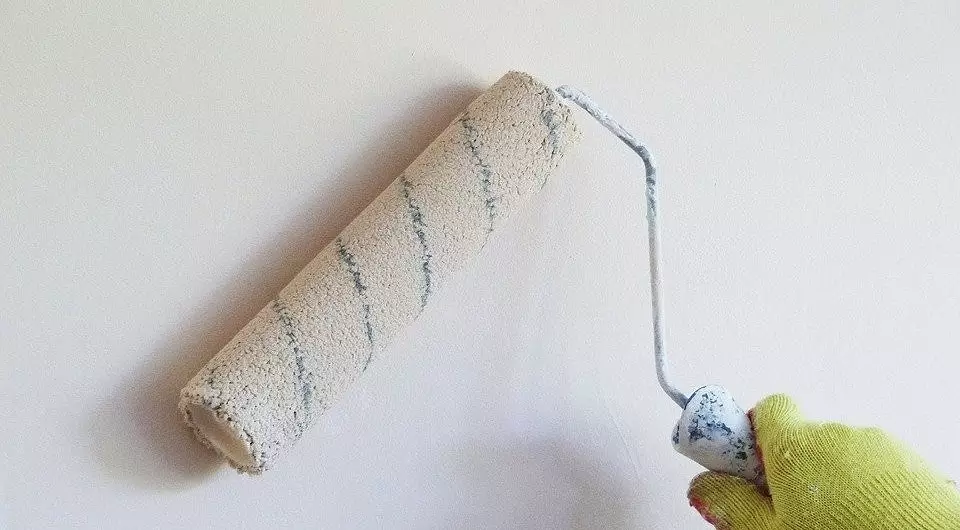
You can apply paint using roller, brushes, spray or vacuum cleaner, in which there is a function of air blowing. But the last two devices are not suitable for non-professional treatment of the house, as carefully and quickly do it will not work - the splashes will fly in all directions.
The method of applying spins of all solutions is identical. Before painting, you need to walk along the surface with a damp brush so that after the solution carbonized and has become stronger. After you can proceed to the main process.
For a start, the brush is worthprooping the corners and joints. Next process the remaining surface. Starting from the window: perpendicular to the rays of light. We apply the first layer and let him completely dry. The second layer is worth putting perpendicular to the smears that we applied before. Cove the volume of the Vangest sections with a solution to avoid non-crushed places. If you do everything right, you will have a smooth ceiling.
How to whiten the ceiling on old whitewash
If you decide to update the old layer, it is worth considering that some materials cannot be applied to each other. For example, lime should not put on the chalk and vice versa, and also can not be covered with enamel or oil paint, otherwise you will get an uneven surface with dirty divorces. On the chalk, it is better to apply a solution of chalk or use the water-emulsion. Lime whitewings can be closed by the same paint or another layer of lime.
Precautions
Do not forget that work with paint is dusty work. Therefore, be sure to purchase protective gloves and the respirator that will save you from the particles of chalk and lime. Eyes need to be closed with transparent building glasses.