
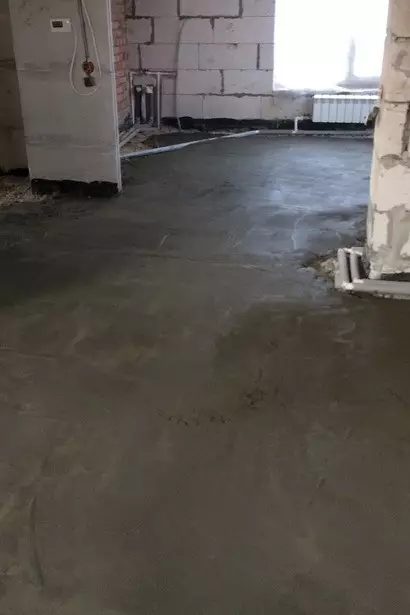
Floor insulation with clay makes it possible to securely and cheap the house from the cold. The laying of the insulator is quite simple and can be performed independently. We tell how to do everything right.
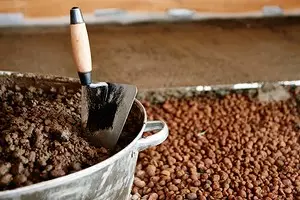

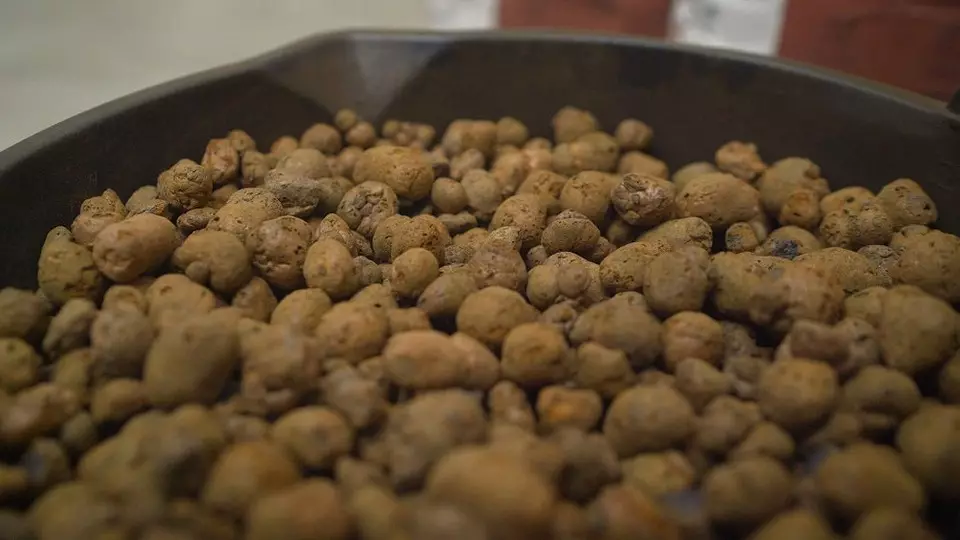
Floor insulation by clamzit has its advantages and disadvantages. It is used infrequently, giving preference to modern products based on mineral wool and expanded polystyrene. The material is porous granules. They are obtained from clay burned in a rotating cylindrical oven. That is why the particles have a rounded form. Use three fractions that differ in size. The smaller the grains, the higher their density. Insulating properties are achieved due to the high content of emptiness in the structure. Spassing pieces have sufficient strength to withstand the load from the cement screed. They are no less effective than modern fibrous panels, but the backfill has to lay a thicker layer. There are three ways to lay: dry, wet and combined. Repair work can be performed with your own hands.
All about the insulation of the floor by clamzite
Technical characteristics of the fillerPros and cons of the material
What makeup is better suitable for overlapping
Step-by-step instructions for laying an insulator
- Using a dry method
- Mixture of frustration with cement
- Combined method
Product specifications and granules
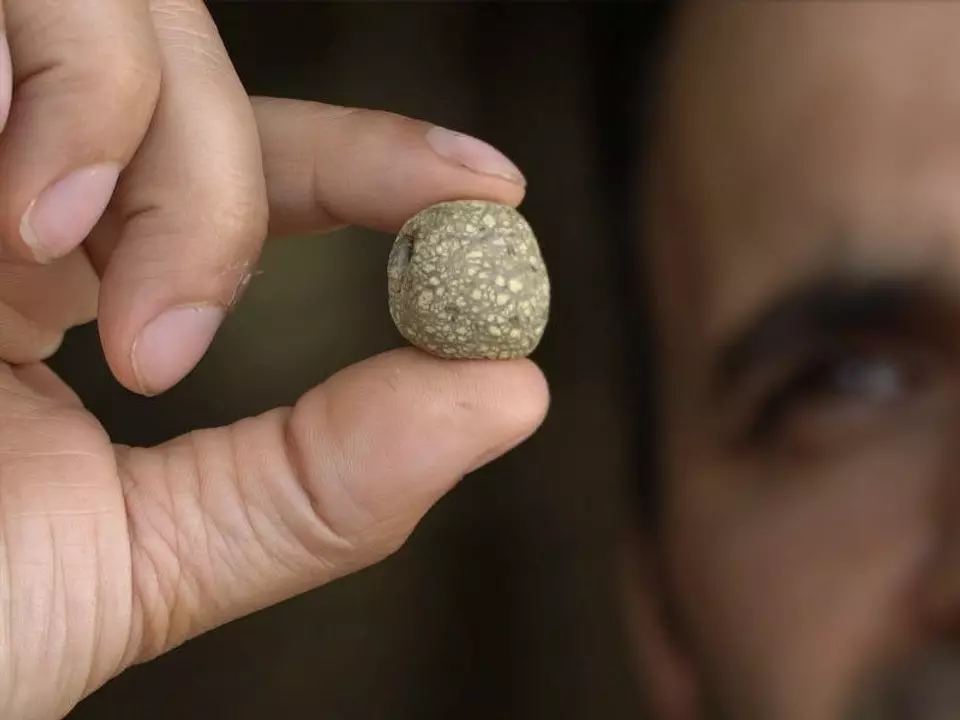
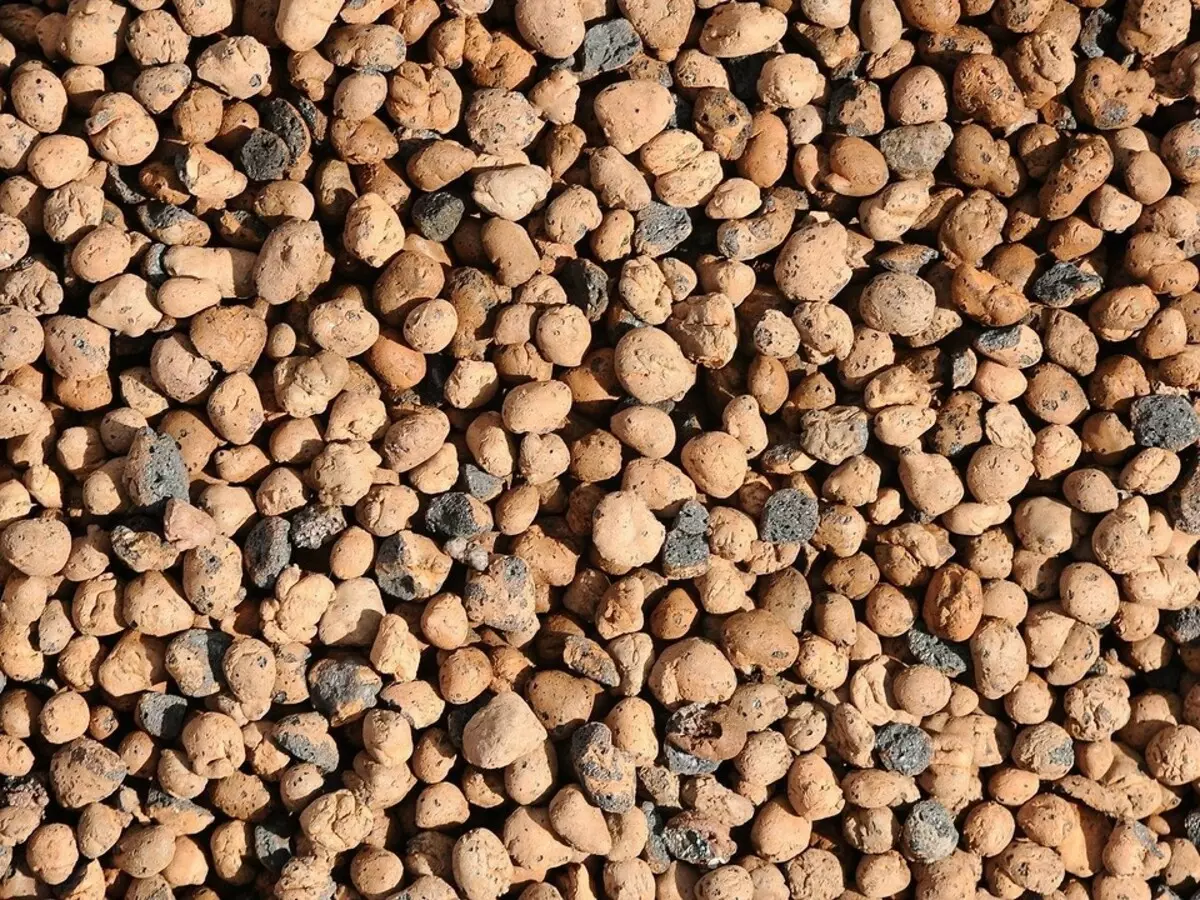
Bulk insulation is made of low-fat clay grades by fast firing. Raw materials falling asleep in a rotating drum oven. In it, the particles acquire an oval shape, gradually rolling to the nozzle where the firing occurs. As a result, a material with a porous surface is obtained, which causes good thermal insulation properties. It has high strength and low weight. For construction work, three fractions are used.
Table with sizes of fractions
| Fraction | Ton density / cube. M. | Mass of 1 cubic. M. |
|---|---|---|
| Sand 5-10. | 0.45 | 0.45 |
| Gravel 10-20. | 0.4. | 0.4. |
| Crushed stone 20-40. | 0.35 | 0.35 |
Crushed stone, unlike sand and gravel, has a cubic shape and sharp edges. It is obtained in crushing major burned pieces. Consider the performance characteristics in more detail.
Pluses and disadvantages of insulation of the floor with clay
Benefits of material
- The basis is the clay. It does not contain harmful impurities and does not distinguish toxic substances even under the influence of open flame.
- The porous structure provides a high level of protection from cold and noise. Light granules quench sound oscillations also because they are not fixed on overlap. Their walls do not transmit vibrations.
- The burned clay has high strength. This property depends on the ability to withstand freezing and thawing, not destroying from internal pressure. It has a moisture on the surface, which contains. Strength helps to resist the devastating effects of bacteria. Moisture, falling into the pores, creates conditions for their reproduction. Mold quickly destroys wood, mounting foam. Clay walls oppose her more successfully.
- Ceramics does not burn and opposes the exposure to an open flame. The temperature at which it is manufactured significantly exceeds the temperature of burning outdoors. Grains are not melted and gas is not isolated.
- Failure is easier panels from traffic jams and dense mineral wool slabs. It loads the overlap less.
- Particles are separated by fractions, which allows you to create isolation of any thickness.
disadvantages
- Open pores - water easily penetrates into them, which reduces the efficiency of the protective layer. The coating becomes harder. Condensate on the surface surface leads to the appearance of mold. It creates an unpleasant smell and slowly destroys the internal structure. The filler is not recommended to use in the kitchen, bathroom and bathroom. They need reliable waterproofing.
- Fragility - walls can not overload. They break even with a slight load. Broken granules lose their effectiveness. The load acts mainly on the upper part.
- Large coating thickness - so that it works effectively, the empty space that is created by individual pieces should be overlapped. The standard thickness is from 15 to 20 cm.
Which clamzite is better for floor insulation
The operational properties of all fractions are approximately the same, each is used where it is more convenient. For example, gravel and crushed stone are usually selected for floor insulation. To fill the space between large particles, you can mix small ones. The highest efficiency has a mixture of several fractions.With a small thickness, the screed is better to use sand. It is suitable if it is necessary to increase its strength by reducing the content of the filler. The smaller the porous ceramic grains, the more concrete.
Wood and concrete ceiling methods
The material is placed on any base - lags and reinforced concrete plates. If protected from moisture is provided, it can be used in any rooms, as well as on balconies and loggias. It is suitable for the draft decoration of the scene, the veranda and the porch. Failure tolerates negative temperatures well. It does not lose its properties in unheated utility rooms.
3 ways of floor insulation
- Dry laying - the filler is distributed over the surface, the trim is mounted on top.
- Wet - particles are stirred with concrete to form a homogeneous mass. The porous filler is trying to distribute in the solution as evenly as possible.
- Combined - bottom remains dry. The top is poured with a mixture mixed with grains.
Dry fashion
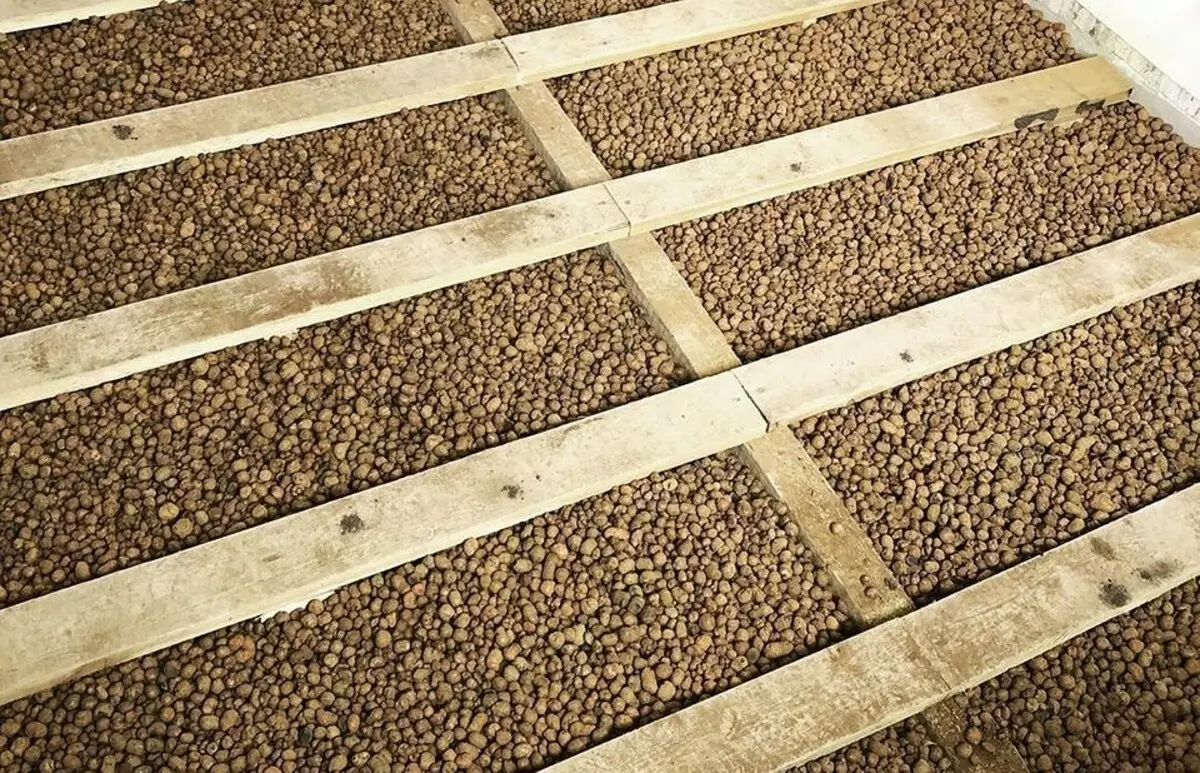
The fastest and easiest time consuming option. I assumes a snowwork to overlap under the draft floor. Material can be laid by scattering around the room, but in this case it will be quite difficult to align. Therefore, the lags or beams are installed and picked up the granules. On top of a layer of an insulator, which should be at least 10 cm, laid the draft floor. Already mounted cladding.
Stages of work
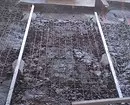
- Preparing the basis. If necessary, dismantling the old flooring. We clean, clean the garbage and dust. Fat stains with alcohol.
- Close up large defects and cracks, joints between walls and floors. First, the crack should be divided by a spatula, removing the sprinkled edges, then clean it, removing the dust with a dust cloth. The overlap must be treated with an antiseptic. The solution is applied by a brush, soaking the surface to them, then let it dry.
- Reinforced concrete overlap is coated with primer pulling fine cracks. The bottom can be seeded, so it is recommended to carry out waterproofing of the plate and interpanel seams. The easiest option is a plastic film, laid with an overlap with a height of about 20 cm. A more reliable solution - mats based on bitumen. There are modern compositions on a polymer and cement basis. For their laying, the gas burner does not need. To close the entire surface, you can use rubberoid sheets laid on bitumen mastic.
- Before insulation of the floor with a clamisite in a wooden house, it is necessary to prepare the basis more carefully. We start with inspection of carrier structures. Check the condition of the beams and flooring. Plots affected by mold, consider. Cracks and chips cut or close up. With serious damage, the part will have to be replaced or removed to repair. The natural array will quickly come into disrepair under the influence of moisture. To protect the fibers, soak them with an antiseptic, let dry, then apply varnish.
- We establish lags. If the old, carefully inspect them, we remove unsuitable. I exhibit the beams exactly in terms of the level, so that their upper edges formed a flat surface. Details must be processed by antiseptics and covered with varnish.
- Mount the second layer of waterproofing. We put the membrane or ordinary polyethylene in such a way that they cover lags. The resulting joints connect the mustache and sample with a special scotch. Fix the material on the bars of the lag using a stapler.
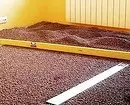
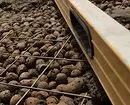
- We mix two fractions so that the coating is more dense. We fall asleep the resulting internal space of the crate. Move better from the wall. The number of particles on all sites should be the same. To prevent a mistake, put lighthouses. With a short distance between the bars they do not need. We are tamping the granules and align them.
- We put up the upper waterproofing, fasten it to lags on the tape or with the help of a stapler.
Now you can flatten the draft floor and proceed to the finish.
Dry rubberzite as a heater of the floor is used not only with a wooden crate, but also with a cement screed.
- The backfill is smoothed and covered with a polyethylene film with an overlap 10 cm. The canvas fasten with scotch.
- The reinforcement grid is put on top. It is usually not needed, but in this case the base is too soft and movable. The grid works well on bending. Without it, concrete can crack.
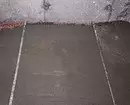
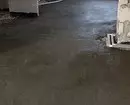
- The mixture is prepared from sand and cement in a 3: 1 ratio. Mass should be plastic and fill all empties. It should not be done too liquid. The solution must keep the form. Stacking is carried out at once - two layers laid at different times will not be able to form a single coating. A crack will appear between them.
- Cement is gaining marching strength for four weeks. During this period of time, the overlap cannot be loaded. The finish will have to postpone until the binding substance is complete. You can walk on the floor in a week after the fill.
Wet laying
It assumes the mixing of the clay with liquid concrete. The resulting mass is placed on beacons. The method is especially good for the foundation with significant height differences. The main disadvantage is to reduce the insulating properties of the granules in concrete.Step-by-step process
- We prepare the overlap, freeing it from garbage and dust. If necessary, close the defects.
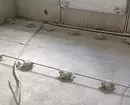
- Strictly at the level set beacons. The operation is carried out in the same way as it is performed when laying a conventional leveling screed.
- Portions mix a porous filler with a cement-sandy mixture. There is no accurate proportions, 1 part of the filler on 2 parts of the solution is approximately taken. The main criterion - all grains should be moistened with liquid concrete.
- We lay out the resulting mass between the beacons with the help of a trowel. The upper part immediately recall the long rule.
- The concrete will get dry in two days, but it will be necessary to lay the finish coating on it no earlier than in a month.
Combined method
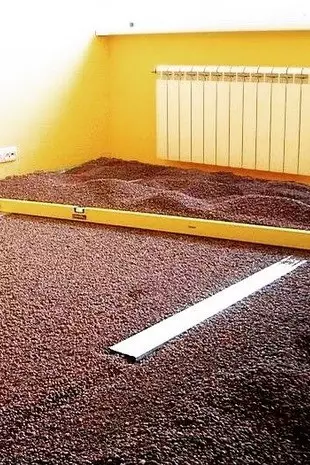
The insulation falls asleep in the crate and aligns. Then the upper layer of the material is fixed, shed it with cement. The concrete screed is poured after a complete drying of the prepared base. The advantage of this method is to preserve the insulating properties of the clay. The filler can be laid directly to the soil, for example, in a country house, or on concrete.Stages of work:
- We carry out the dismantling of the old coating, we remove the garbage, close the defects and cracks.
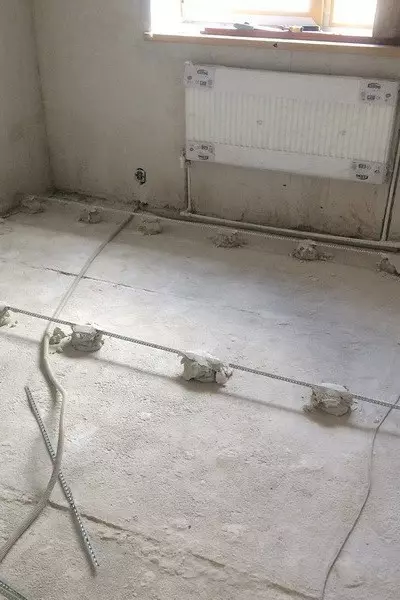
- We put waterproofing under the insulation. This may be a membrane or a film or liquid insulation. In any case, the material must close not only the floor, but also the lower part of the walls by the type "boxes". After that, at the level of the future draft coating, we fix the damper tape.
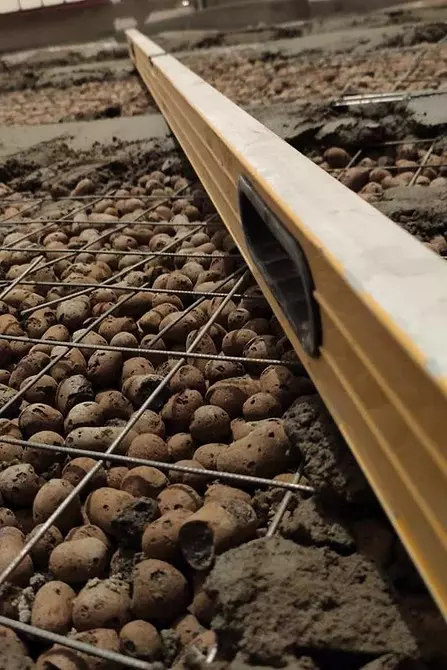
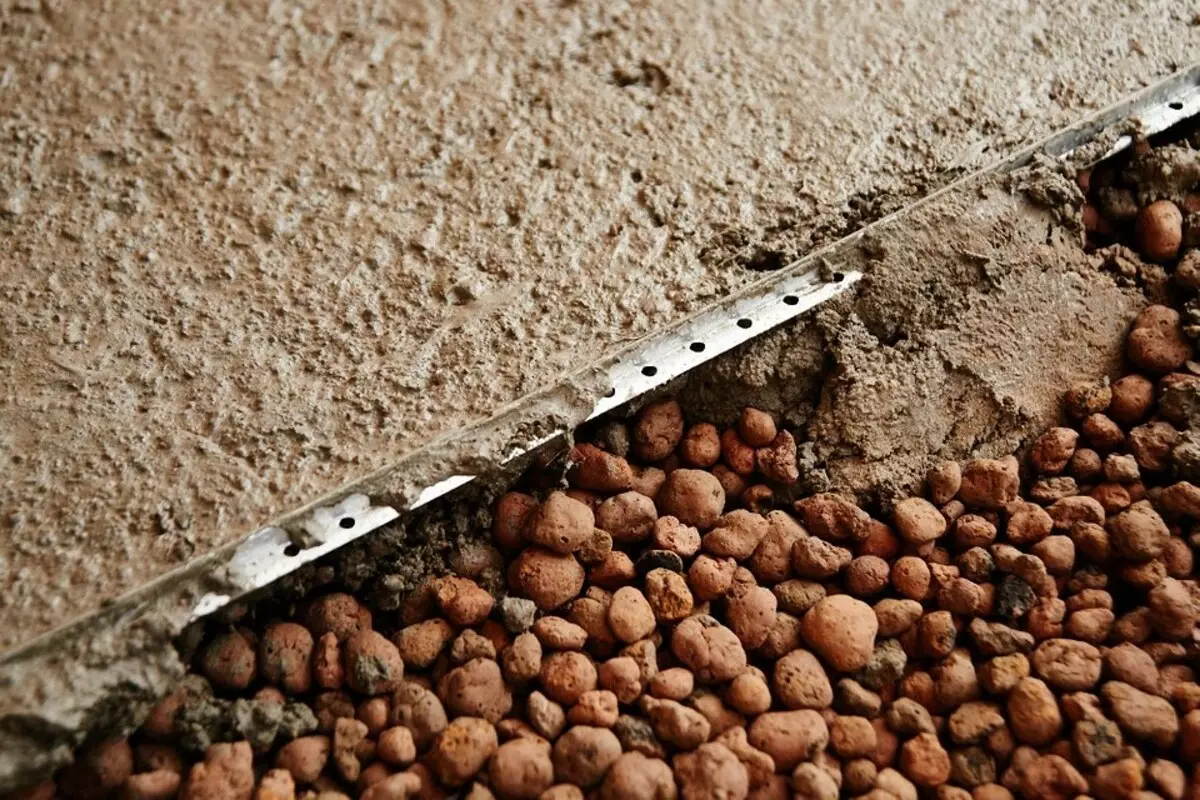
- I exhibit metal beacons. Aluminum T-shaped rails are perfect. We put them strictly in terms of the level by fixing the solution.
- Mix the filler of two fractions for better density. I fall asleep this mass space between the beacons, paying special attention to the joints and corners. Carefully trambling granules, maximum sealing layer of insulation.
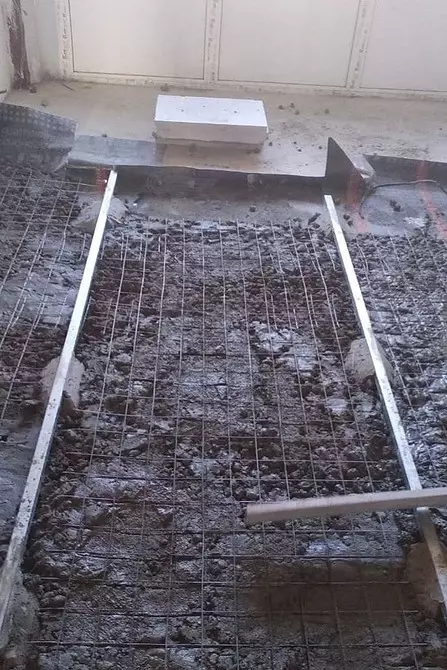
- We carry out reinforcement. We install a largest metal mesh on top. It should be without dents and sharp edges.
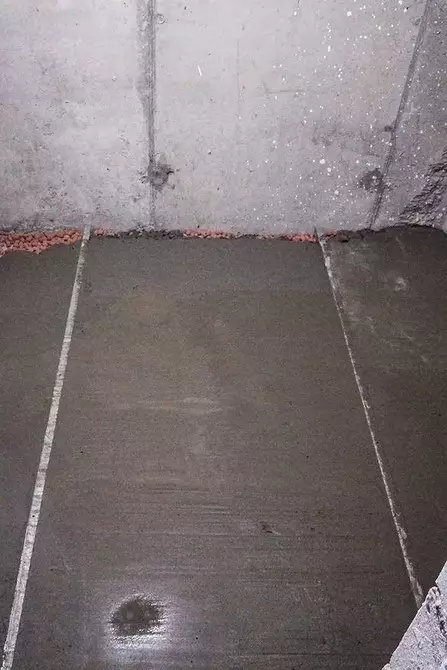
- We put the screed right over the backfill. We apply a sand-cement mixture, align it with a long rule.
After complete drying of the solution, you can put the finish coating.
Judging by the reviews, Ceramzite as a floor insulation works no worse than modern porous and fibrous panels. The use of any of the methods described, provided that the proper execution guarantees effective cold protection.