
We tell about the advantages and disadvantages of the foam, which tools will be needed for work, how to mark up, perform laying and prepare the facade to the finishing finish.
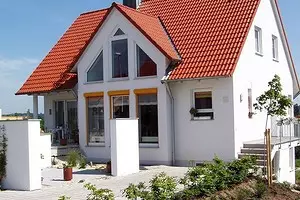

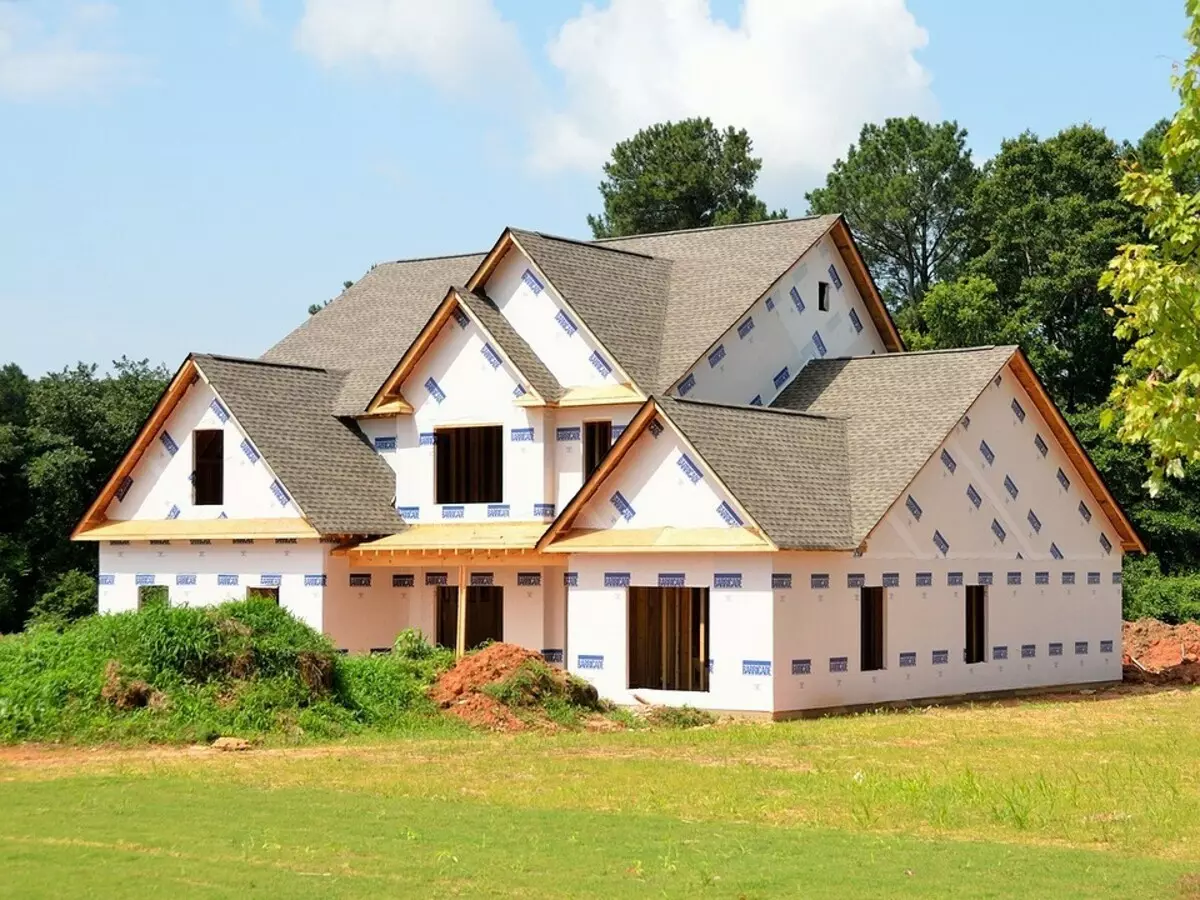
The outer insulation of the walls of the walls is necessary not only for maintaining a comfortable temperature indoors, but also to protect building structures. The cold has a devastating effect on the material. Water, falling into the pores, turns into ice, expands and presses on their walls. The pressure is so large that noticeable cracks appear in the finishing and supporting structures. In addition, condensate falling in a brick or concrete thicker becomes a microorganis medium. With long-term contact with water, concrete and a masonry solution are oxidized and slowly destroyed. Wood begins to rot. Isolation helps to solve another problem. When it is used, the dew point shifts towards the street, this significantly reduces air humidity.
All about the insulation of walls by foam
Product specifications
- Benefits
- disadvantages
- Classification
Instructions for outdoor insulation
- Instruments
- Surface preparation
- Marking
- Plate laying
- Creating smooth corners
- Doors and windows
- Reinforcement
Insulation of the inner surface
Frame structures
To determine the thickness and other parameters, a comprehensive technical calculation is required, which takes into account all the factors affecting the microclimate. Perhaps additional protective measures and will not be required if the problem is only in poor heating or poor-quality double-blade. In any case, they will help noticeably reduce the flow of the coolant. If the winter house is not only cold, but also damp, you need to check whether ventilation works. It is possible that you will have to take comprehensive measures to convert the building. Perhaps the reason is that the insulation is only on the inside, and it is not outside. In this case, the dew point shifts towards the room.
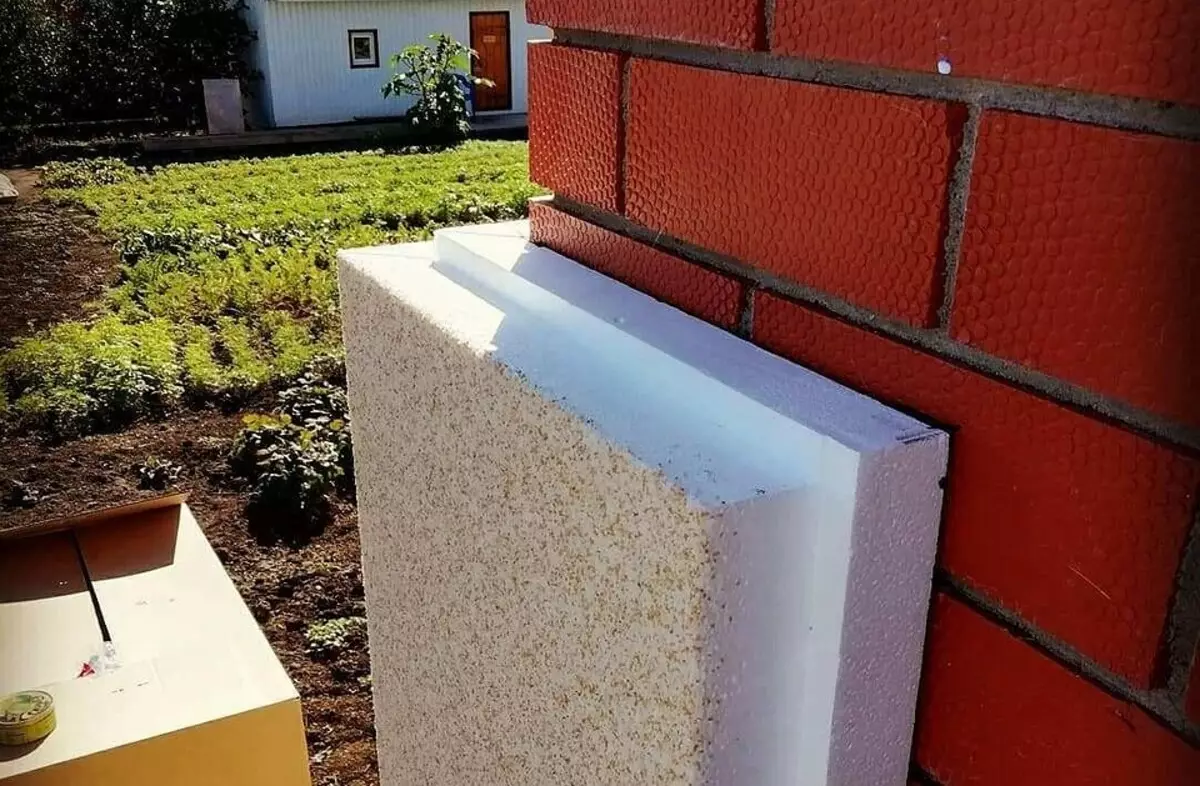
Features of the material
Polyfoam is a foamed polymer. The insulation consists of light plastic bubbles. As a rule, it has a white color and is produced in the form of flat panels of different sizes. It is less likely to be made in rolls. A distinctive feature is a low density that ensures efficient protection against frost with a small thickness of products.Benefits
- Low thermal conductivity - the main volume occupies the gas that are filled with plastic bubbles. As you know, the gas is poorly transmitted. Walls have a small thickness. In addition, low conductivity provides an amorphous plastic structure.
- Ease - one person will cope with installation without difficulty. For fasteners do not need complex fasteners that create cold bridges. Plates are stacked on glue.
- Moisture resistance - plastic is not afraid of water. Its structure is impenetrable for moisture, in contrast to mineral wool and its analogues with open voids. When the walls of the walls are insulated with foam, the waterproofing layer is required, since the plates are not sealed.
- Easy to handle - the panels are well cut in a conventional carpentry knife. They can give any shape.
- Durability - a long service life is ensured, provided that the surface will not experience physical exertion.

disadvantages
- The coating is fire hazard, even if there is no flame retardant in it - a substance that prevents fire. Such products have a "C" mark on the label. As practice shows, in the fire they burn. In addition, over a few years, the flame retardants loses its properties. The coating according to GOST 30244-94 belongs to the most dangerous materials. It flammifies easier than wood.
- When burning, toxic substances dangerous for humans are distinguished. Do not trust sellers and manufacturers claiming that this is not.
- Even high-quality products from leading manufacturers at room temperature are styrene. It has increased toxicity and is able to harm health. The coating is better to use for isolation of non-residential structures.
- Perepecility. Fencing structures even with closed windows must "breathe". Otherwise, moisture will be accumulated in the air, and mold will appear on the windows and the ceiling. Use foamed plastic only with good ventilation.
The material has good insulating properties, but it is not suitable for interior decoration of residential buildings, as well as buildings where people spend a lot of time. The problem allows to solve the hermetic membrane of polyethylene, which prevents the penetration of hazardous gas. Before heating the building, it is necessary to make sure that the plates include additives that prevent them from fire.
Classification
There are several types of foam plastic.- Polystyrene foam. The products of the brand PSB-C formally relate to non-combustible.
- PPT is an ordinary foamed polymer without flame retardants.
- Penofol - produced in rolls and has a foil substrate.
- Liquid compositions for filling voids.
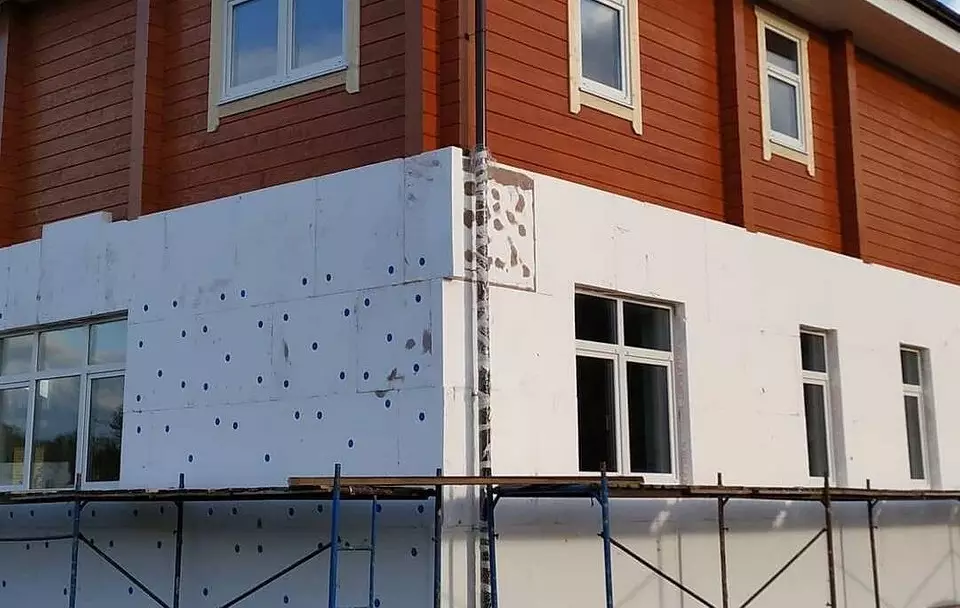
Instructions for insulation of foam outdoor walls
Most often, products from PSB-C-25 polystyrene are used for facades. They have high strength and good thermal insulation characteristics.
Tools for work
- Dry glue composition and a container in which it can be mixed with water. A plastic pelvis or a spacious bucket is suitable. Stir more comfortable drill or construction mixer.
- A knife or hacksaw with a fine tooth.
- Metallic profile.
- Dowels-umbrellas with wide hats capable of holding a loose structure, not falling into it. With a thickness of foamed plastic 5 cm for a concrete base, a dowel is suitable for a length of 9 cm, for brick - 12 cm.
- Primer and a wide brush for applying it.
- Mounting foam.
- Corners with painting grid.
- Materials and tools for finishing.

Surface preparation
The base is cleared of old plaster, fat and dust. An array affected by fungus is removed. Cracks and other voids need to close. They are expanded by a spatula, removing the sprinkled particles, ground and fill in the cement-sandy mixture. To prevent the appearance of bacteria, antiseptic compositions are used. For impregnation, the primer of deep penetration containing an antiseptic will be suitable. It increases the level of adhesion and makes the basis more durable. The primer is applied in two layers. The first is diluted with water, pouring up to half the volume. The second layer is not diluted and applied after drying the first.
Overcome to be better eliminated by plaster.
To get to the upper part of the building, you will need scaffolding. They can be made with their own hands from the boards or purchase a set of metal prefabricated elements. The distance from the forests to the bearing structures should be about 0.5 m.
To check how well the surface is prepared, one slab is glued to it, and after three days it takes off it. If its back side does not break off and remain hanging, the work was carried out correctly, you can go to the next stage.
Marking
When the walls are insulated outside the foam, one horizontal and vertical feature is sufficient. It is not necessary to mark the position of each element, since the parts do not have perfectly smooth edges. In addition, they are pretty elastic and capable of shrinking a little if necessary.For marking, you will need a laser level, roulette and a folding cord. It is stretched, giving the right position, lubricate paint, then delayed and released. When hit, it leaves a smooth mark.
Laying coating
Installation is conducted from the bottom angle. In the absence of experience, it is better to start from the furthest. Blocks are laid by rows leading. For panels, more than 5 cm thick use a supporting profile corresponding to them in size. It is fixed on the markup on the dowel-nails. You can do without it without it, but then it will be more difficult to get a smooth edge. It does not use if the bottom row rests on the foundation. Between the planks, the temperature seam is 5 mm - when heated, they increase and press each other, weakening the connection with the base.
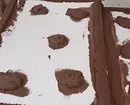
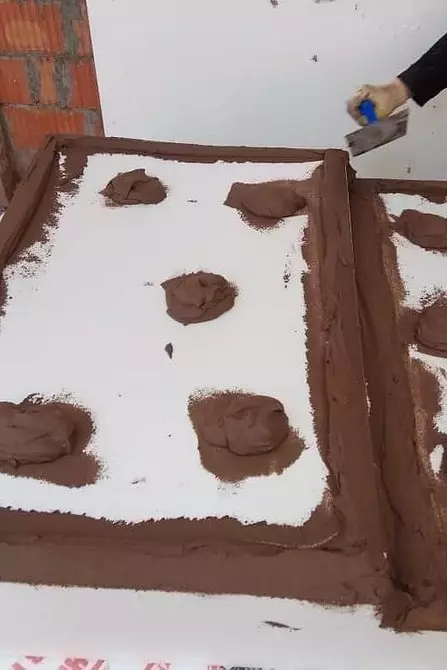
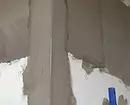
Dry glue is stirred in water and is applied with a toothed spatula throughout the surface with a layer of 2-3 cm. If the base has small irregularities, the glue is applied around the perimeter of the plate, and in the center make several smears. There are compounds that are spurled from the cylinder as a mounting foam.
Each panel is set by level. So that it does not be bitten, they put it with a flat board, blending the protruding parts. The markup serves the thread stretched from the edge to the edge at a certain distance from the base.
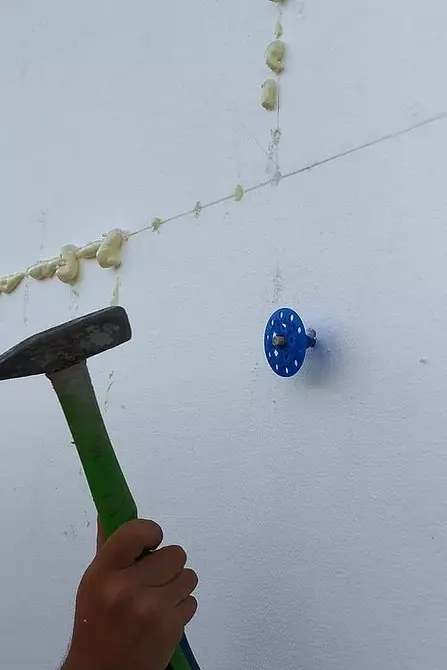
Additional fixation apply dowels with wide hats. A wide part should not be written, but it should not be dragging it too much. The joints are filled with mounting foam. Its remnants are cut off with a sharp knife when it freezes.
Use foam for insulation of walls outside the outside should be carefully. Work is better in dry weather. The porous layer can not be left open by more than two weeks, otherwise it will absorb moisture. It is advisable to start finishing immediately after the frosting of the foam and the solution.
Look on the video process, how to glue the material to the wall.
How to make smooth corners
The block in the first row, going beyond the perimeter of the building, should perform a distance equal to its end. This is necessary for docking with a perpendicular unit. In order for the corner at the place of the adjointness, there was a bandage, in the second row it will be necessary to cut a perpendicular panel. The glue is applied only to the part that comes into contact with the base. The details are not needed to glue.

Internal angles are also made with dressing. If you leave a solid seam from the top to Niza, he will skip the cold from the street.
Window and Door Operactions
After re-equipment, they will become deeper by 5-10 cm. There are two ways to make them.Methods of registration
- Slopes are located strictly perpendicularly. In this case, the door or window will not be able to open as widely as before re-equipment, since the sash will appear the barrier in the form of a warmed array with trim.
- Sucks are made at an angle, allowing to open the sash, as before. Blocks cut around the edges. Their outer side should be shorter than the inner.
Strengthening slopes
The openings are strengthened with perforated angular profiles with a painting mesh on the edges. Works are carried out in the following order.- Measure the right number of plates and cut them with a hacksaw. If necessary, their end part set the same direction as in the slope., Then proceed to their installation.
- Profiles are measured along the length and cut at an angle of 45 degrees to docile horizontal and vertical parts.
- A profiles with a painting grid that performs the role of fittings is glued to the edge of the opening. It should perform 10 cm per edge edge to ensure the grip with the wall. The composition dries during the day.
- The insulation is additionally fixed with a dowel with wide hats. They are closed with a solution or plug cut from foam.
Preparation for finishing
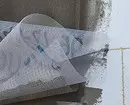
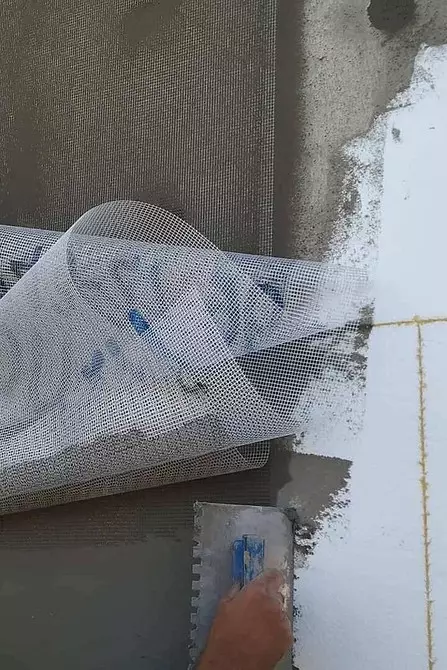
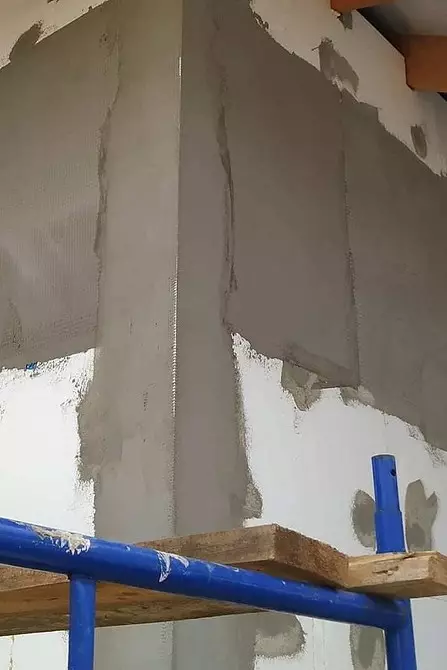
To increase the strength of the structure, it is covered with a plastic grid with 4x4 cells. Work starts with openings. First, the slopes of windows and doors are shuffled with a thin layer of adhesive solution and align it using a rule or a wide spatula. The plastic fittings, connected to the angular profile, is immersed in it, and loaded with a spatula. The same profiles are mounted on all corners of the building.
The fabric is located stripes with an overlap 10 cm. To drown it, just one of the millimeters of the solution is enough. After its drying, the surface is placed and putty. Then you can proceed to the finish finish.
Do I need to isolate an inner surface
It is not necessary. It is better to strengthen the protection outside.The insulation of the walls of the foam from the inside is extremely undesirable due to its toxicity and flammability. Even if replacing the foamed polymer to safe material, this method can be used only under the following conditions.
Conditions for internal isolation
- Ventilation and heating must comply with sanitary standards and work properly.
- The air must be dry. Condensate on the windows and other surfaces are unacceptable.
- Protection is planned for all surfaces.
- It is necessary to calculate where the dew point will be after the reorganization. It is impossible to allow it to be located on the inside of the enclosing structure.
Reduce the toxicity of polystyrene foam and its analogs is impossible. Gas seeps even from the street. The only solution is to establish impermeable membranes from polyethylene, but this means is ineffective. Foamed plastic is more suitable for non-residential buildings.
Installation work is carried out by the same principle as with outdoor laying.
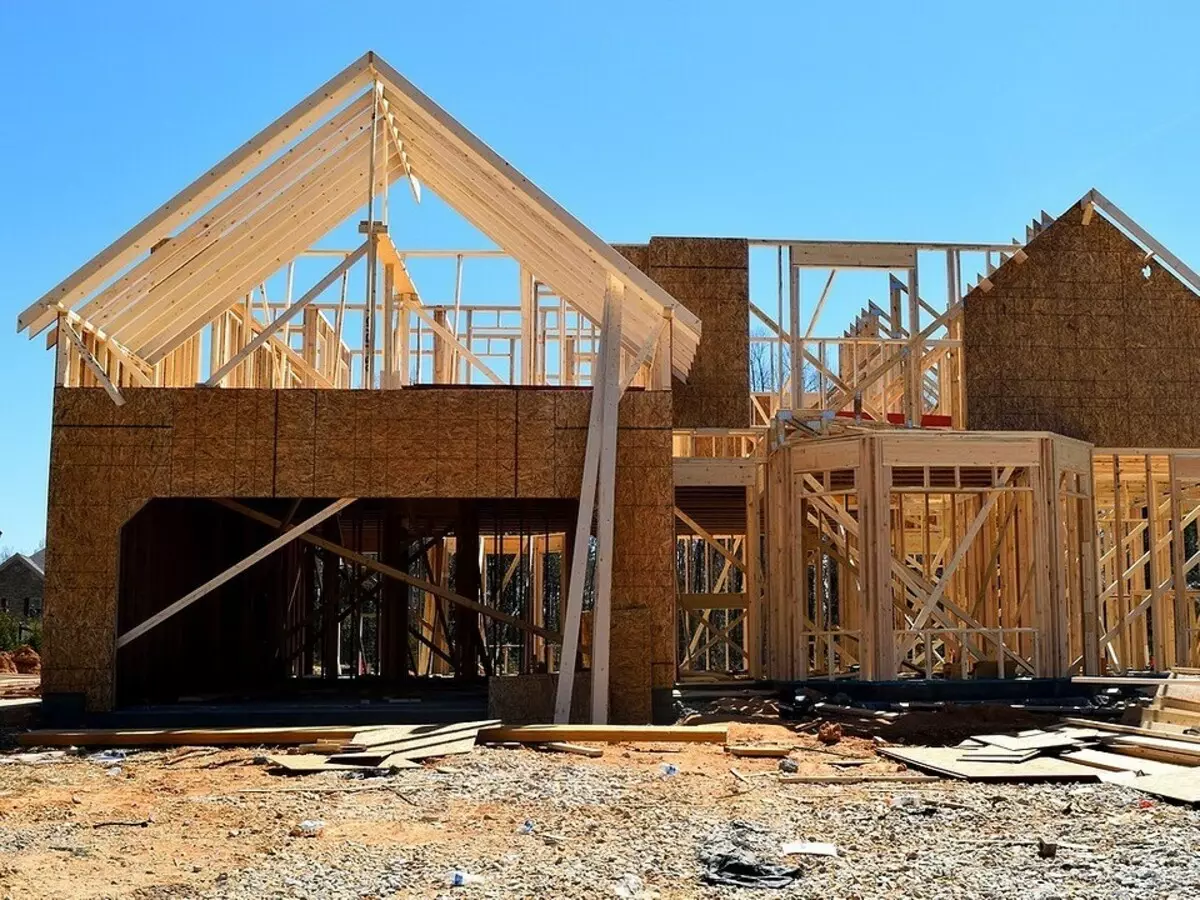
Warming of frame walls
The supporting structure consists of beams bonded with each other. Inside, they are filled with insulators, outside are trimmed with plywood or plasterboard, and are separated.
The insulation of frame structures is made after their vapor barrier, otherwise moisture will accumulate inside. For this, polyethylene-based film is used. It stacked with a little savory and fixed on beams with a bilateral scotch. The canvases are placed with an adhesive 20 cm. The places of the adjunctions are closed with scotch. Then the film is sewn with a stapler to wooden supports and fixed with thin rails.
The feature of the foundation lies in the fact that it can accommodate massive insulation. Plates with a thickness of 10 cm do not take away a lot of space, because they will be inside.
It is better to use PSB blocks, as they are the least fires. It should be remembered that the material is toxic, so the room must be protected with a hermetic polyethylene membrane and trim.
Porous panels are located between the beams, filling them free space. The gaps close up by mounting foam. The ranks laid forward. Their seams should not coincide not to create cold bridges.
Works start outside or from the inside - it does not matter. After installation, the porous layer must be closed by a vapor barrier film. The hermetic coating is located on both sides, as the moisture comes from both the room and from the street.
The technology of insulation of walls by foam from the outside does not differ from the internal work. We told in detail how to do it.