
We tell, from what and how to make a platform for the pool.

In the article we tell how to make a platform for the pool in the country with their own hands from concrete and wood. But first let's talk about general requirements for it.
We build a playground under the pool:
Requirements for the siteMaterials for construction
Preparatory work
Pouring concrete
Creation of wooden peak
Requirements for the site under the pool
In order to correctly choose a place, think in advance how the pump and lighting equipment will be connected, and where the plums will be located. Requirements that we will list must be observed including for frame pools.
- The place must be smooth, without drops of height, slopes, rod. This is necessary for a uniform distribution of water and durability of the structure. Maximum deviation - 2-5 mm per square meter.
- Small stones are not allowed, squigs below, construction trash, the remnants of the root system (it will quickly grow up again).
- The ground at the installation site should be tightly tamped. Preferably with gravel.
- Pellet or pit it is better to have a sufficient distance from home and other buildings so that in the event of damage to the system, the foundation was not flooded.
- You can not arrange the base for the bowl next to the trees or shrubs. Water will be contaminated faster.
- It is not suitable for the podium place from under the destroyed building. It can stay cavities that contribute to rapid destruction.
- Do not use the foundation intended for other objects. He has other characteristics and will affect the stability of the reservoir.
- The soil should not be loose or creep, do not fit river cliffs, places next to the railway, the automotive route.
Summarize. In the choice of the site, it is important that it is flat, purified from various kinds of garbage and plants. It is desirable that the soil is compacted, household and residential buildings, wires, trees, the roads were far away. It is better to build it on a sunny or half-shaded place that does not block the passage for people.
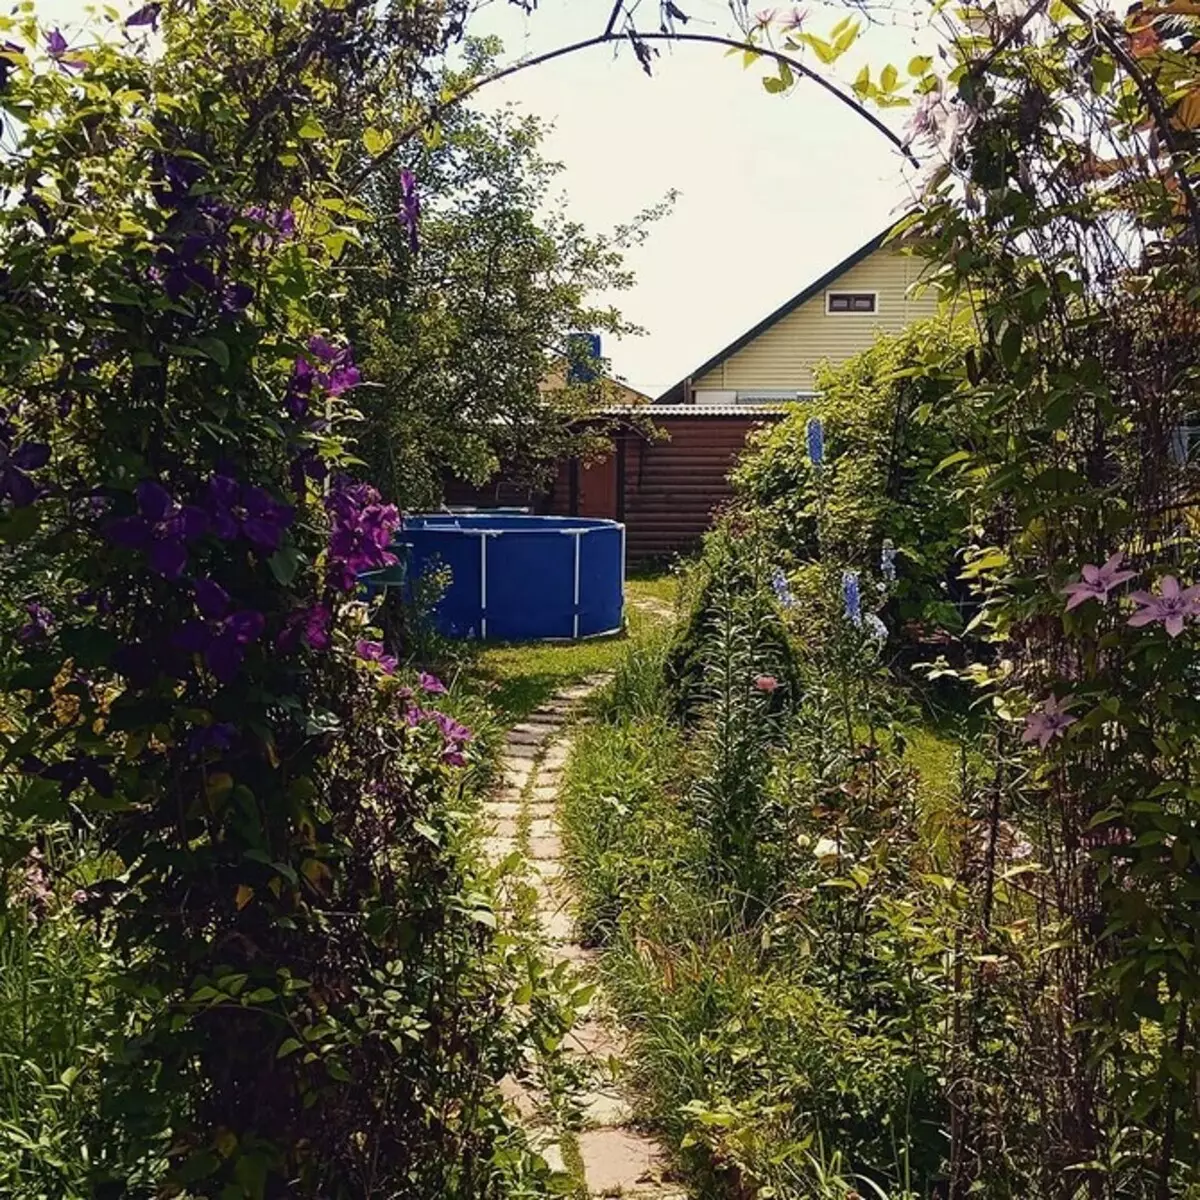
On the perimeter of the platform should be greater than the reservoir. So that water, which will splash out of it, have not formed a puddle. Let's tell me what you can make a platform or podium for the pool in the country with your own hands.

Materials for the base
The reservoir can be installed on the ground, covered with film, or sand drainage (PGS). But such a base will not be reliable. It will correctly strengthen it. That's what you can do it.
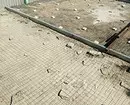
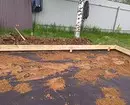
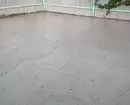
- Concrete or sand-cement mixture. Durable, moisture-resistant screed does not succeed with time. It is easy to get a flat surface of any form. Suitable for both removable and stationary, pitted pools. Excellent option for large areas.
- Boards. More simpler material. Also just get a smooth plot, but boards without care can disappear, wake up, contracted.
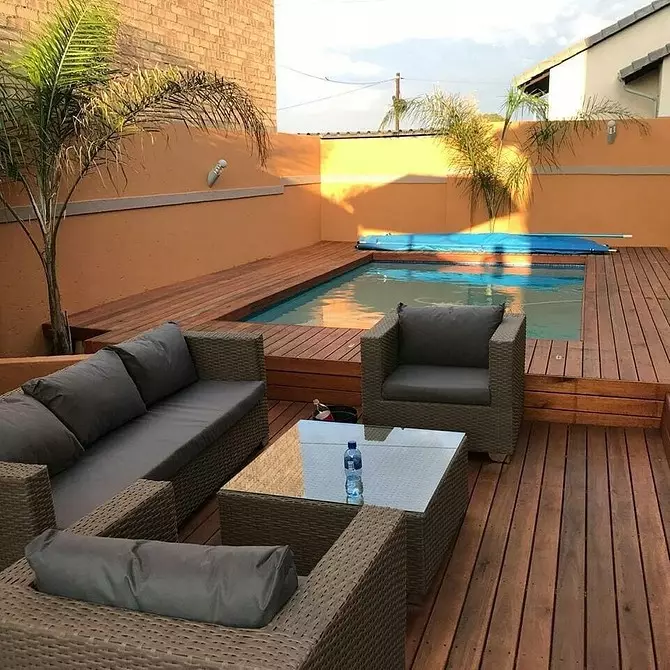
- Decong (terraced board, garden parquet). Wood-polymer modules that do not require special processing. Decing is not afraid of rain and snow - it will not dry, does not rot. To lay the garden parquet is not easy, it can fade into the sun, sail on the heat.
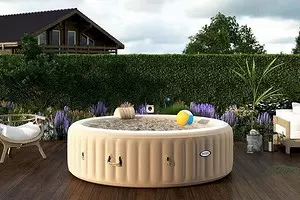
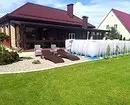
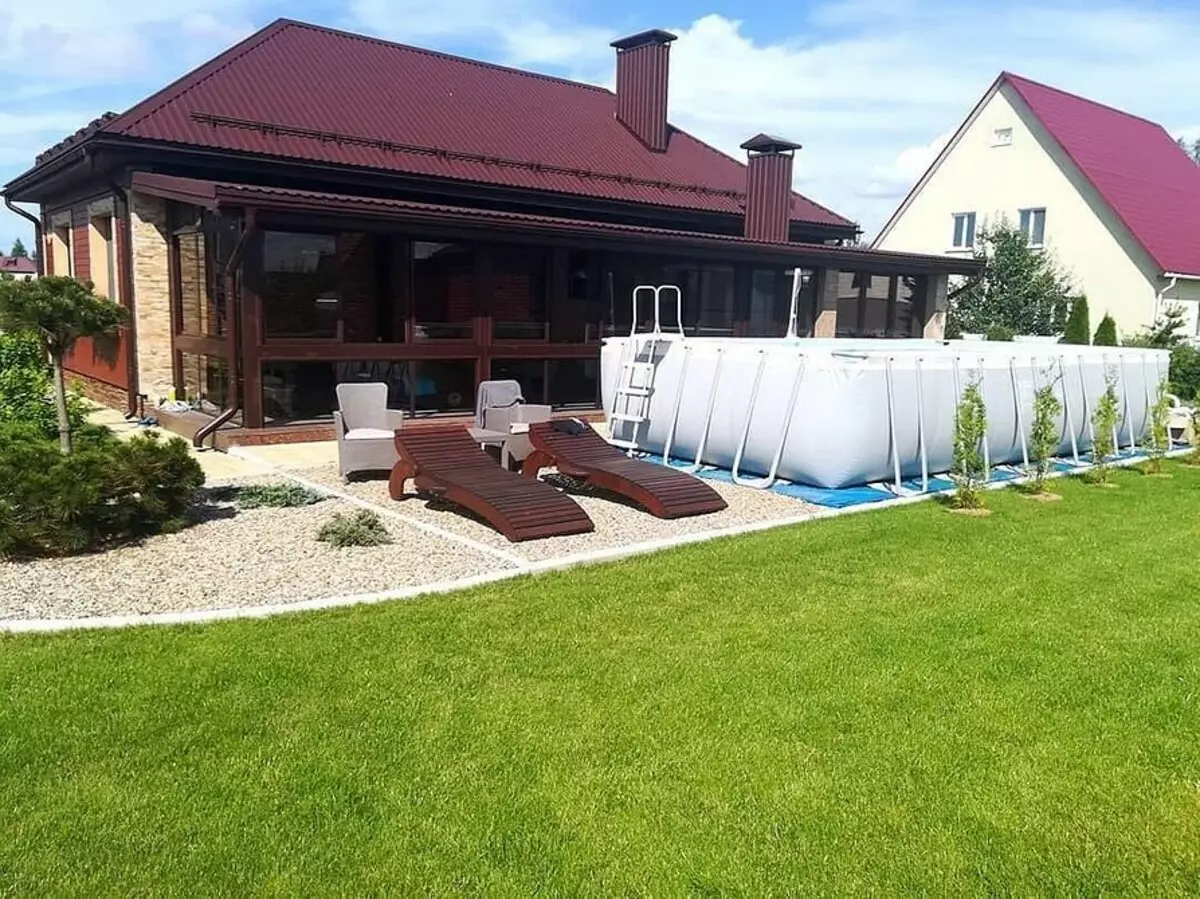
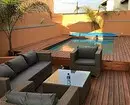
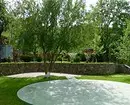
In the photo - options for different sites.

So, the place and materials are chosen. Now you need to prepare a plot.
Preparation of place
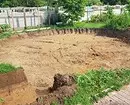
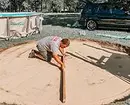
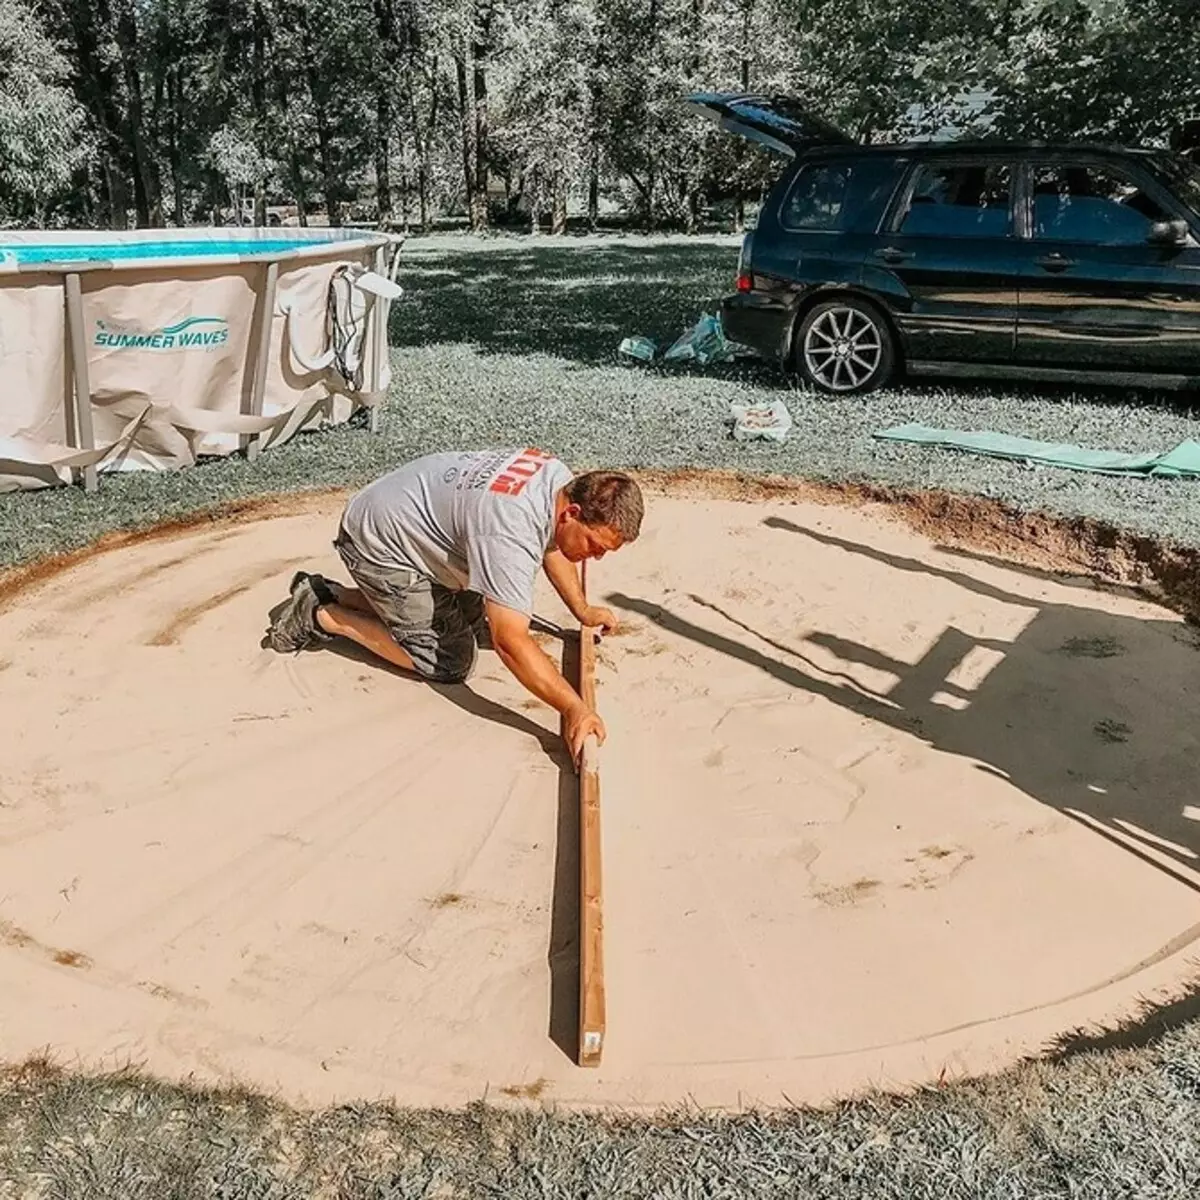
Marking of the territory
There are several ways of markup. In any of the proposed options, add 0.15 meters or more design to the size of the design, if you plan to equip a wide platform.
- Rectangular, square. Four sticks in the ground and stretch the rope between them so that the angles are straight.
- Round. Where the middle of the tank is supposed to be in the soil of the column and bring a long rope to it. To its second end, tie the paint in the cylinder, and then draw a circle. Instead of paint, you can take a bottle with sand and designate the boundaries. Or to tie a sharp stick to the free end of the rope and cut a circle on Earth. Another option is to pierce the land, and at the site of the punctures install other pegs, stretching the rope between them.
- Ellipsed. Draw three or two circles, and then connect them to the eye in one of the methods listed above.
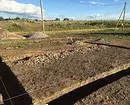
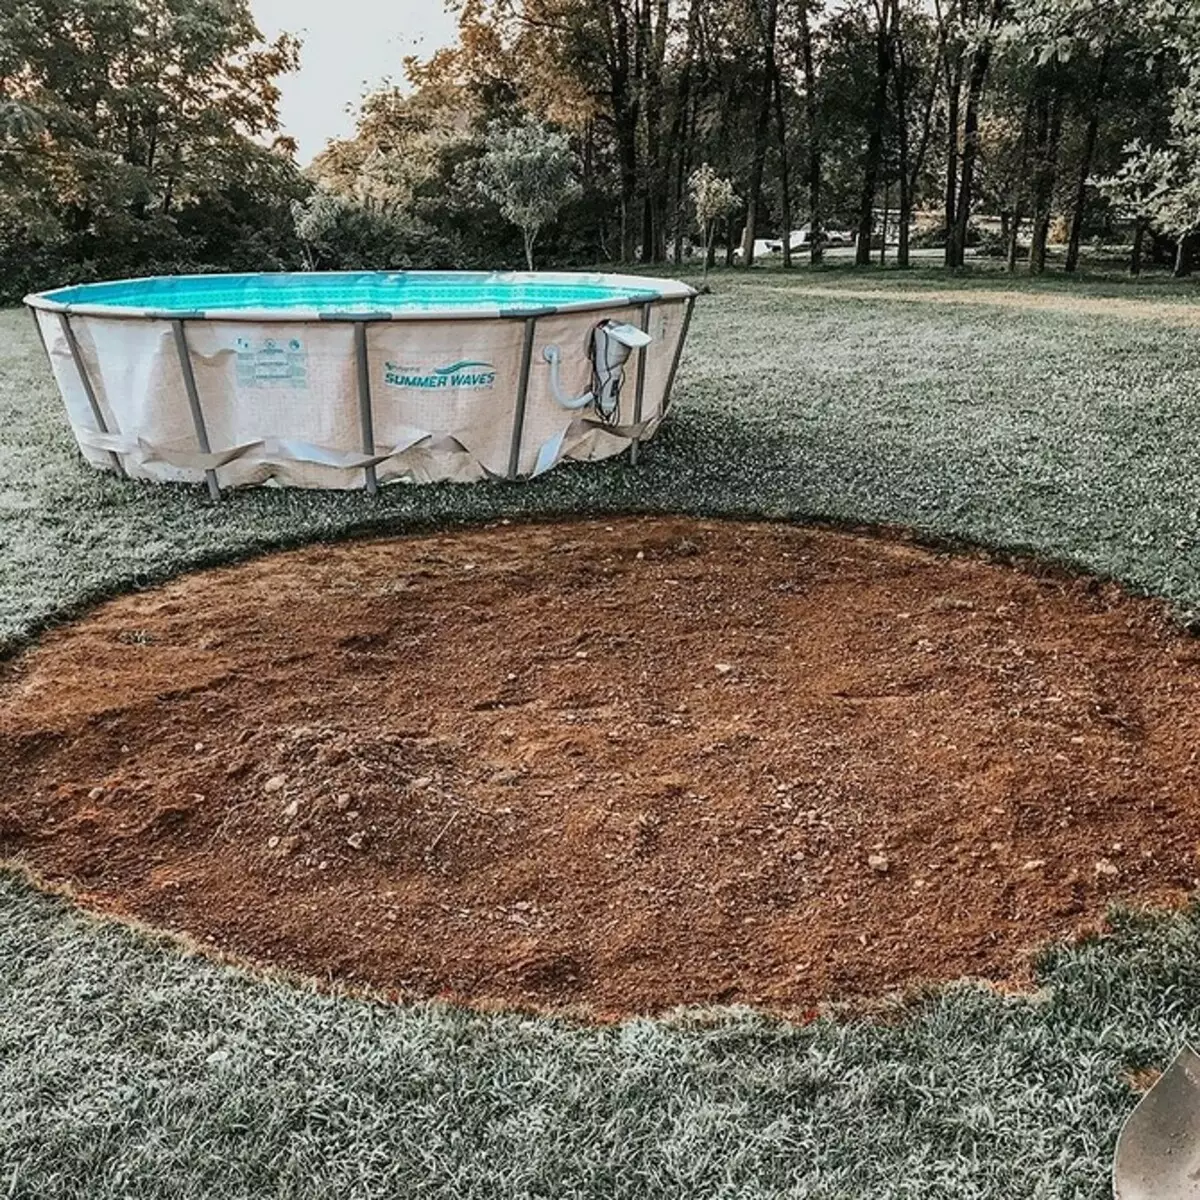

Clearing the territory
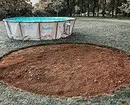
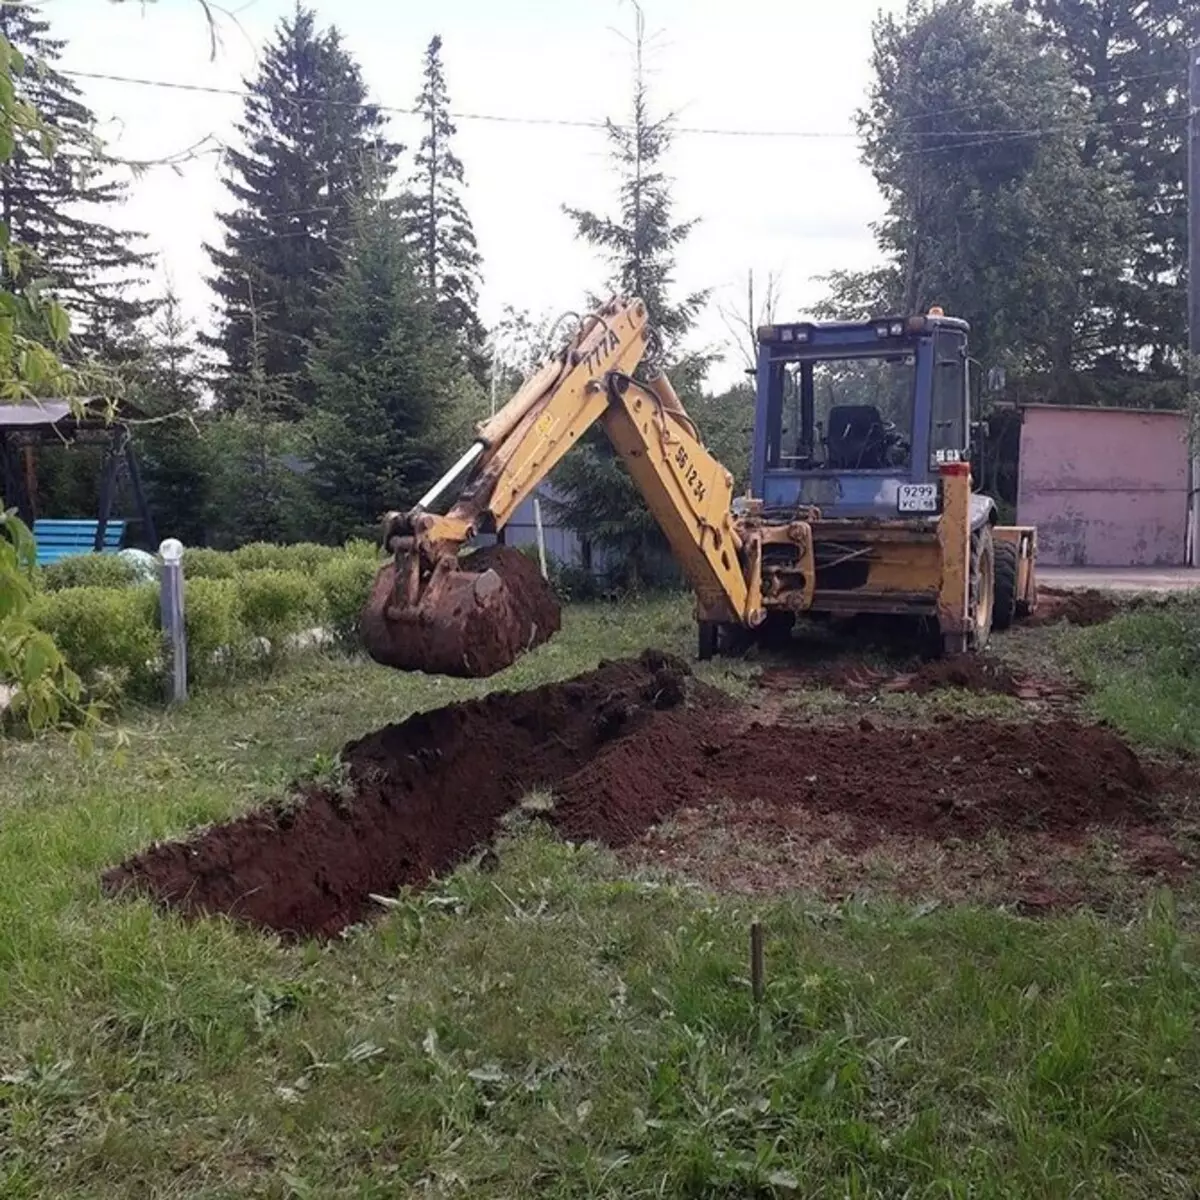
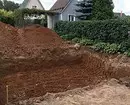
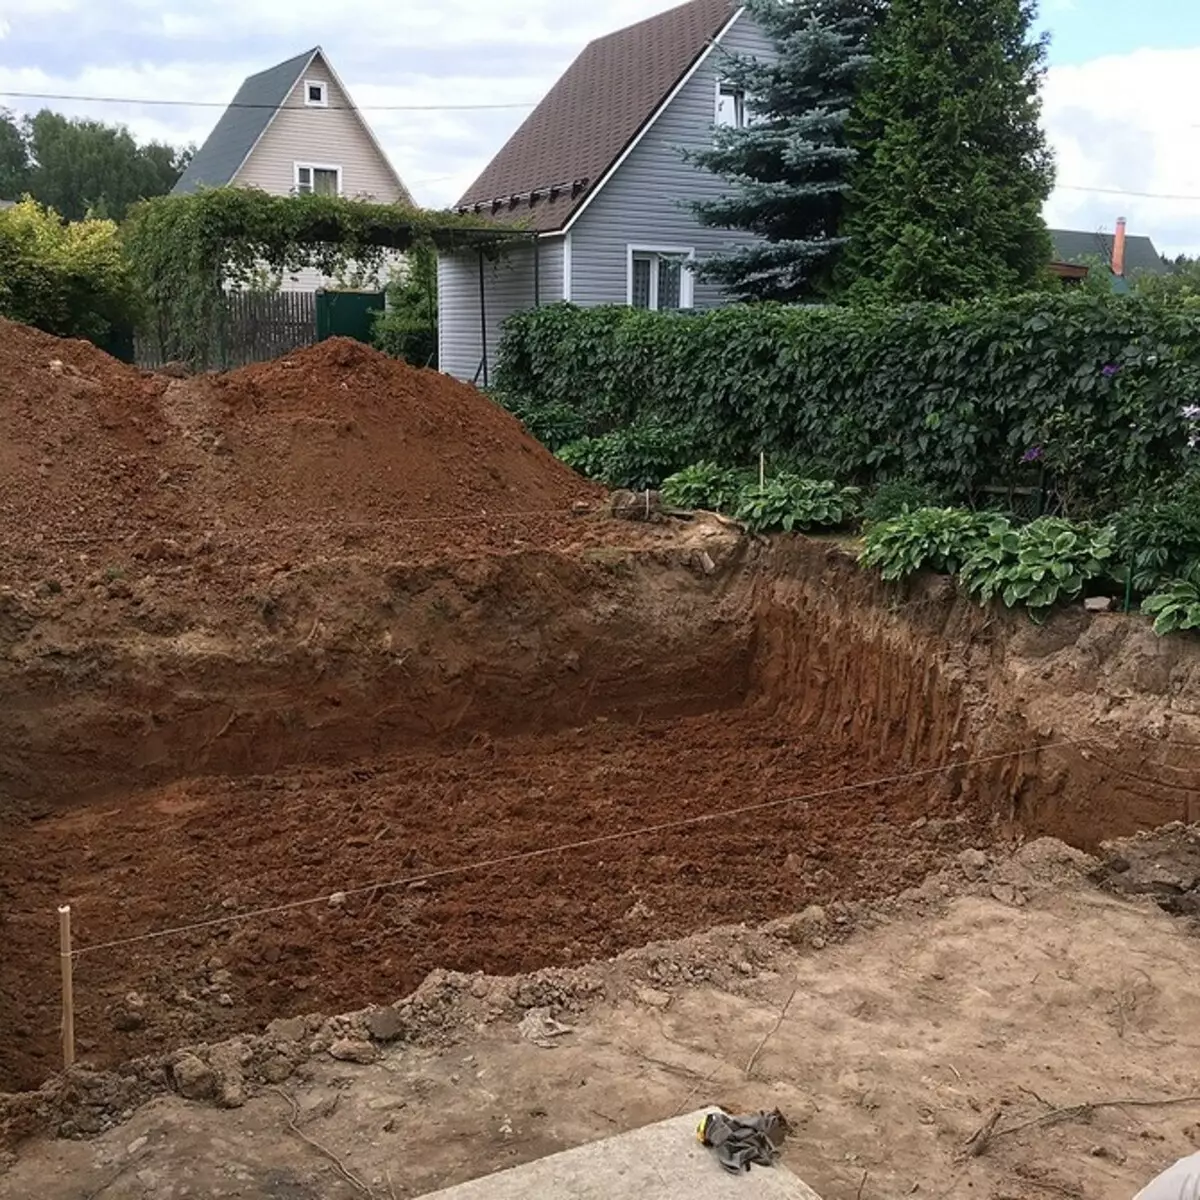
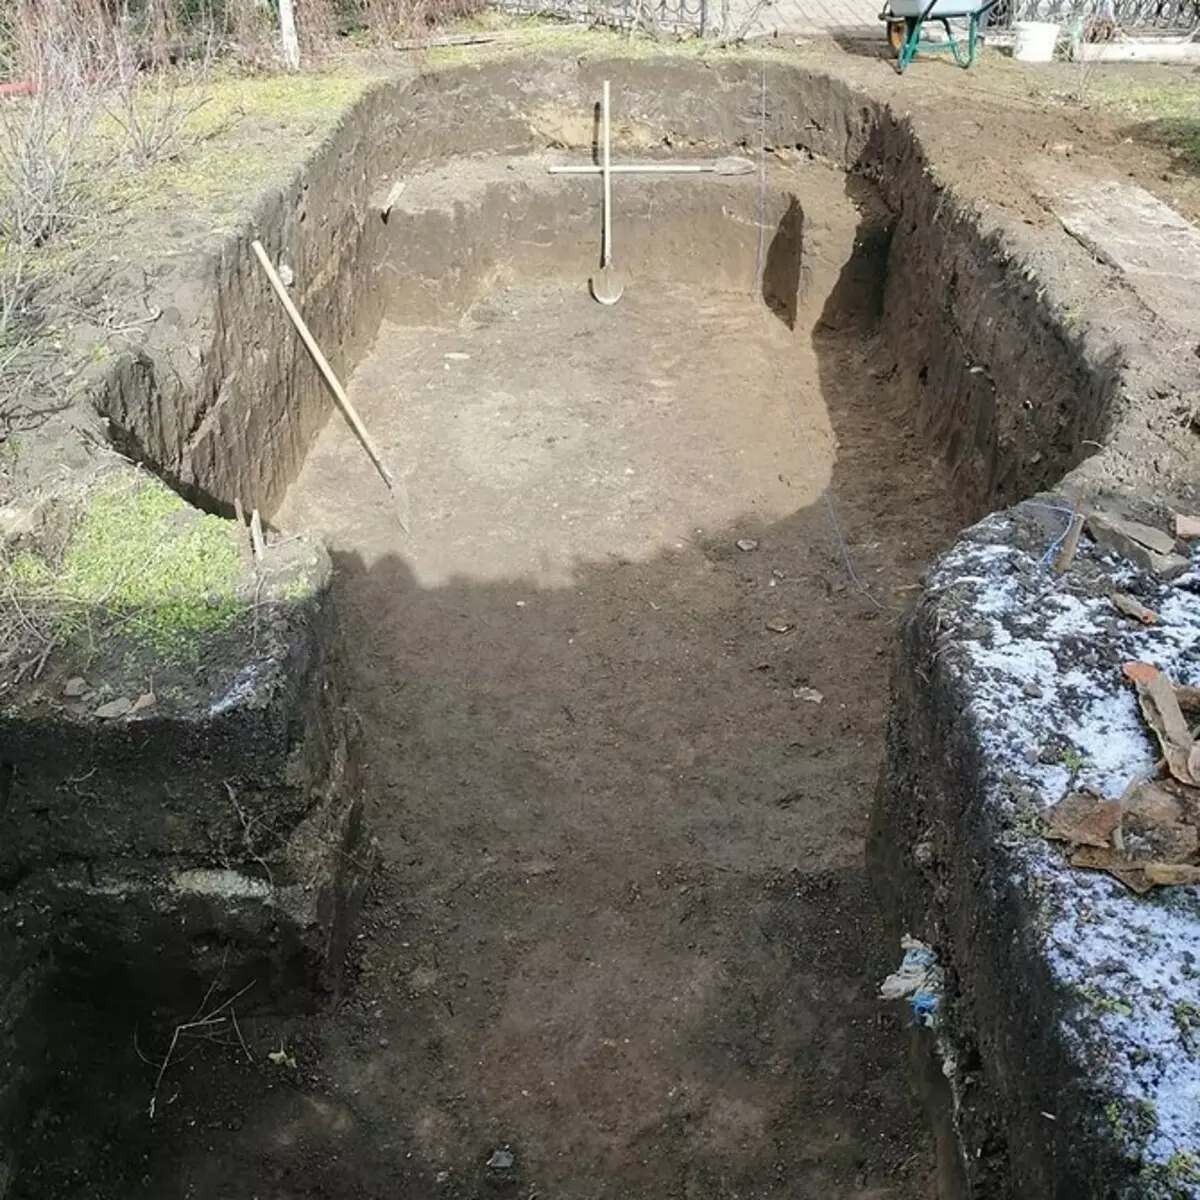
If you are preparing a ground pad, a bayonet shovel inside the markup to remove the turf. Shovel stick to the ground completely - by 30-40 cm. At the same time, experts are not recommended to make a deepening more than half meter. Deeper pits are recommended to pour concrete and make brickwork around the perimeter.
Derne removed can be used to create lawns on the site. With purified area, remove the remaining roots, herbs, stones. Then treat it with preparations that slow down the growth of plants.
For a stationary pitted pool, throw a hole to a depth of 2.5 meters - if you plan to jump into the water from the side and 1.5-2 meters - for structures with steps. Use the level to make the bottom of the recovery with a 4 cm bias per 1 meter toward the drain.
Large frame tanks are always done in a slight recess. So they will be stable, and less water accumulates around them. Also, this option is suitable for bulk soils.

Alignment and seal
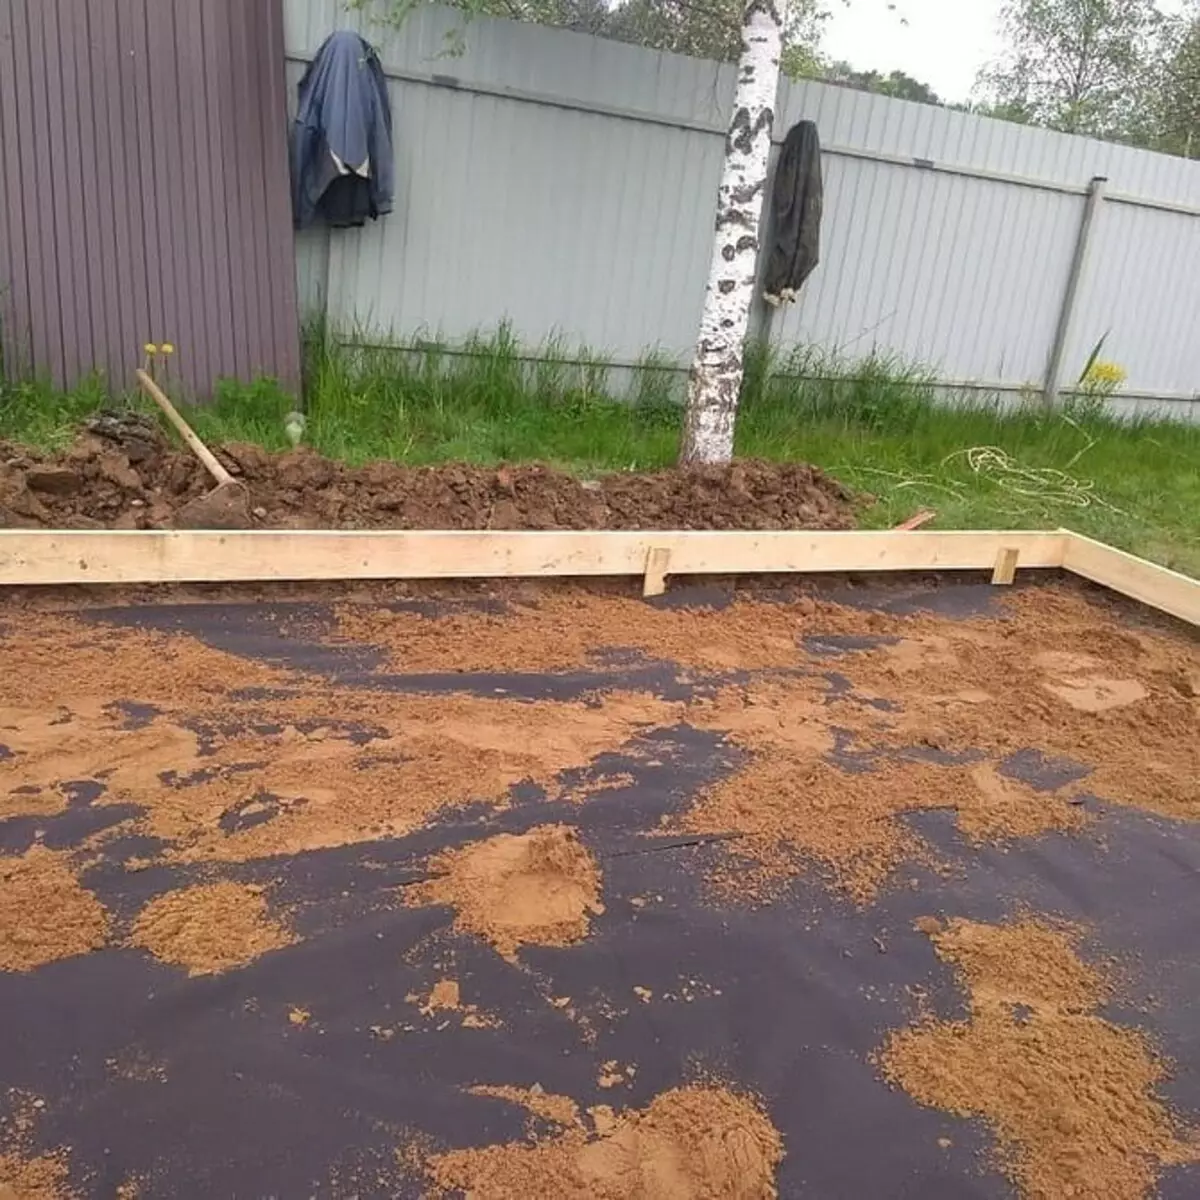
At the bottom of the pit or over the soil, make a sand pillow 20-25 cm. It will become an excellent shock absorber if a busy road passes nearby. Cross and compact it with the help of construction lighthouses, level, rules. The rambling can also be made by vibrating or ordinary water. Several times pour the future place with water from the hose with a sprayer, and then crumple it. Sand can be replaced by PGS and cement. The ratio of components in such a mixture is 10: 1.
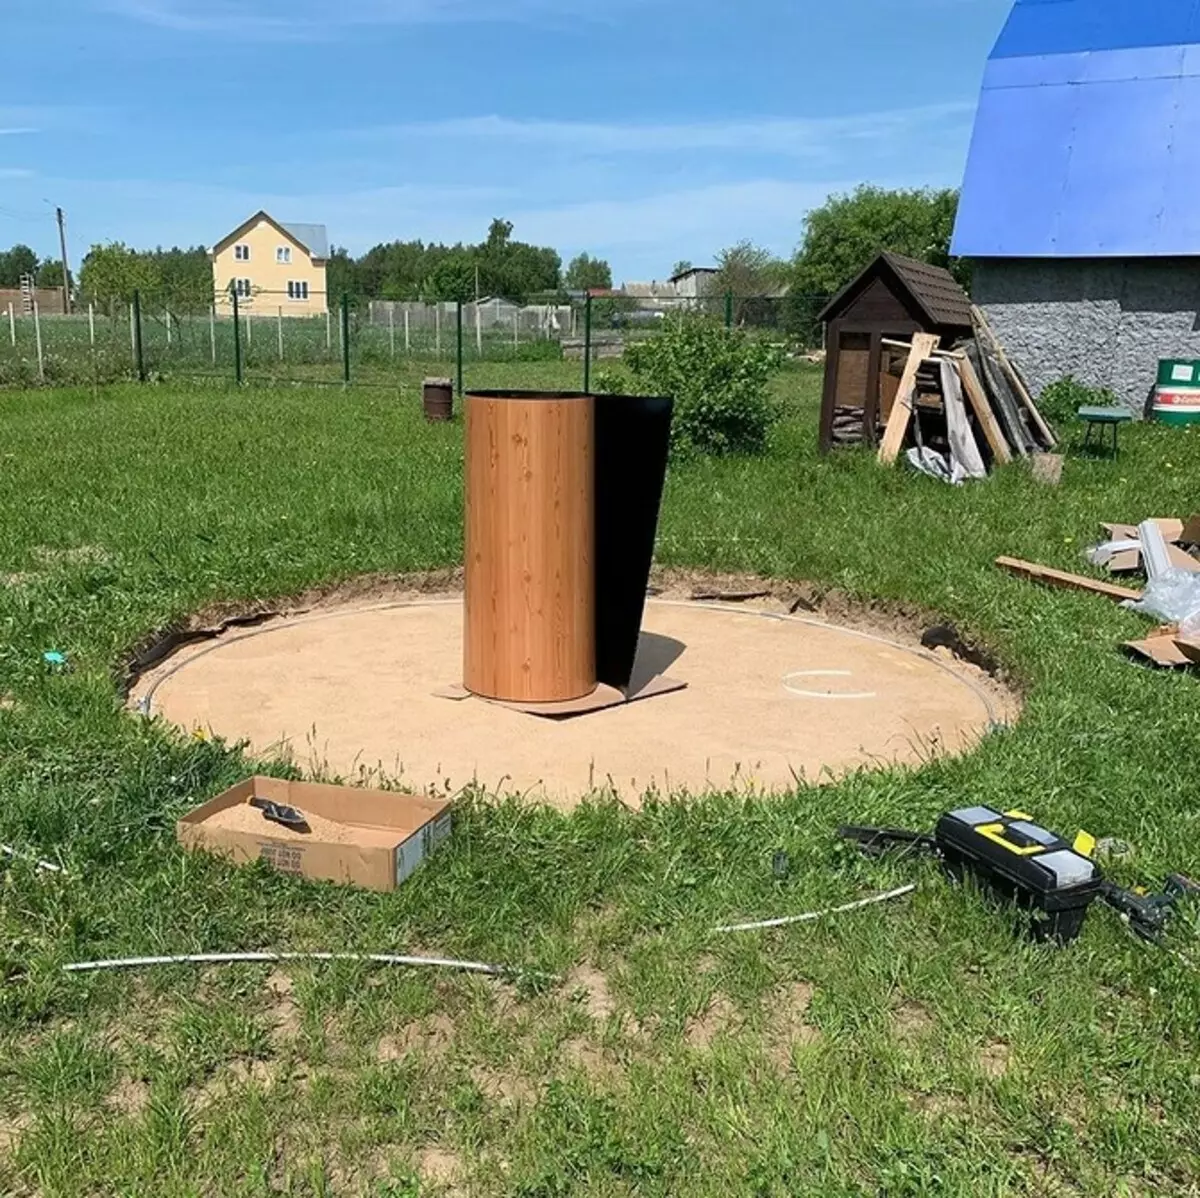
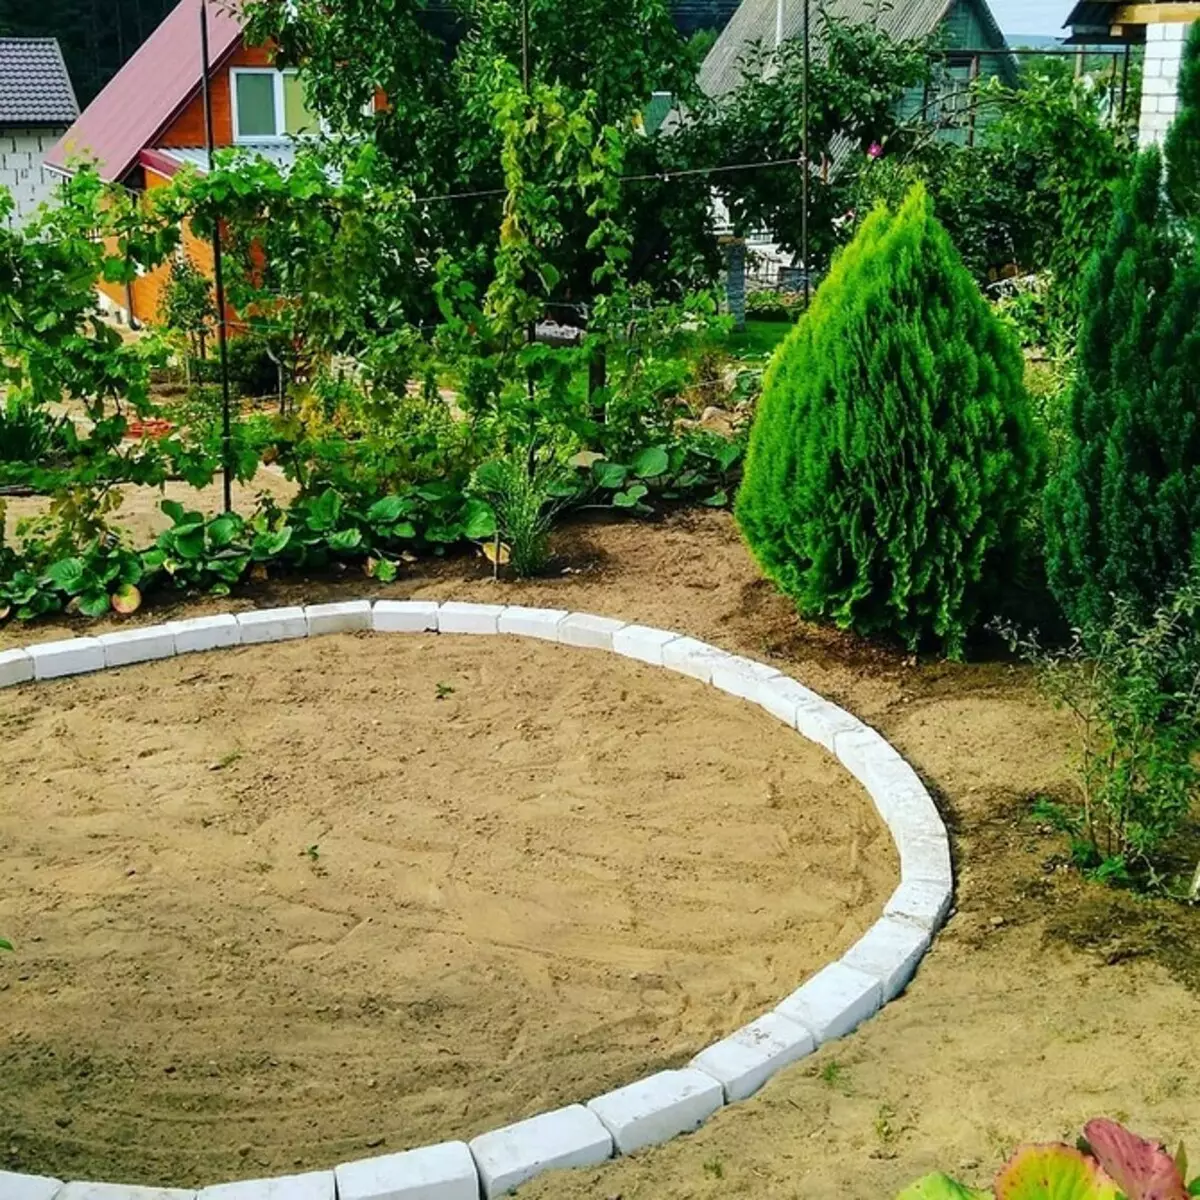
For a small tank, such a pillow is often enough. A geotextile or a dense film is placed on it, and the bowl is installed on top. If it is more than 1-2 cubes, the prepared area is strengthened by one of the methods described below.
Concrete site for the pool at your own hands
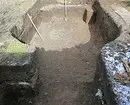
Making Kotlovan
For work, use frost and hydraulic concrete brand M100 or M300. If you prepare a mixture yourself, take the sand of a large fraction, crushed stone, cement and additives to increase waterproof. The latter are sold in the finished form. Pre-spend all communications.
- On the sandy or sandy-gravel pillow, put the brackets two layers of rubberoid.
- Look to the joints of the compounds with mastic or sealant.
- Location from above another sheet of rubberoid.
- Once again, shook the joints with mastic or sealant.
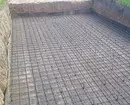
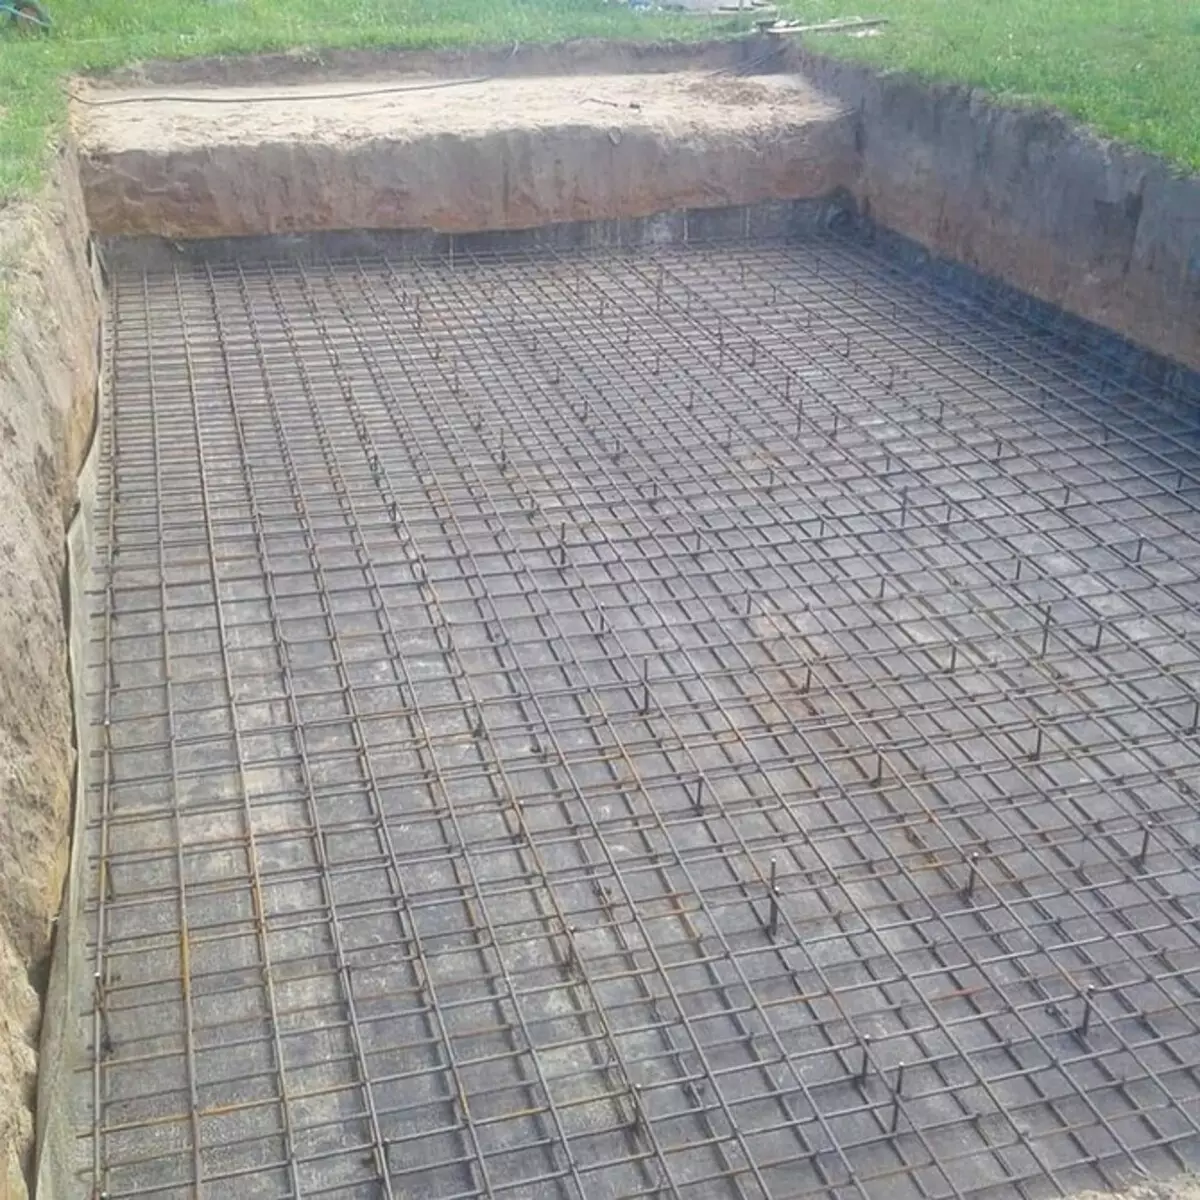
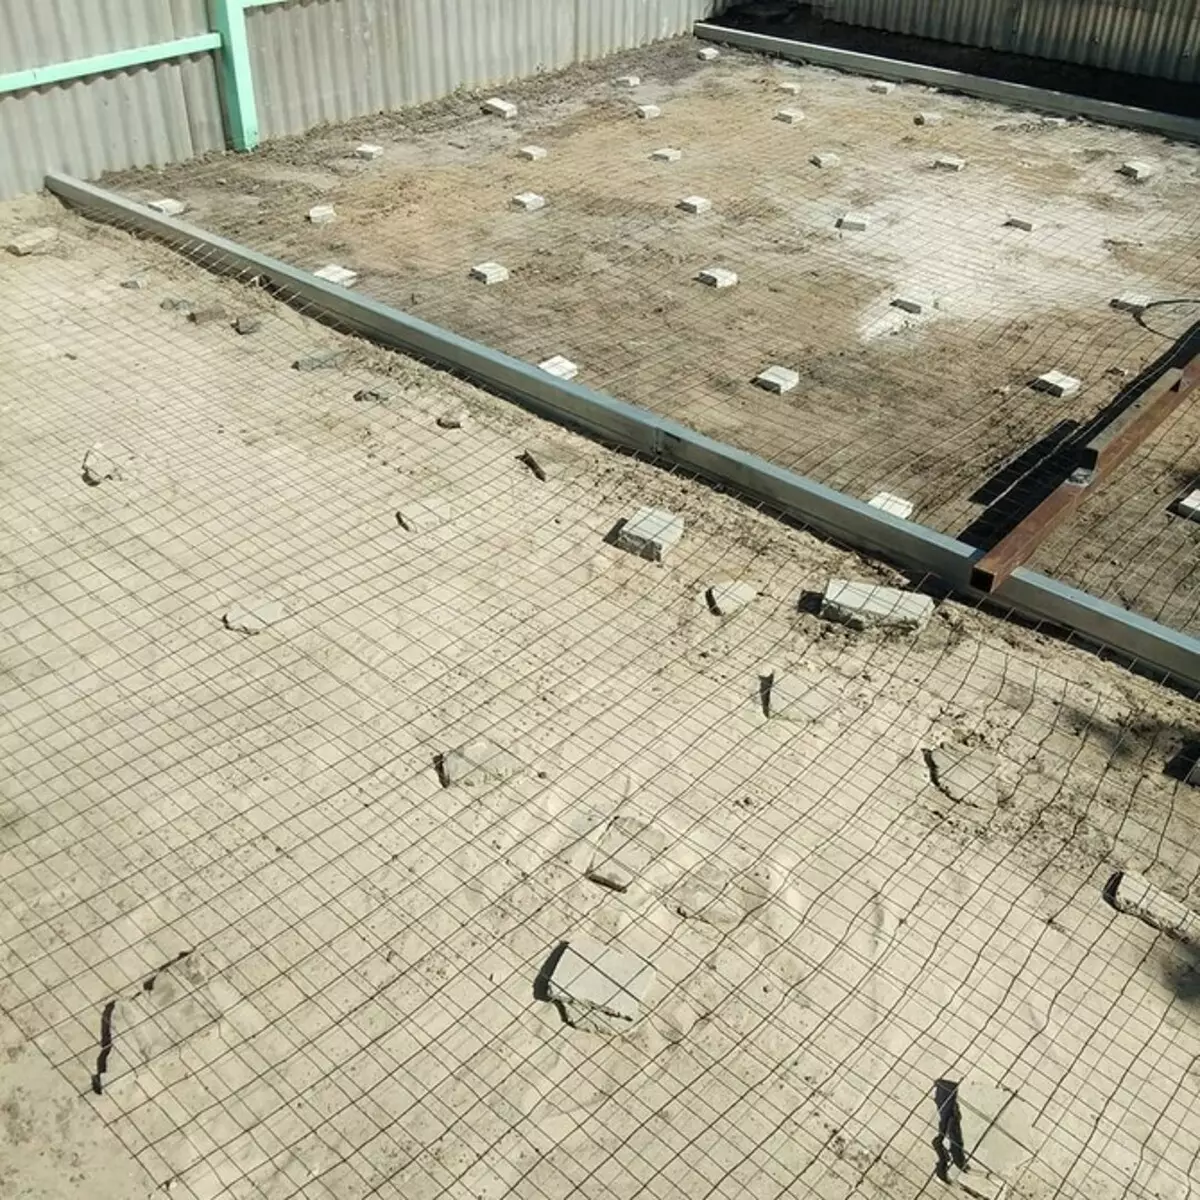
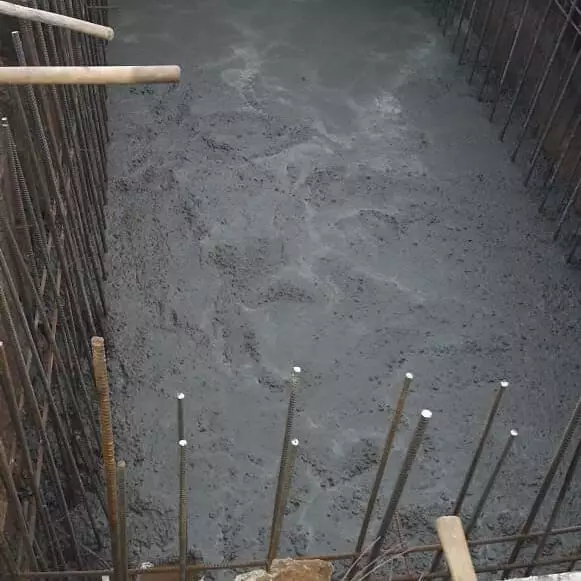
- To put the reinforcement on the bricks so that the grid is with 20x20 cm cells. The ends of the rods are flexing on the walls.
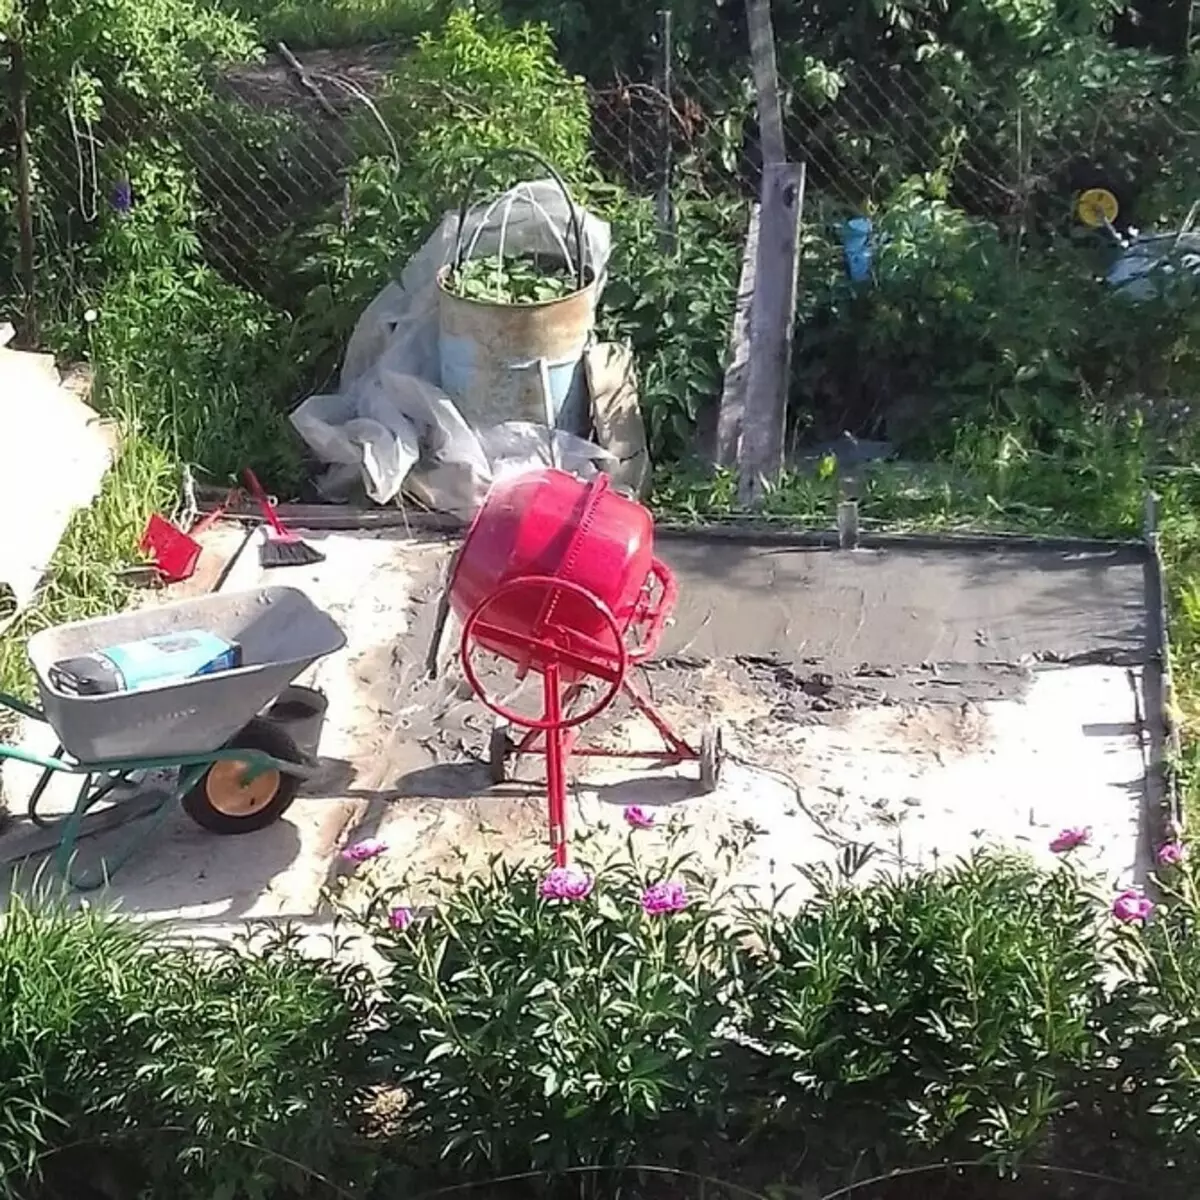
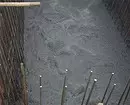
- Start pouring the mixture. The recommended layer thickness above the grid is five centimeters.
- Run the mixture and sharp stick stick it in several places so that air bubbles remain inside.
- Cover the bottom of the film or spray it every day so that the concrete does not crack during drying.
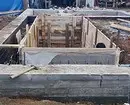
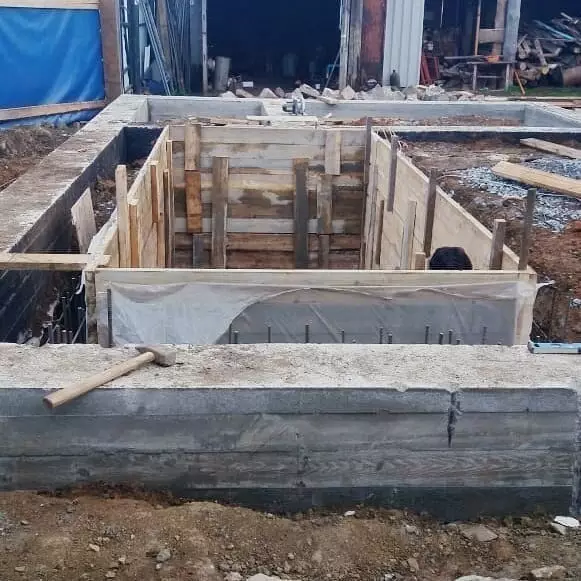
- When the bottom hardens, install the formwork on the walls. You can build it out of plywood.
- Make the reinforcement grid at a distance of 5 cm from the formwork. Tie new rods with those that are bent below.
- Secure the grid with diagonal rails.
- Fill concrete.
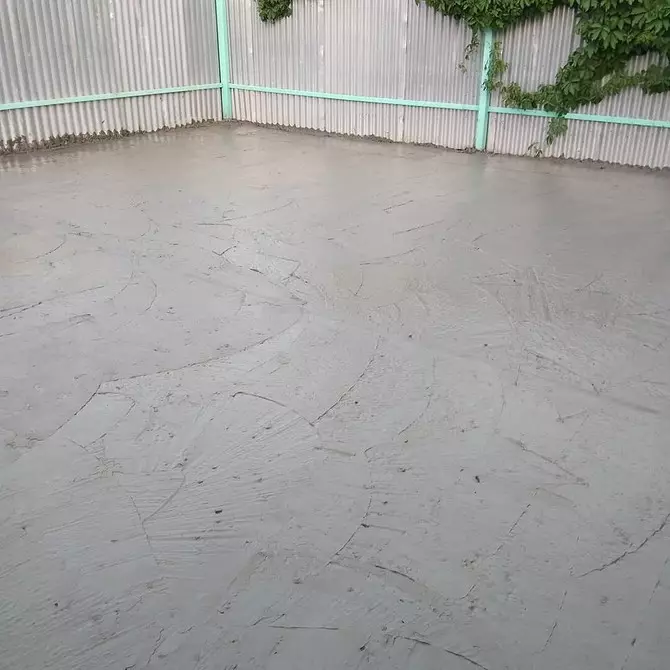
- When it dries, attach the surface.
Check if it is well insulation. Fill water, mark its level and leave for two weeks. Taking into account the natural evaporation, it should go no more than 2 cm. If everything is fine - you can start the finish. This is also an additional waterproofing. Instead of runner, you can use geotextile canvas, dense film, polypropylene.
Making podium
It is recommended to use concrete M100 or M300 to work. In the mixture made by independently, hydrophobic additives, cement, crushed stone and coarse sand are added.
- Place the pendant sheets of geotextiles, films or rubberoids on the sandy or sandy-gravel pillow.
- Masse compounds with mastic or sealant.
- On bricks, put the reinforcement grid with the size of the cells of 20 * 20 cm.
- Make the formwork of the desired height.
- Fill the concrete or cement-sand mix (1: 3) and align it.
- In several places, pour it with a sharp stick so that air bubbles are left inside.
- When the mixture is grabbed, remove the formwork and wait for complete drying.
- Cover the surface with plaster, primer and if desired by waterproof paint, tiles.
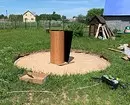
Create a deepening
In such pits, large frame structures are placed half or slightly lower. They become steady, aesthetically and you will not need a ladder in order to climb inside. Approximate depth of the pit - one and a half meters. When calculating the width of the pit, take into account the need to erect retaining walls.
- At the bottom of the PGS layer 20-30 cm and confuse it.
- Make a thin tie from the cement-sand mixture. It will separate the main slab from the PGS.
- When it dries, put the reinforcement grid with cells at least 25 * 25 cm.
- Fill the concrete M100 or M300. Recommended plate thickness - 10-15 cm.
- Cover the plate with a film for drying time.
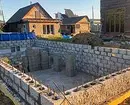
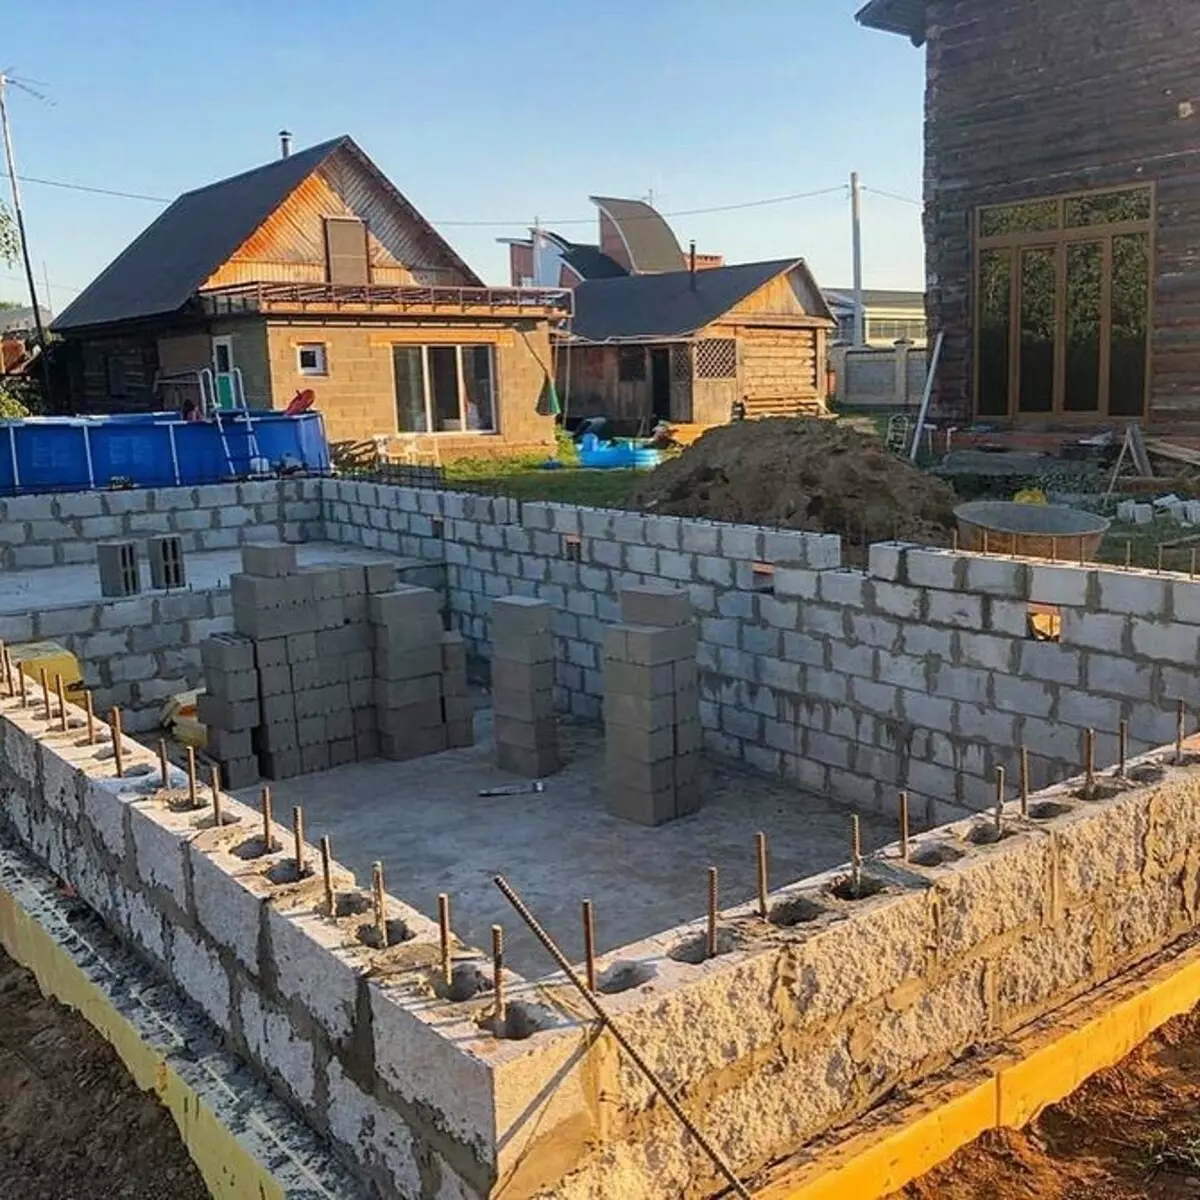
- When the surface hardens, elaborate the retaining walls for the frame. They are made of bricks or slag blocks.
- Wet wall.
In the video - another way to strengthen the frame design.
- Deepening and leveling platform.
- Installing a frame.
- Strengthening wall blocks.
- Edge of gravel.
If you decide to burst a small tank, you can do without a screed. In this case, they make the same pillow from PGS, and around the perimeter to a depth of 50-60 cm, the support racks for the frame are bought. Crushed stone in the holes with them, and the racks themselves are covered with liquid waterproofing or bitumen. Horizontal to them nourish a shagevka.
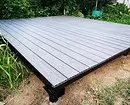
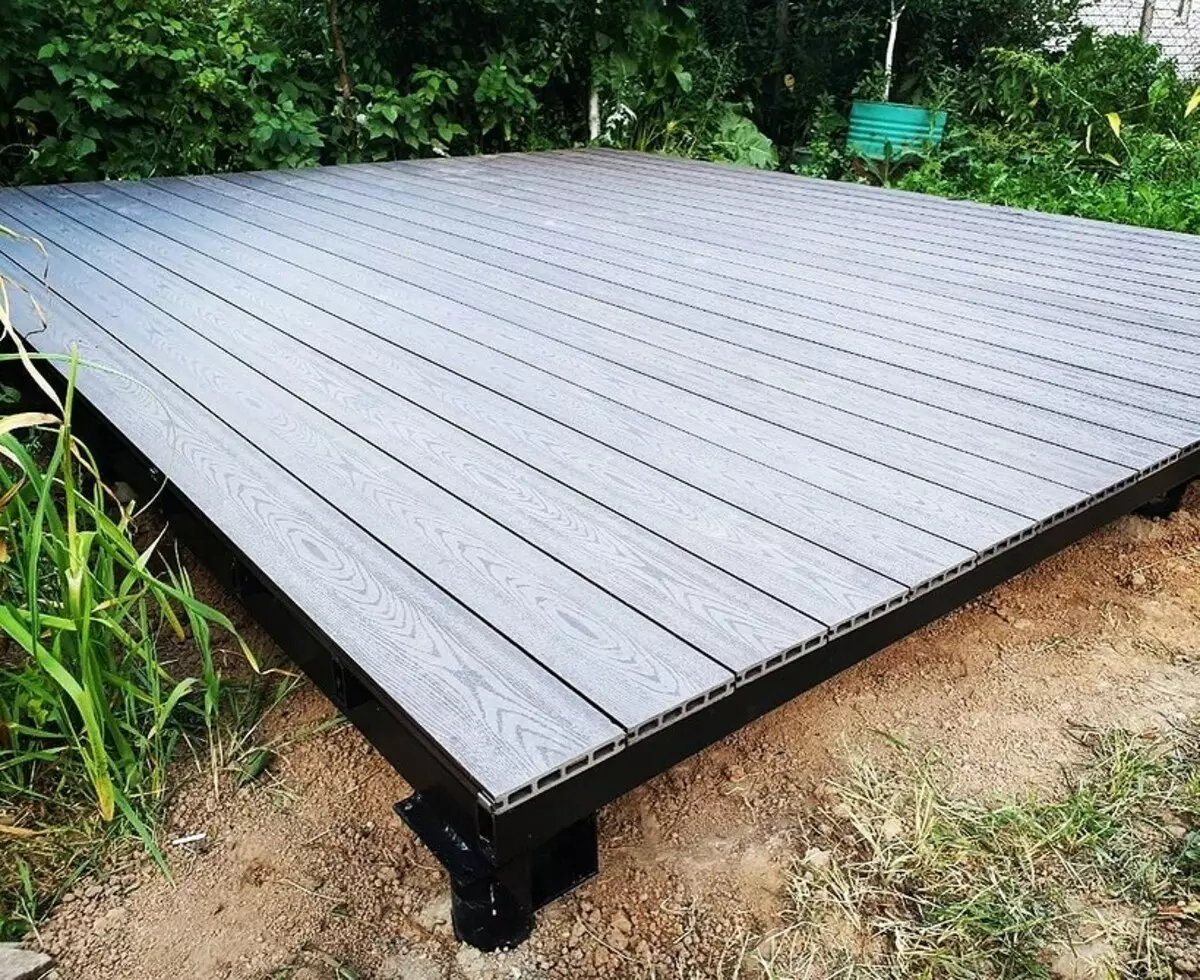
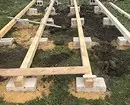
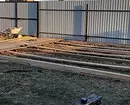
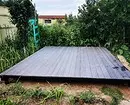
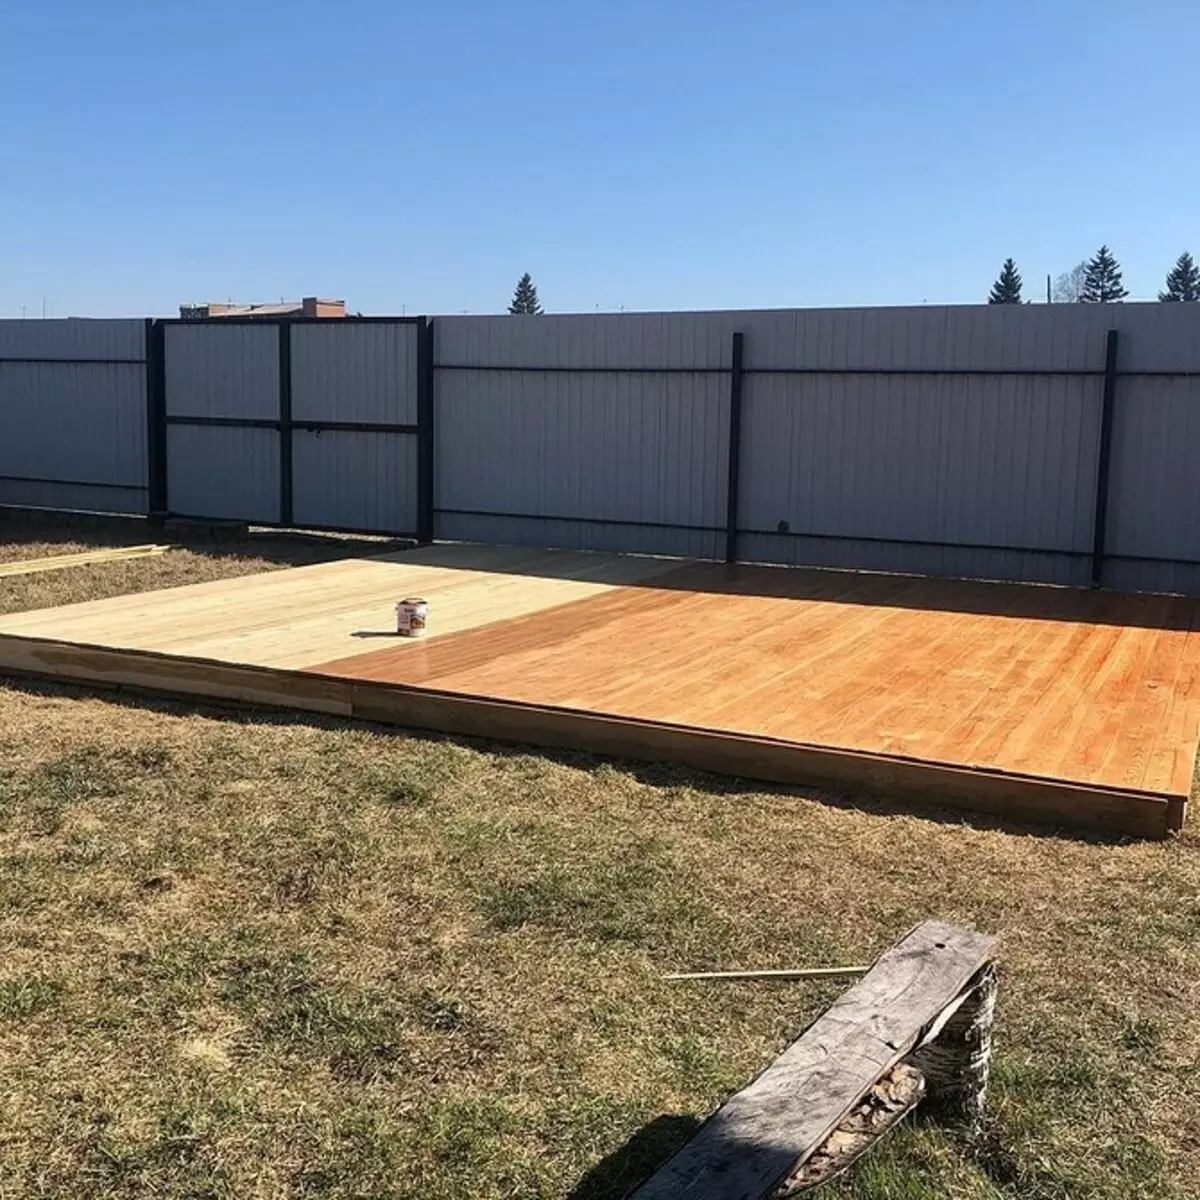
Podium from the boards do it yourself
In the country, most often installed small inflatable and frame pools. They are convenient to mount on the stands from larch or polymer decong. The height of the flooring depends on your tasks. High platform is convenient because the pump and other equipment can be removed under it. But in this case there will also be a staircase. Low platform is built faster, as they do not need steps. Tell how to make a podium for the pool at the cottage in the simplest above it.Sequencing
- Prepare the territory, clearing and scattering it. The sand is not needed here, since the flooring will be built on the elevation.
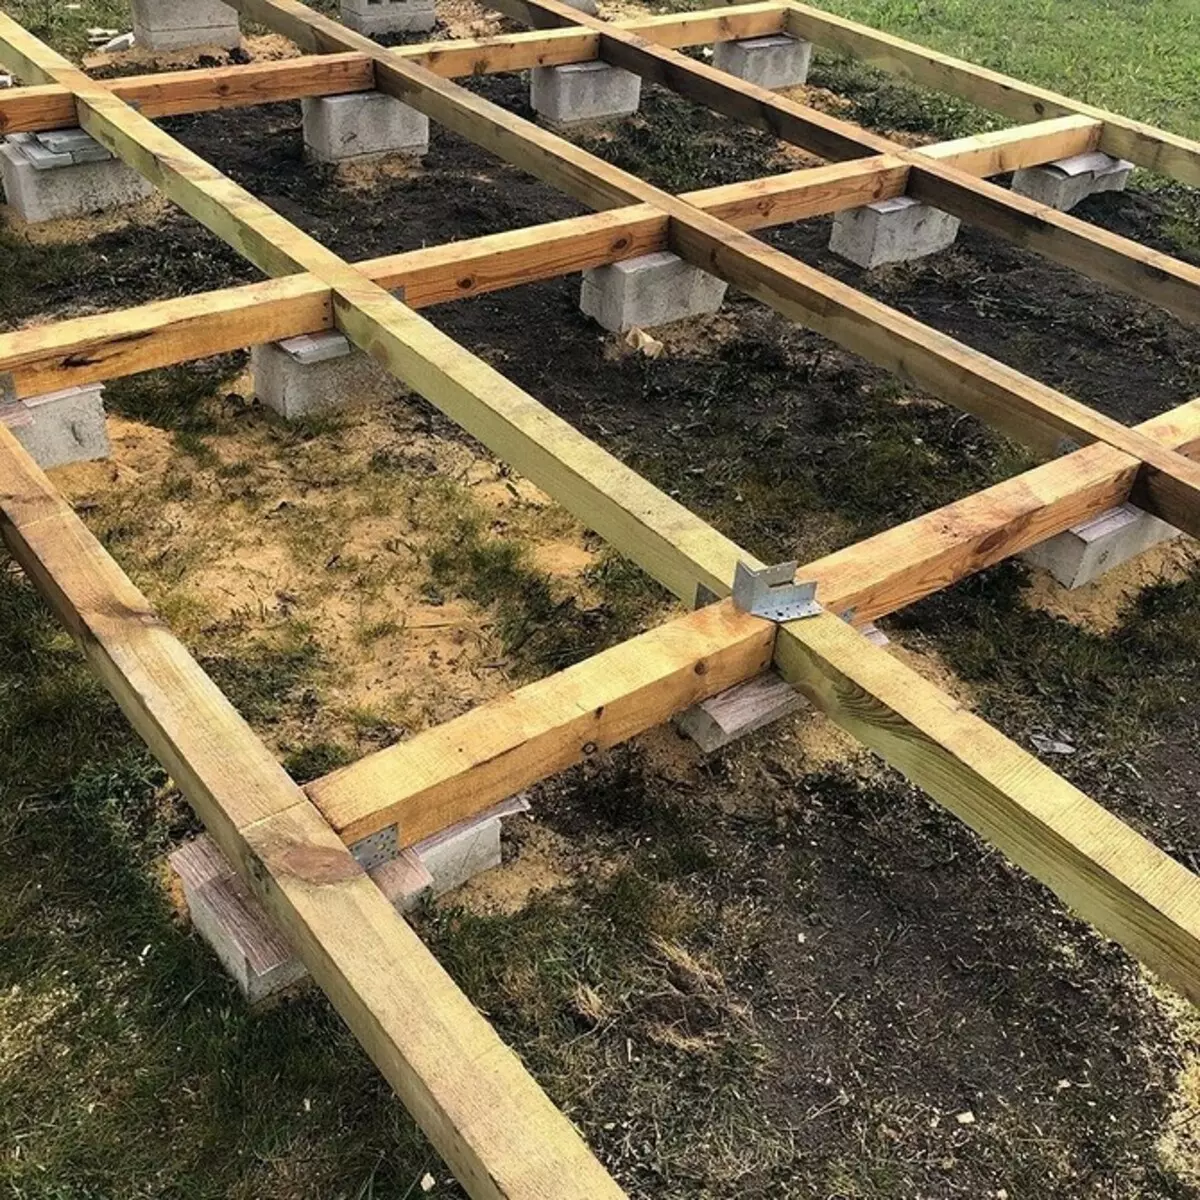
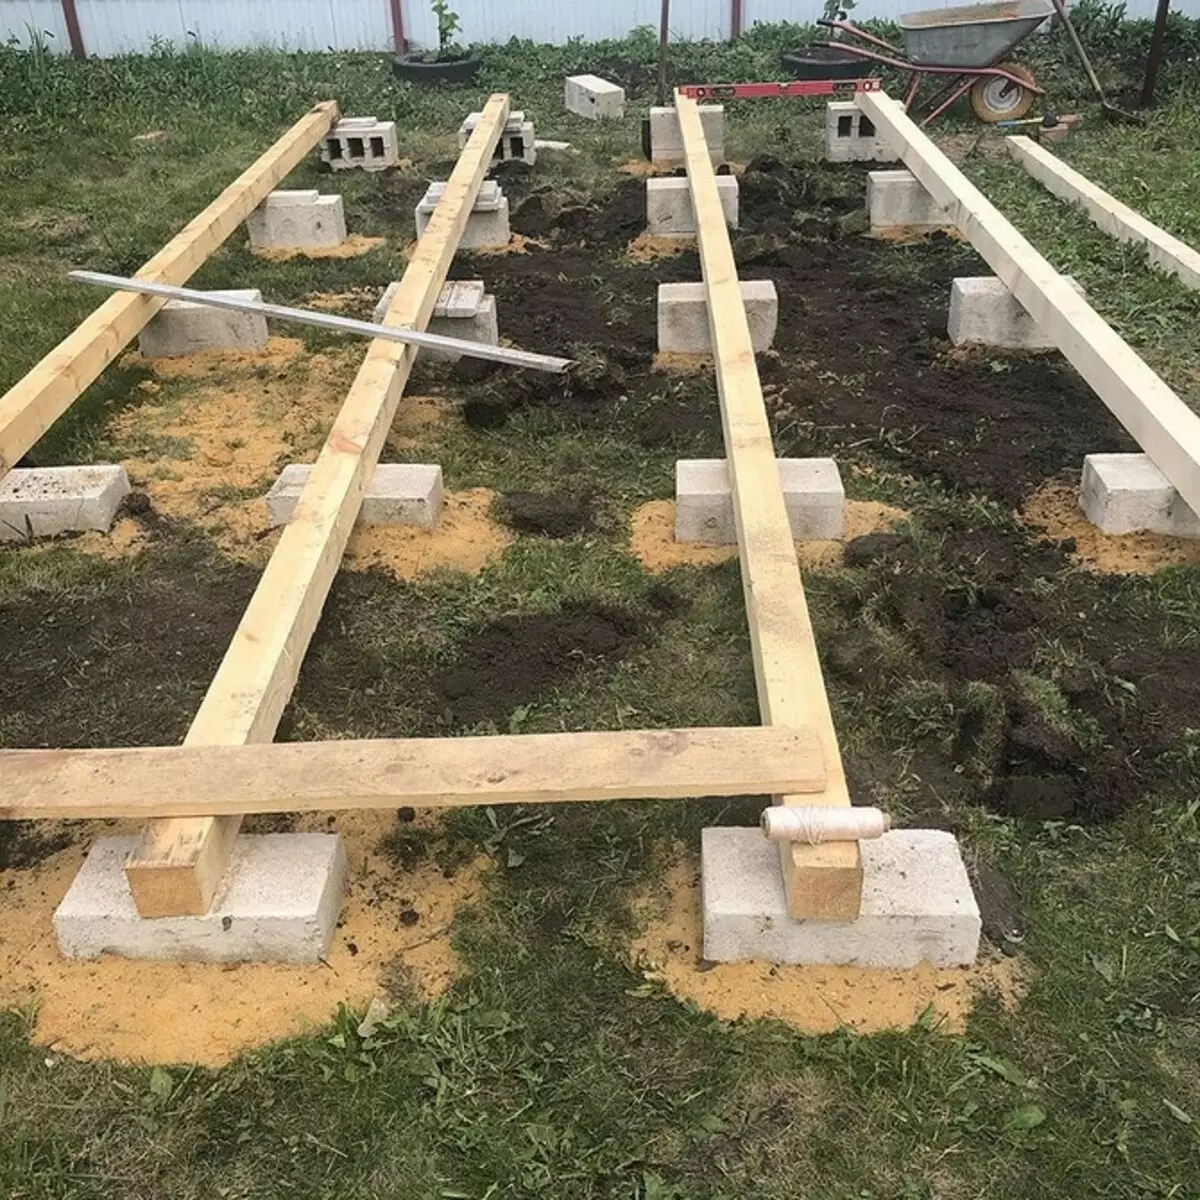
- Fasten on the prepared portion of support from concrete pillars or slag blocks.
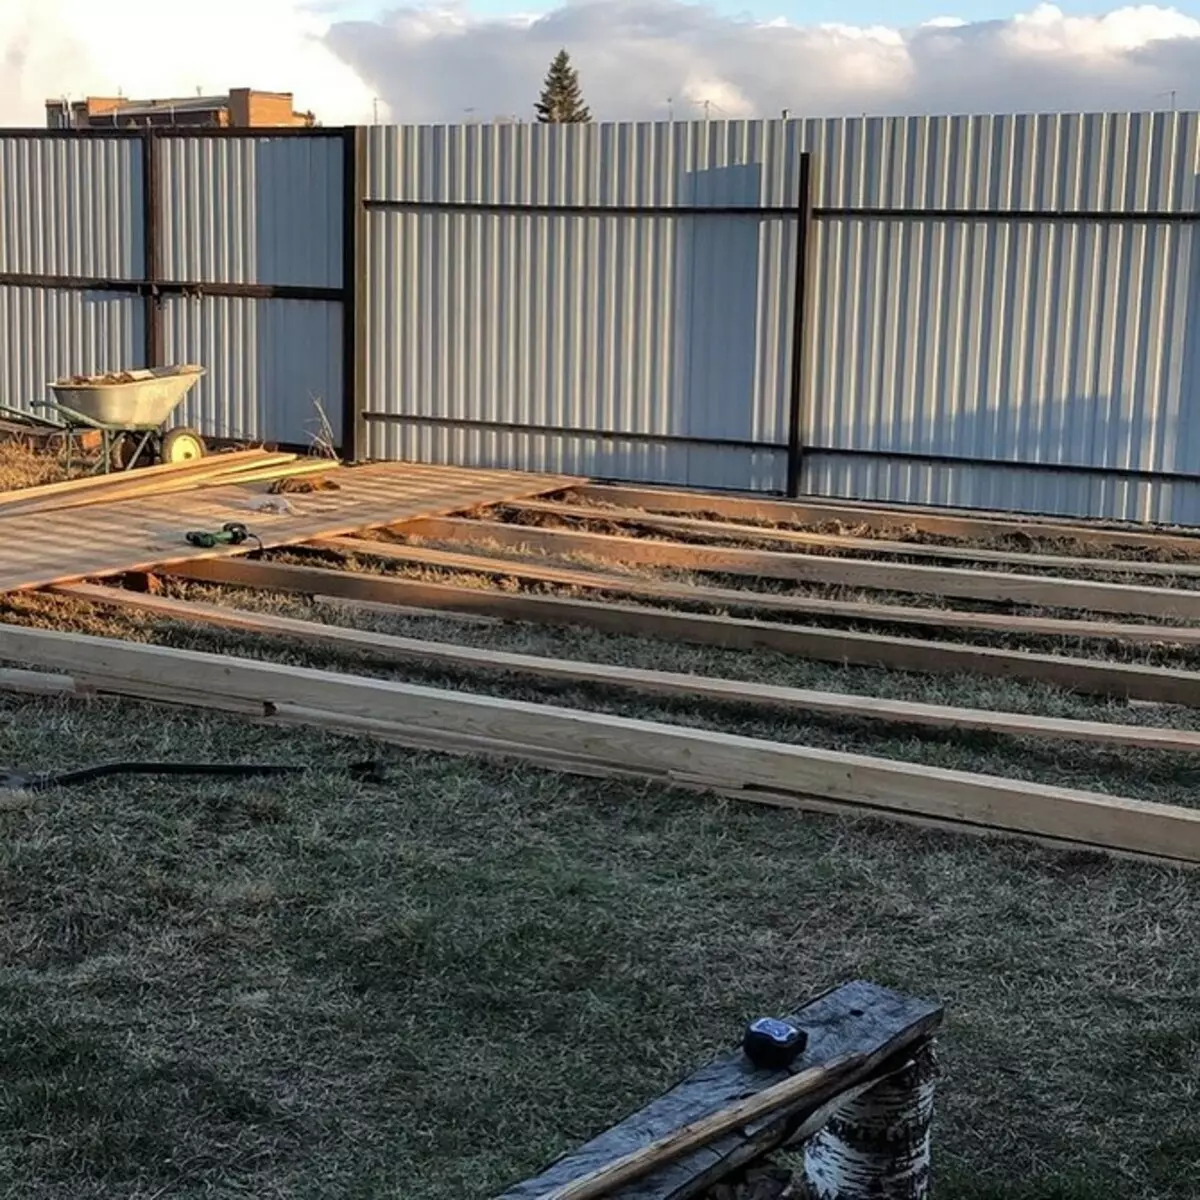
- Place the timing with a cross section of 5x5 or 6x6. Lags should be located in parallel to each other. The smaller the distance between them, the more stable will be the platform. Middle step - 30 cm.
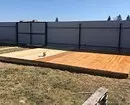
- Perpendicular to the bars to put the boards with a thickness of 2.5 cm. And for a natural tree, and for Decing leaves the gap between the boards in 1 cm - in the case of temperature movements.
- Lock them with brackets and nails.
- Cover the tree by impregnation to increase moisture resistance and paint.

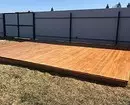

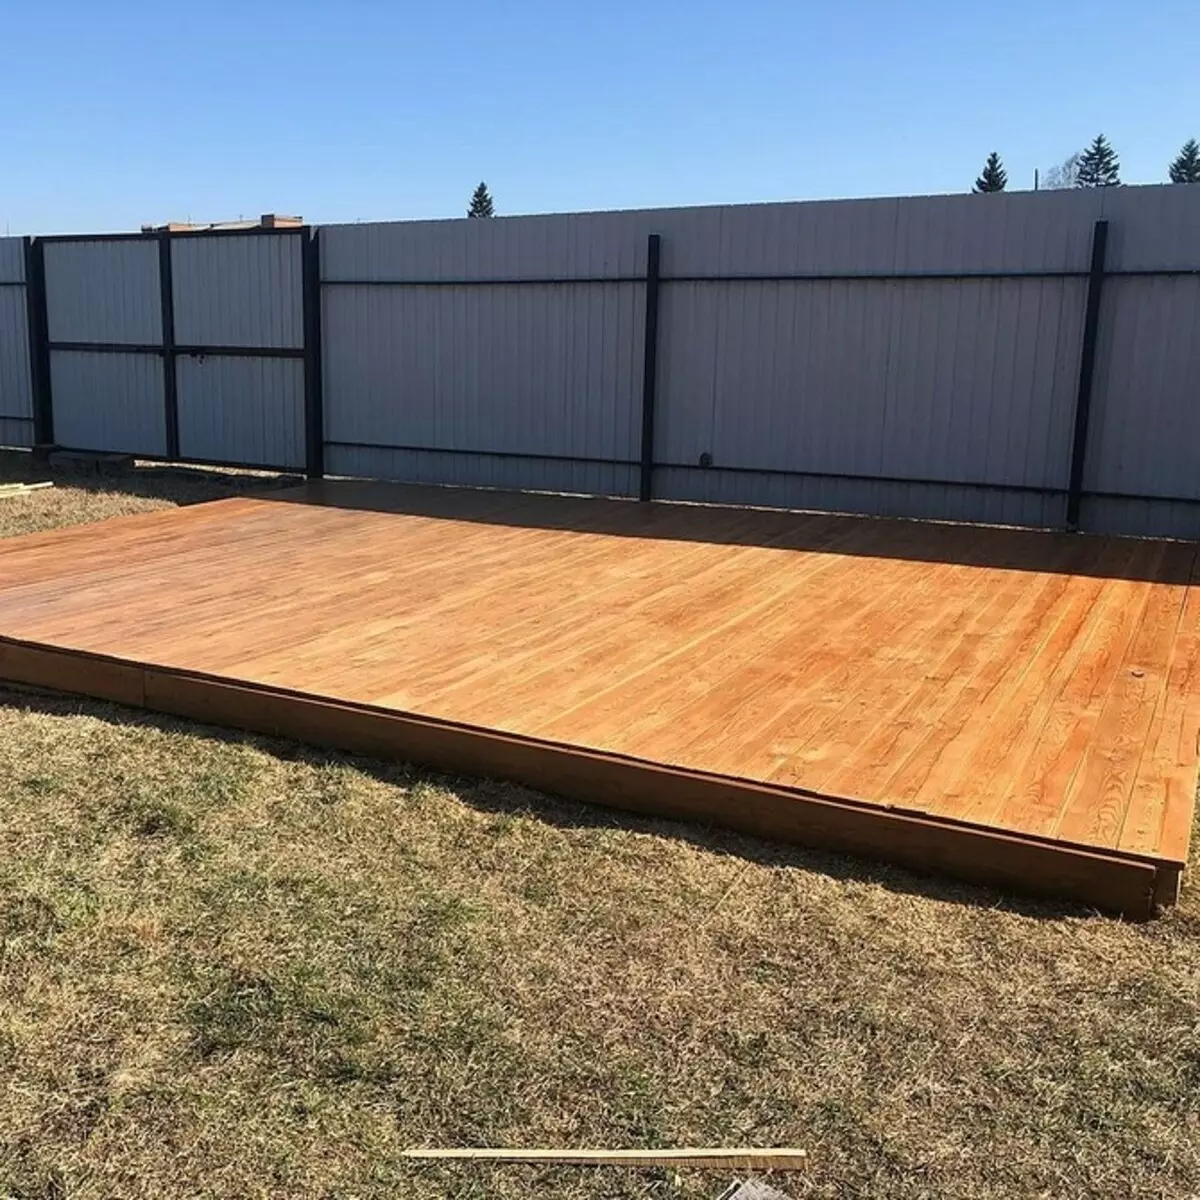


From above, you can lay a geotextile canvas or PVC film to protect the flooring from water. But this option is more suitable for small hostes, on which there is no or almost no free space.