
Select the appropriate mixer, we understand in the installation methods and install it yourself.

Installing the mixer in the bathroom - the required repair procedure. The procedure can be done with your own hands. Let's tell which the model is suitable in a particular case and give a step-by-step installation process.
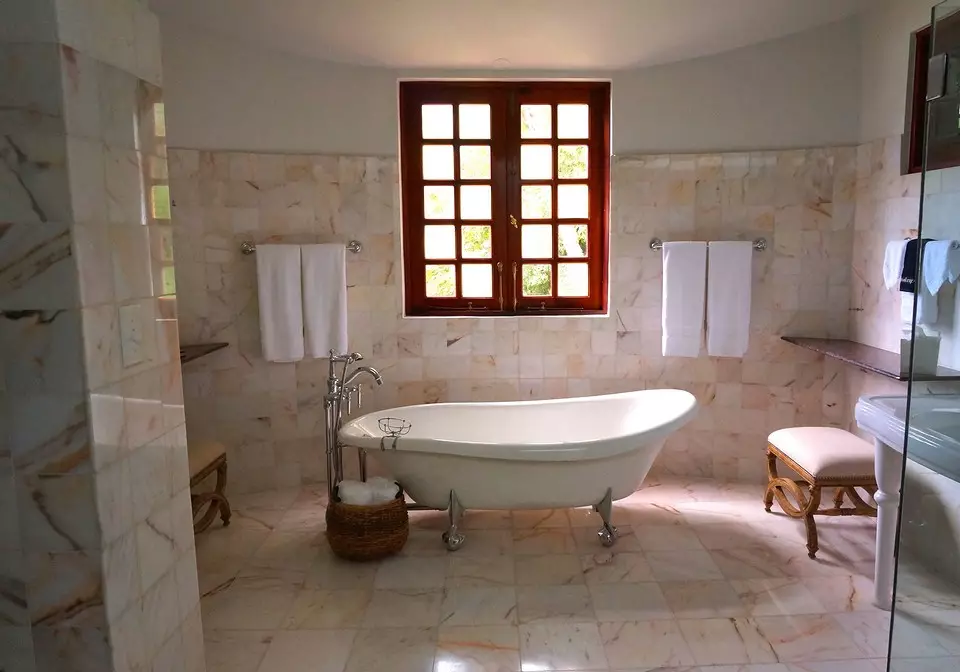
How to install a mixer in the bathroom
Operating principleMaterial
What parts should be included
Instruments
Step-by-step instruction
- Height above floor level
- Horizontal location
- Installation on the wall
- On a separate rack
Types of mixers
The devices differ in shape, sizes, material and the principle of operation. According to the method of control, they are divided into the following models.
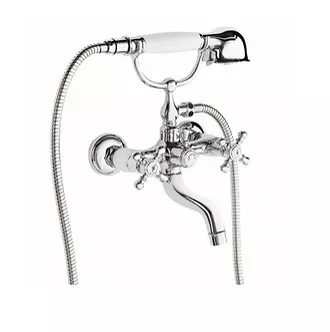
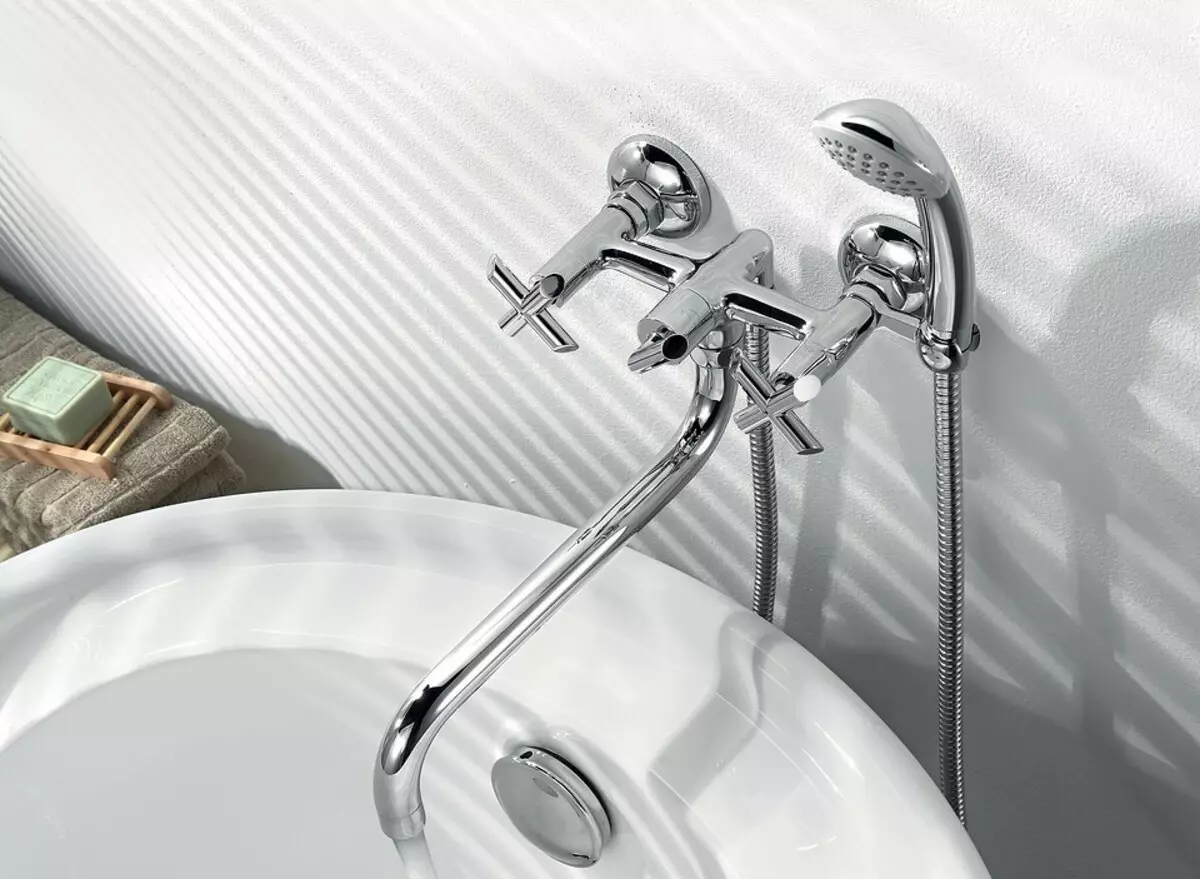
Two-dense
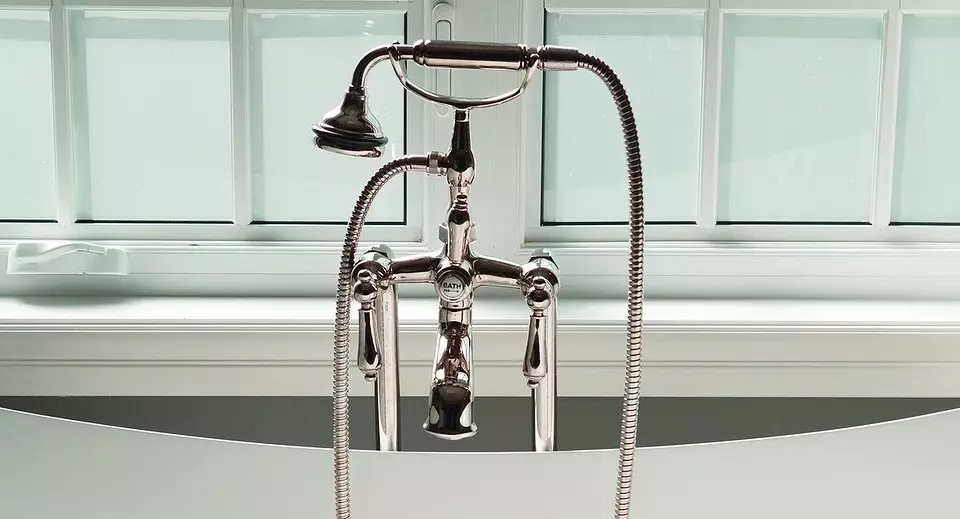
Twin - one is responsible for the flow of cold water, the other is hot. This classic scheme has managed to endure in our time. To adjust the flow temperature, you need to spend quite a long time. There can be no speech about any water savings. Constantly open and close the valves are very uncomfortable, especially embossed hands. Over the past, it was the only available option and many managed to get used to it. There are other explanations of the popularity of such a management method. The crane is simple, so it rarely breaks. Details from it is not difficult to find. The price is also small. The device can look aesthetically in different interiors depending on the style in which it is made.
Dual-sided bath mixer with IDDIS shower
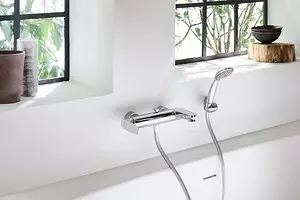
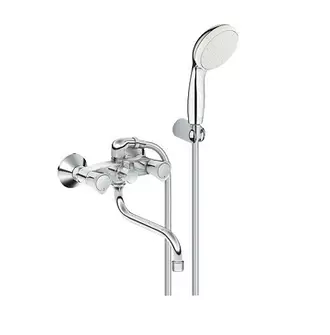
Single-art
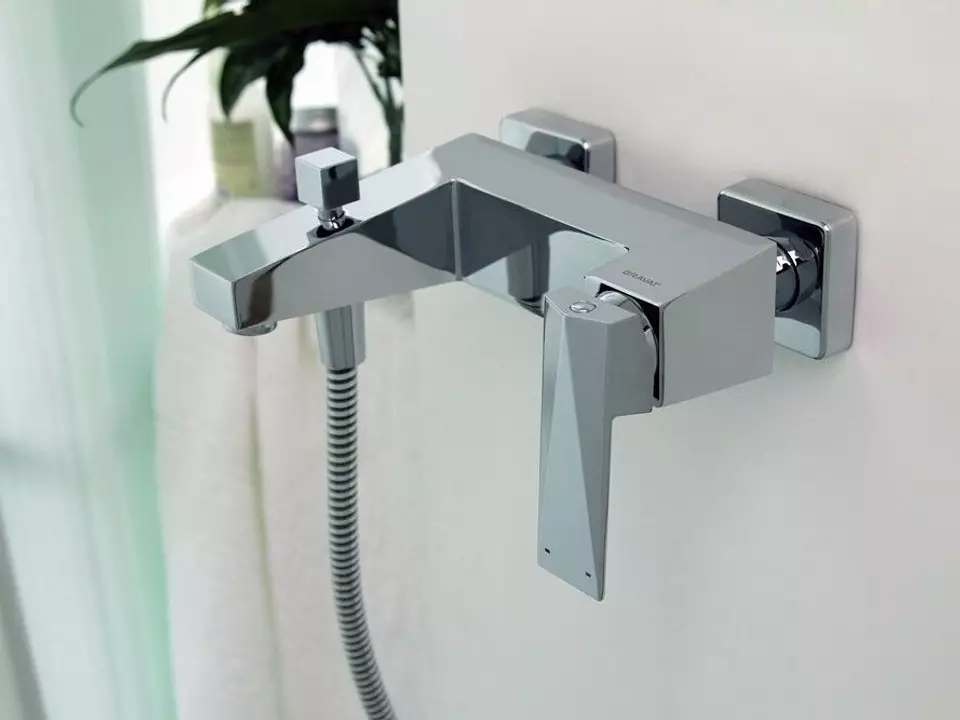
In one-tech models, the pressure adjustment is made by raising the lever. To change the temperature, it should be moved to the right or left. One of the advantages is convenience. No need to rotate two handles in search of the necessary parameters. Just one movement of the brush hands. Also among the advantages - the ability to save water, including it only at the moment when it is needed. According to the cost of the device, it is capable of competing with biennies, however, with a breakdown of expensive models, they will repair them much more difficult. It is easier to replace them completely. In appearance, they are far from classic models and are little suitable for interiors in retro style.
Single-Party Bath Mixer with Vidima ORION Shower
Thermostatic
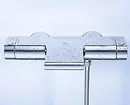


Thermostatic - in them one handle is needed to adjust the pressure, the other is responsible for the temperature. They are equipped with sensors located in the housing. These sensors allow you to set the necessary temperature and not spend time to establish it with a mechanical manner. They regulate locking mechanisms on the input of the HVO and GVO pipes, which allows accurate setting corresponding to the specified parameters. The system works automatically. Under this principle, the force of pressure is programmed in some models. Such cranes are safe for children, because it is impossible to get a burn. They are very comfortable with frequent temperature differences in the pipeline. The only disadvantage is the lack of economy class models.
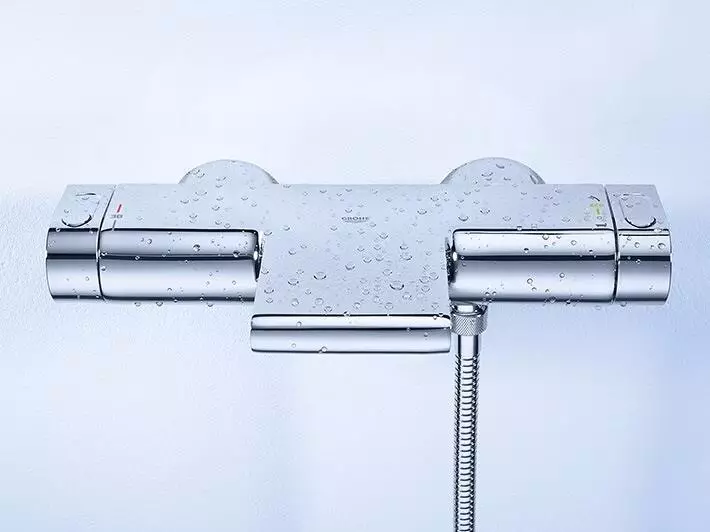
Thermostatic double-sided bath mixer with Grohe Grohtherm Shower

Materials of mixers
As a rule, brass and silumin, which is an aluminum and silicon alloy. Brass products are more expensive. They are harder, but the mass in this case does not play the role - this is only a sign that can be distinguished by one material from the other when buying. Brass is distinguished by reliability, durability, resistance to aggressive media. It does not break and has high strength. Silumin is more fragile and no longer serves.
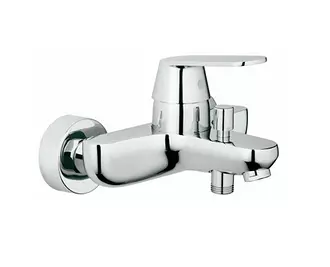
Single-sided bath mixer with Grohe Eurosmart shower
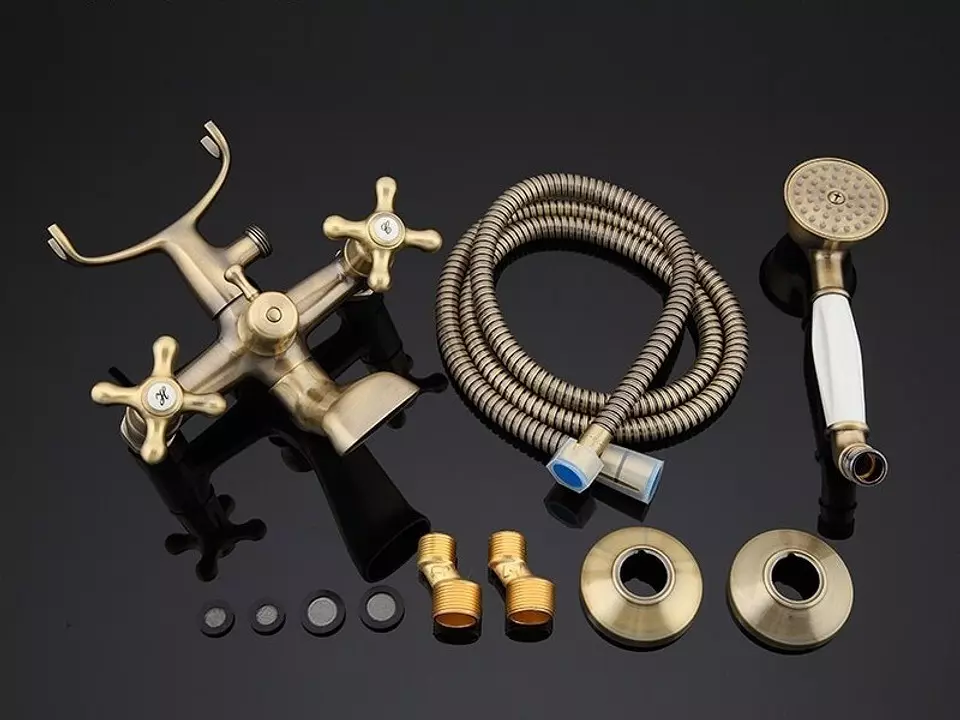
Required parts complete with shifter
- The main unit to which all other elements are attached.
- Hussak or is the evidence from which water flows.
- Elastic gaskets installed in the locations of the elements. Compressing when twisting the thread, they fill the gaps, preventing leakage.
- Eccentrics - small curved carving tubes. Their form allows you to install a crane, even if the GVA pipes and HVO are too far or close from each other. The standard distance between them should be 15 cm, but this standard is not always followed.
- Decorative cups covering eccentrics.
- Connecting hoses.
- Shower leak.
When buying should be checked, all the parts are on the spot, and do they have damage.

Tools for mounting
- Set of keys, as well as adjustable and gas keys. It is desirable that the tools have no teeth - they can scratch the surface of the product.
- Passatia.
- Pacle or fum-tape for sealing threaded joints.
- Roulette and building level so that the device can be installed strictly horizontally.
If the pipeline is labeled, it should be remembered that the wall panels and interpanel seams are categorically prohibited. The channels are allowed to be laid only in the finish, provided that revision hatches will be arranged in the places of compounds.
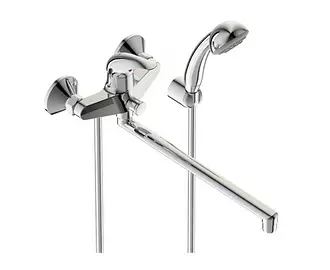
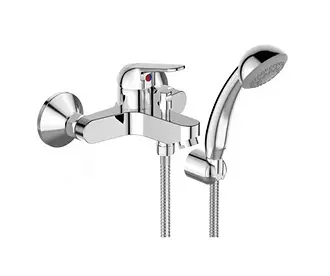
Single-lever bath faucet with Gappo Noar Shower
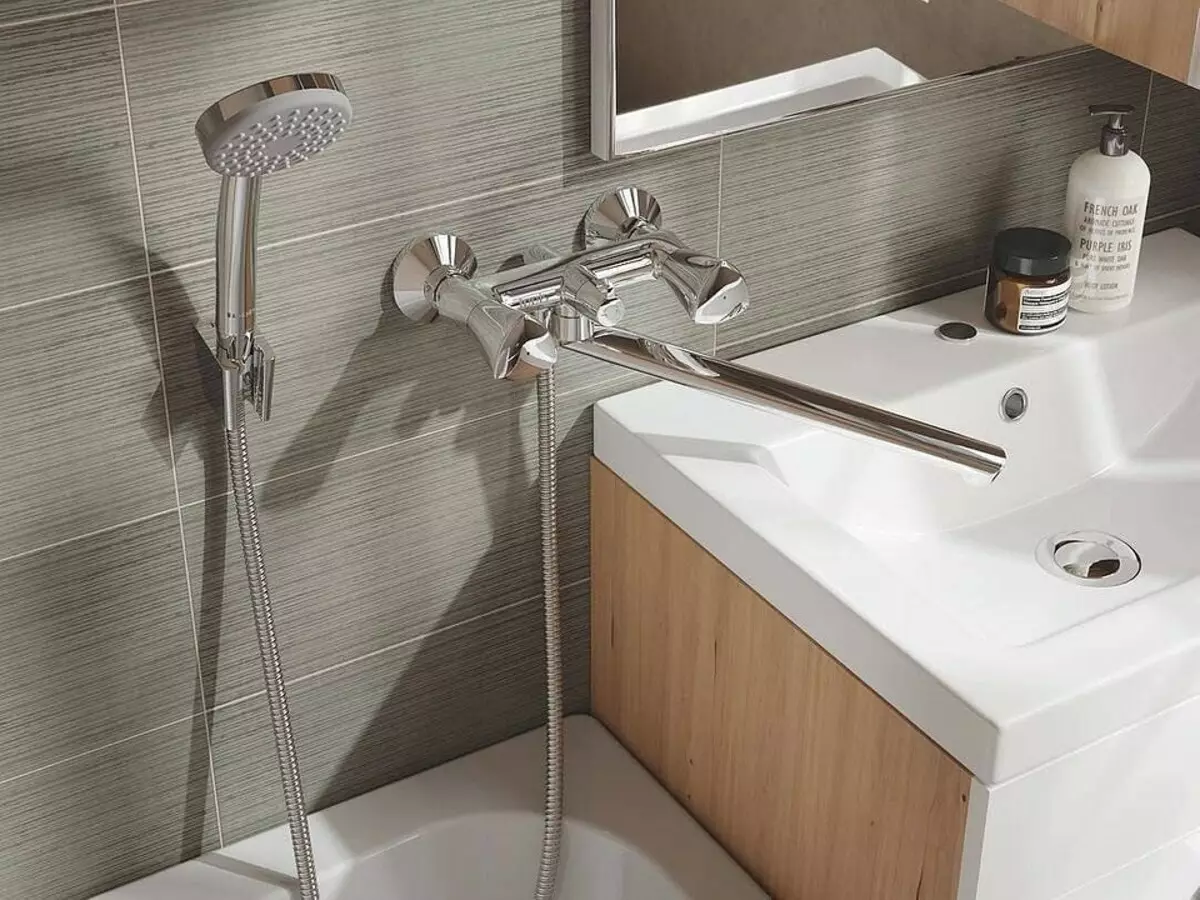
Installation process with your own hands
Before starting work, you should carefully prepare the place of installation and eliminate everything that will interfere with the process of holding. Fragile items that can be broken or damaged, better to remove away. With overhaul, it is necessary to calculate the position of fittings. They should not act much for the finishing level. It should be placed strictly horizontally relative to each other. The standard distance between the leads of the GVO and HVO pipes is 15 cm.

Special models are available for horizontal and vertical fastening, having a number of structural features.
Before installing, it is necessary to overlap water onto the riser.
Adjusting the mixer height over the bathroom
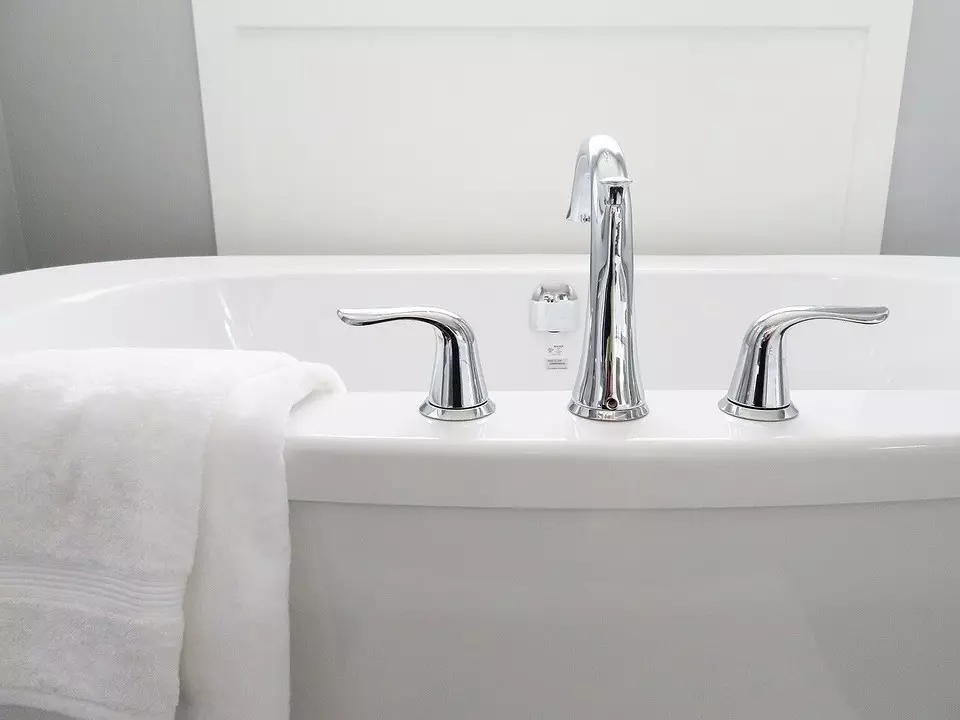
This parameter depends on the type of instrument.- The rotating vulgarity for the bath and sink should be installed at a height of not lower than 1 m from the floor.
- For the soul - not lower than 1.2 m.
- Only for the bath - not less than 0.8 m.
- Only for washing - at a height of at least 20 cm from its sides.
Horizontal fastening
In this case, the equipment is attached to the side of the bath or washing. There are special models with holes for the hull, wiring and locking screws. If there are no such holes, but the width of the base surface at the same time is sufficient, they are detected independently with the help of diamond crowns. The main thing is to choose the diameter and not damage the enamel.
With this method, the distance between pipe outputs does not matter. For connecting, flexible hoses and or copper liner are used. The housing is inserted into the hole intended for it and is fixed with the pressure nut from the bottom. Together with the nut, the washer and gasket included in the kit are used. Flexible hoses are already connected to the housing. They need to be pre-rolled into the hole. They are connected to the eyeliner. All connections must have a thread. They are compacted by packles or fum-ribbon, which is screwed on the thread with a thin layer.
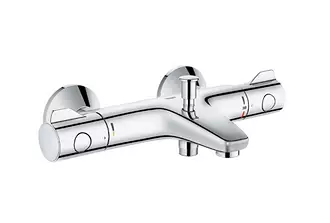
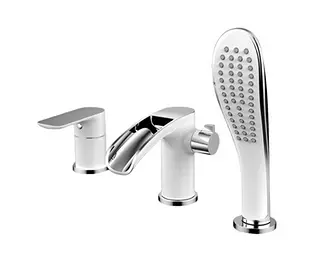
Double-sided bath faucet with Grohe Costa shower
Vertical fastening
In this case, the question is to be resolved - how to install the mixer in the bathroom on the wall. To do this, it will be necessary to prepare, placing fittings properly. It should be carefully careful not to thread the thread. Models for vertical installation have two inputs for hot and cold water. They must coincide with the fittings sticking out of the wall. To eliminate the inconsistency between them, eccentrics are used - special adapters in the form of curved tubes. When giving them a different position, you can connect the faucet to the riser, but only if the error is not large. If, after dismantling the old equipment, the eccentrics remained, former long time in use, you need to make sure that they did not rushes, and that the thread is not spoiled.
Spinning adapters, you should have them horizontally at one level from the floor. To seal the compounds, pakle, fum-tape or its analogues are used. On top wear decorative cups, closing pipes. Then the eccentrics are fixed on fittings using precipitated nuts. Usually they are included.
When the first stage is completed and the body is in its place, it is screwed up to it and the shower hose. It is important not to scratch the coating wrench. Tools with teeth are better not to use. Moreover, experts recommend a wrench to wrap with a tissue or a tape so that it leaves no traces on the nickel surface of the nut.
Single-piece bath faucet with Vidima shower
Metal conclusions are used as the base, but there is another, more technological solution. For example, the installation of the mixer in the bathroom into polypropylene tubes. Their kit includes a special mounting plan. Its inner part is made of metal, external - from plastic. It is mounted on fittings in such a way that her rear edge does not perform above the wall decoration. Such a bar is heated weaker. It is impossible to burn it about it. She does not rust and looks no less aesthetic. The device has holes for screws, with which it is screwed to the wall.Installation on a separate rack
It is possible to install the equipment on a rack folded from bricks, or a metal framework. Such buildings occupy a lot of space. They are used in large rooms. In this case, the entire wiring is hidden inside the design. Depending on the material, it can have a different mass. If it is necessary to perform it from brick or reinforced concrete, it will be necessary to calculate the carrier ability of the overlap.
The case is attached vertically or horizontally depending on the design of the pedestal. Water is fed through the floor.
When all the works are completed, the compounds are checked. For this, the taps on the riser are opened, but not at full capacity. If there are leaks, the joints are checked. The reason can be a weakly tightened nut or insufficient amount of the seal on the thread. If the error is more serious, all connection will be redoing.
Look at the process of installing the mixer on the video.