
We tell about stationary, sliding screens and models with opening doors, and also disassemble the installation process of each type.

In standard bathrooms, it is difficult to find a place for separately standing plumbing. In sample premises, convenience and compactness are much more important, but there is a beautiful place here. The usual steel or cast-iron font at the bottom looks not very attractive. Moreover, the space under it often turns into a warehouse of old instruments, chemicals and other economic accessories. Of course, all this wants to hide from the eyes. It is possible to solve the problem with a decorative screen. We understand which species are and how to install the screen under the bath.
Installing the screen under the bath with your own hands
Stationary modelsWith opening doors
With wide sides
Bath screen with uneven edges
Finished goods
Devices are stationary and opening. They can be bought in the store or make it yourself. The material is plastic, chipboard, organic, plasterboard. Other solutions are possible. The design is located around the perimeter of the Santechnic, but more often its edges rest in opposite walls.
Stationary screen
The design is a panel of materials that are not afraid of high humidity. Wood and plywood for these purposes are suitable only if they are processed by antiseptics and varnish. More often for the creation of the base serve plasterboard sheets, chipboard, fiberboard. Top lay out the tile, as on the floor or wall, or close the panels with wood. This option is not suitable for old houses with weakened overlaps, since the load may be too big. Before starting work, you need to survey the overlap. This requires the help of an engineering organization with special equipment.
Pros and cons
The disadvantage of this solution is the impossibility of using the closed space for storing things. As a rule, it is not large, but with a constant lack of space, this factor may be decisive.
The advantages include the possibility of creating a smooth homogeneous surface, decorated in the same way as the whole interior.
Work does not take much time. Completely perform installation bye even newcomer. When installing the screen on an acrylic bath, an important nuance appears. The fact is that acrylic is deformed under load. When the water is too much, the edges change their shape slightly. This happens under the severity of the body. To subsequently damage the panels and frame, the measurement must be performed when water comes to the edges.
Montage Karcasa
Panels are mounted on a metal profile. The guide is attached to the floor on the dowel. Vertical metal elements are connected to it and mounted on the walls using self-tapping screws. They perform the role of supports for horizontal rails and jumpers between them forming a flat crate. So that he does not rush under the severity of the finish, in the middle it is necessary to make a support. The more such supports, the better. Usually, the step ranges from 0.3 to 0.5 m. It may be metal profiles or adjustable legs if the gap is planned between the floor and the panel.
To give the strength system, two angular profiles are folded together or replace them with metal mounting pipes. They are more reliable, but they cannot be mounted on screws and screws. For mounting, you will have to use the welding machine.
The space between the side and the upper guide is filled with the mounting foam.
Use boards, wooden bars as a basis is not recommended as they deform at temperature differences. In addition, they are afraid of dampness. There is moisture-resistant wood, but it costs expensive.
Choosing finishing
Solid panels and drywall sheets withstand any facing. It is often used to cover the walls - a tile, a tile of artificial or natural stone.
In the wet premises, a tree or veneer is rare, but at good ventilation they will serve for a long time. They must be treated with antiseptics and water-repellent composition. If the carrier ability of overlapping allows, it is possible to do without finishing, creating a brick base and covering it with varnish.
Plastic is inferior in its decorative qualities of a stone or a tree, but has several advantages. It has a small mass. He does not need a strong framework. The coating is not deformed, not afraid of dampness, it is easy to clean. It is easy to cut and conveniently in the montage.
Sheets are attached to screws, glue or inserted into the grooves. To do this, starting strips are attached to the upper and lower profiles on liquid nails.
Plates should not be chopped tightly into the floor covering. They should be easily removed in emergency cases when repairing pipes or cleaning of the siphon is required.
So that the water does not fall for the fence, it is necessary to close all the cracks with elastic plugs or linse with sealant. Untraceed angles are usually covered with plastic plinth.

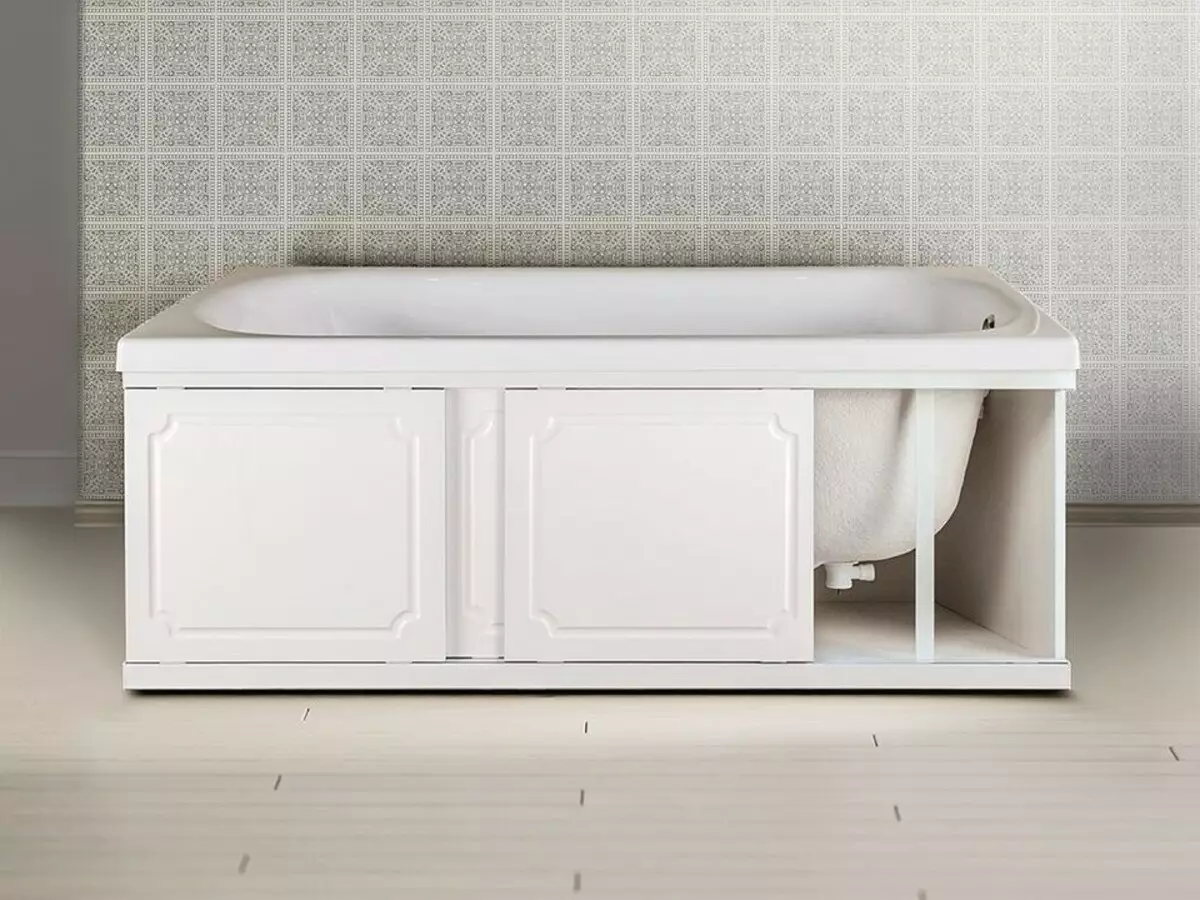
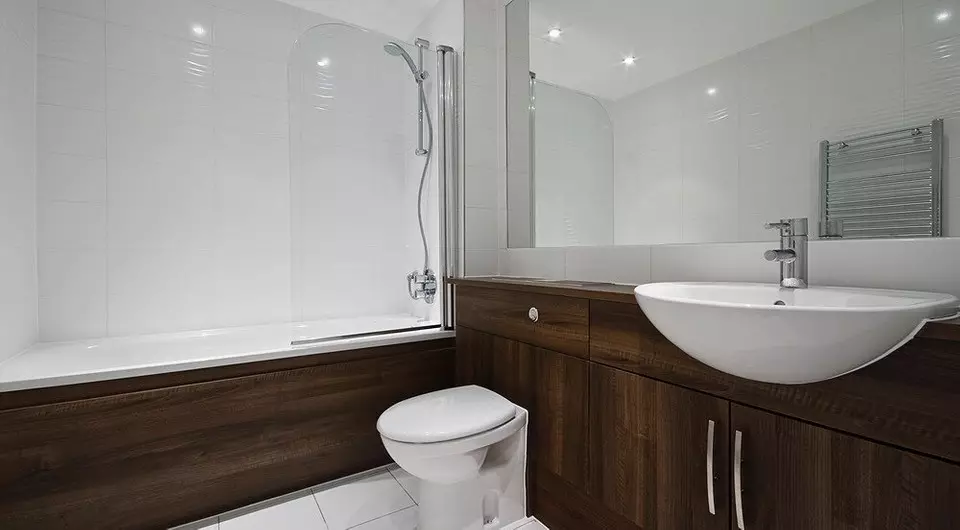
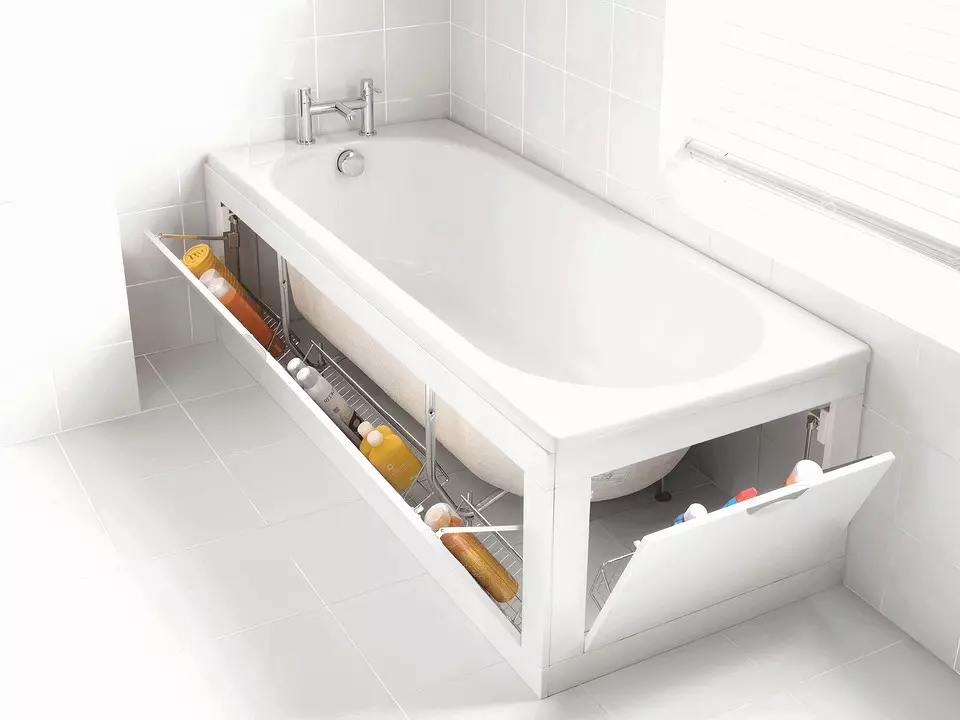
Screen with opening doors
Doors can be located all over the perimeter or located in certain places. It is advisable to place them from the siphon side to provide access to it. From the same edge the pipeline passes. It should not stir up.View of the door by way opening
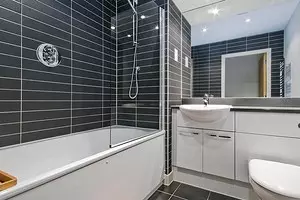
- Sliding is the most common option. Its main advantage is compact. Fasteners do not occupy an open passage. They easily slide on rails and do not create any inconvenience when using them. The system is very simple. It serves a long time and almost never breaks. It may include expensive mechanisms - closers, devices that slow down the movement of the panel, complicated accessories - but more often do without them. There are models that are fully made of plastic. They are not subject to corrosion and well adapted to a wet environment. A special aluminum profile is applied as a rail.
- Swing - they are less comfortable. Metal loops made from poor-quality material quickly rust under the influence of moisture and high temperature. If they are reliable enough, shelves are placed on the inside of the canvas.
- Folded - have complicated accessories - loops, closers, snap-down lock. Their dignity is that the sash can occupy the entire surface.
- Harmonica - the device is quite compact, but it is rarely used. The harmonica is easy to damage. They do not withstand shocks or strong pressure.
When choosing a frame design, the sizes and position of the sash should be taken into account. Vertical jumpers should be in their edges. If the entire surface is the sash, the base in the form of a frame, reinforced around the perimeter, should be made. In the previous section, we described how to install a screen on an acrylic bath. In the case of the doors, you need to act according to the same principle. All measurements are made only after the water comes to the edges.
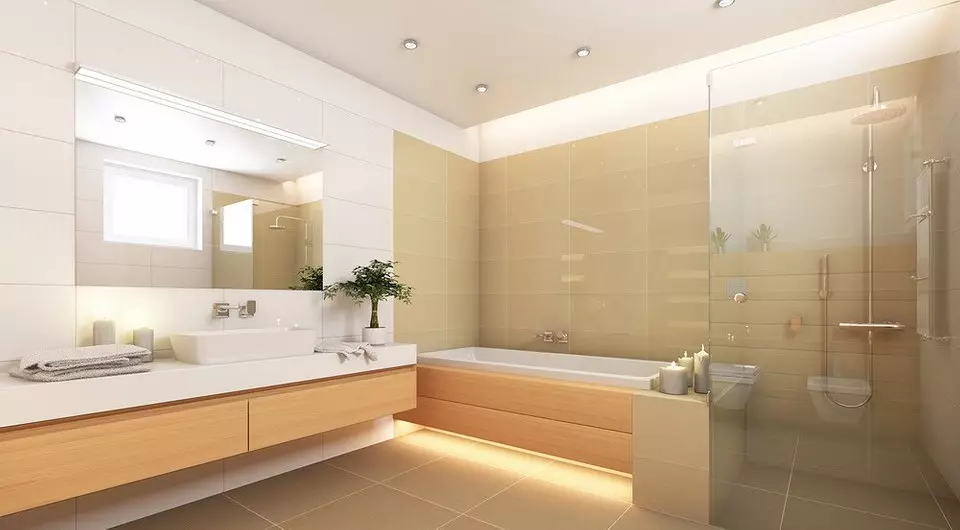
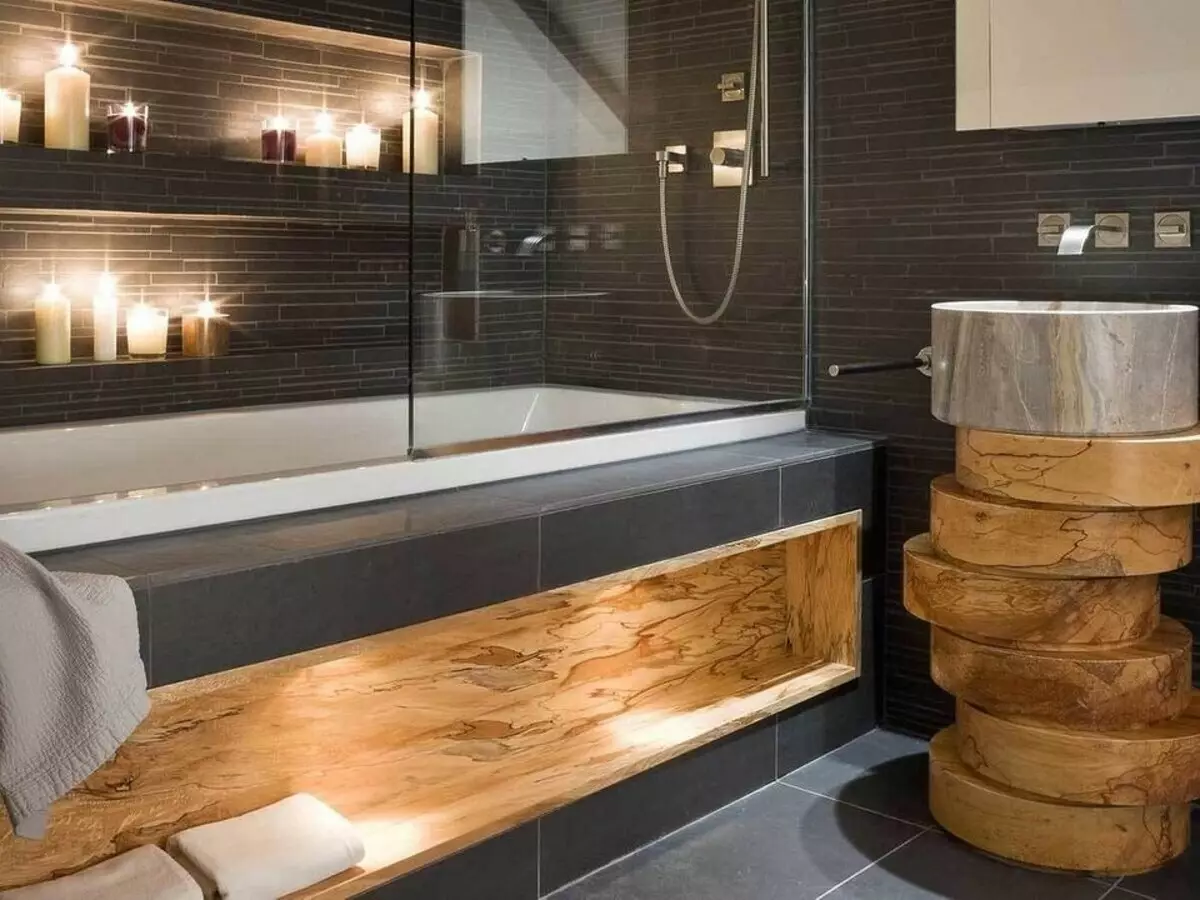
Wide Side Screen
Spacious bathrooms often install a bulk crate. It is convenient because it increases the side of the side, allowing you to place bath accessories on them. To make it easier to climb into the bath, downstairs are satisfied with a special recess for the legs of a round or rectangular shape. To embody this idea, you will need to create a design of a complex configuration. Impossible from the brick is impossible. Usually, the laying is left empty space, which is then closed with rails, trimmed by plasterboard.
The upper part must withstand human weight. As a base, either double angular profiles, or metal pipes, cooked with each other, are applied.
Bath screen with uneven edges
If you need to repeat the form of the side, it is better to use a metal frame as a base. Corner profiles are easily flex. In order to give them the necessary configuration, on one of the sides every 2 cm, cuts in the form of a triangle are made. The stronger the fold, the wider the triangle. To give the Rake the correct configuration, it is applied to the side. It will be more convenient to work if you stick it with scotch. It is necessary to work very carefully so as not to damage the coating. When all lines coincide, the bar is lowered to the floor and shifted deep into the distance equal to the thickness of the finish. If it is planned to cover the base with tiles, not only its size, but also the thickness of the glue should be taken into account. Together with a putty, its layer can be about 5 mm. The mount is made with dowels and screws.
When the lower guide is installed, side rails are mounted on the walls. They are connected to it with corners.
For the sheat, plastic fits well. If its further finish is to be, it is better to use plates from dense extruded polystyrene foam. It has sufficient stiffness and durability to withstand the tile. The material is cut by strips of 20 cm. With strong curvature, they can be even already. The bands are inserted into the lower guide, on top and at the edges they are fixed by mounting foam. It is necessary to leave the space near the siphon under the revision hatch - the door or removable panel. To give the design of greater strength, it is better to collect a powerful frame with jumpers and upper strip.
When the foam is freezing, the surface is placed and put off, after which it is made of cladding.
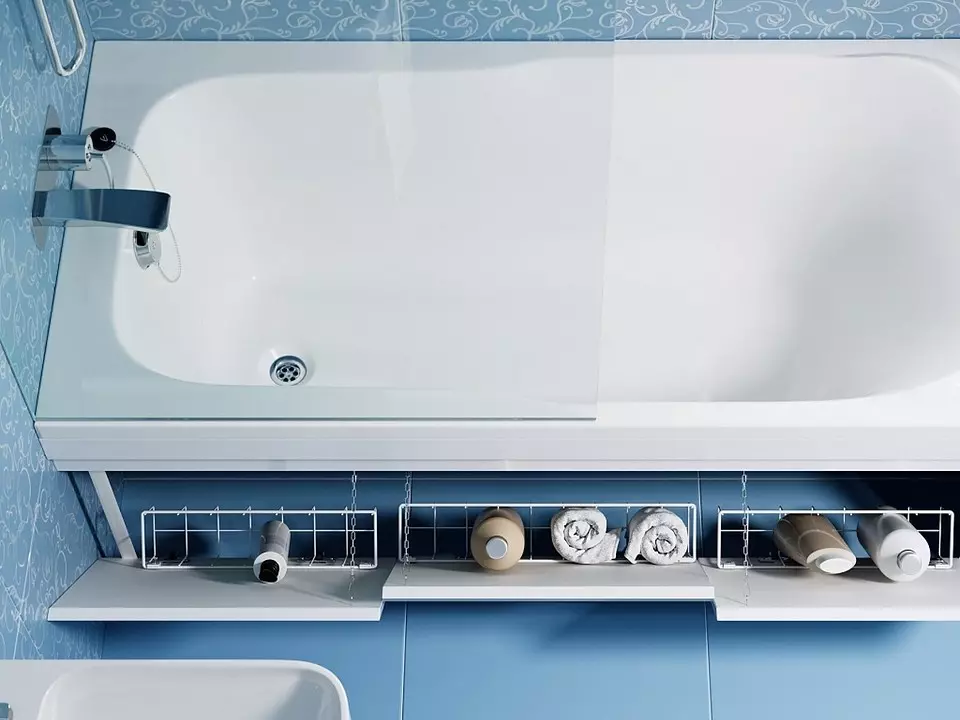
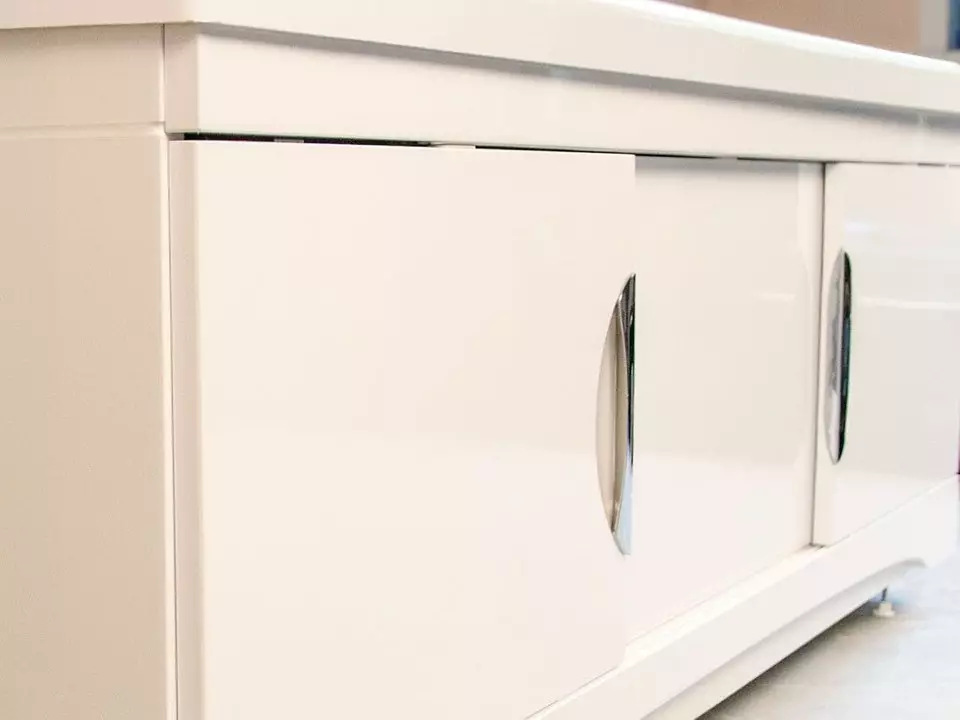
Ready sliding screen
The design can be collected yourself, but it's easier to buy a ready-made set in the store. The lamp can be made of plastic, aluminum or steel. The outer part is made of plastic, plexiglas, metal or MDF treated with hydrophobic composition. Constructions differ from each other. All items can be opened, or part of them. The cutture does not always have vertical jumpers, which gives certain freedom when changing the outside of the structure. The kit includes accessories, fasteners and adjustable legs. It is convenient to use them if the floor covering is only to be put. If necessary, they rise to a height of up to 10 cm and more.
Products correspond to existing plumbing sizes. If non-standard parameters are needed, the excess part is cut off with a disk saw. Many manufacturers make screens to order in size provided by customers.
Installing the finished sliding screen under the bath with your own hands
Required tools
- screwdriver;
- roulette;
- building level;
- Spanners for fastening and adjusting the legs.
Process
Installation begins with the assembly of the legs. They screw the plug with threads and is inserted into the vertical rack. Then the frame is going and inserted under the aircraft.
Acrylic sideboat can be drilled and fix the crate on it with the top with spills.
How to install a sliding plastic screen under the bath without allowing errors, you can learn from the video instruction.