
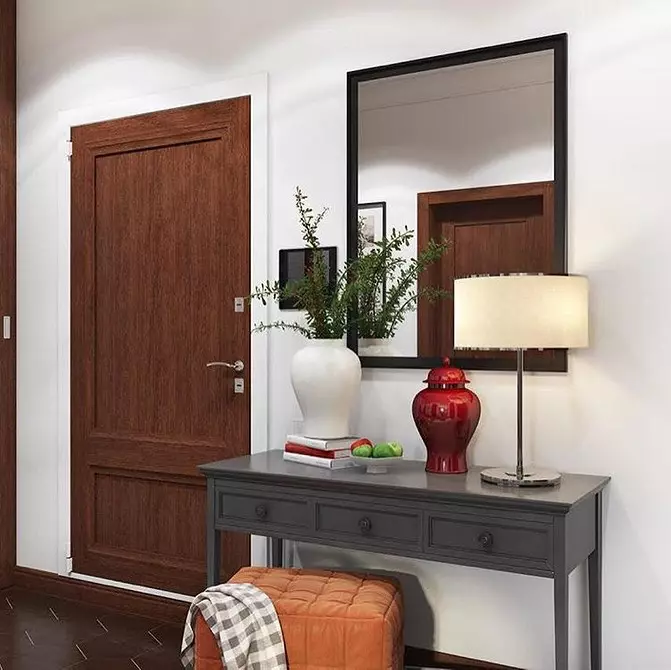
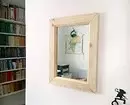
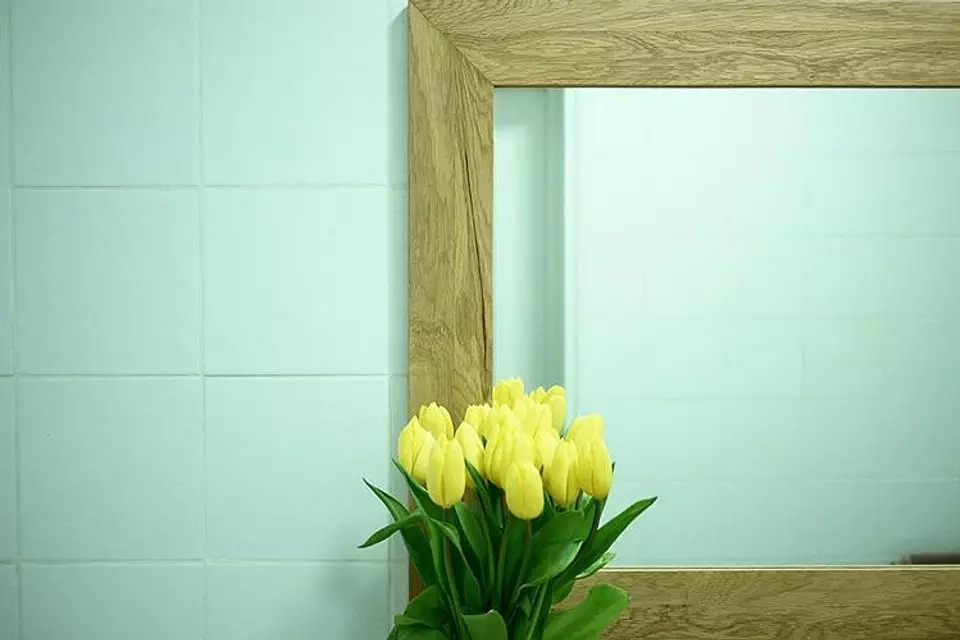
Ready baguettes are definitely beautiful. But they are not suiced, and it is not always possible to quickly find what is suitable for you. We show how in just a few hours to make a flawless frame.
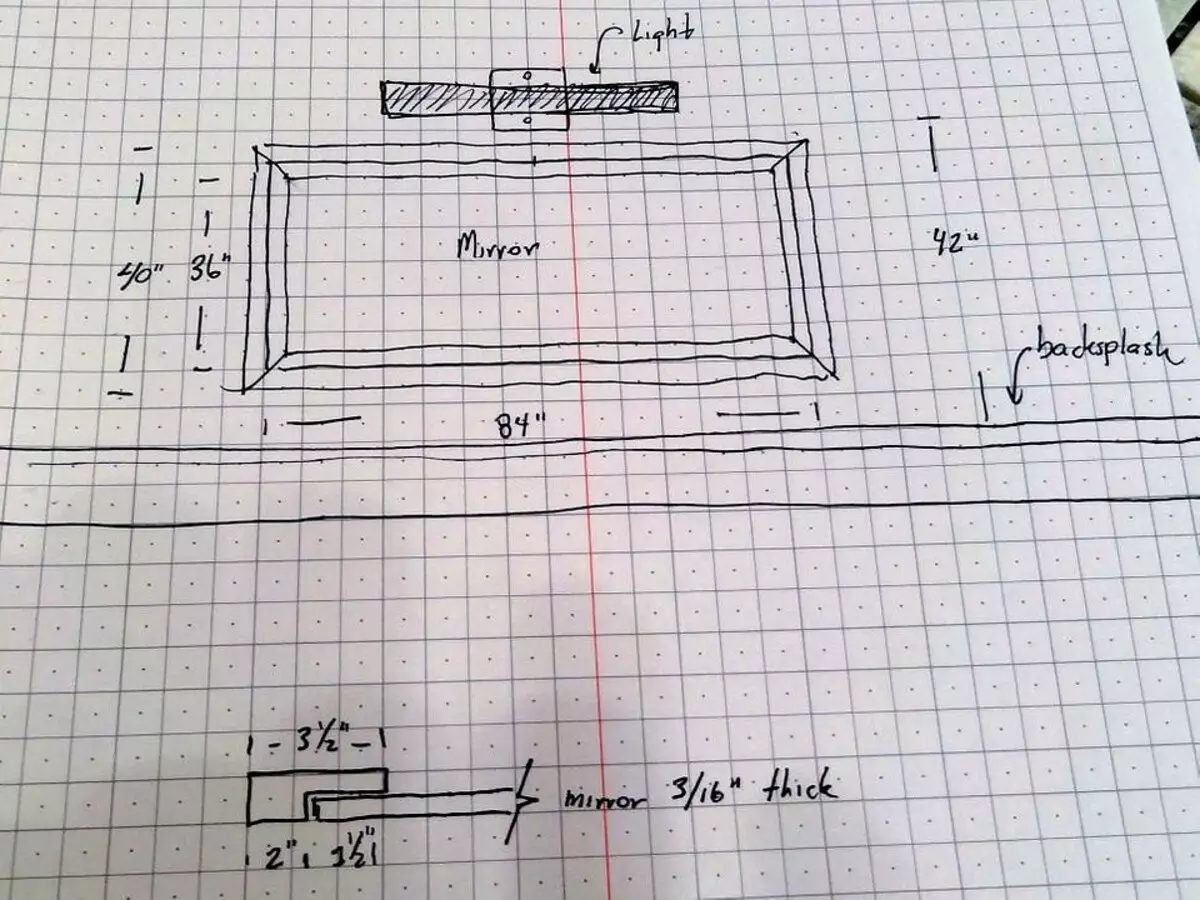
To better understand how to make a frame for the mirror, the masters advise first to draw a plan taking into account the location of the backlight, indicating the size of the wall, the reflecting canvas itself.

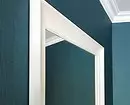
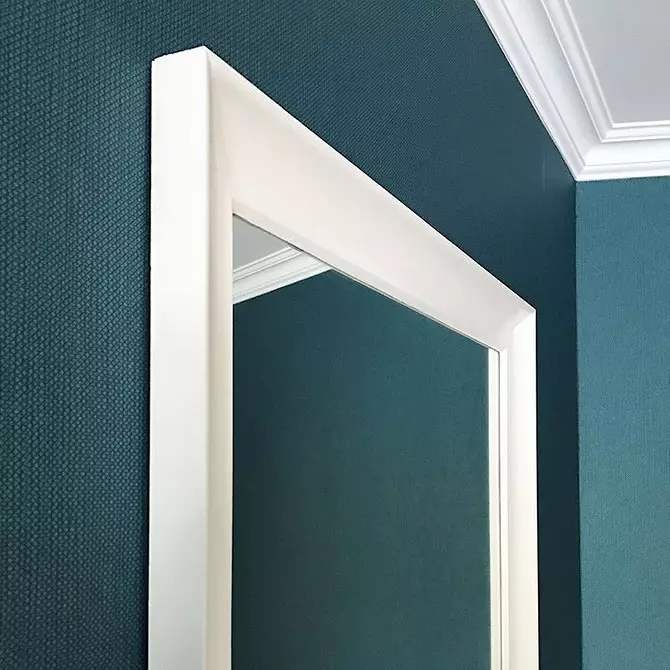
Please note that the edges of him will come to the edging of about half of its width. Do not forget about this nuance in the drawing.
If you have little skills in the joinery, select the simplest model - square or rectangular model. This will facilitate the solution to the problem, how to make a frame for the mirror with your own hands.
What can make a frame for the mirror: a selection of options
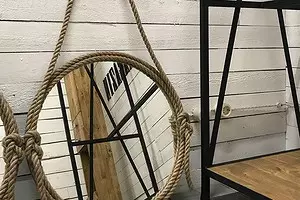
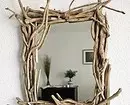
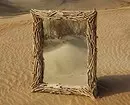
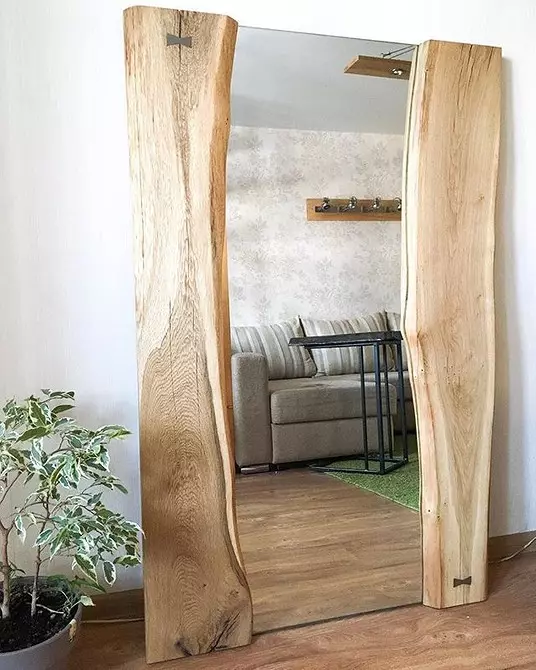
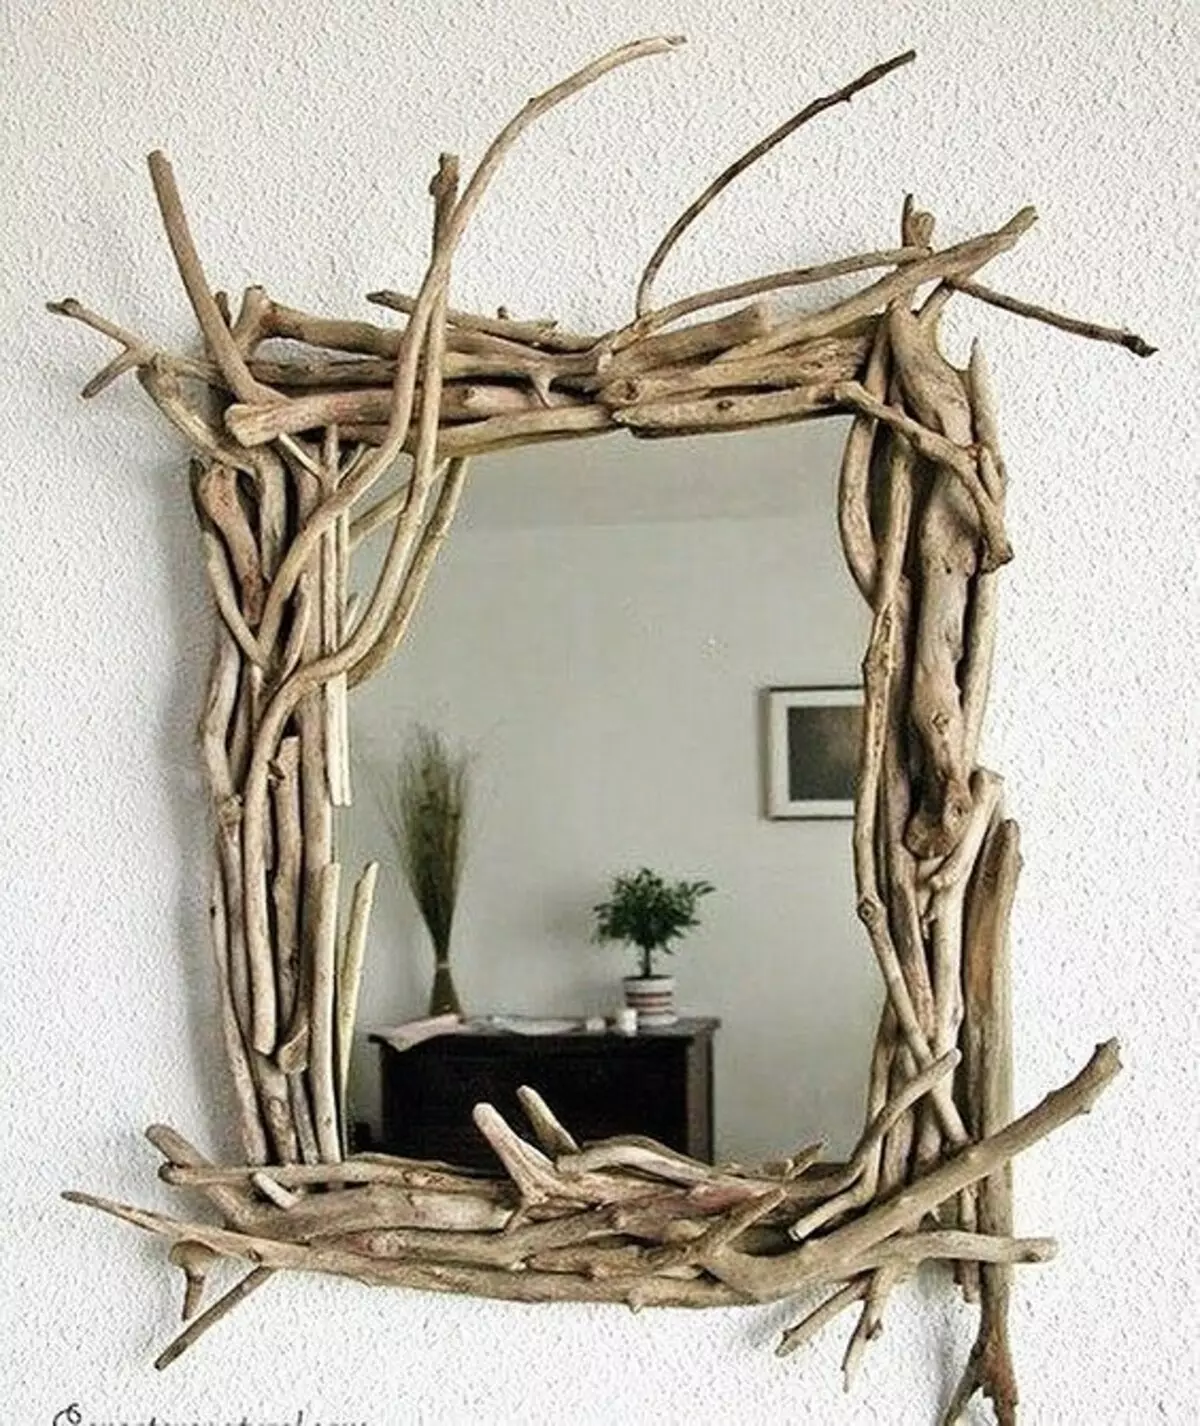
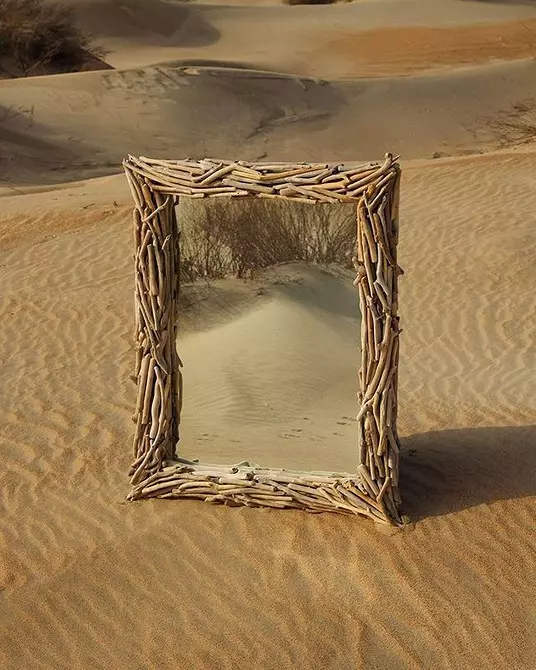
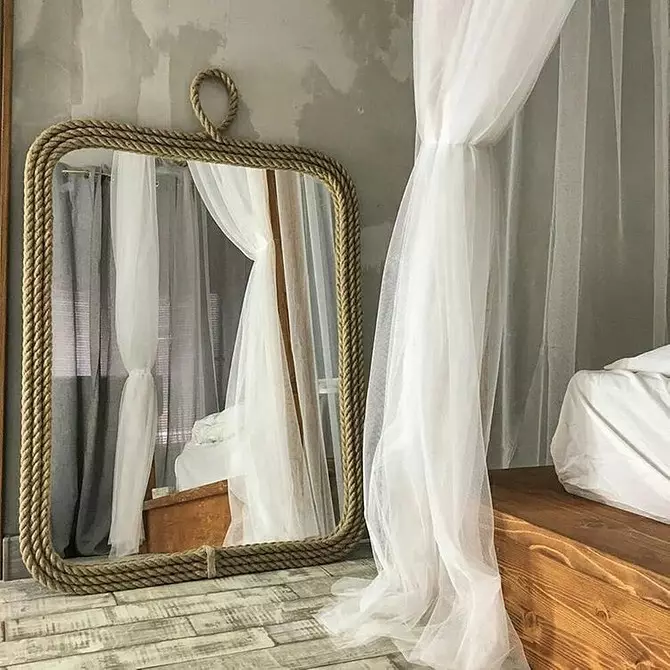
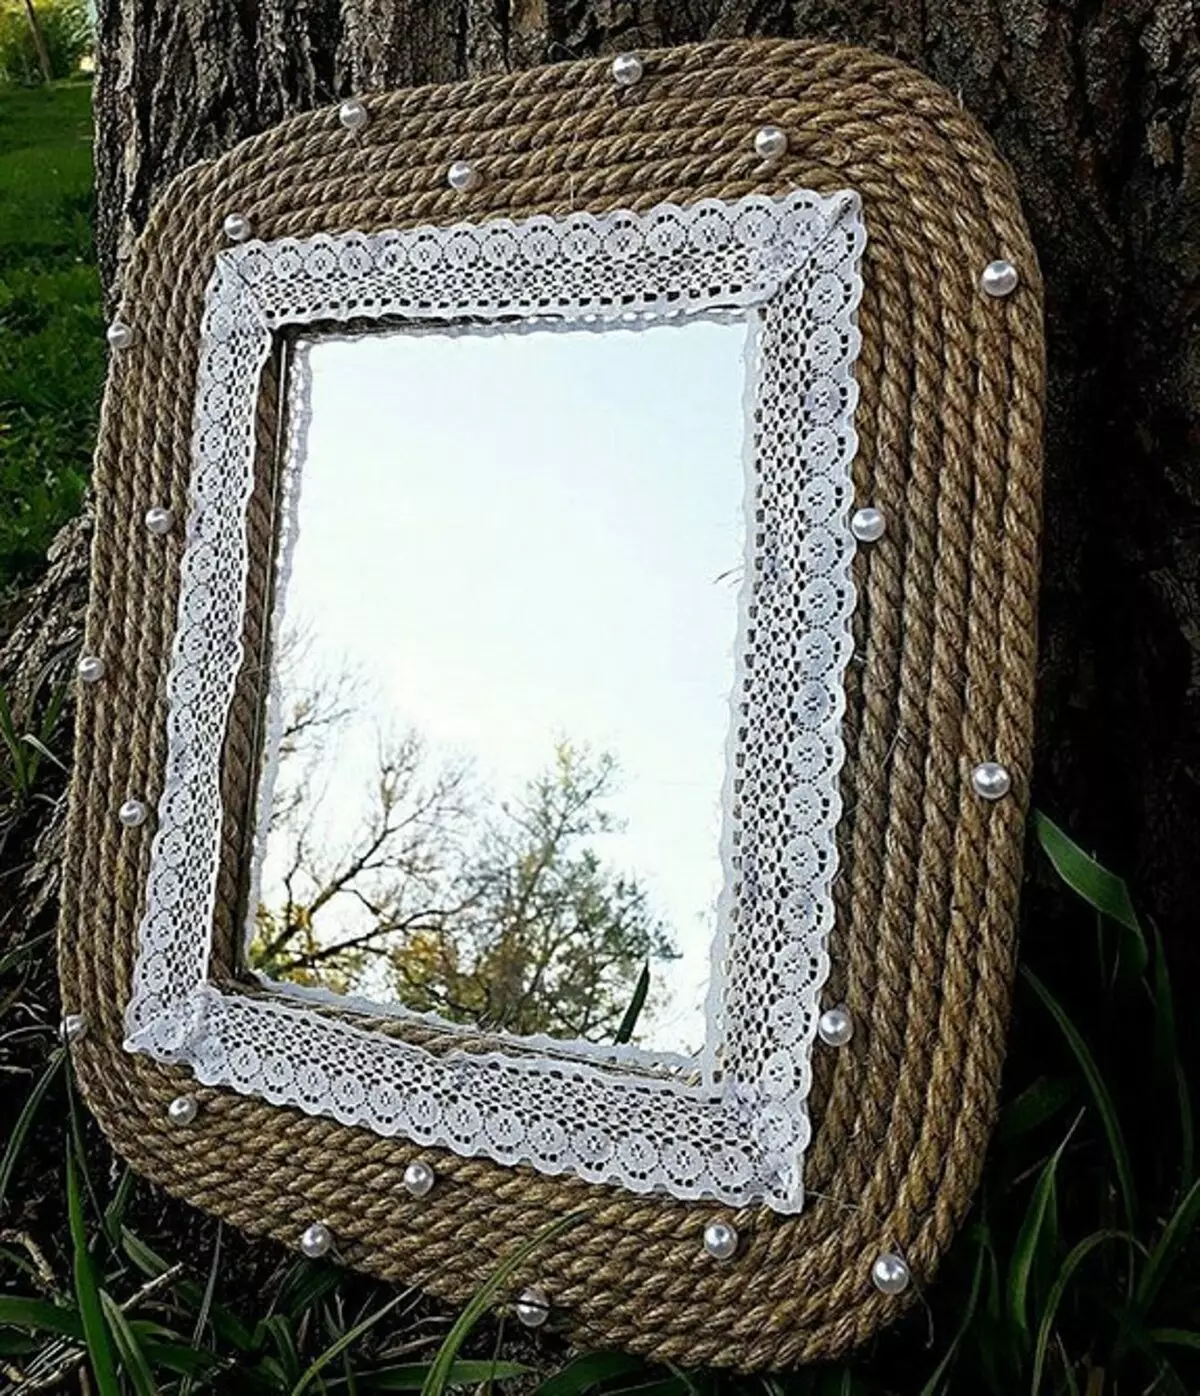
For interior styles, ethno, eco, country, loft or scanda will fit longitudinal and transverse spins of trees, branches, rope.
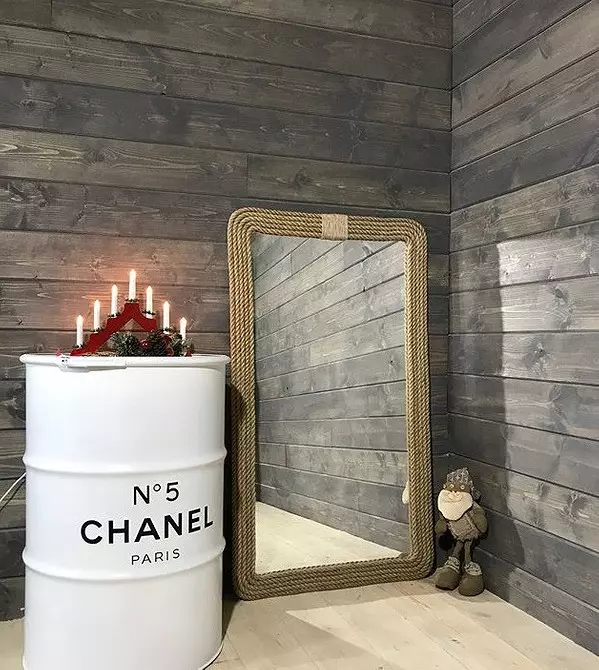
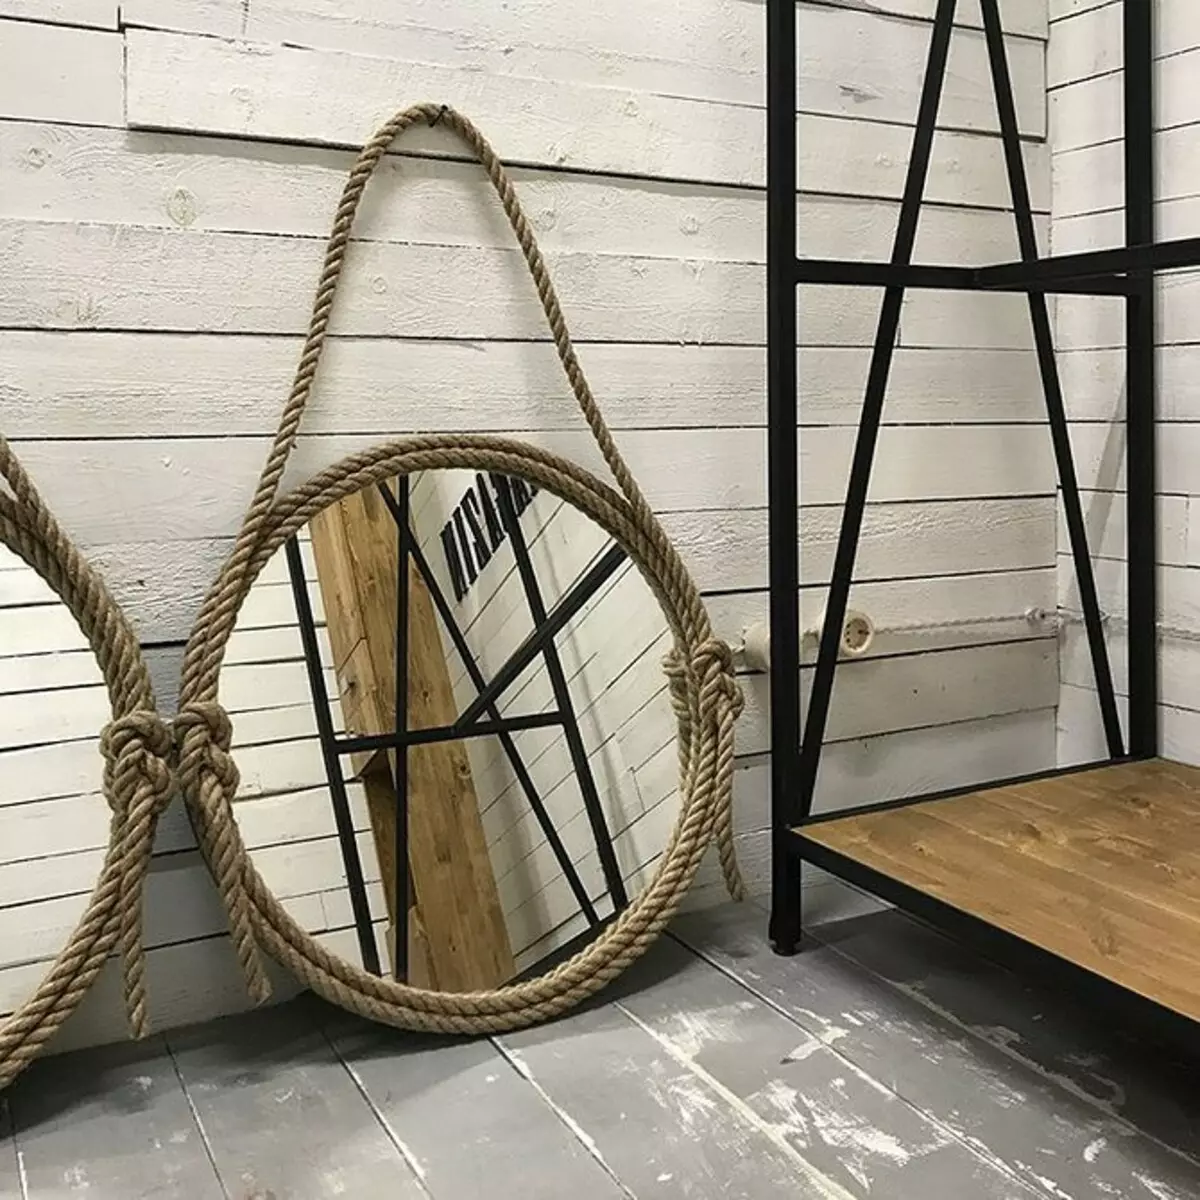
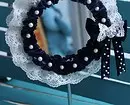
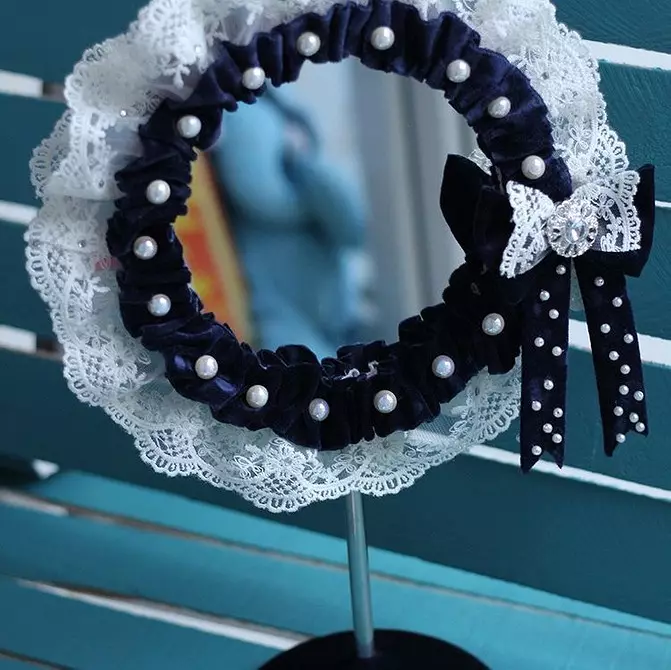
By the way, if the ropes complement the lace and beads, it will turn out a feminine option suitable for Provence or Rustic. In addition, rough jute and without an additional decor perfectly combined with air textiles in the bedroom.
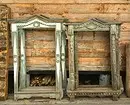
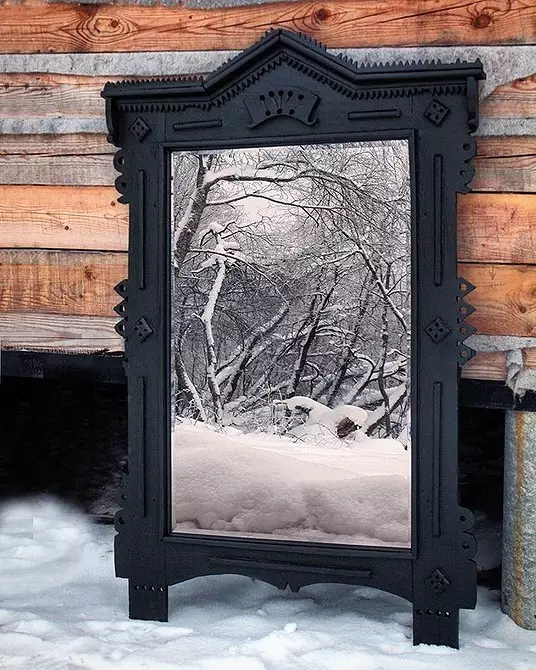
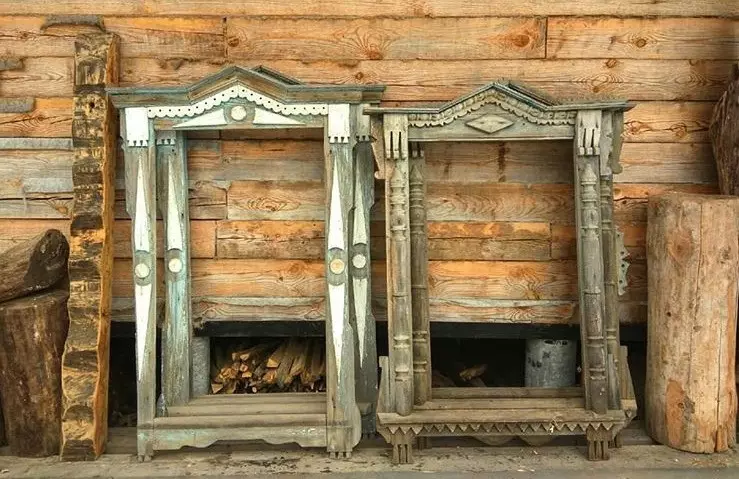
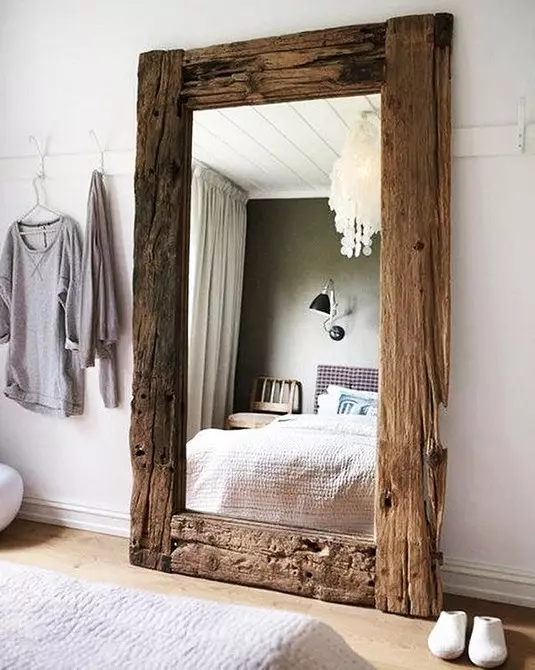
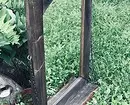
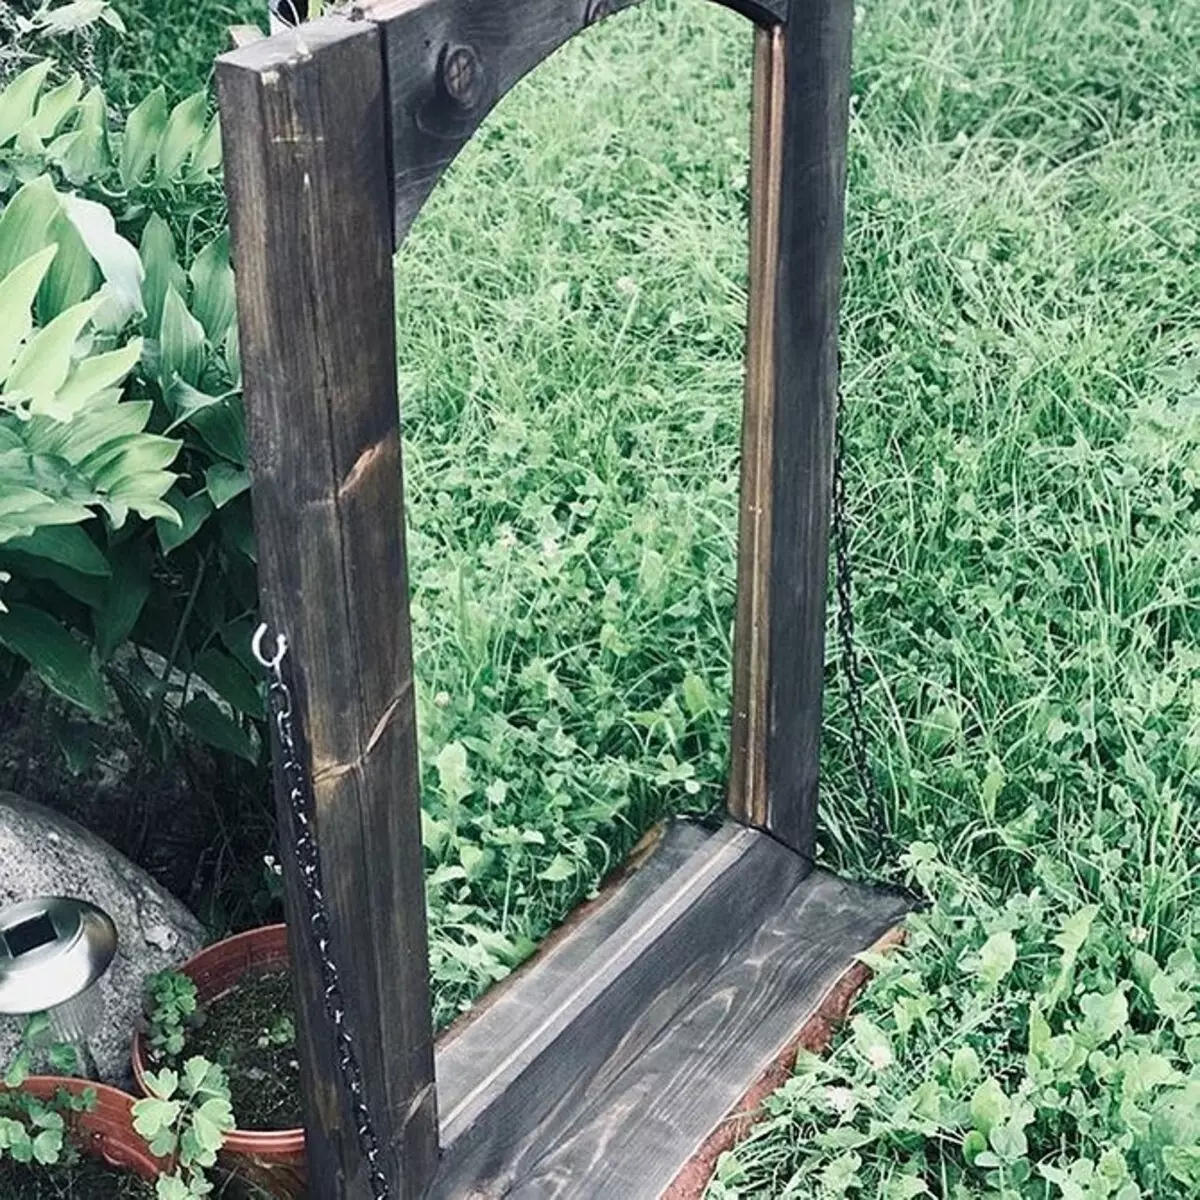
Baguettes from old carved platforms look unusually and expensive. Such are rare now, but in the villages they can be reached by almost free, having agreed with the owners of houses under demolition.
Polyurethane ceiling plinths are simple in processing and allow you to implement a variety of ideas and in any styles: from pompous classics to laconic scand.

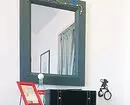
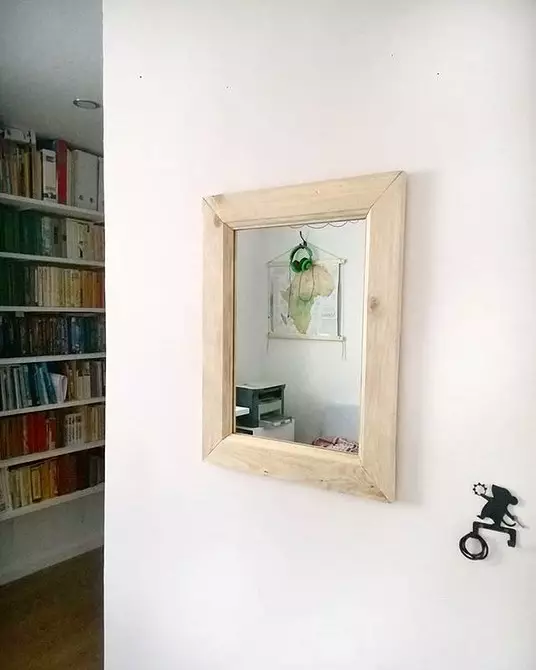
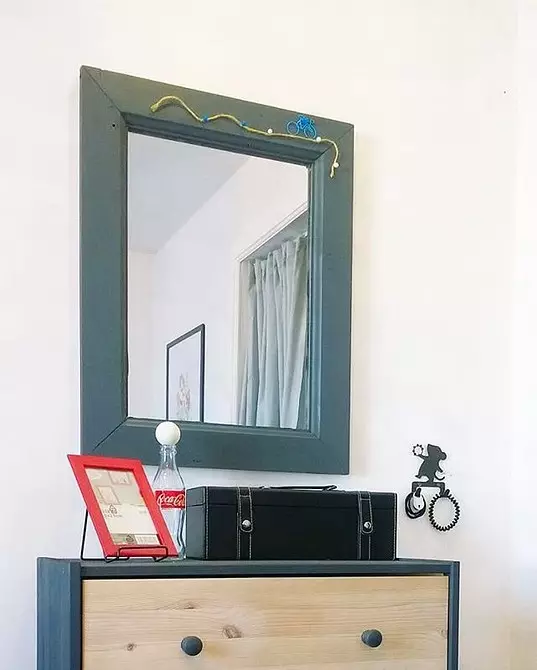
In the course you can put the usual wooden floor plinths. They can be left in pristine form, and you can paint - the result in any case will please you.
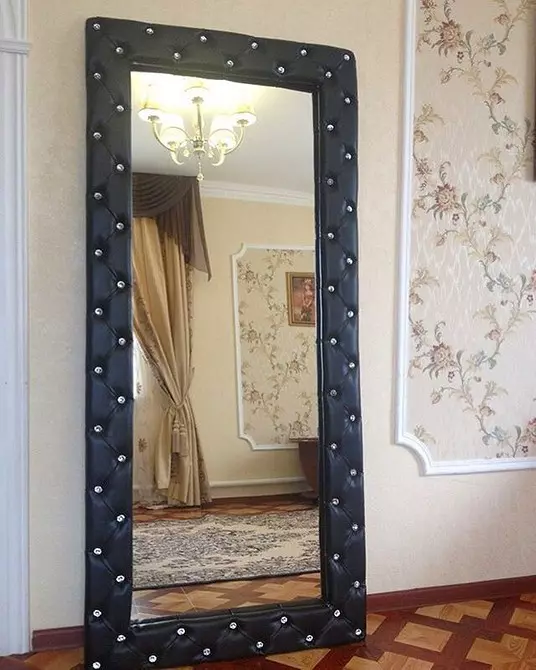
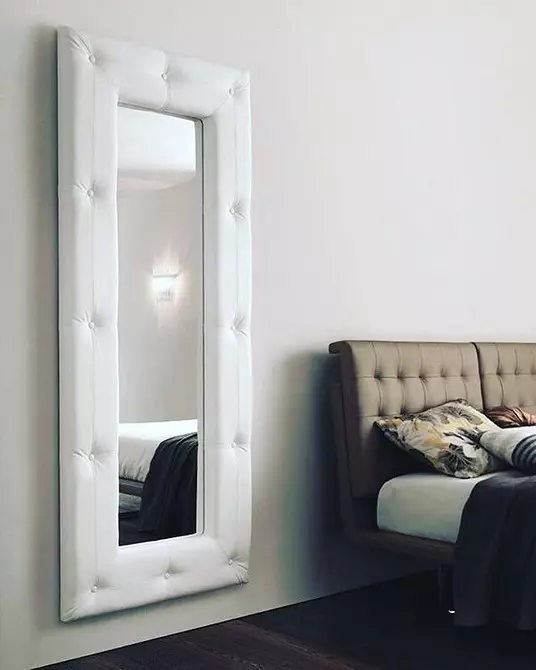
A carriage screed from leather or substitute, it turns out, it looks good not only on furniture, but also on accessories. True, it limits the possibility of decoring the room, reducing it to various classics options.

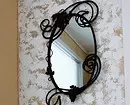
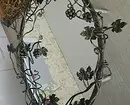
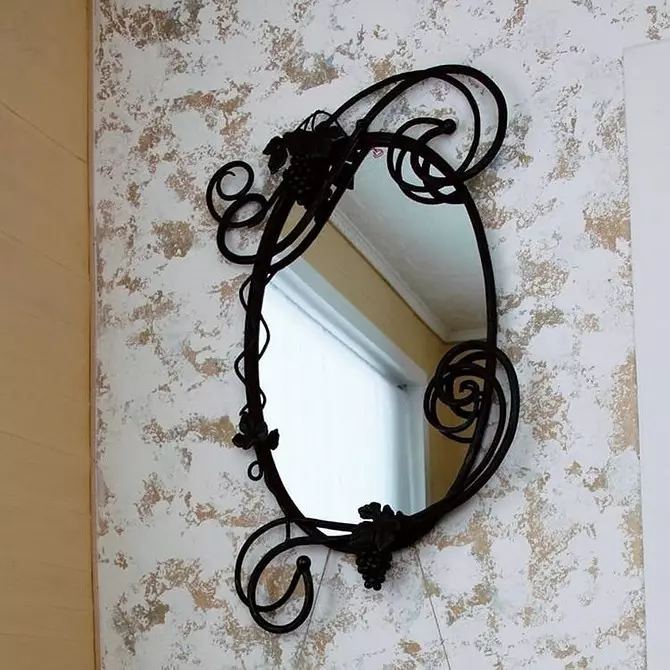
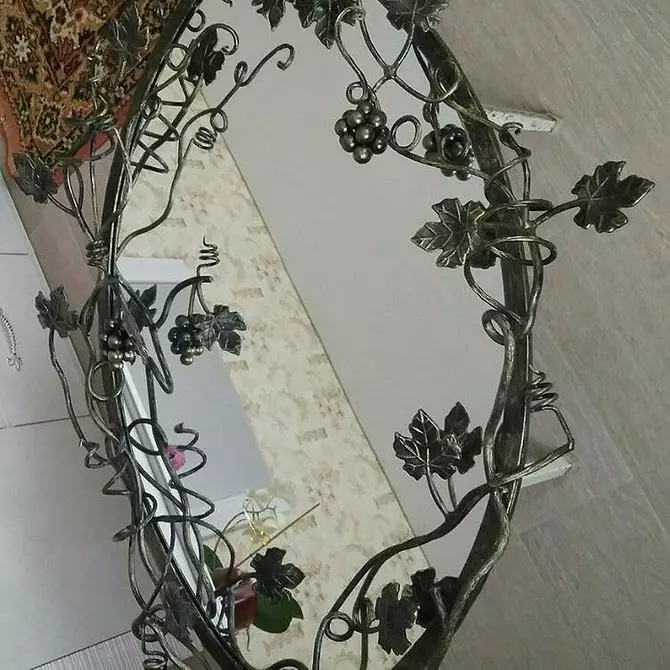
Forged products are beautiful, but to make them under the power not to all masters. Wanted skills not only forging, but also welding, working with metal. Nevertheless, if there is an opportunity to make a similar piece of decor, it is definitely not worth refusing it.
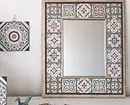
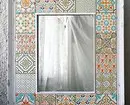
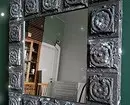
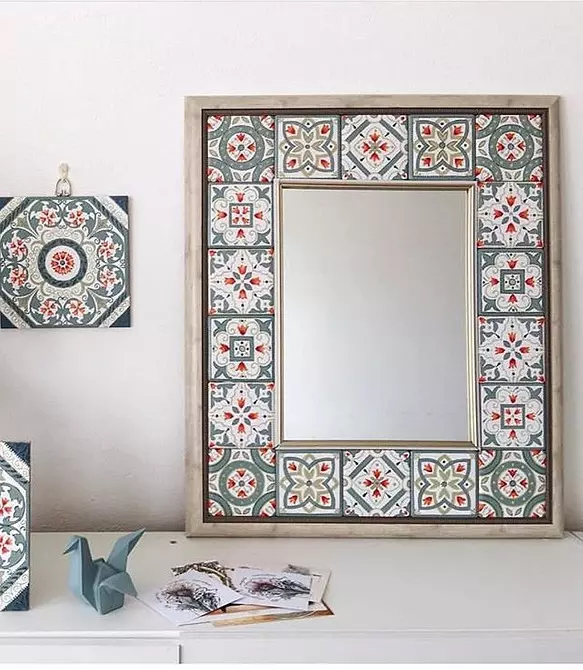
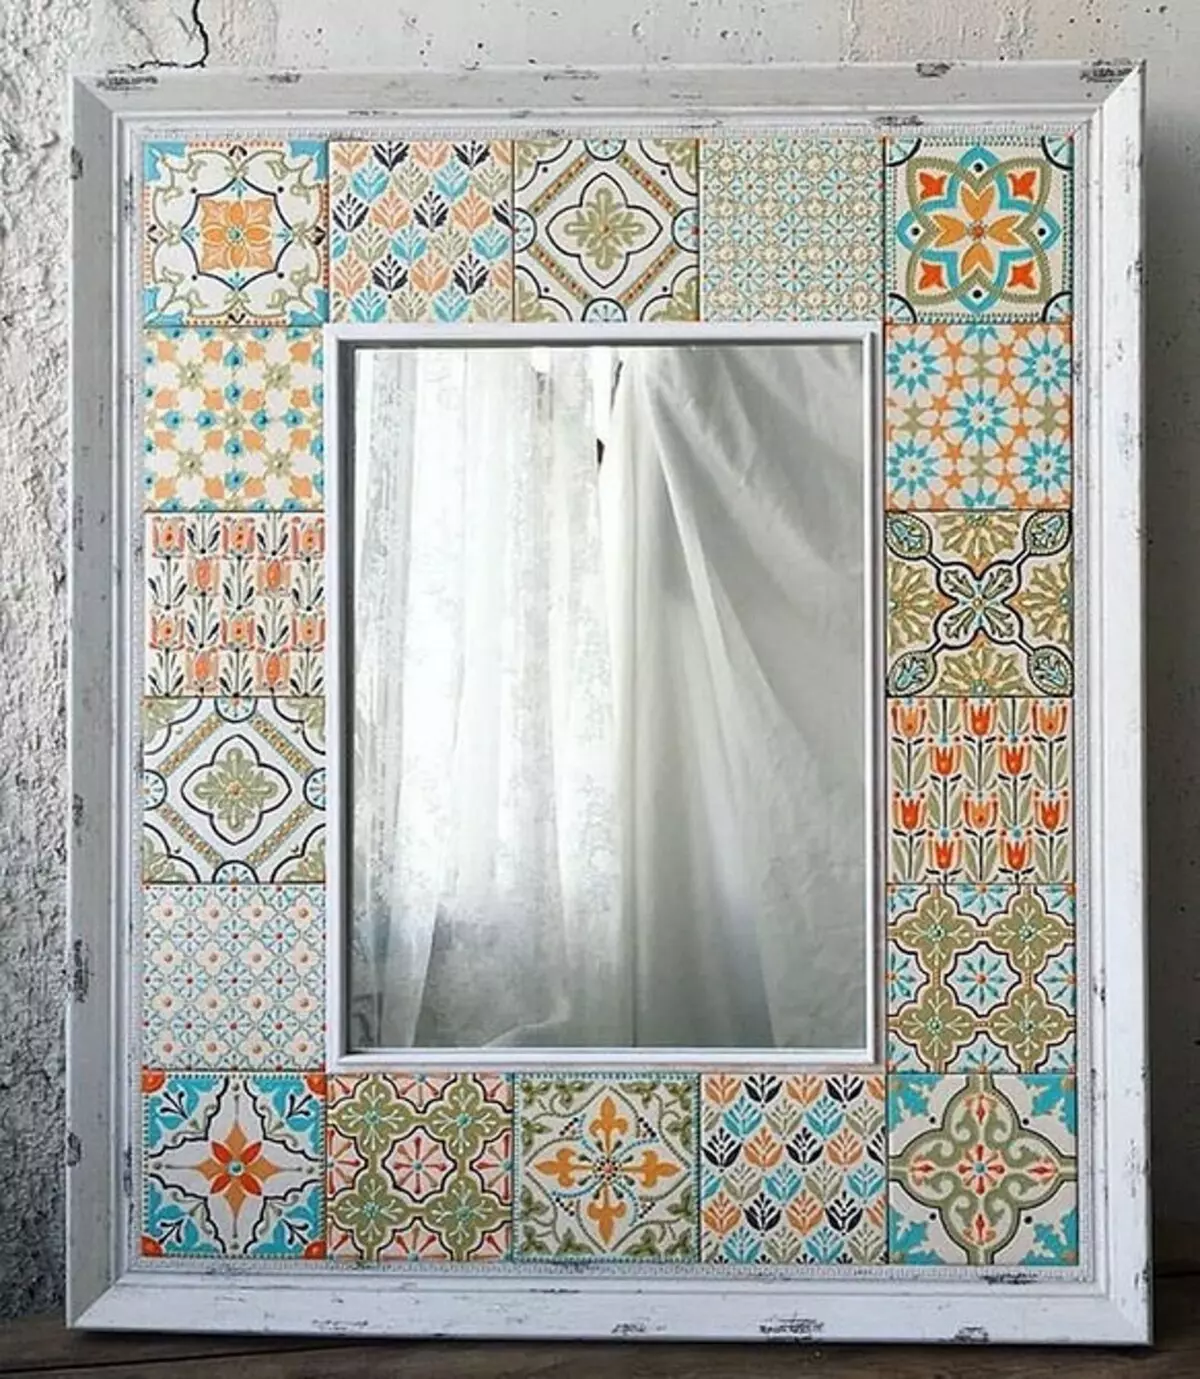
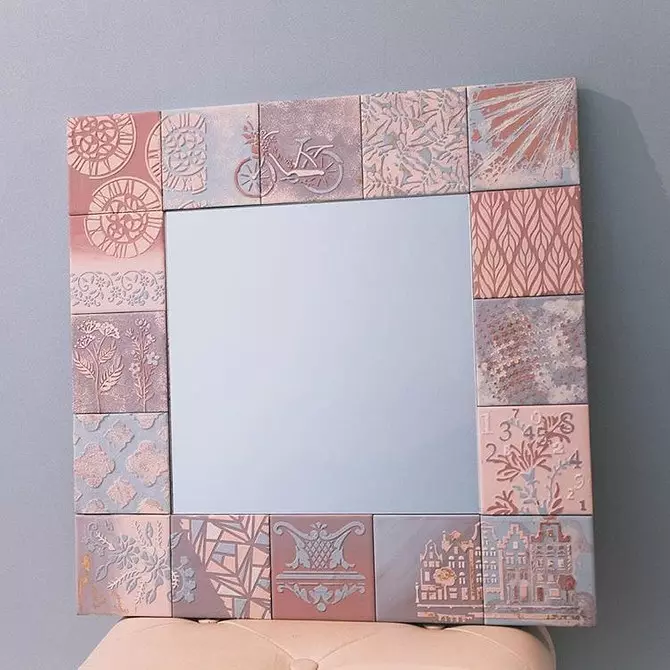
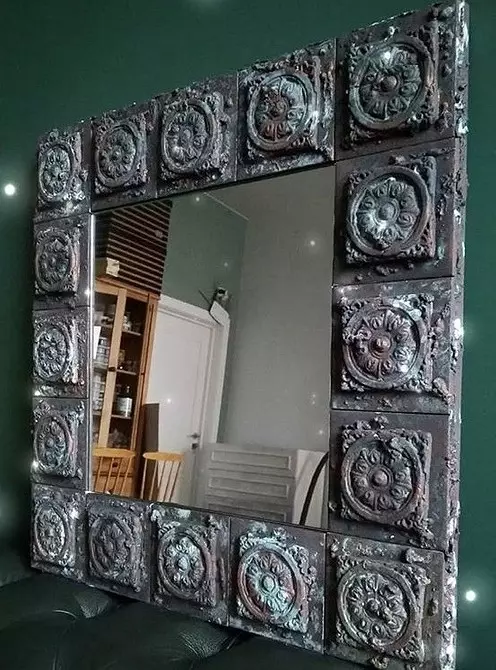
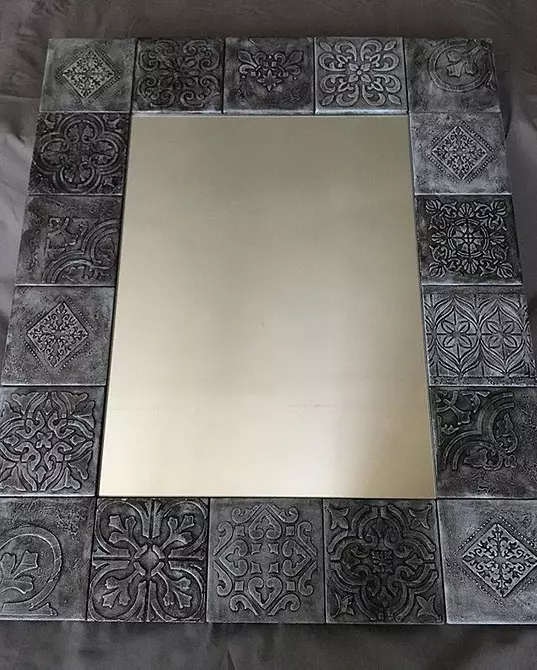
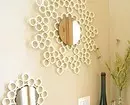
Less usual frame for rim, but accurate attention is a ceramic tile. It allows you to create both gentle and brutal compositions absolutely under any interior.

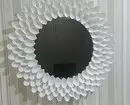
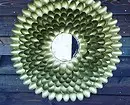
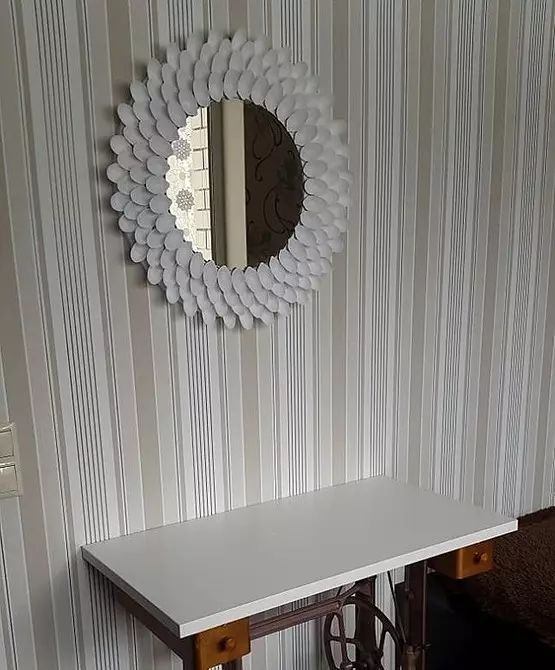
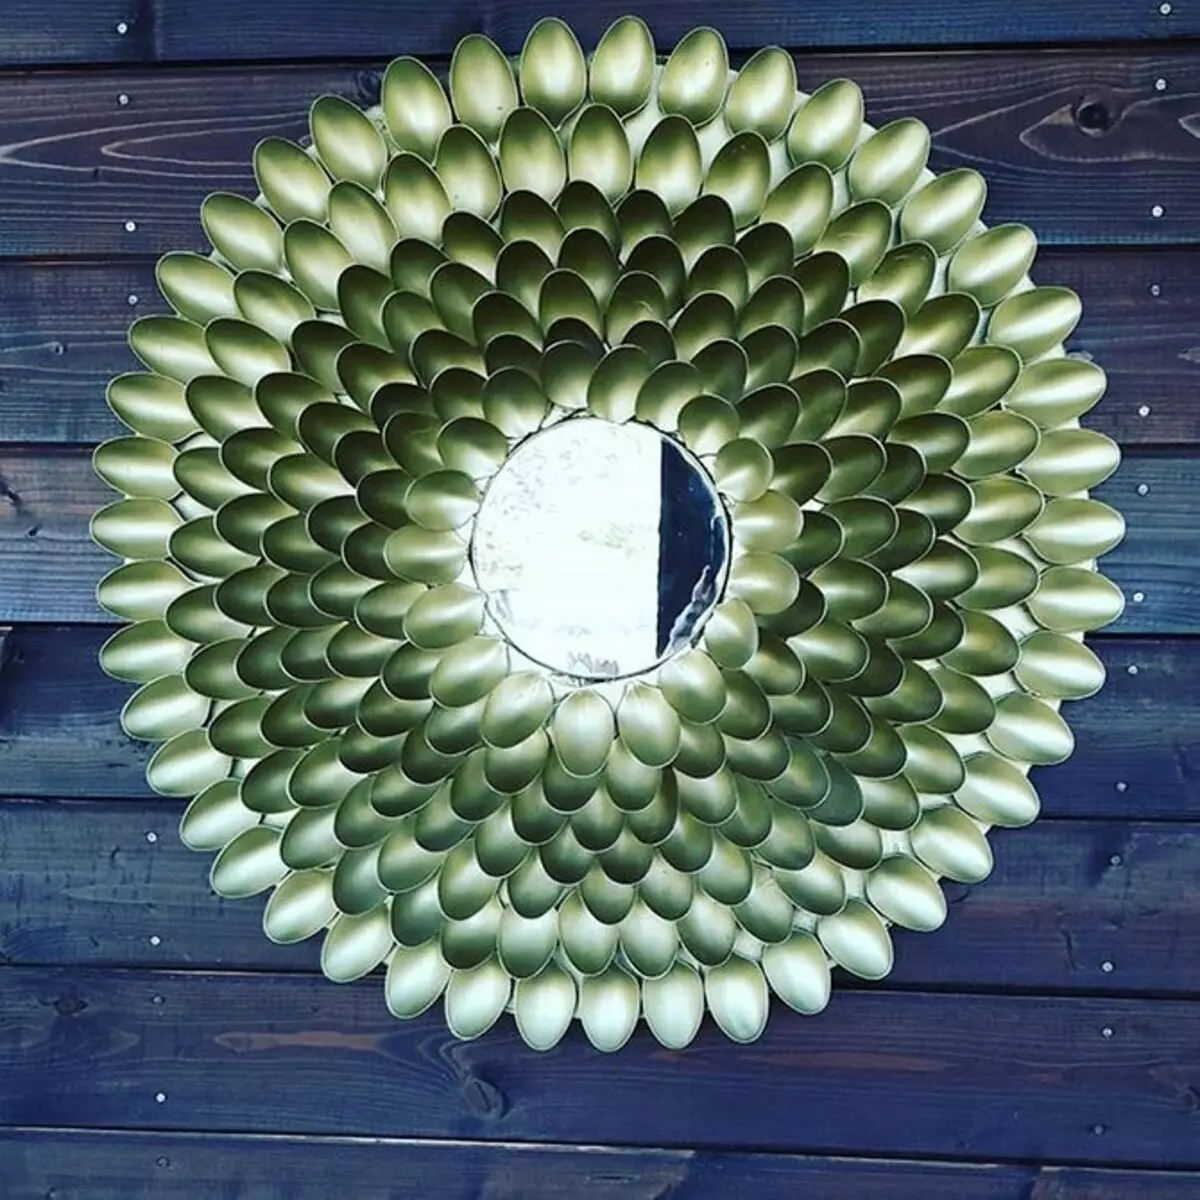
And even unexpectedly use in this sphere of plastic spoons. However, it can get something interesting. It is important to guess from the painting craft and the overall decoration of the room so that the accessory looks organic.

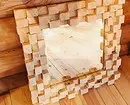
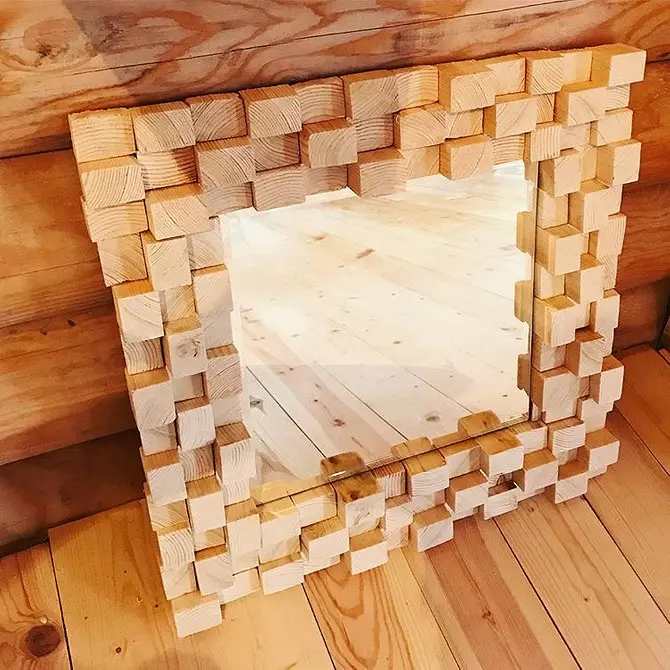
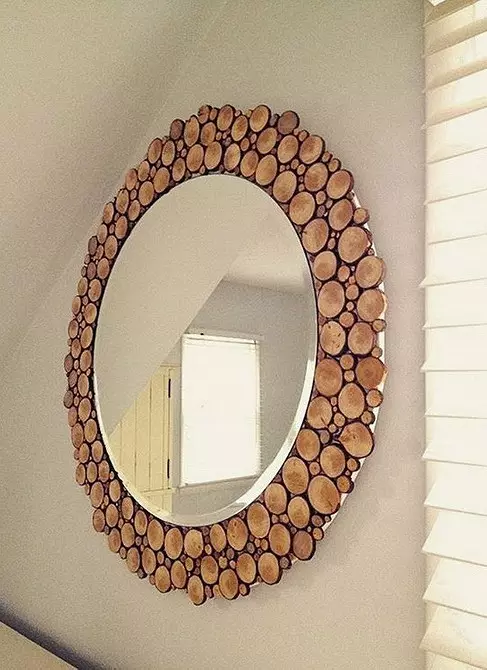
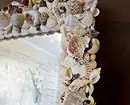
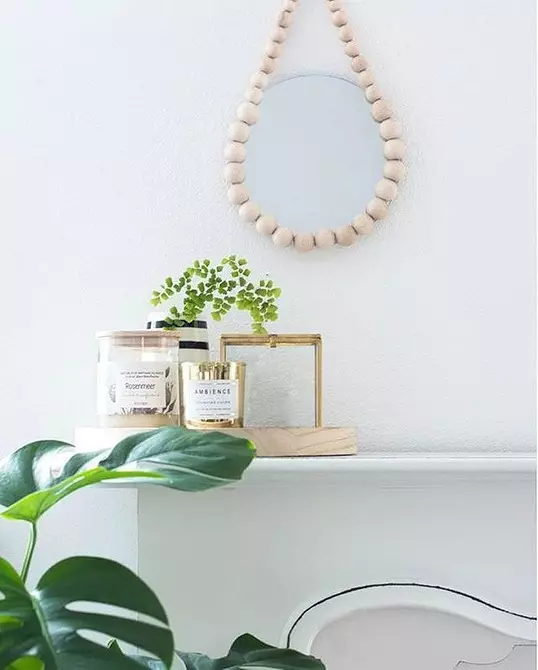
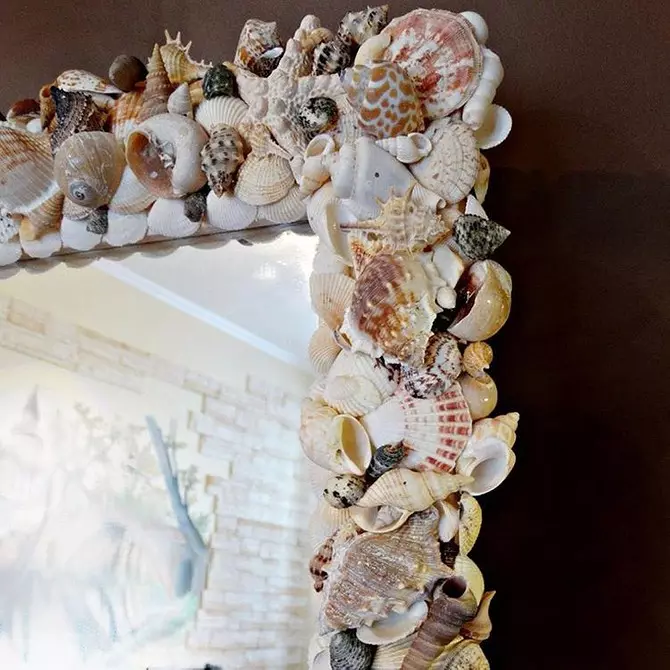
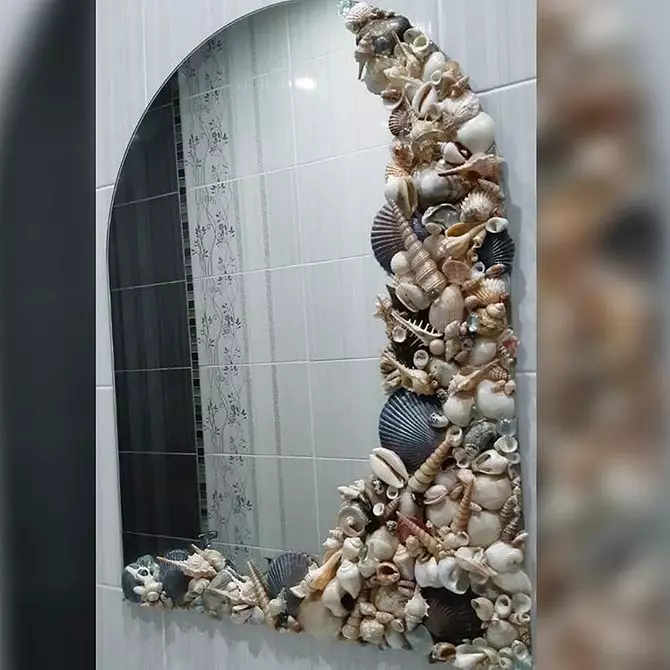
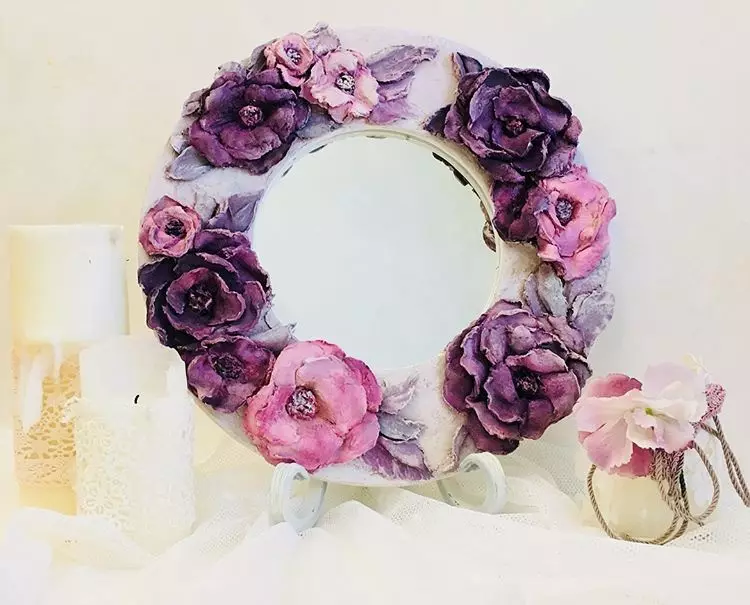
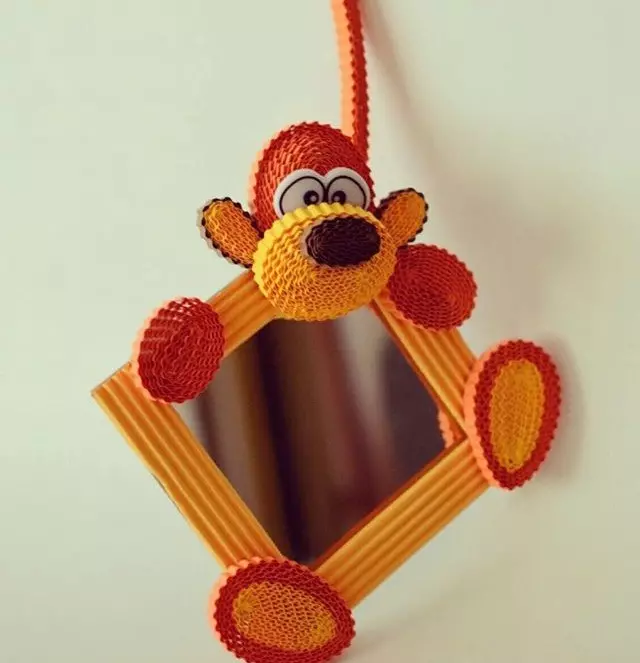
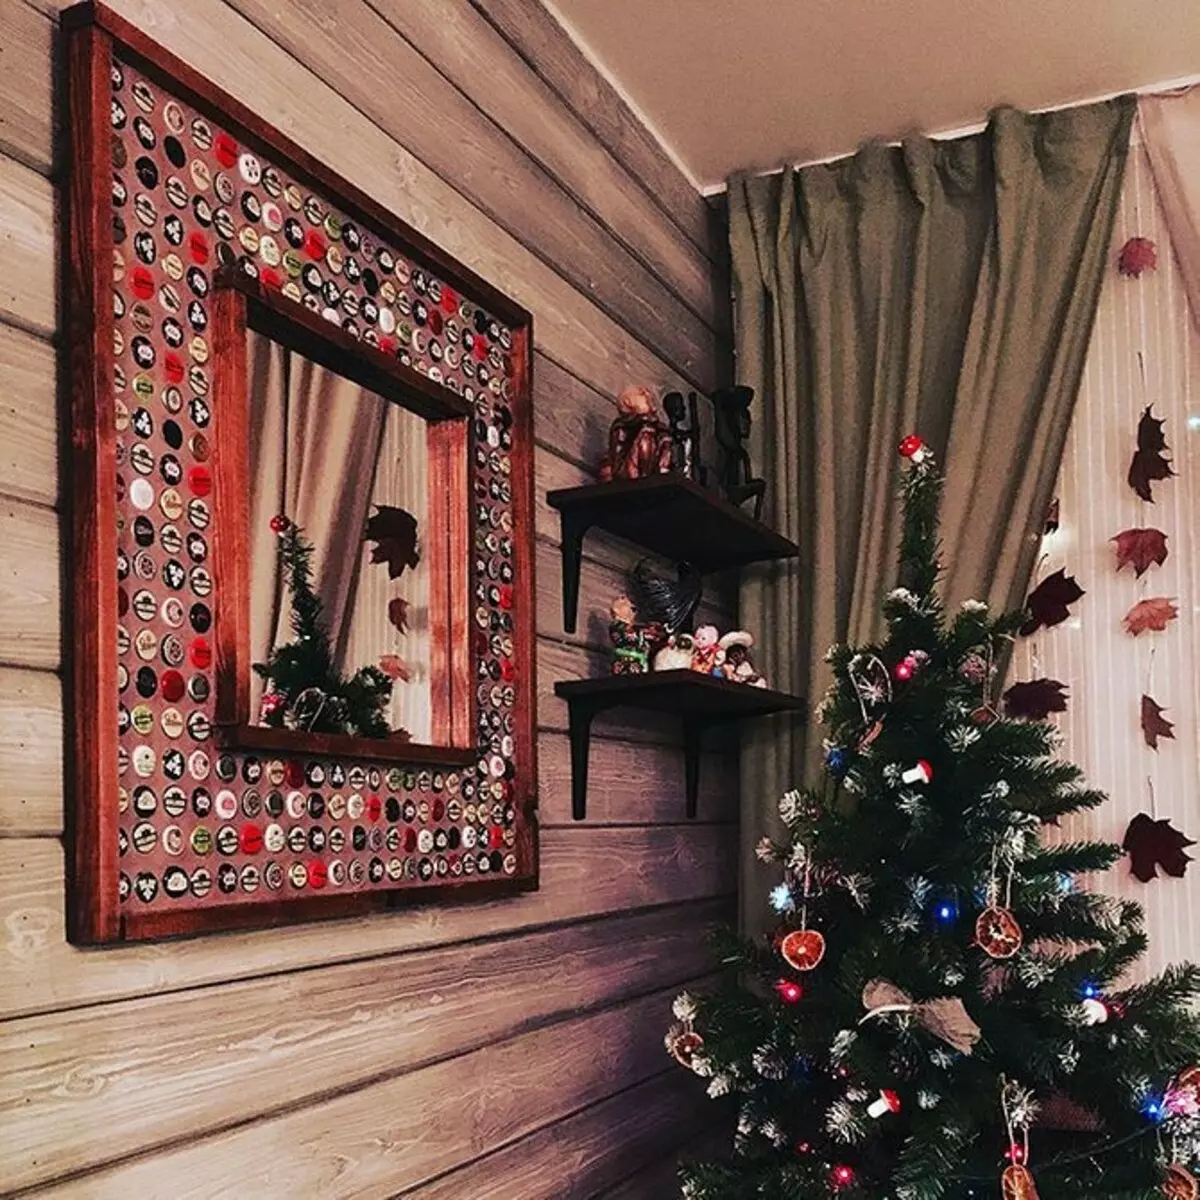
Large wooden beads, seashells, decorative plaster flowers, paper twisted in Origami technique, plastic pipes, caps from bottles, fabric - few people will use these materials for the specified target. But it is worth trying, and perhaps your work will be the highlight of the whole housing.


Tools and Materials for Work
As a raw material, it is not necessary to take wooden boards from the construction store. The newcomers in the joiner, perhaps it will be easier to cope with "semi-finished products": floor plinths, platbands for doors, other treated slats, wood plates like chipboard, MDF, OSP.You will need:
- Mounting: corners, screws and / or good glue for wood - depending on how you decide to connect the details,
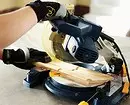
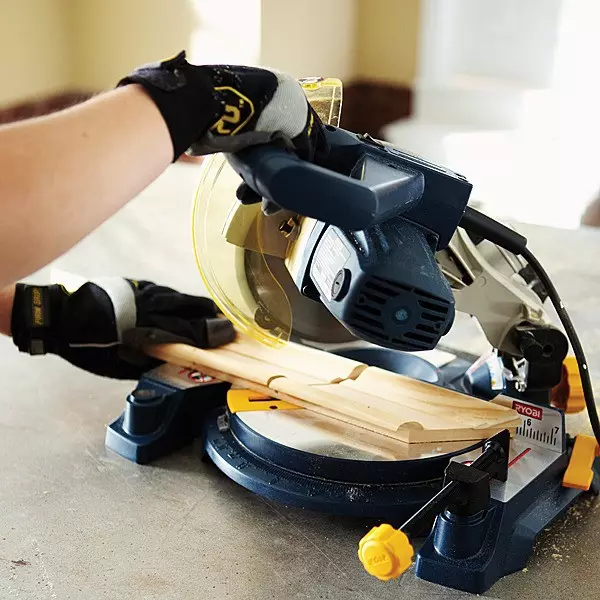
- The tracing saw for sawing the ends of the frame at the right angle, the sections are perfect (it can be replaced with hacksaw and stub, if the material is not very thick),
- drill,
- roulette,
- pencil,
- metal corner,
- Emery paper with shallow graininess,
- glue for mirrors or liquid nails without hardeners in the composition not to damage the amalgam,
- hacksaw.
Can also come in handy:
- Conductor for drilling holes for oblique screws (or its homemade analogue),
- Wood putty,
- Little carnations,
- thick sheet furniture plywood,
- Brackets or hinges for mounting on the wall,
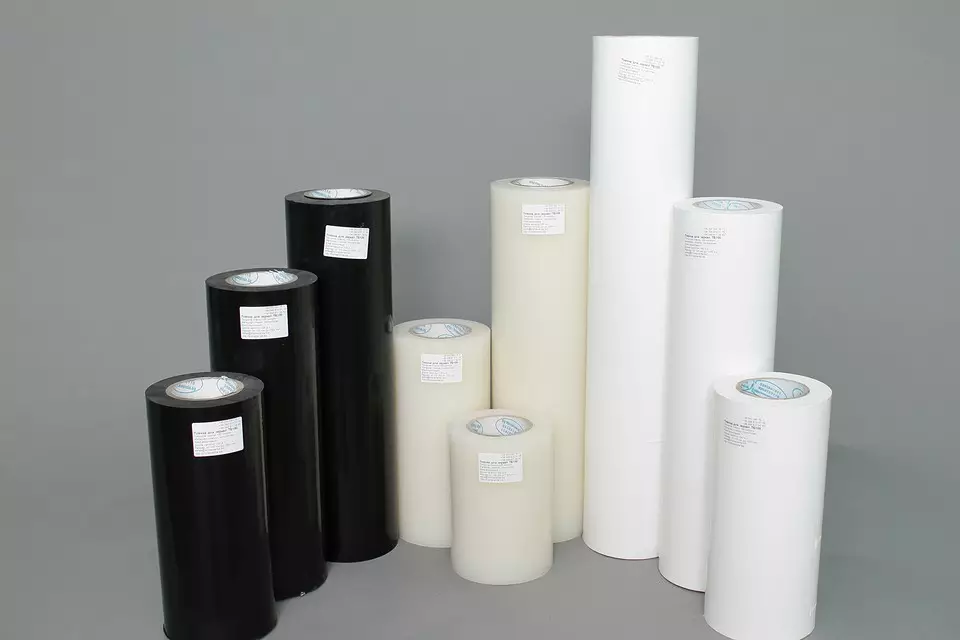
- Antio-skip film that protects the canvas from cracking and sprinkling, if it is large.
Such a film is applied to the back side, on Amalgam. And although it is not very simple to cope with such a wide self-tech, everything is really done to one, without helpers.
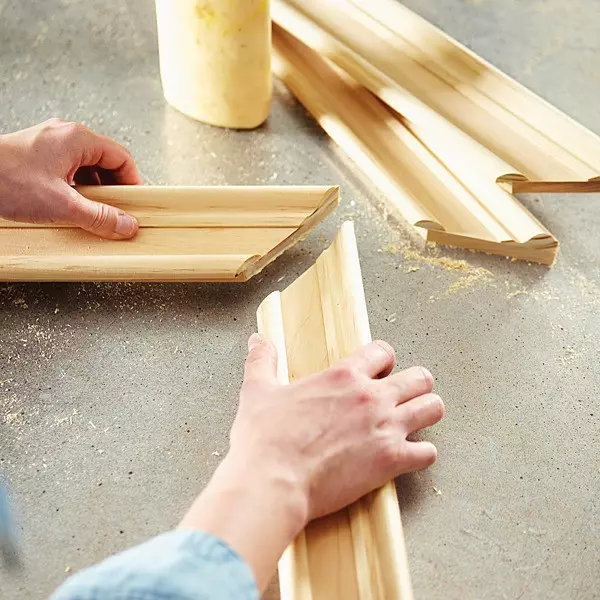
Frame for mirrors with her own hands from a tree: 2 ways to manufacture
Option first
If some details need to trim, make the mark on your sheet with the drawing, so as not to forget anything.
Put four racks face down to a strong, flat surface (most likely, it will be the floor) in the sequence in which they need to be collected.
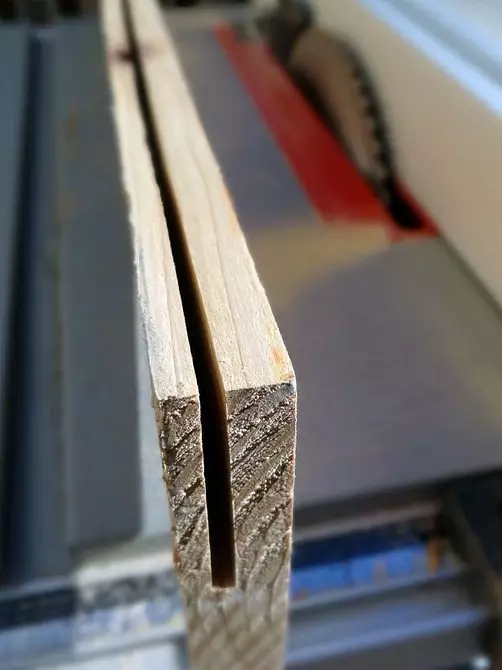
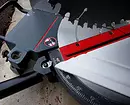
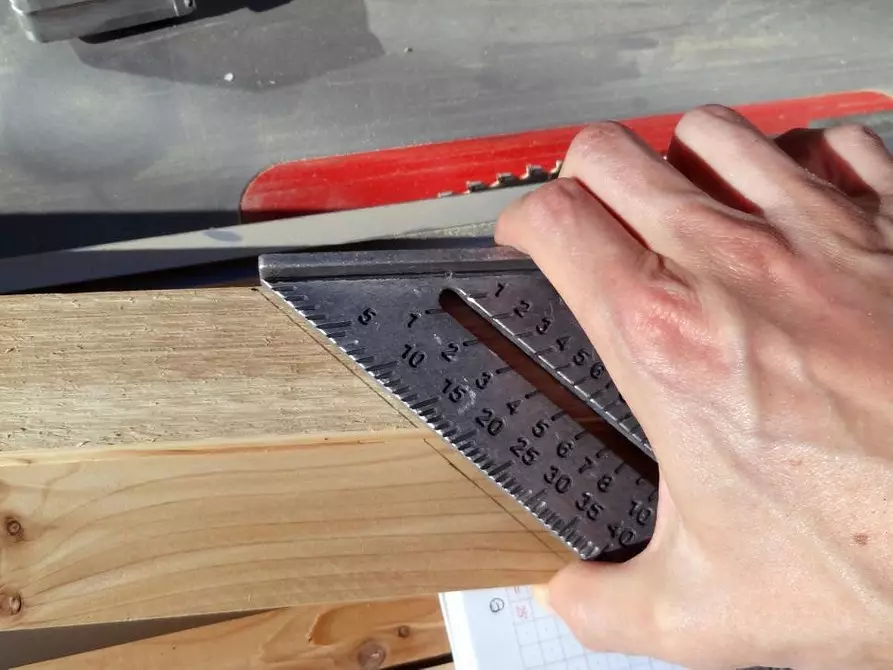
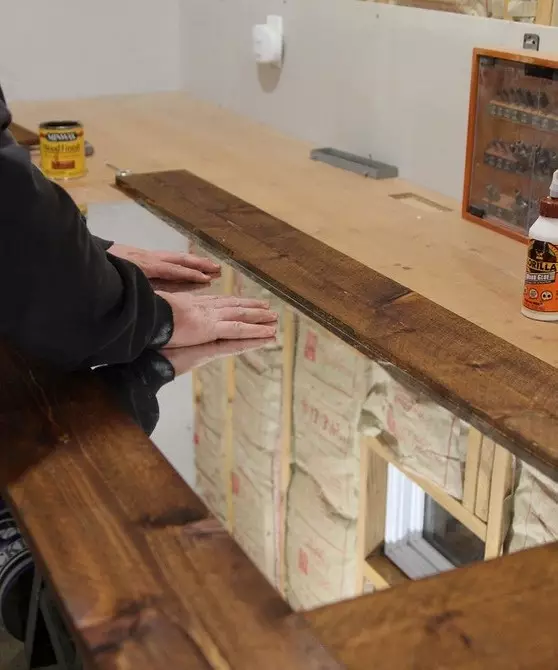
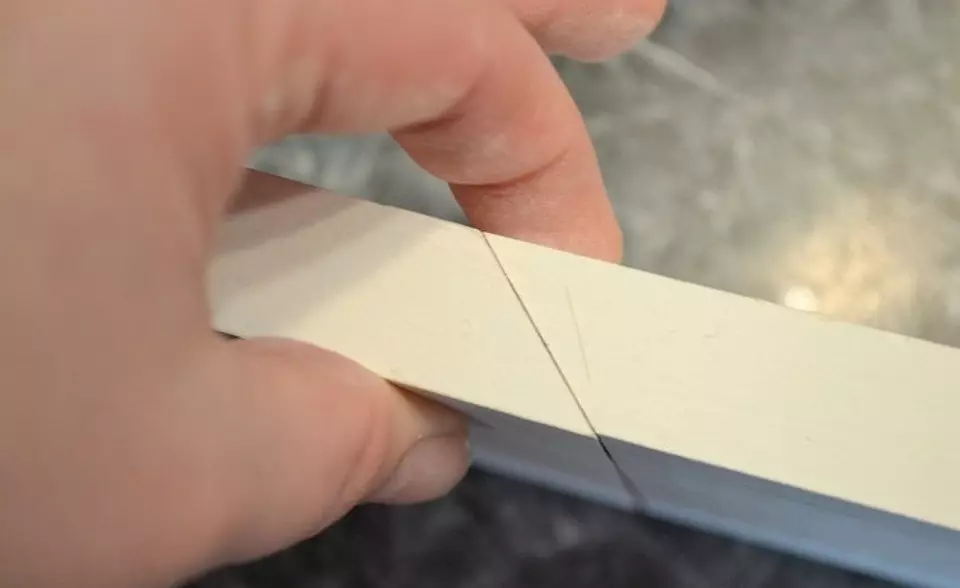
Now one of the most difficult stages: cropping planks. So that they fit to the wall, to the future, it is better to prepare the recess equal to its thickness. First, make a vertical deep track, and then in the horizontal direction spill the extra part of the board.
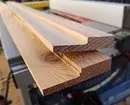

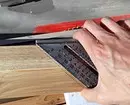
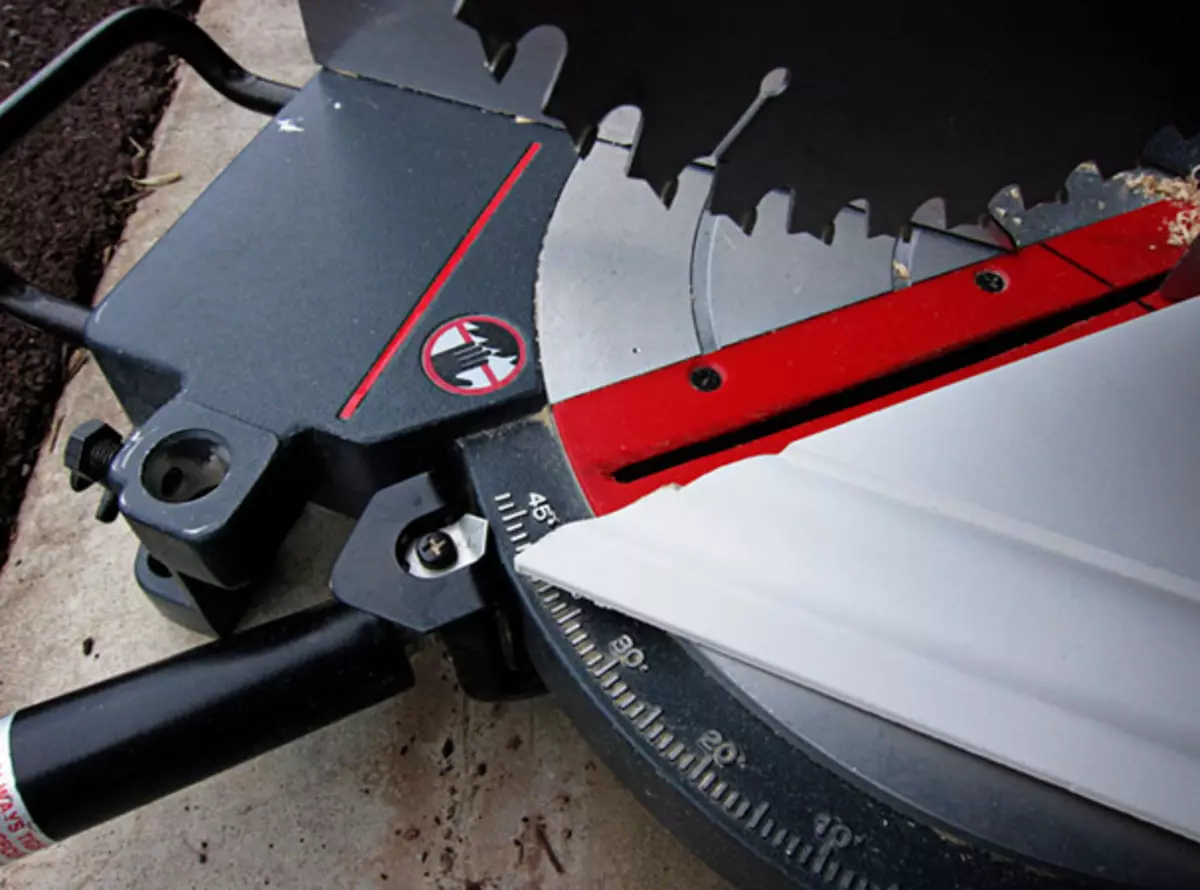
Apply a metal ruler to each edge of the frame, draw a line under the tilt of 45 ° C. Focusing on it, a tracing saw cut the smooth angles, sanding them with sandpaper. Reiki should be a bit longer than the parties framed by them (need "allowances" in several centimeters).
For reliability, especially if the design is heavy, drill at the ends of shorter parts for fastening on the oblique screw.
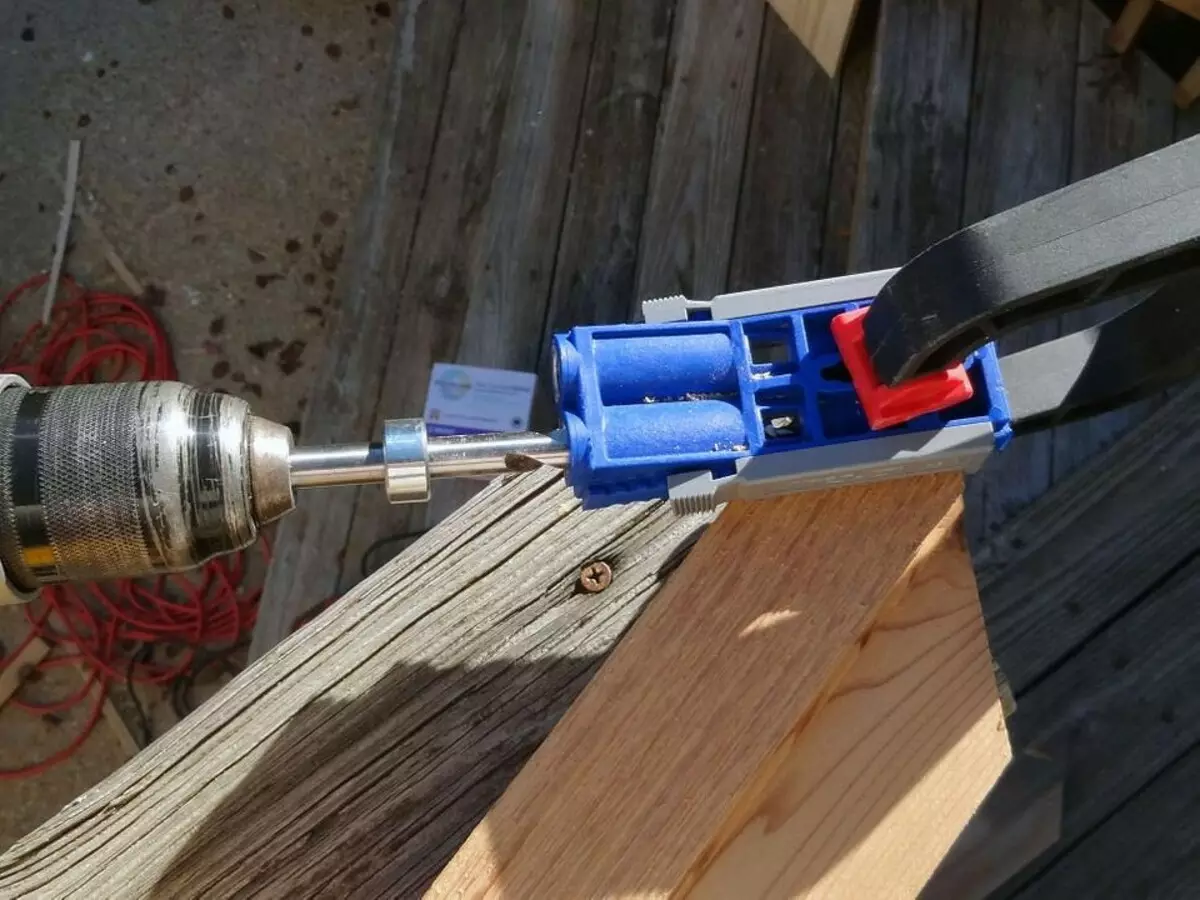
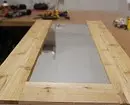
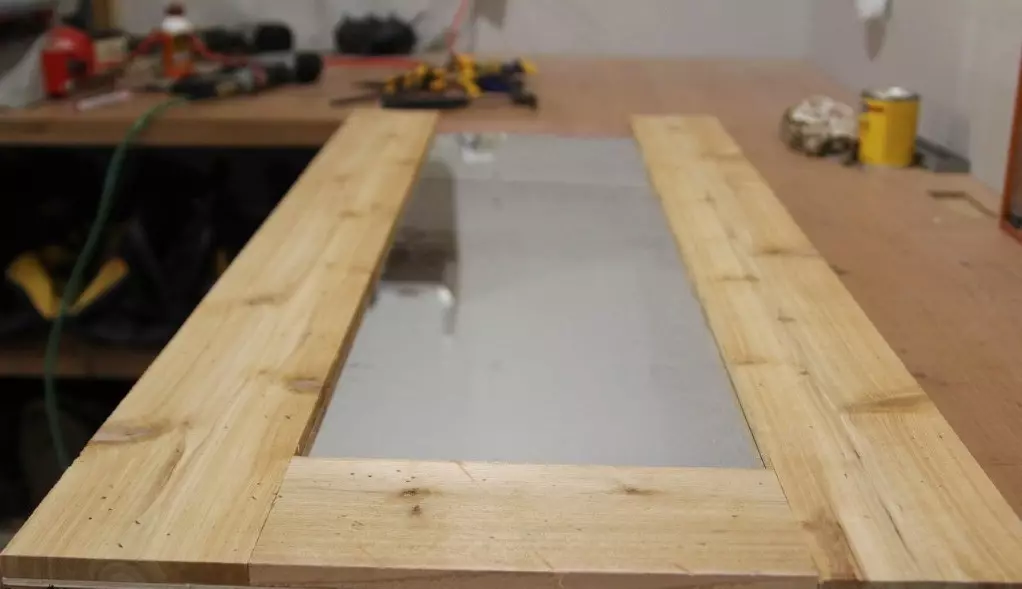
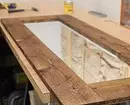
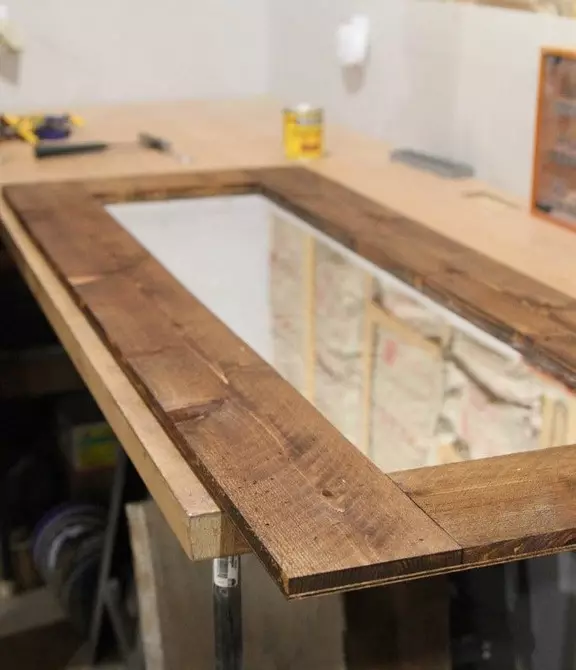
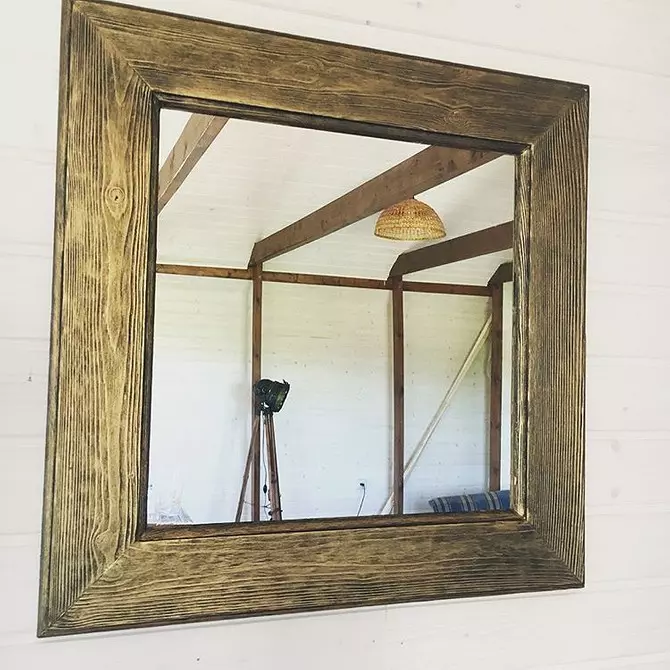
It is time to connect all parts. Fold the four fragment of the rim face down, carefully approve them to each other, simply scrubbing the wood glue. Mirror "Enter" into the piled up in advance: you need to make sure it is perfect. Build elements with screw.
Leave dry at least two hours.
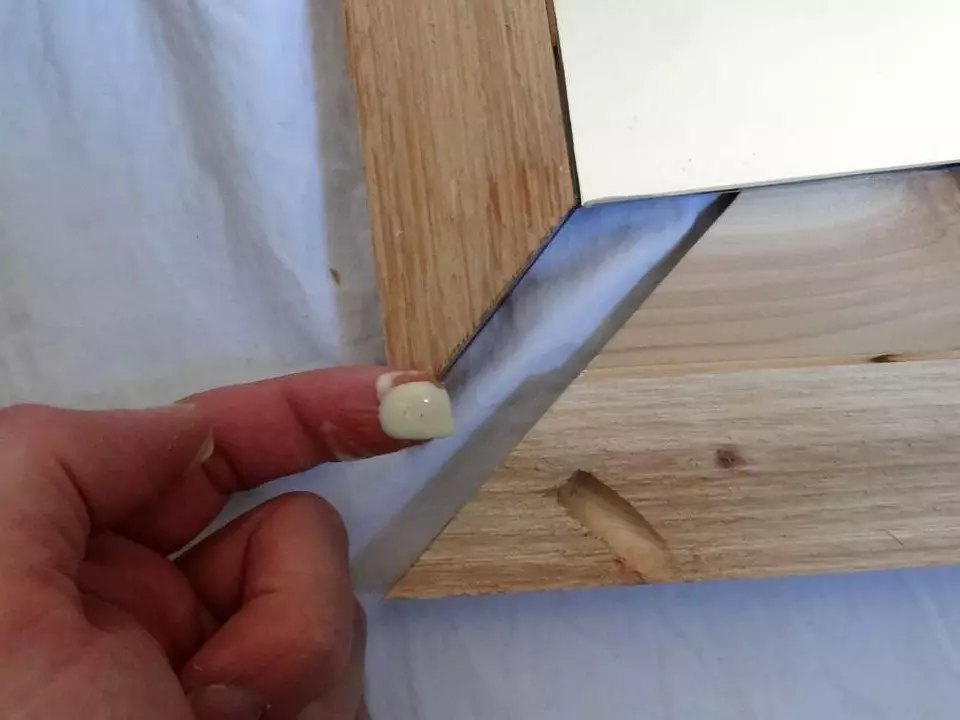
The mirror can be fixed to the tree in different ways. To plant for special glue, four corners of plywood with a stapler and glue, or to protect small cloves, carefully clogged throughout the perimeter of the frame. You can combine glue and cloves.
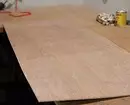
Option two
At first he is not much different from the first. Also, it will also be necessary to draw a drawing, markup of all elements, taking into account the cloth by the edge of the lamellas.
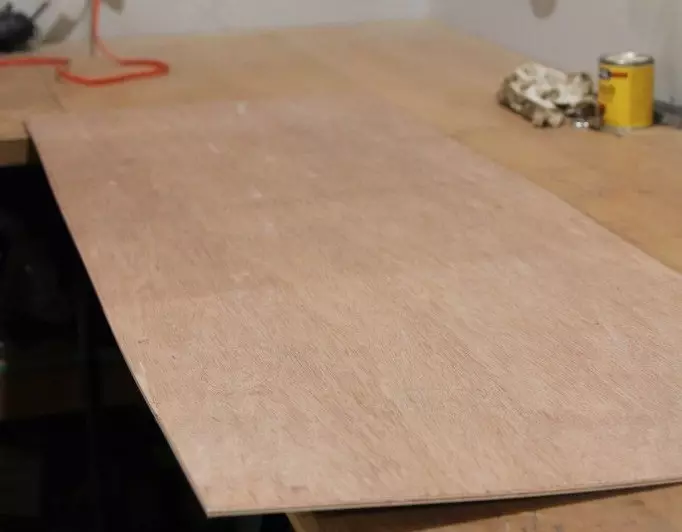
And then to simplify the process, the recess under the canvas can not be done. Split all wooden blanks.

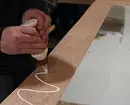
Cut the sheet of plywood in the size of the future finished product. Put all four rails on top and tremble to estimate how they will be placed. Make markers on plywood. In this embodiment, the bar can not cut at an angle of 45 ° C. They can be straight, so even more interesting.
Stick three boards and leave them under the press as much as prescribed instructions on the tube with the composition.
You can immediately treat the wood with some decorative agent, for example, by the mourn. And you can do it later.

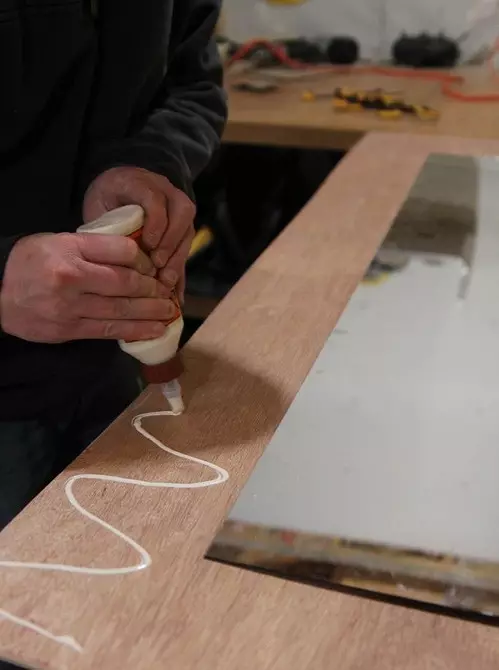
It's time to glue the mirror, and after him - and the fourth bar. Then give away the entire design of the car, but distribute it evenly so that nothing crashes. As far as it should be so lying, again, you will tell you instructions. Approximately after 24 hours, the press can already be removed.

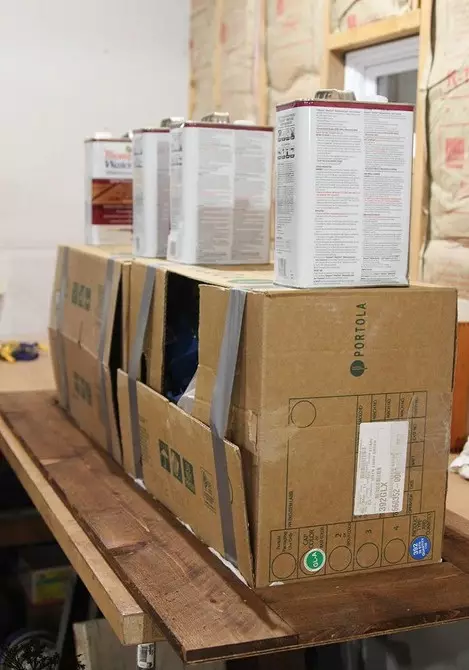
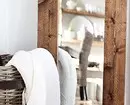
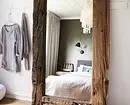
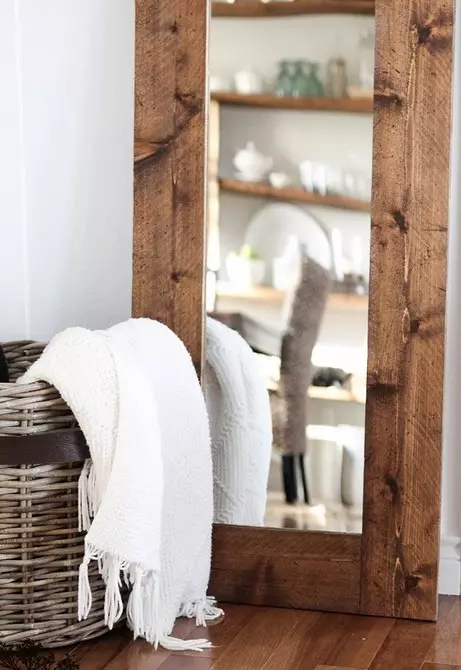
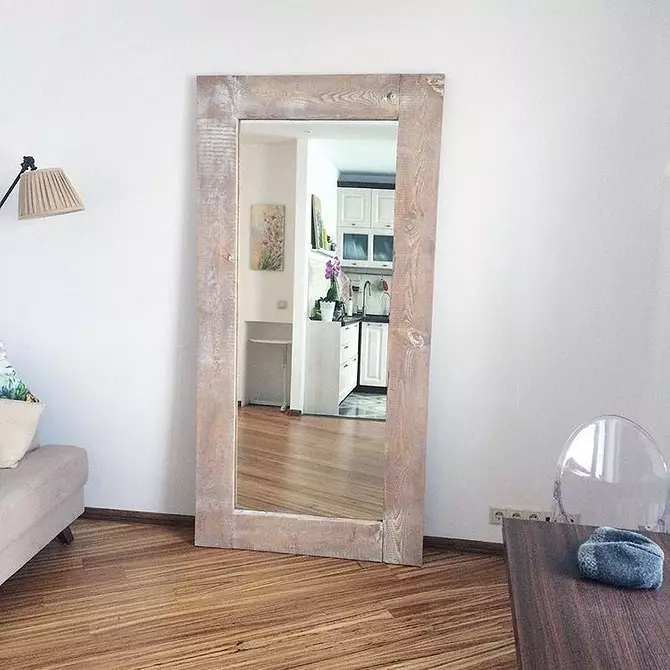
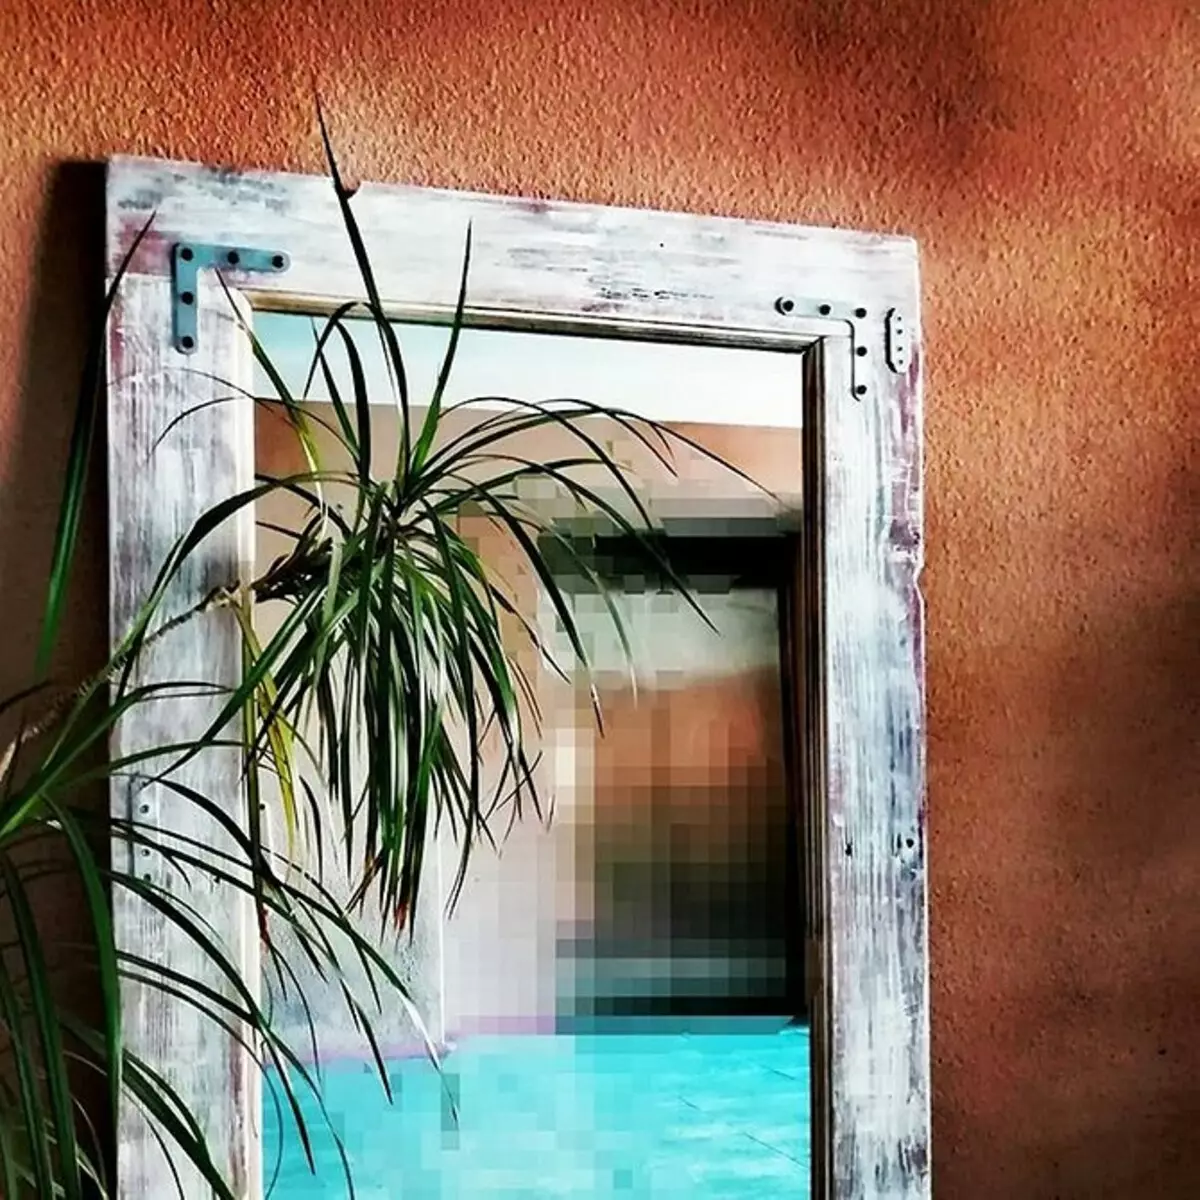
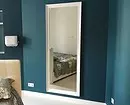
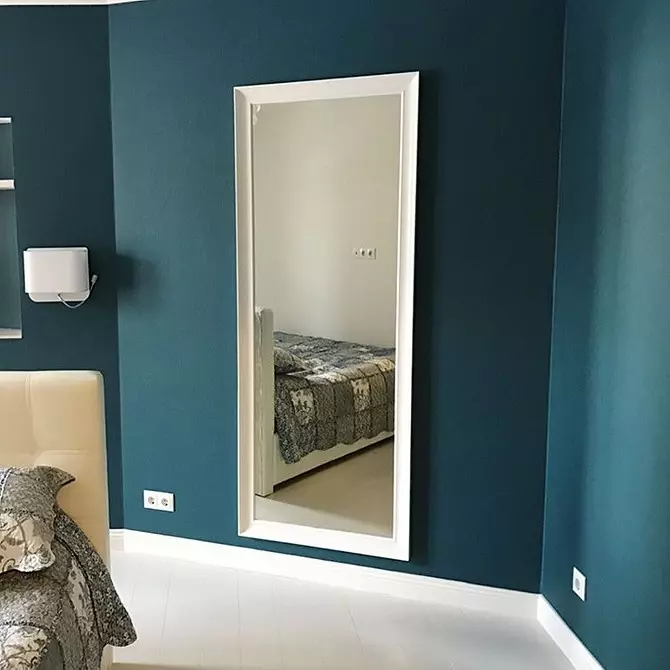
Cover the frame with oil, wax or varnish. If the ship is large and vertical, hang it not necessarily, it will look beautifully on the floor. Horizontal designs need to be placed on the wall.
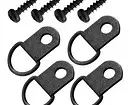
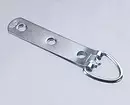
Massive products will be destroyed for steel hinges with a wide metal plate. You can hang them on a durable cable, stretched between fasteners, as well as on rings, and, in turn, - on the hooks in the wall.

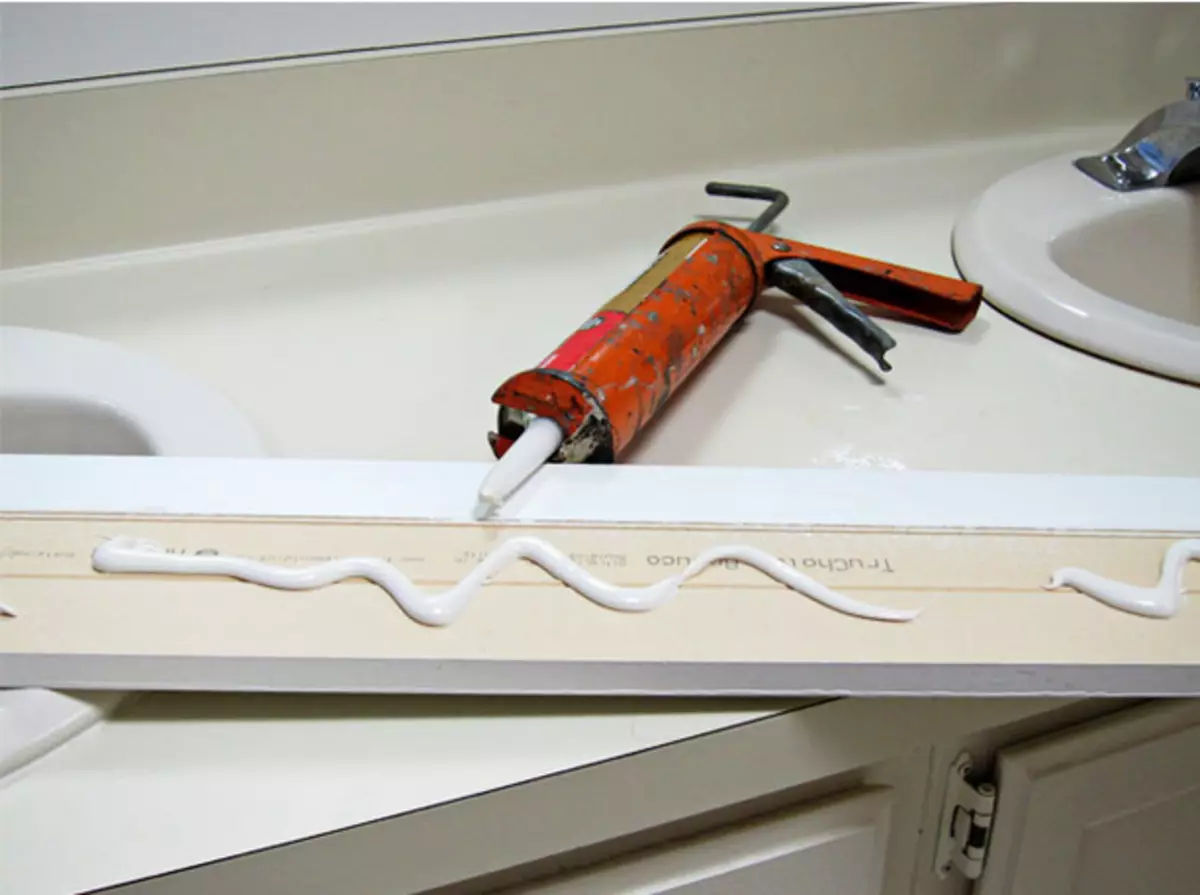
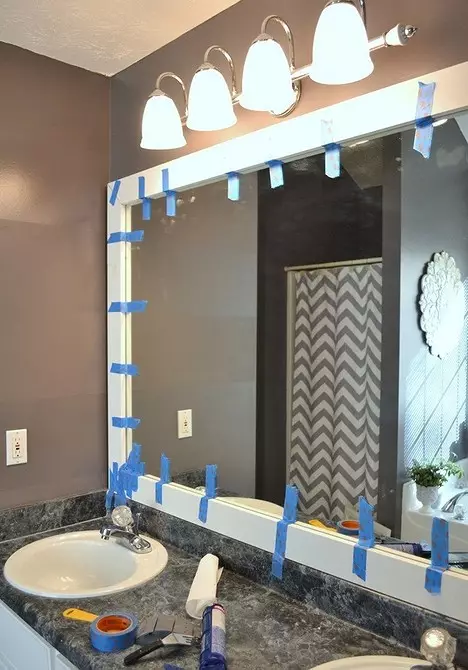
If the cloth without edging is already hanging, it is not necessary to take it. Some craftsmen plant a glue on the glue right on top of the product. Only before drying fix it with a scotch.

How to fix the ability to work
Sometimes novice masters wave with the size and detect it when already "grabbed" a saw too much material. But get upset and flee to buy it early!
Consider how many centimeters you miss. Take a small piece of the board, on it and on the defective detail cut the corners of 45 ° C so that they coincide with each other. Spread and connect screws, as shown above. The only thing is possible to work with this detail only after a couple of hours.
Sealls then need to be legally wrapped. When it is not in the farm, you can get out as follows: Pour the gap of PVA glue and trigger it from top of wood dust, which is usually split during the grinding of the ends.
By the way, in the same way before decorating, all other visible places of gluing often process to hide them.
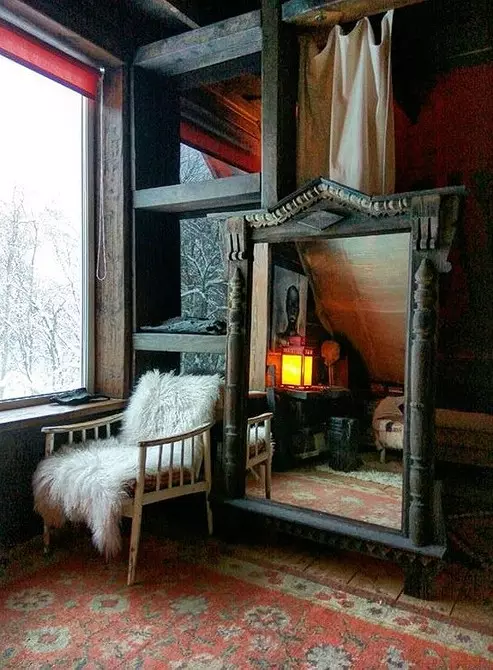
The ideas of decorating wooden frames and photos in the interior
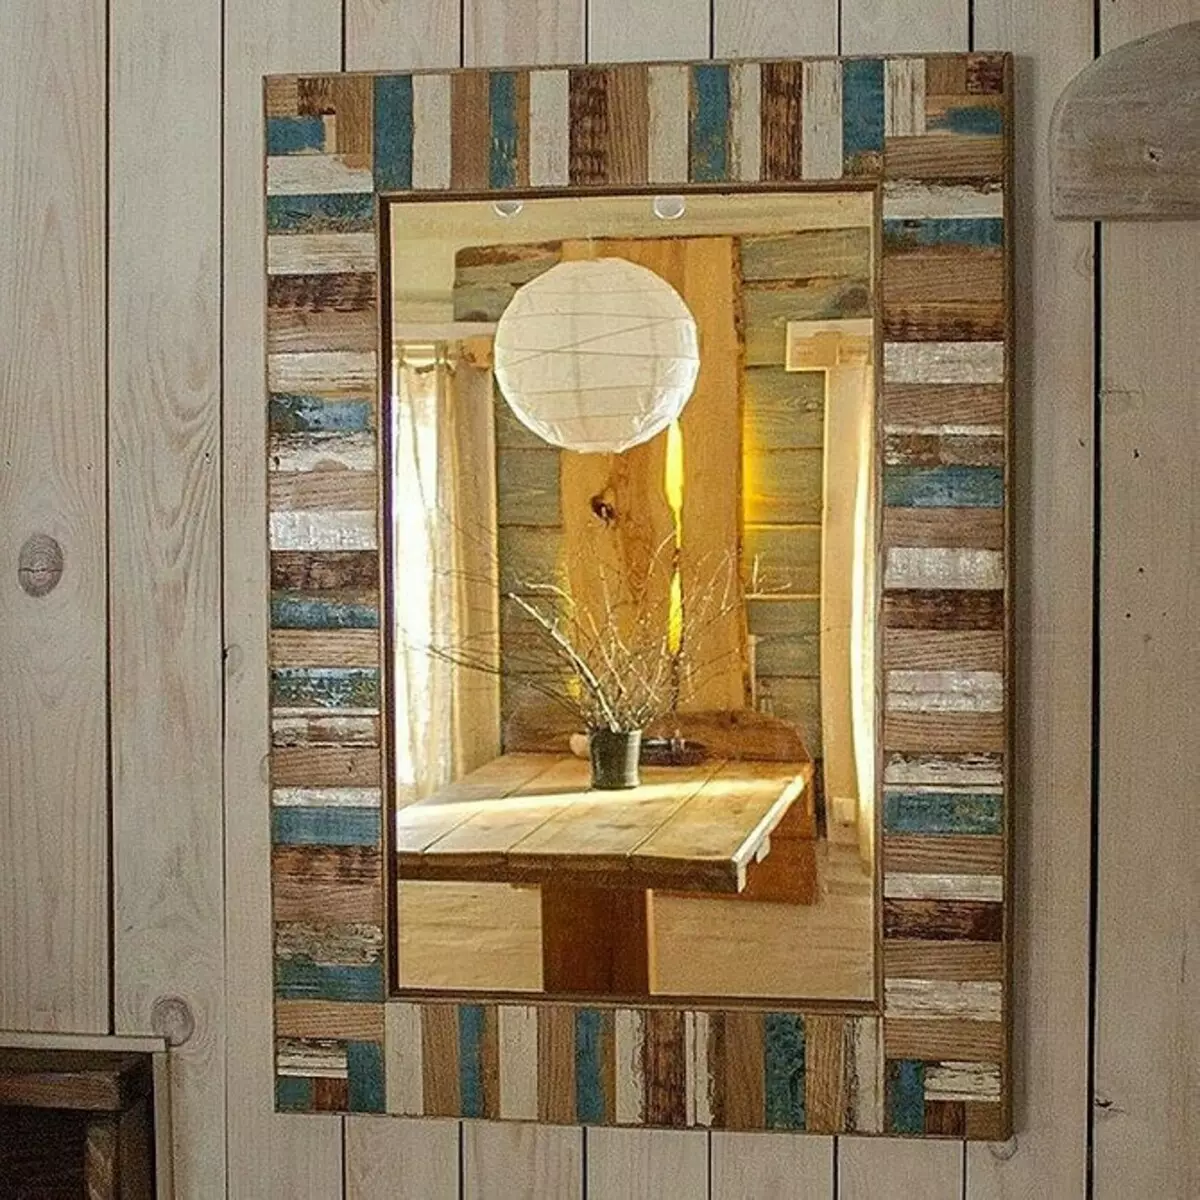
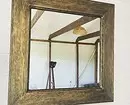
When I want a deliberate coarseness, try to achieve the effect of a barn board, mixing a couple or more shades of the veil. She emphasizes the texture of the tree, is easy to apply and allows you to get roaring with color solutions. Add a conventional chain or black metal corners from the outside - and perhaps enough.
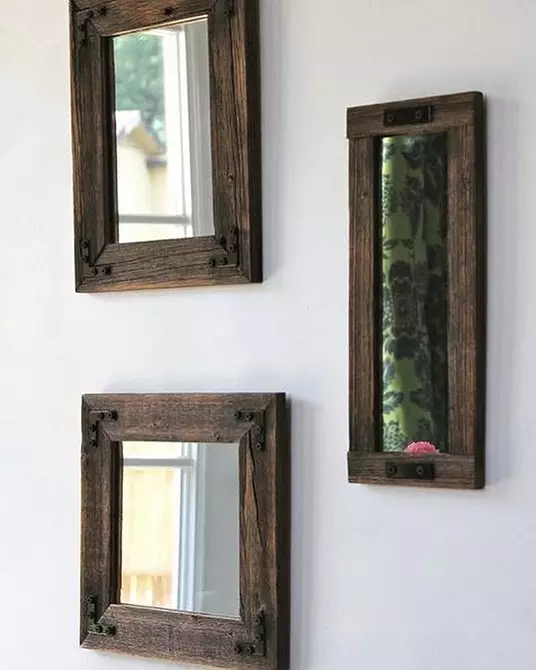
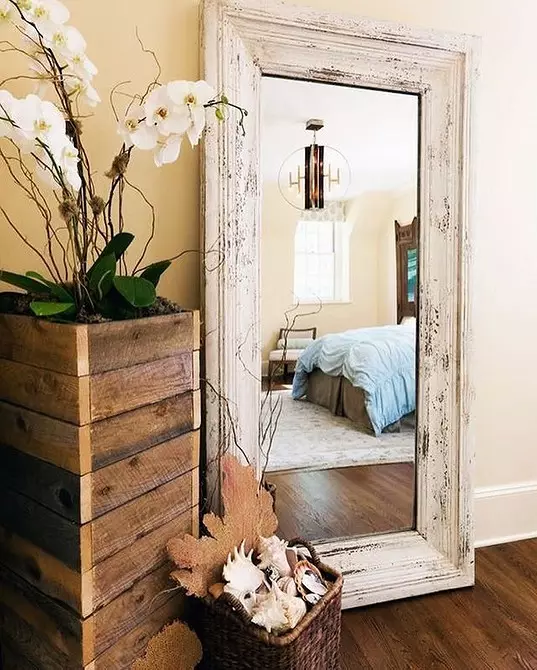
Making a frame for a mirror with her own trees, many tasty for the preservation of a natural type of material, opening it only with oil, and there really has its own aesthetics. But sometimes painted and manually made up wood looks no less exquisite.

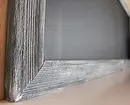
One of the ways to artificialize is the brushing. It consists in emphasizing the fibers of the upper layer, copying the effect of the natural effect of time. The brushed baguette can be covered by Pattya (imitation of graval gold), patina, acrylic.
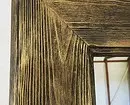
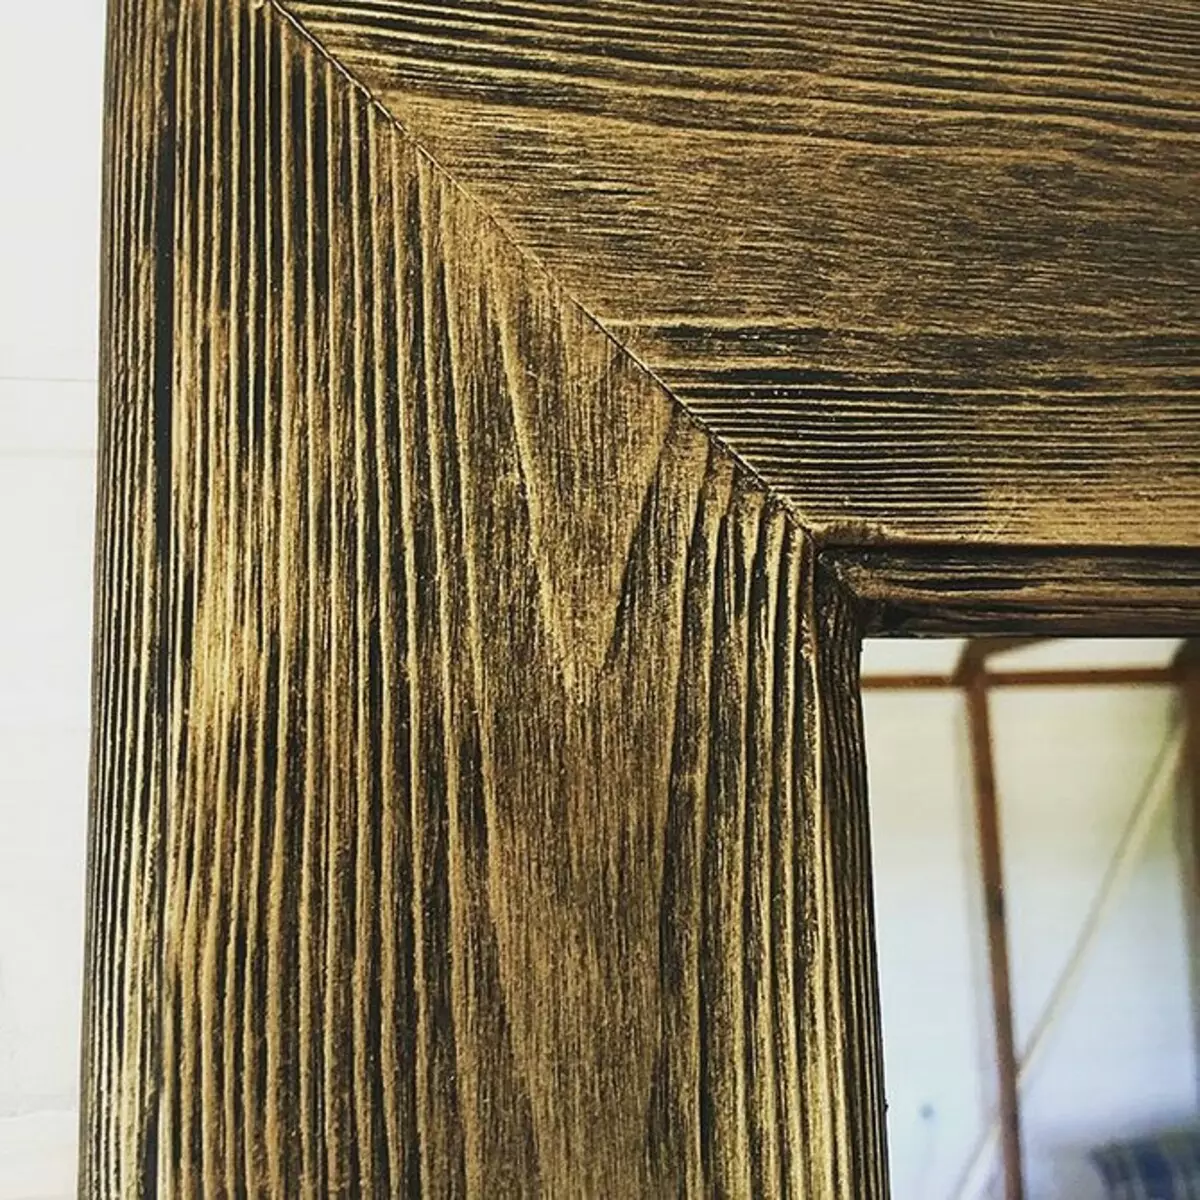

Retro highlight will add and paint a dry brush. During the application of the kolator, there is almost no liquid composition on the tassel, each bristle leaves a clear mark. The movements of the hand are light, as if the "packing" surface to give it the relief, and only.
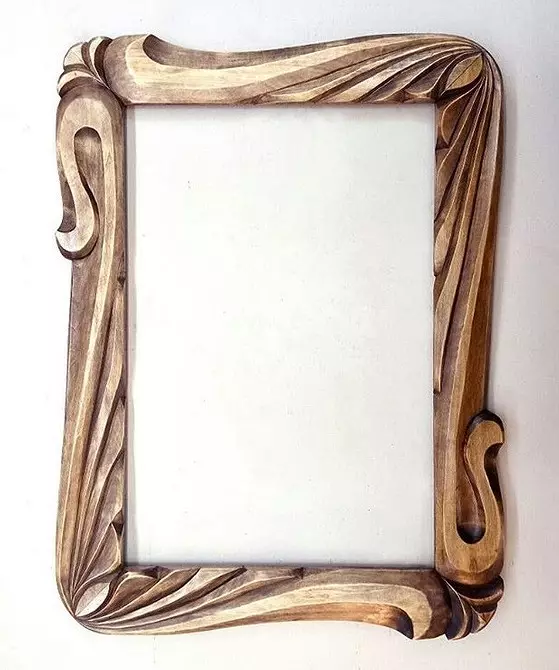
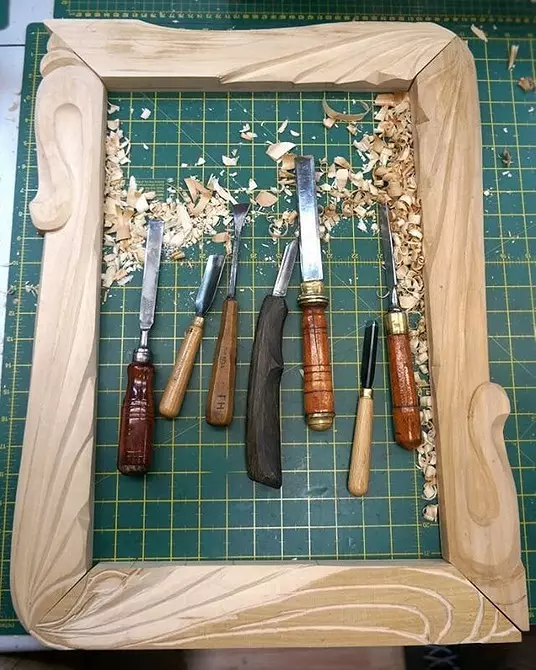
Thread is a complex process, requiring skills, time, the presence of a special tool. But if all this is, then why and ... yes? The uniqueness and value of the resulting thing will grow many times.

However, if you do not have the desire and forces to be wise with the decoration of the edging, toning it into any neutral color. Simplicity of lines and nobility of the chosen shade will make their job and, that is important, will suit any atmosphere.
A vite frame manufacturing process is shown in the video.
Video: Dmitry Dudun