
We tell about the features of the lining and how to sew metal doors.
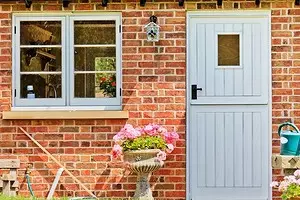

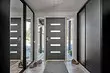
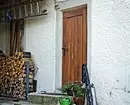
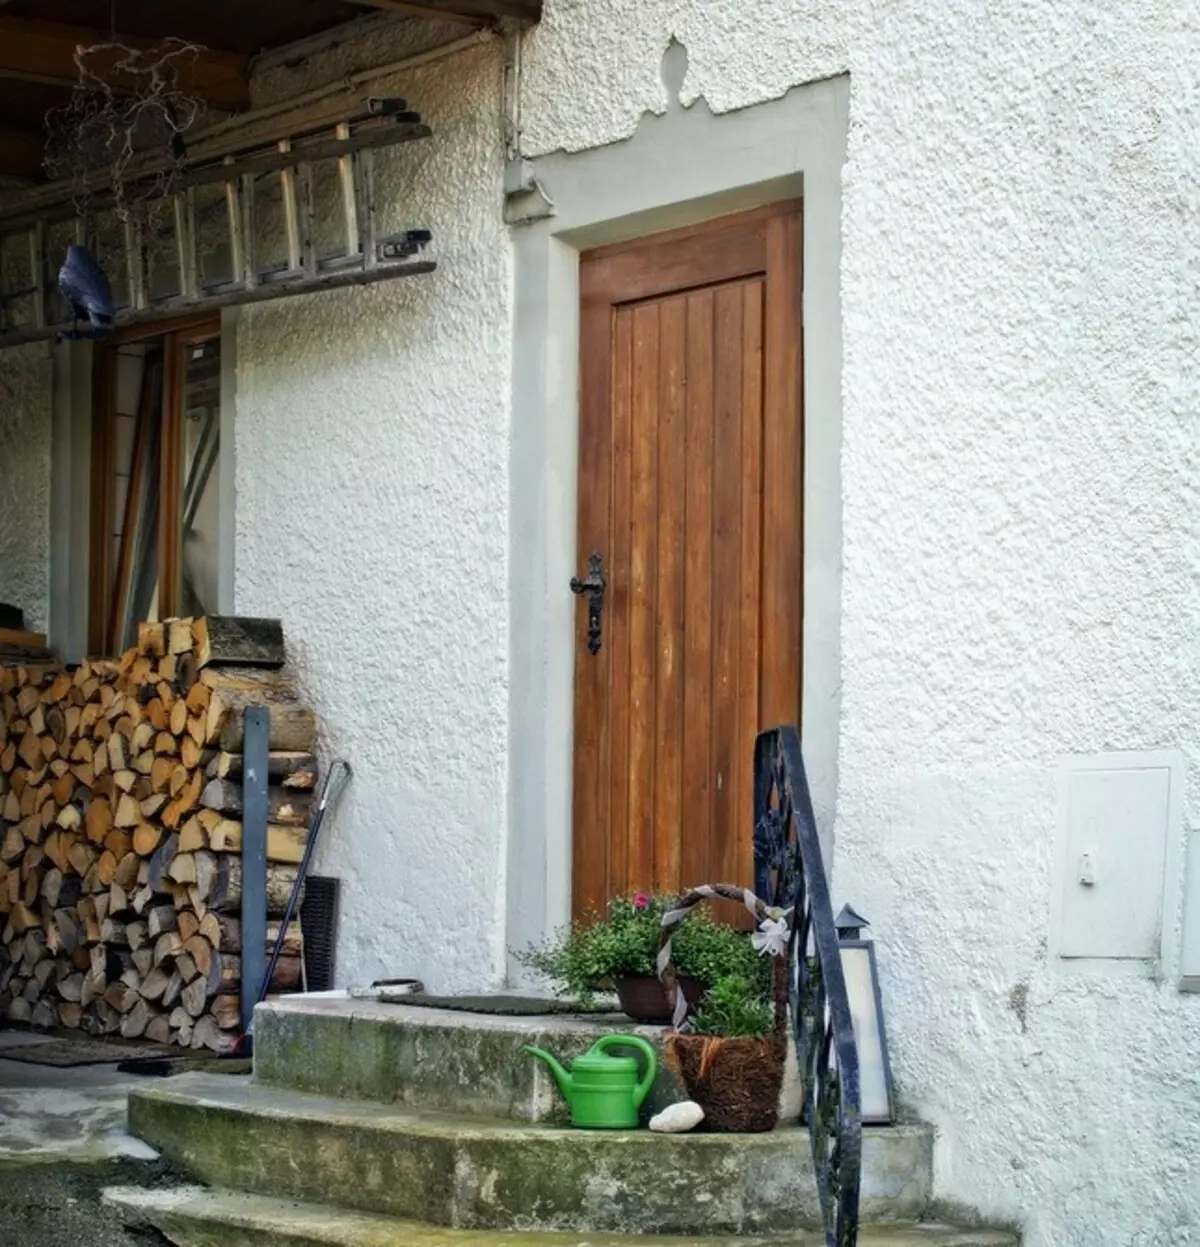
High durability requirements are imposed on the entrance doors. But I want the "face" of the house also beautiful and, if possible, original. Standard metal doors will change the trigger finish. We will analyze how to do it right.
All about finishing the door with wooden clapboard
Why it is necessaryFeatures of lumber
Select Lamella
Installation instructions
Why sort doors
Facing with wooden planks decorates construction. But this is not the only advantage that she gives. List all.
- Additional thermal insulation. Wood is a good insulator. She holds the cargo coming from the apartment. Another plus is the absence of condensate, which appears on the inside in the area of cold bridges.
- Additional noise insulation. The tree is quenched by sound waves, the amount of noise incoming outside will decrease significantly.
- Durability. With the right choice of material and competent care, the finish will serve several decades. She will not lose its operational and decorative properties.
- Strength. Wood resistant to mechanical damage. Even enough strong blows are left only scratches or chips. They can be seized or close. In the most difficult case, the damaged bar is replaced with a new one.
- Simple installation. The design of the planks greatly simplifies their assembly, thanks to this with their own hands, it will be able to even a novice master of the label.
All these advantages are relevant only for the correctly selected and installed timber errors. Otherwise, wood "will show" all its drawbacks. This swelling and rotting under the influence of moisture, expansion and compression under the influence of temperature fluctuations, fire hazard, lesion by microorganisms and insects.
Features of wooden lining
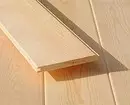
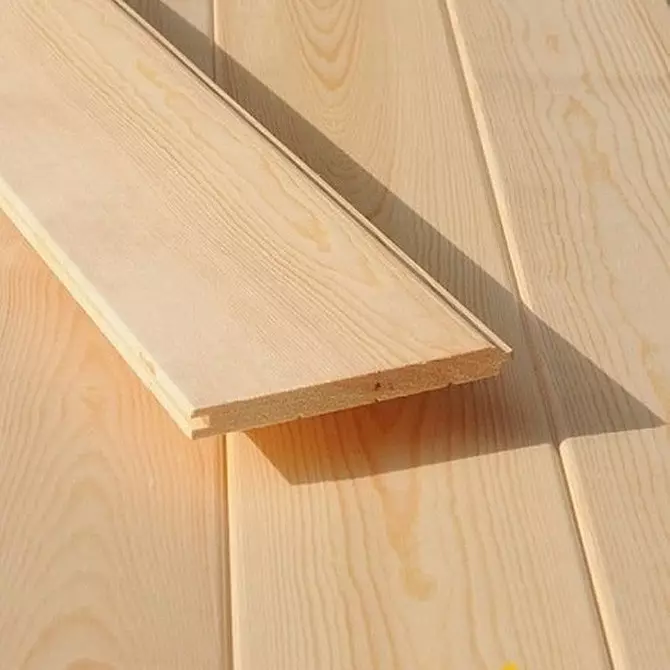
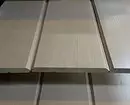
The difference of finishing slats of different shapes - the castle connection by the type of spike groove. With their help, the lamellas are easy to join, it turns out a solid canvas.
Depending on the configuration of the lamellae, the finished coating can be smooth, corrugated or imitating log cabin. The form distinguishes standard and eurvagra, american, softline, block house, Landhaus. For cladding, it is more often taken by standard or eurovale. The rest are choosing less often, because the finished canvas turns out uneven, which is not always acceptable. A block house is not suitable, the height differences on the cloth are obtained too large.
The lining is made from different wood species. Deciduous rocks (alder, oak, linden) have the lowest thermal conductivity, so it is better to protect the other. At the same time, they are extremely vulnerable to moisture, with improper operation, the faster than others will swell and puments. For this reason, used for interior decoration.
Coniferous rocks (pine, larch, cedar) are distinguished by the content of large amounts of resinous substances. They are better protected from moisture, so they are more often used for external design, for trimming baths, pools and saunas. The life of coniferous lumber is greater than that of deciduous. To cover the input design it is better to choose coniferous varieties. If I really liked the solid variety, it is bought for facing the inner surface.
Another important feature is the backiness of the lumber. For its manufacture, they take raw materials of different varieties, which affects the quality of the finished product. So, the best tree goes to the lamella "Extra" and grade A. In the first case, there are no bitch, in the second, their minimum quantity is allowed. Defects are missing. Varieties in and C are produced from low quality wood. Here the presence of bitch is permissible, in the latter case even dropping, there are small defects.
For cladding, only variety A or Extra is chosen.

How to choose sawn timber
The choice of lining for the door finish is not limited to the definition of quantity, breed and shapes of the lamella. There are some more important points.
- Dried degree. The lumber humidity should not exceed 12%. It is desirable that his drying takes place in natural conditions. This requires several months, therefore, forced drying is also applied. This is also an acceptable option. The raw tree cannot be used. After assembly, it will continue to give moisture and inevitably deformed.
- Appearance. Before buying, it is advisable to inspect the slave. The unscrupulous seller can try to sell low-grade products under the guise of high-grade. There should be no defects and chips on the planks. Pale blue or greenish stains are not allowed. This is a sign of developing fungal diseases.
- Quality of lock connections. Experts recommend always checking this circumstance. To do this, take two plates from the pack of at random and try to latch the castle. The grooves should be shown exactly without irregularities and difficulties. If when trying to snap the connection, problems arise, it is better to look for another lumber.
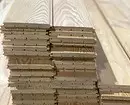
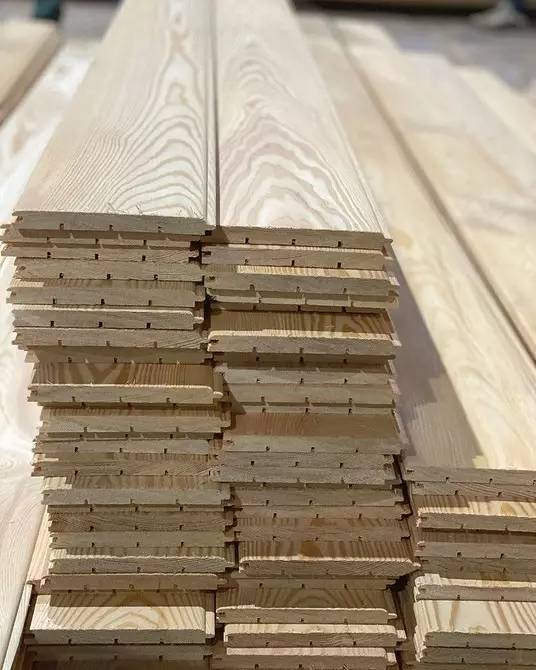
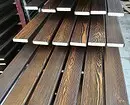
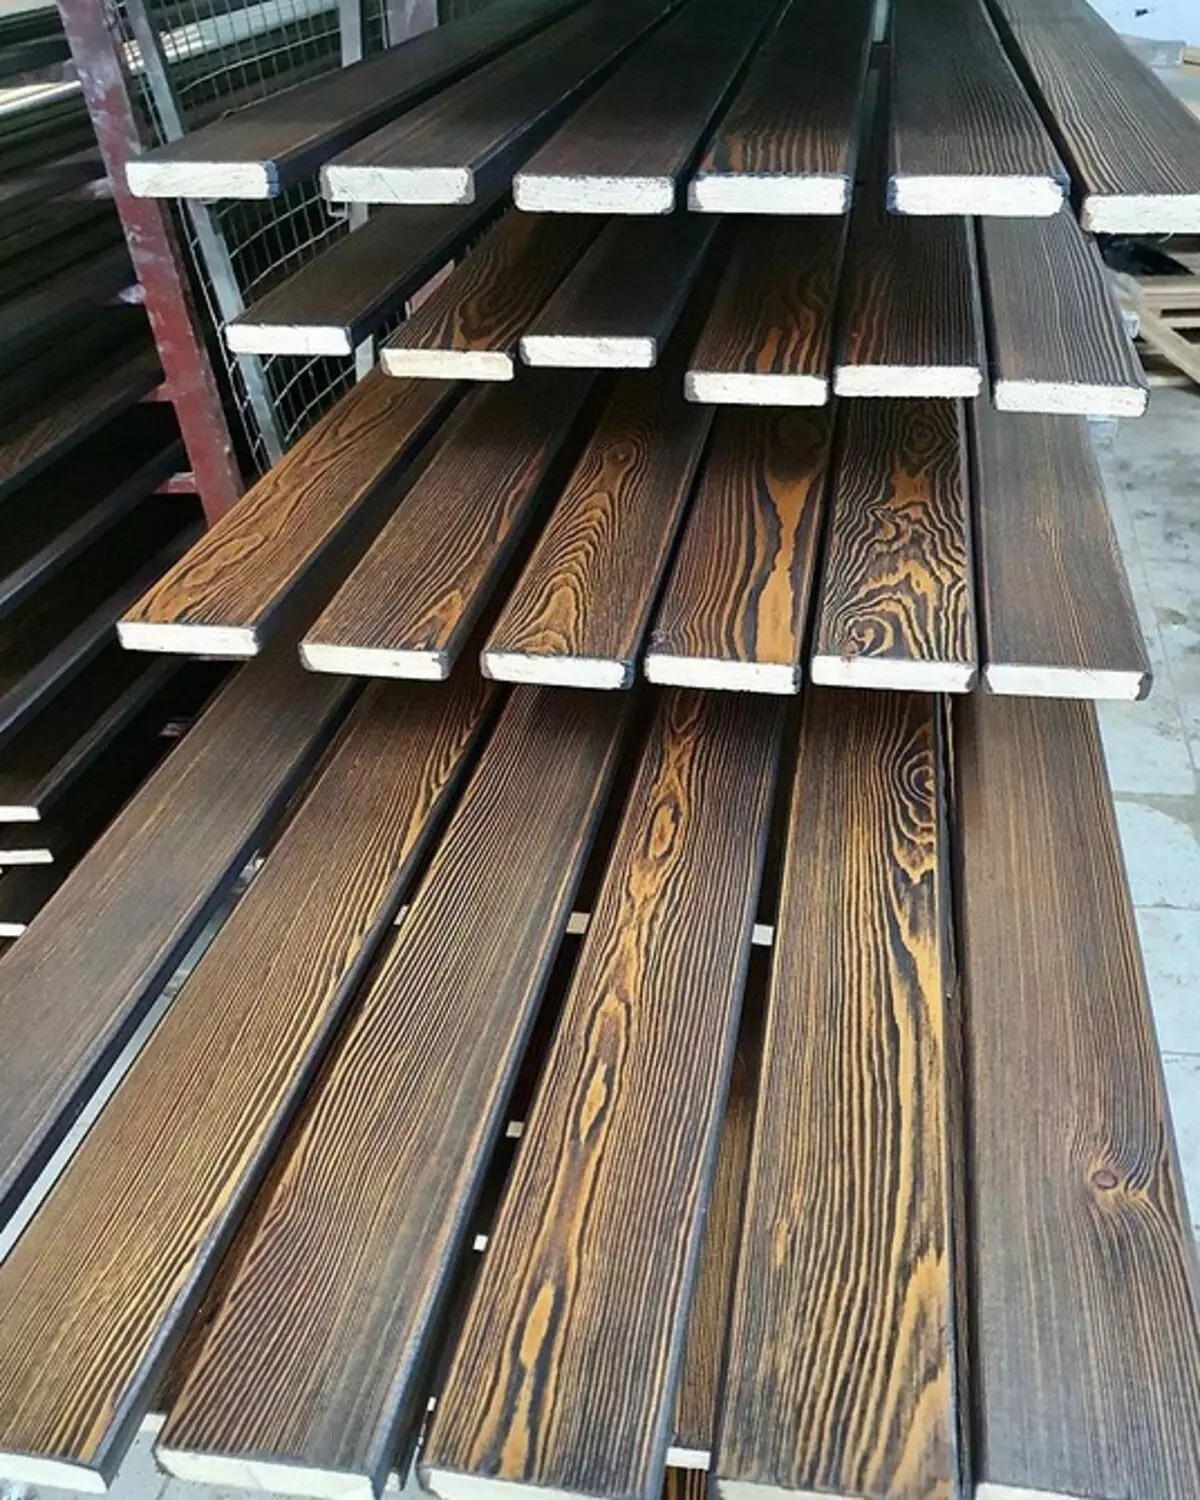
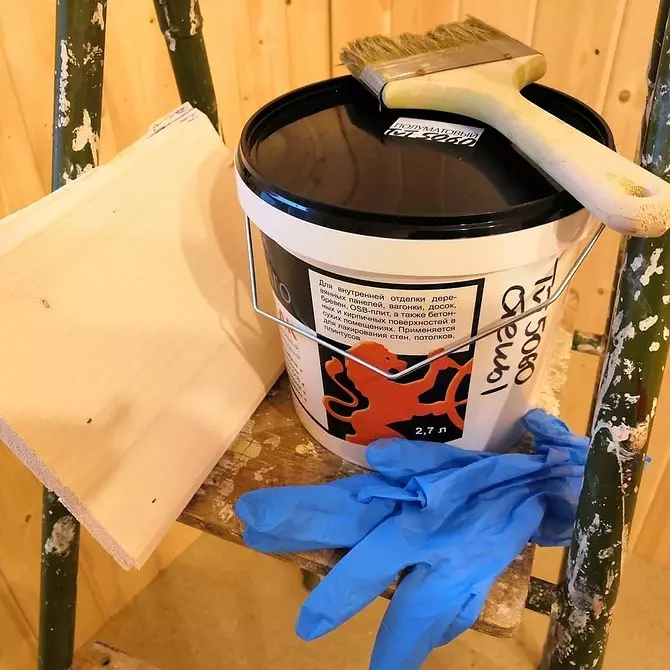
It is advisable to buy material processed by special stores. It is more expensive, but the factory processing is worth it. It is carried out in special chambers where special conditions are created. It is impossible to repeat them at home. Therefore, the processing of the most expensive compositions will not give such a result as the factory. The photo below the material treated in the factory.

Detailed instructions for finishing doors lining
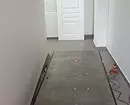
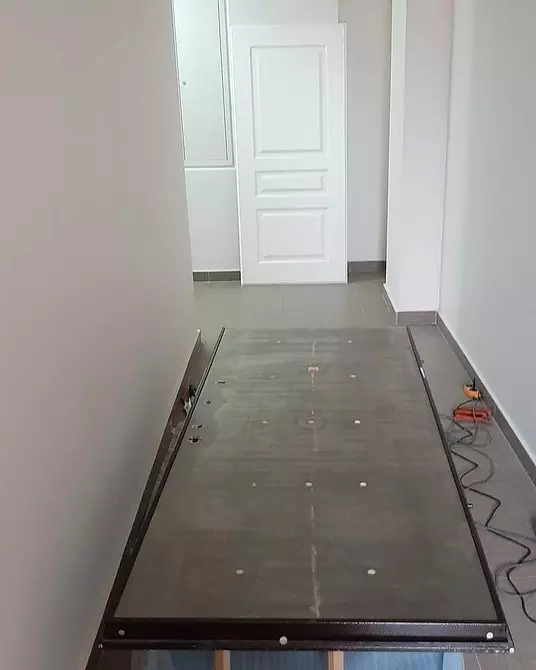
You can shelter any door purchased in the store or custom. Important moment. In order for the design to protect the house from unauthorized penetration, the thickness of the steel sheet should be at least 2 mm. Thin steel is made according to the "cold" technology, so its reliability reserve is much lower. Deciding with the choice, you can proceed to work. We offer detailed instructions, how do it yourself to shelter the door with the lining.Preparation of door leaf
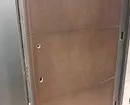
Sewing the easiest thing laid on the horizontal base of the canvas. Therefore, it must be carefully removed from the loops. If the design is recently purchased and the box is not yet installed, come in the same way. The canvas laid on the goat of a suitable height or on the table. All accessories (metal handles, castle, eyes, decor elements) must be dismantled. They will interfere with work.
Remove the sealing tape. If this is not done, during the installation of the lamella it will be corrupted. True, the dismantling also spoils it. Repeat to use the tape will no longer succeed, no matter how carefully it was removed. Therefore, they buy a new seal in advance. Carefully examine the door plate. Separations of corrosion. They are cleaned, completely removing rust. Then any paint color canvas. This will protect it from corrosion. If the door is new, this stage is missing.
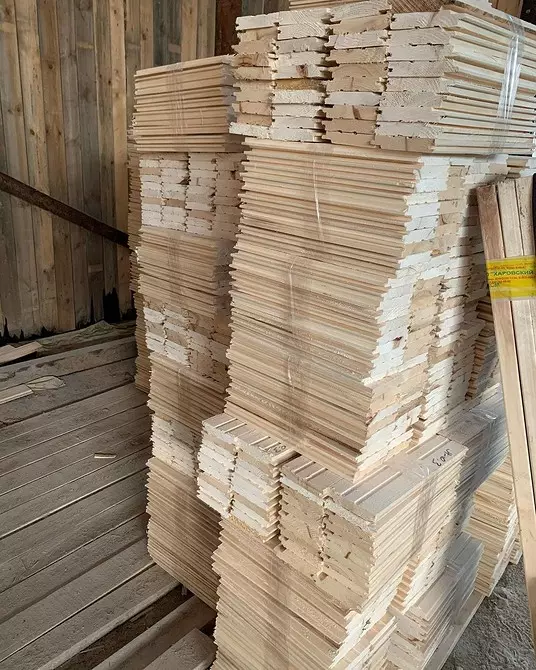
Preparation of wooden lamellae
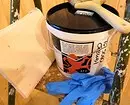
It begins with the treatment of lumber by impregnation of deep penetration, protecting against fire, moisture and microorganisms. If the processed plates were purchased, they still have to prepare. But the work will be much smaller, as it will only need to be impregnated and ends. Loss of special slaves are missing. Therefore, first need to be placed and cut.
Door canvas measure, taking into account the future location of the facing. It can be vertical, horizontal or any fantasy. Then a certain drawing is laid out of the rivers. It is difficult to begin the master to choose one of the first two options. In accordance with it, the height or width of the plate is measured. From the obtained value, the thickness of the decorative rail is deducted. It will close the edges of the product. The joiners call it three-fourth, since three quarters of its foundations are cleaned when processing. The part is obtained, the cross section of which is similar to the letter G. At the same time, its long side should be equal to the thickness of the finishing board. A short side will close the door edge to be beautiful. Typically, the size of the rail is 200 mm. Moreover, the size of the internal and external elements differs. On the calculated size, lamellas are placed and cut. Their quantity should be sufficient to close the entire design.
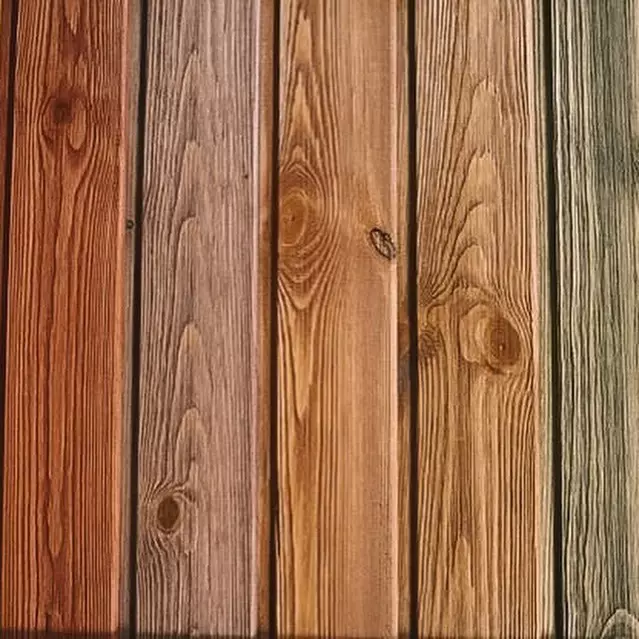
Sliced plates are covered with impregnation, completely or only ends and sections. For work take a long-axis painting brush. With it, there are several layers of impregnation. Their number is determined by reading the manufacturer's recommendations on the package. Some mixtures change the shade of wood. And the more layers of impregnation laid, the darker tone. So you can achieve the desired decorative effect. The impregnated parts are left in a dry ventilated place until complete drying.

Laying lamella
We offer a step-by-step description of the procedure for laying wooden planks with their own hands.
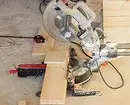
- We start from the inside. We establish two decorative rails. First put on the top edge of the metal canvase, the second side, where the loops are attached. They are joined at an angle of 45 °, so you cut them into the corners before installing. Make it is the easiest way with stusl. We put the details into it, we cut off the extra hacksaw on the metal so that there are less scaling. Sections with smear impregnation. We assign elements on the canvas, fix the screws. Fastening step - 150 mm.
- Fix two more details. They also need to be styled before fastening. For this, we put them in the stub, cutting exactly at an angle of 45 °. Already fixed rack also need to trim. Unscrew the extreme screws so that the bar can be put in the stub. Cutting, process cuts. We put a long decorative element in place. Fix with self-draws. Short only cook, but do not install.
- We put wooden planks. From the first of them along the entire length, we cut a spike, this is part of the castle compound. We embrace the cut by impregnation. Insert the plank prepared in this way into the grooves formed by decorative slats. We shift it, install in place. The next plate is similar to getting into the grooves, bring to the previous one. We bring the spike in the groove, snatch the lock connection. Similarly, we do with all other lamellas. Additional mount will not be required, since the plates are pressed located along the edges of the elements.
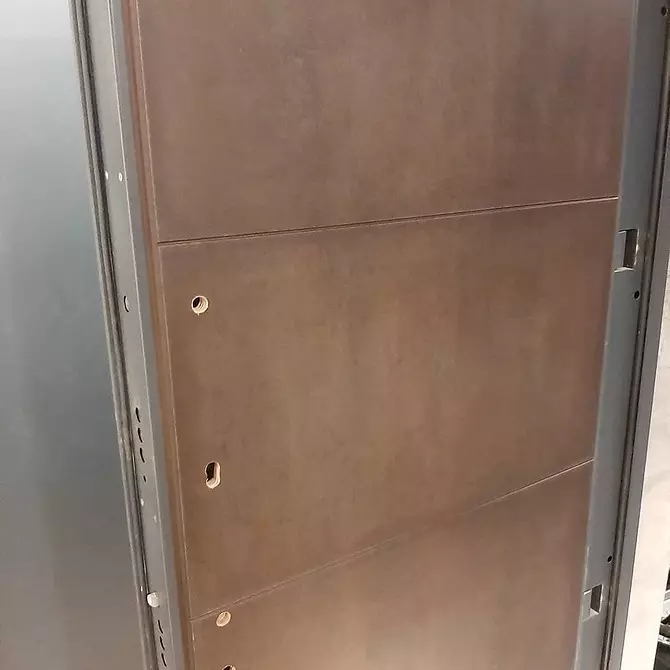
- We put the last decorative rail in place, fix it with self-draws. We turn the door to the outside by the outside. We take the longest but thin drill. With it, we plan the location of the handle and the eye: drills holes. I turn over the cloth, we find holes. We take a drill with borbrezia, extend the holes to the desired diameter.
- Go to the outdoor finish. We perform it in the same way as the inner. We prepare two decorative elements, stamping their joints at an angle of 45 °. Install and fix them. Similarly, we prepare two more details. Long put in place, short while postponing. It remains to put on the place of the lamella, close the ends of the last decorative element.
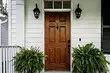
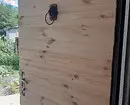
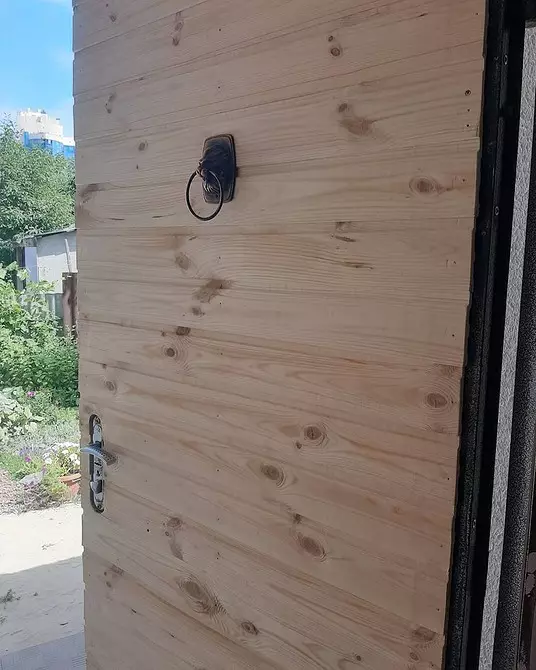
The trim is completed. It remains to trim the protruding ends of the screws on the section of the door plate adjoining the box. To do this, use the grinder or simply knock the metal hammer. Removed earlier accessories are returned to the place. Mount the castle, handles and eyes, if necessary. Lastly stuck a new seal. It is better to do this in gradually, gradually removing the protection of the adhesive layer. In the photo - finished finish of doors with lining.
The lined entrance door is hanging on the loop. Given her weight, it is better to do it with an assistant. Be sure to check the performance of the design. For this, it is completely swing and closed several times. Now it can be used. Entrance to the apartment or to the house became not only beautiful and attractive. Now the door block holds better heat and does not miss noise, and in the case of unauthorized penetration, he will be able to resolve the hacking longer.