We tell about all stages of work, ranging from the compilation of the plan and calculation of the budget and ending with the finishing and installation of furniture.

We have compiled a detailed guide at all stages of repair - look for you: preparatory work, capital or cosmetic, as well as repair insurance.
Preparatory stage
- Thinking ideas
- Drawing up work plan
- Budgeting
- Search contractors
- Creating a measurement plan
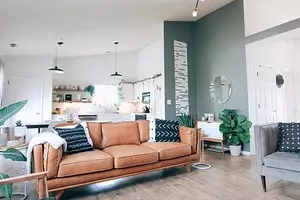
Think up design and redevelopment
At the very beginning, decide what you want to see in your apartment: what will be its design, the location of the furniture. Where will be deaf, and where light zoning partitions. To not forget anything, transfer ideas on paper or in a spreadsheet. Consider your long-standing desires: when to embody them, how not now? It can be the replacement of old windows, laying a warm floor, redevelopment.
Decide what you are not ready to refuse. Often, precisely from such fundamental desires, people are repelled when they think over the placement of furniture and other details. For example, the solution to turn a wide window sill to the recreation area can pull the alteration of the kitchen headset. Adjust the imposed items, comparing them with real possibilities.
Sewer work plan
List anything to do. In the adjacent column or a separate table, make a note: shopping list, approximate cost of materials and master services.
Make a budget for the whole project
At the same stage, make a schedule for the delivery of materials. Easy will increase costs, and the violation of the sequence of work will adversely affect the result. If you knock out from the previously scheduled amount, decide what can be saved, and what is unambiguously not. For example, inexpensive wallpapers, it is easier to replace the wallpaper than the cheap linoleum who came into dissent.
Behind the approximate budget is also the wisdom of everything to seek help from designers, architects or builders. They will help to assess the scope of work and funds that will have to invest. Defines the state of engineering communications, the degree of wear of the screed and on the basis of the data obtained will develop a estimate that will be useful even if the repair is planned to be carried out on its own. Such services are not free, and there is a temptation to abandon the assessment of the state of the apartment, hoping at Avos. This decision is hardly called reasonable - you will have to be ready for unpleasant surprises and, as a result, unforeseen expenses.

How can I reduce costs
We offer you 10 tricks that will help reduce the cost of almost without prejudice to the future interior.
- Warm floor put only on open areas of rooms. But consider what to do the permutation will not work.
- Count that you can do yourself or with the involvement of friends, and for what exactly the specialist will need.
- Reduce the costs of double-glazed windows and interior doors, purchasing products of standard sizes in a typical configuration. Take care in advance that the openings respond to these requirements.
- Stationary drywall structures will cost several times cheaper than sliding glass, stained glass and radius partitions. But the retractable interior doors will come out a little more expensive than swinging.
- Household appliances can do it 10-20% cheaper, if you buy it on the Internet. Upon receipt, check the completeness and quality of the instruments.
- Before staining, apply soil on the surface. This will help reduce paint consumption.
- Find one-photo wallpaper - you can buy them almost "under the calculation", since the waste will be not enough. But the drawing, especially large, requires a reserve at 20-30%, which sometimes sweats the wallet.
- Not very expensive, but beautiful flooring is laminate. Externally, it can be almost indistinguishable from an oak board or piece parquet, the price will also be significantly lower. In addition, the laminate is extremely simple even for newbies, which means that the laying will cost quite inexpensively or you will make it yourself.
- To save on tensioning and tailields, order a simple design, without raminity levels and curved lines.
- You can reduce the styling of the tile by buying the remains of different collections at the rush price. Why not collect the original "patchwork blanket" and not decorate them part of the bathroom? If the rest of the space is to bind neutral light tiles, the interior will look spectacular.
The walls almost always have to align - strict verticals and direct angles are obtained from builders extremely rare. Plasters and putty may take quite a lot. It is not worth choosing cheap mixtures - the risk that poor-quality materials will soon begin to crack and turn to crumble. If the walls are too far from ideal geometry, it makes sense to completely abandon their plastering and align the surface with the help of drywall. Most likely, it will be more profitable.
When you form the final budget and the list of changes, you can proceed to practical actions.
Buy materials with a small (about 10%) reserve. Additional trips to the store or market are fraught with temporary and financial losses. Unused surplus then you can pass to the store on a check.

Find workers
Some processes are too time-consuming and independent execution will take a long time. For example, dismantling partitions. Special qualifications are not required for this, so people will find quickly. But the installation of plumbing, wiring, a warm floor is sometimes better to trust the specialists.
Their search is not easy, and give any recommendations difficult. Those who are important to save, choose private brigades, based, as a rule, on the "Sarafan Radio". That is, the recommendations of those who have already collaborated with the masters and satisfied with the result. Collaborate with such craftsmen, most likely, will have only at oral agreement. If something goes wrong, it will be impossible to make compensation for damage from them.
Official construction organizations are more expensive, however, relations between them and the customer are built on the basis of a contract, where the rights and obligations of the parties are clearly spelled out. In addition, according to the Consumer Rights Act, they provide a warranty for a year.
Give the builders in advance of all the plumbing devices and their features. At this stage, a detailed design project from the architect-designer will be very useful.

Make a measurement plan and visualization
Measure the rooms and make drawings. Or instruct this task to designers. They also measure each room with communications and provide you with several options for planning solutions already with the placement of furniture.
When you choose a project, it will work stylistically. To have a clear idea of how your home will look like, you can book sketches or 3D visualization with graphic editors. The last option is preferable for complex solutions (space reconstruction, built-in furniture, complex ceilings, many details). Visualization allows you to get a visual realistic image of the rooms in all possible angles, but it is quite expensive and for simple solutions is simply superfluous.
After approval of the project, the specialist will make detailed drawings, which can later use contractors. As a rule, the creation of a design project "From and to" takes 2-3 weeks.


Stages and sequence of overhaul
- Dismantling of old coatings
- Erecting new partitions
- Installing Door
- Installation of wiring
- Air conditioning route gasket
- Wiring pipe
- Build and window adjustment
- Alignment of walls, ceiling, slopes
- Floor screed
- Floor insulation
- Brokes of peasants and internal parts of sockets
- Finishing ceiling
- Chistay wall covering
- Installation of radiators
- Plumbing work
- Laying of laminate, tiles, linoleum
- Installation of interroom doors
- Arrangement headset and household appliances
- Build electrics
- Completion of work with air conditioning
- Hanging Karnizov
- Laying plinths
- Built in floor thermostators
If you live in the apartment, repair is better to spend consistently: then in one room, then in the other, so as not to spread the dirt on the house. Start from the room where more garbage is foreseen. This is usually a bathroom, as it often places tiles. Then go to the long room and move to the kitchen.
Furniture and things will have to disassemble, pack and endure other rooms, part of sending to the cottage, to the garage, and the part is thrown away.

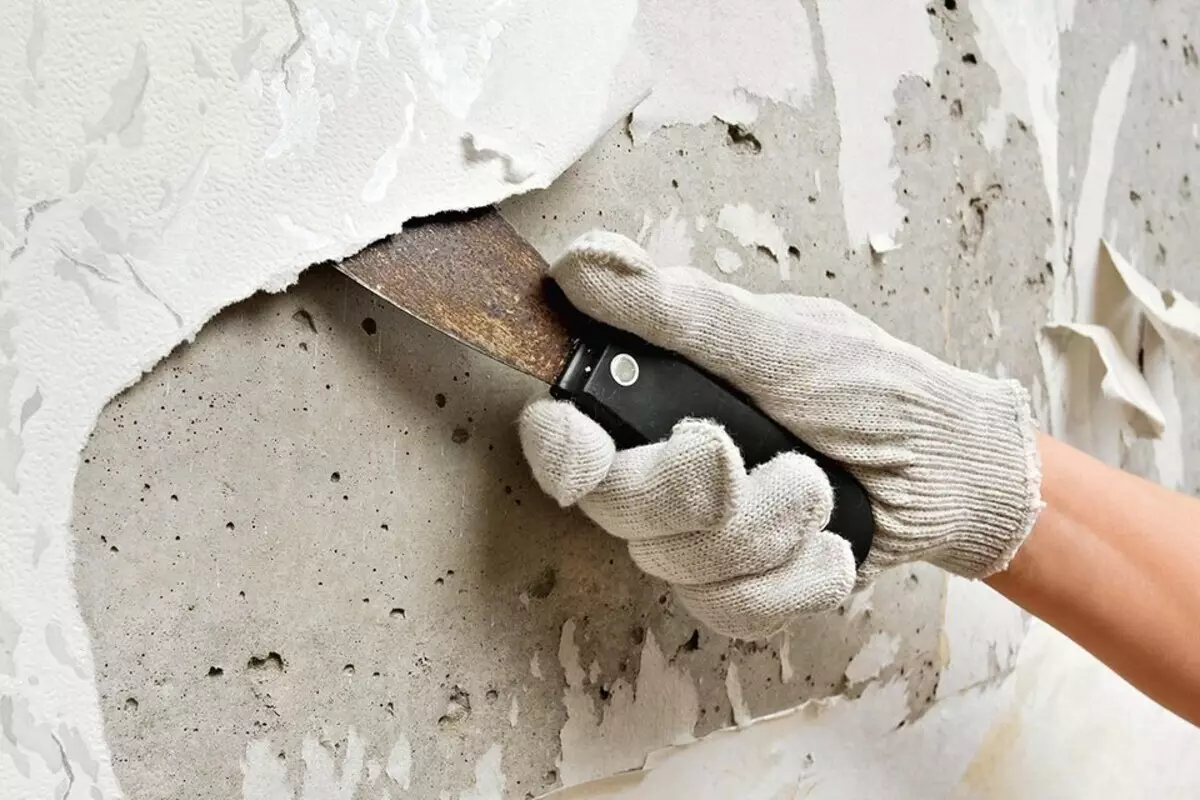
Dismantling of old coatings
This stage is relevant only for the secondary fund. Removing old wallpapers, flooring, plaster, tiles, windows can take one or two weeks. You also need to remove switches, sockets, doors, plumbing. Entrance and interroom openings are closed with a thick film.
Have changed overpower? Demolition partitions, device of new openings, the dismantling of the old santechshkaf is carried out right now. Please note: such transformations are considered redevelopment and are possible only after appropriate matching in the housing inspection.
After dismantling, many large-sized waste will appear. They cannot be thrown into a garbage chute or a conventional trash can - the violation is fraught with administrative penalties.
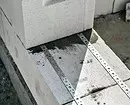
Erecting new partitions
If a capital wall is needed, a brick or puzzle blocks are used. If you need a lightweight design, which visually separate one zone from another, sufficient sheets of plasterboard fixed on a metal frame.
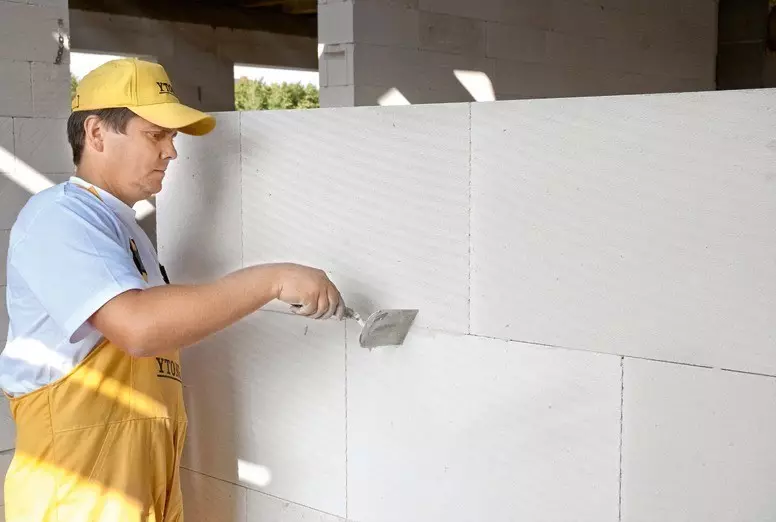
Large labor will require hollow or porous bricks. Faster and easier will be built partitions from cellular concrete blocks. The least of all the time will take the construction of the puzzle plates and Glk. Note that block and brick structures put on the concrete base of the floor, drywall - on the finished tie. Term - 2-3 weeks.


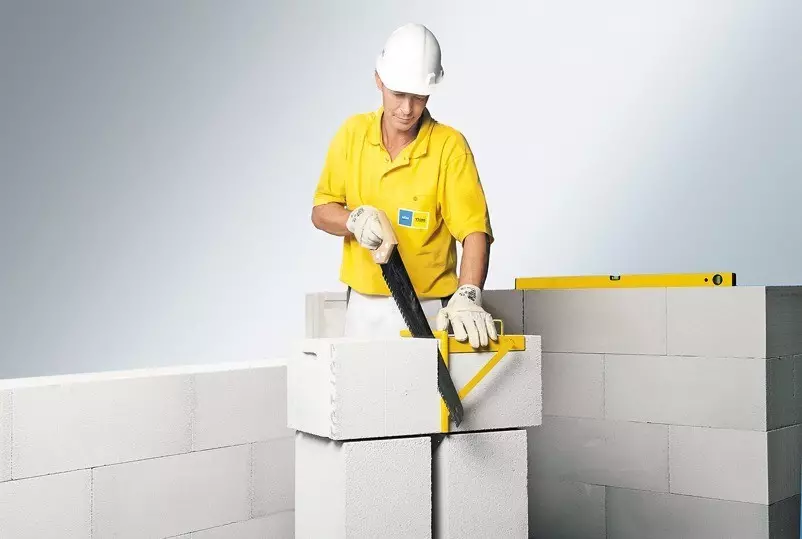
For cutting blocks use a special saw and stub.
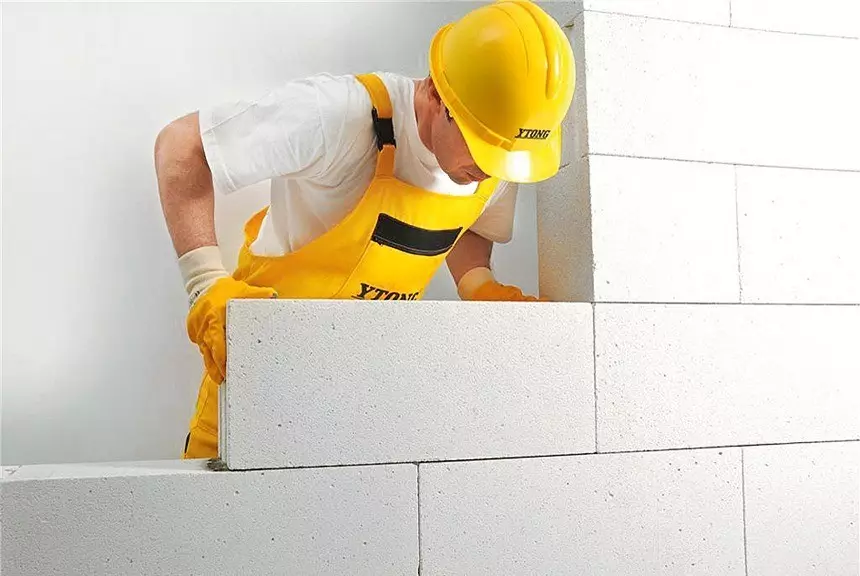
The masonry is carried out on thin layer glue.
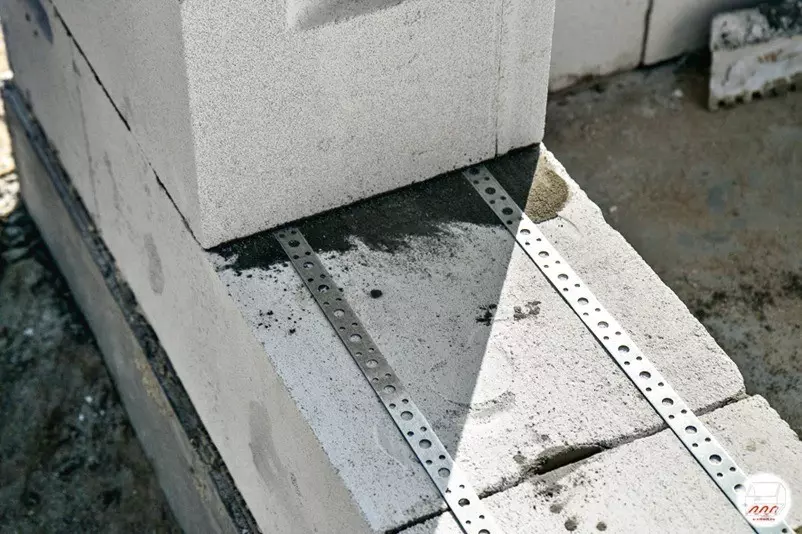
Reinforcing it with plates.
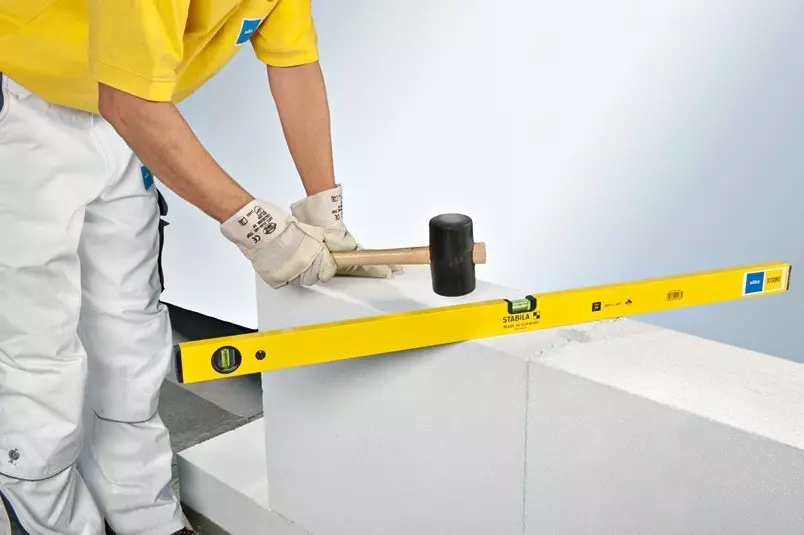
Thanks to this, the ranks are very easily aligned.
The solution protruding from the seams is immediately removed to the cells to alleviate shocking.
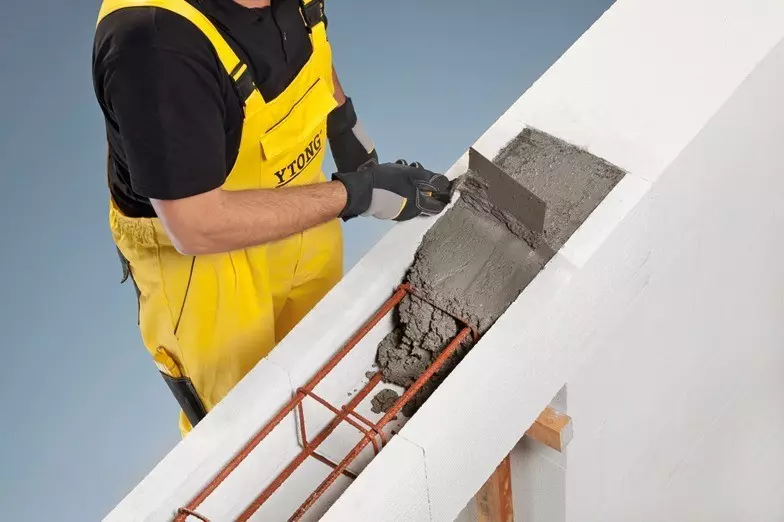
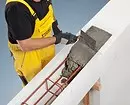
Jumpers over the proof are performed using tray elements.
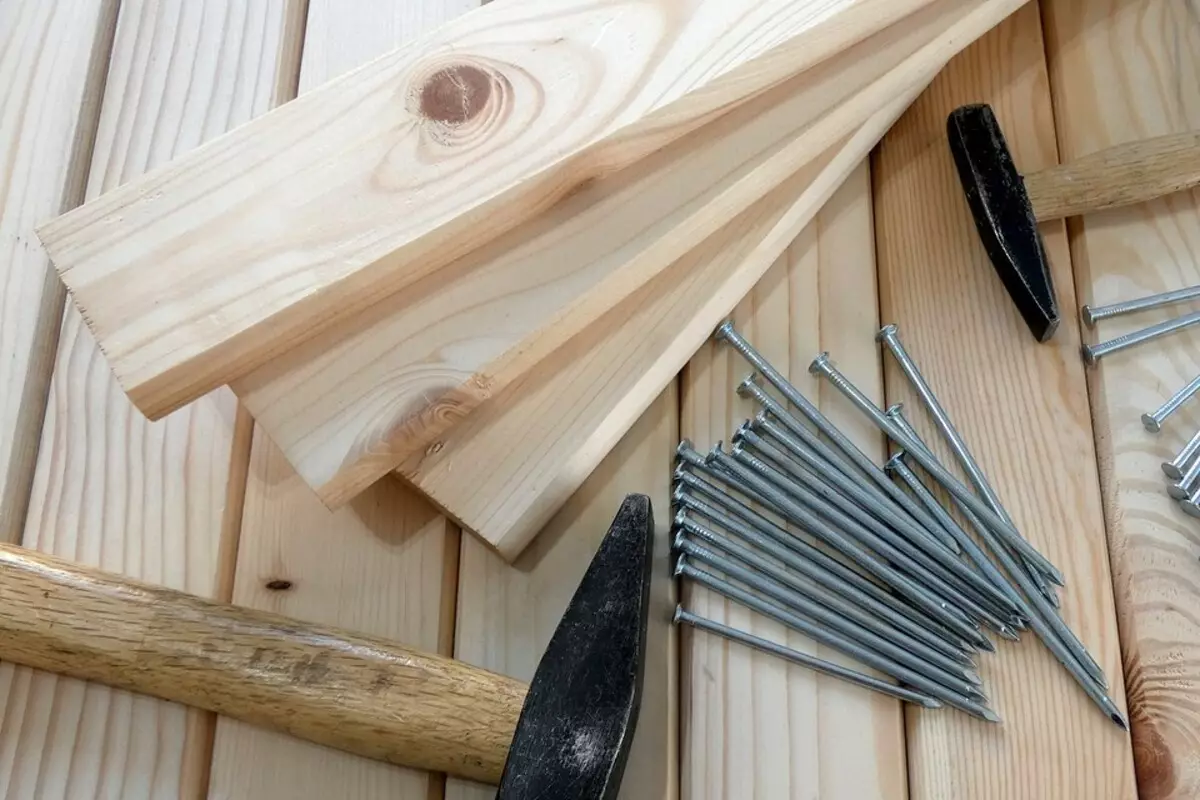
Installing the entrance door
If necessary, pon the openings: increase or reduce them. To keep in time, make an order in advance (preferably with spare black panels). Dismantling of the old design and installing a new one takes only one day.
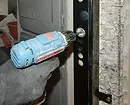
Experts advise to cut two locks - cylinder and suvalid. We recommend to give the work brigade the key only from the cylinder lock. Subsequently, it can be recoded or replaced by the core. By the way, in most companies this service is absolutely free.
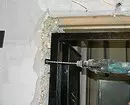
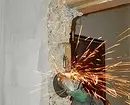
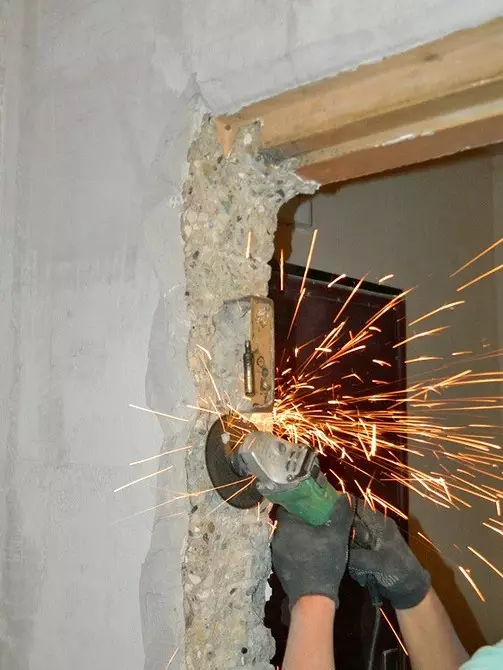
Bulgarian spills laid in the wall of the loop.
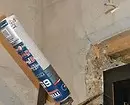
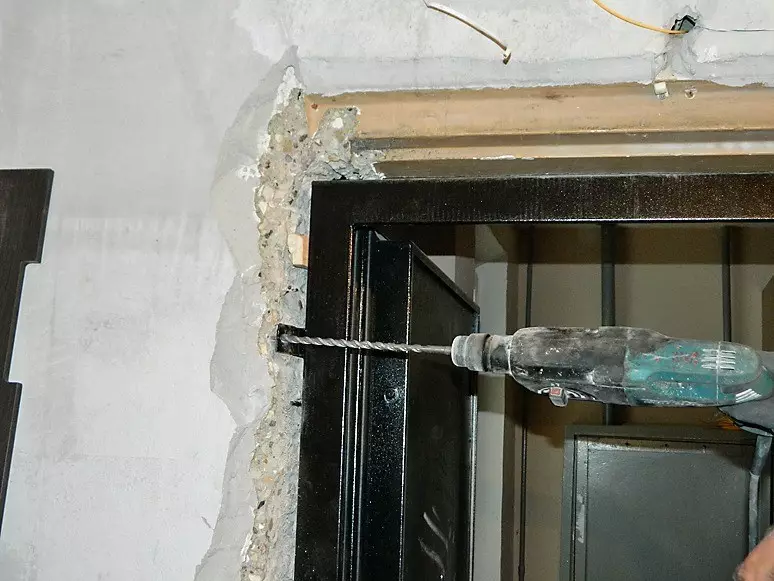
The discovered was expanded using a perforator and installed the door block. Through the assembly "ears" drilled in the wall of the hole and fixed the box.
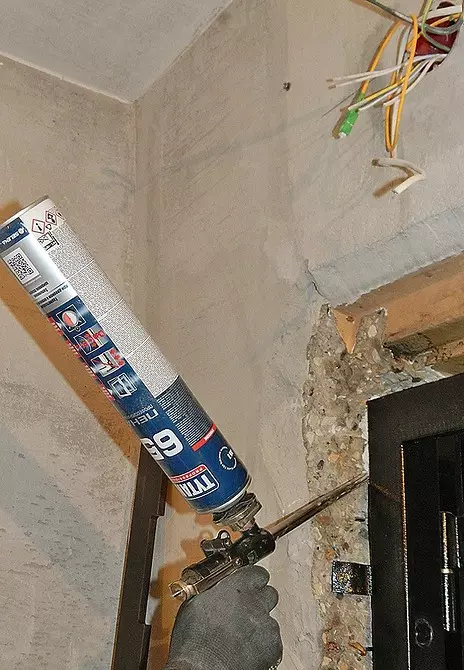
Filled the clearance around the perimeter of polyurethane foam.
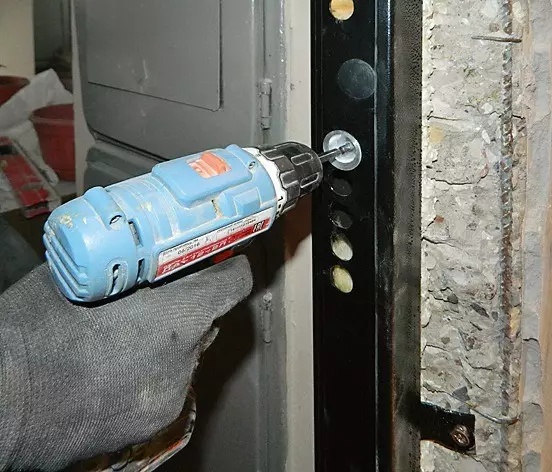
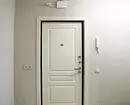
Finally, "glasses" were installed in rebeling holes under the riglels and anti-cylinder pins and adjusted the castle.
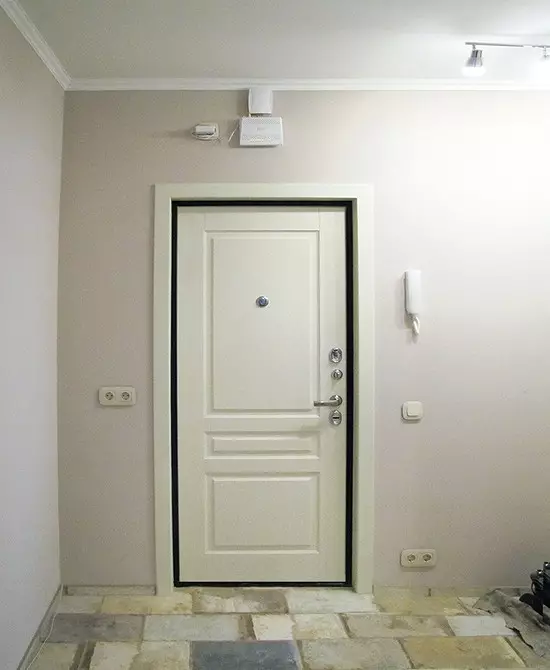
The outlook had to expand, since the old door was installed in an inevitable way.
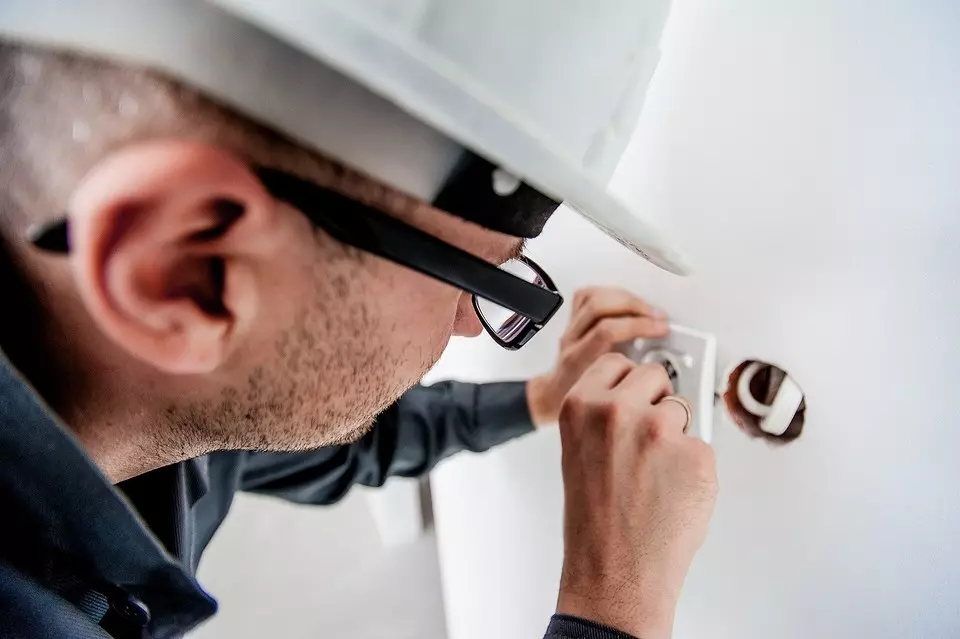
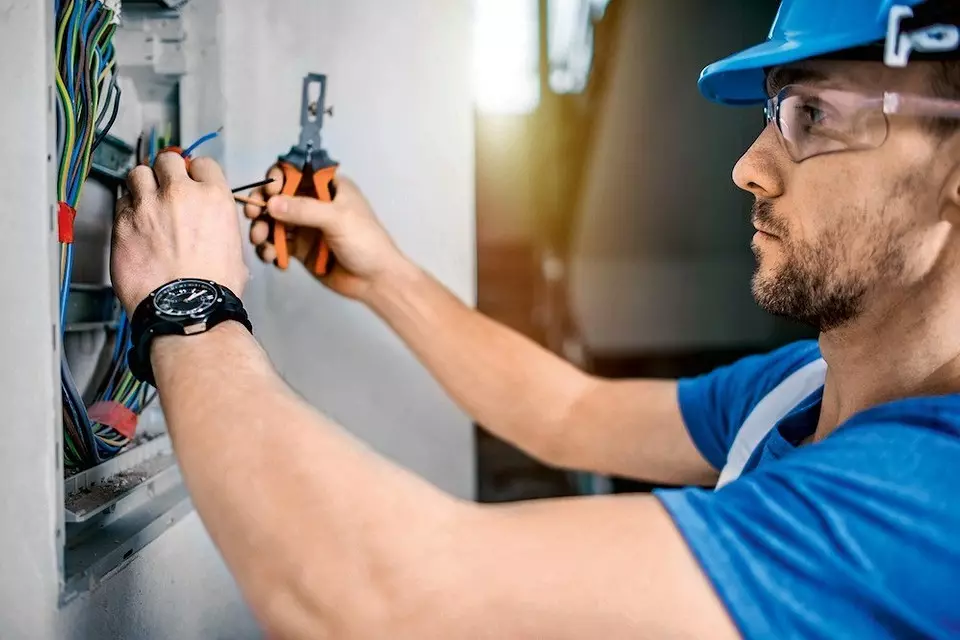
Electrical work
From this step, the sequence of repair in the new building begins. It includes the walls of the walls, installation of wiring products and electrical tailor, tv cable laying, Internet and telephone. With the finished project you will need five to ten days.The electric industry is developed in an authorized organization that has a relevant license. Next, it will have to coordinate in supervisory and controlling bodies to obtain permission to implement. And after completion, it is necessary to make a contract for the power supply and the subscriber book.
The consistent instances are the local governments of Rostekhnadzor and the energy sales company. They need to provide documents.
List of documents
- Act of distinction of the balance sheet and operational responsibility of the parties.
- Specifications on connecting to the power grid indicating the dedicated power and the connection scheme of the object to the distribution shield.
- Plan room with specified location of lamps, sockets, switches, switchgear and electrical wiring.
- Ready project power supply object.
Development and coordination of the electric industry is necessary if there is an increase in power consumption or partitions are demolished. This parameter depends on the number of devices that can be connected to the network.
If there is no project, you need to independently think over the location of the switches, calculate the number of sockets and determine the location of them. To do this, you will use a design project developed at the preparatory stage - it already indicates the location of the electrical appliances. Consider that the electric stove requires a special outlet. In the bathroom necessarily grounding, all sockets must be moisture-proof.
In the panel houses, the walls are advised by vertical, and the wiring should be done under the ceiling or by the floor. We will negate that this step includes only the stroke and laying of the wires. Switches, lamps are installed later - at the finish stage.
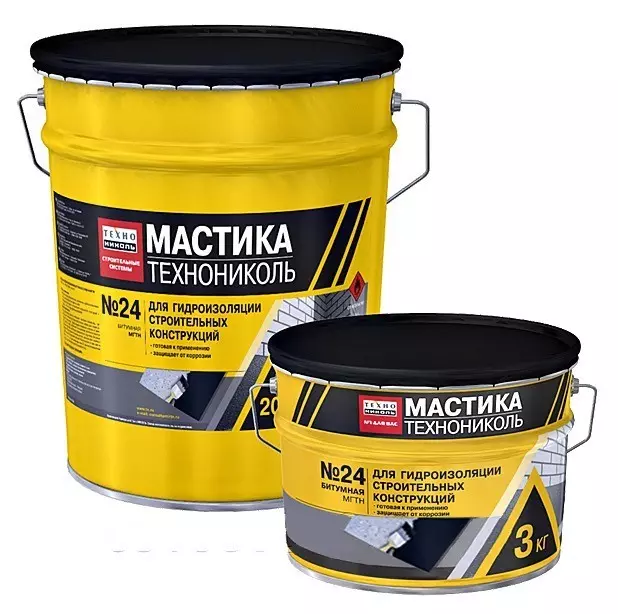
Installation of the air conditioning route
In one day, the wires and freononts are paved you, the outer block will be installed. The internal unit on this step is not mounted.Wiring of sewage pipes, water pipes and heating
Old communications dismantle and launch new under the plan for the location of a heated towel rail, washing machine and plumbing. Install filters, gearboxes and counters, module under hinged plumbing (if planned). Old radiators remove and put plugs, make a new wiring, but at the same time the devices are not insolent. Approximate period - 2 weeks.
Assembling new windows
It will take you one or two days depending on their quantity. Order new windows a little in advance - until they are made, you will complete the main stages. Do not remove the protective film from the glass to the completion of the draft finish.Please note that a number of work can be performed simultaneously. For example, the construction of partitions and subsequent steps. This will speed up the process.
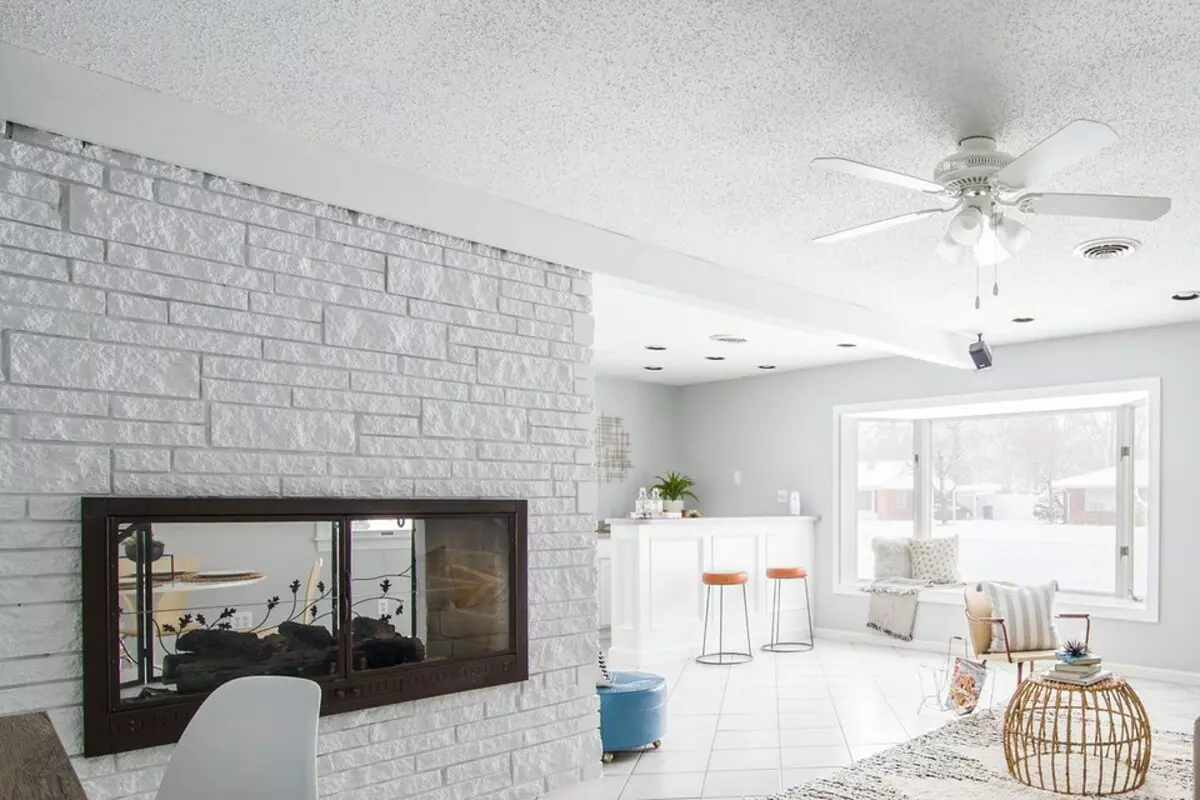
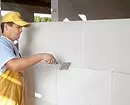
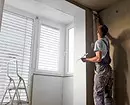
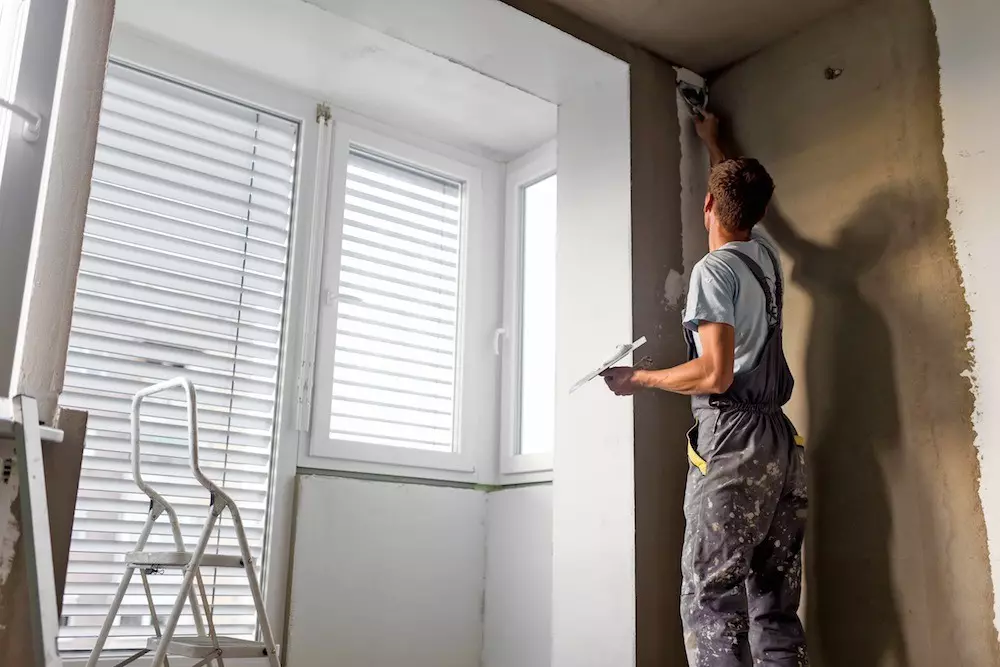
Alignment of the ceiling, window, interior openings and walls
Duration - 1-2 months. The first in the sequence of repair is the ceiling. We are talking about plaster. Glk or tension canvas are installed at the very end. Play and plastering the surface is optional. The second lines walls, openings and slopes.
How to align the surfaces:
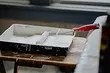
- First, apply primer-primer on them, after drying it - a plaster composition.
- Next, for sealing small defects - putty and finally the primer, which provides the best grip with the finishing composition.
If for some reason the wiring was made after the spit, close the places where the wires are "lying".
Please note that each layer must dry before the next one will be applied. Do not hurry contractors with finishing - all leveling layers must dry. Forcing drying with heat guns. Such a measure will lead to the formation of cracks.


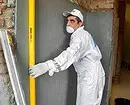


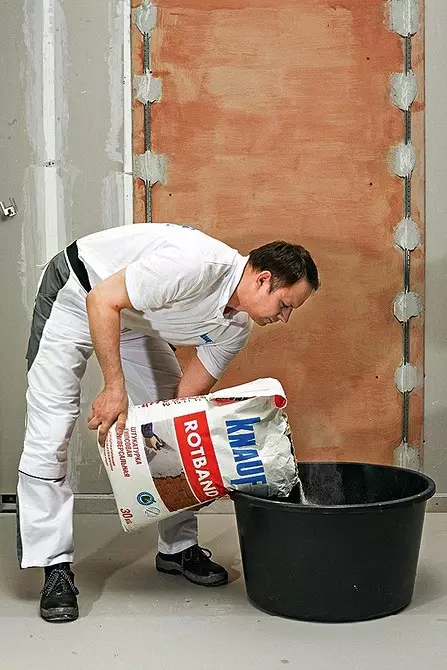
The plaster mix of Knauf Rotband is mixed so that it is without lumps.
Apply for 20 minutes.
When the surface becomes matte, the plaster is braked with a wide spatula or ironing.
The time for the beginning of setting the plaster mortar is 45-90 minutes. It may decrease due to drafts and high temperatures.


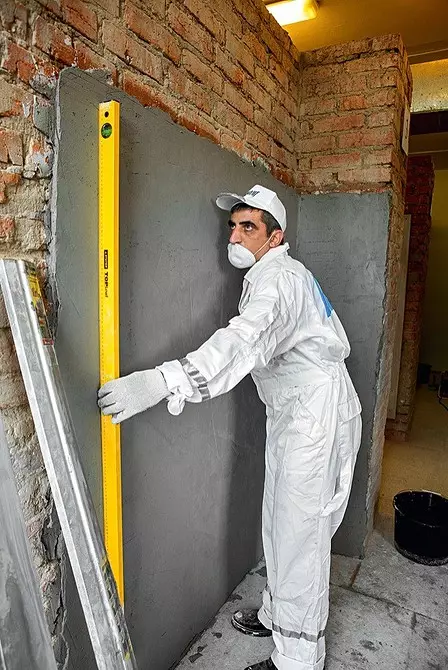
At the end of the alignment, be sure to check the geometry of the angles using the level. If it is broken, there may be difficulties with the installation of furniture (for example, a wardrobe). Overlaid uneven docking plates make the ceiling leveling with a time-consuming and expensive process.
Reduced the timing of alignment of walls and ceilings with the help of plasterboard designs. At the same time, before finishing, you only need to sharpen the seams between the GLC and to primitive the trim.
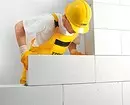
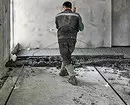
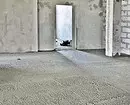
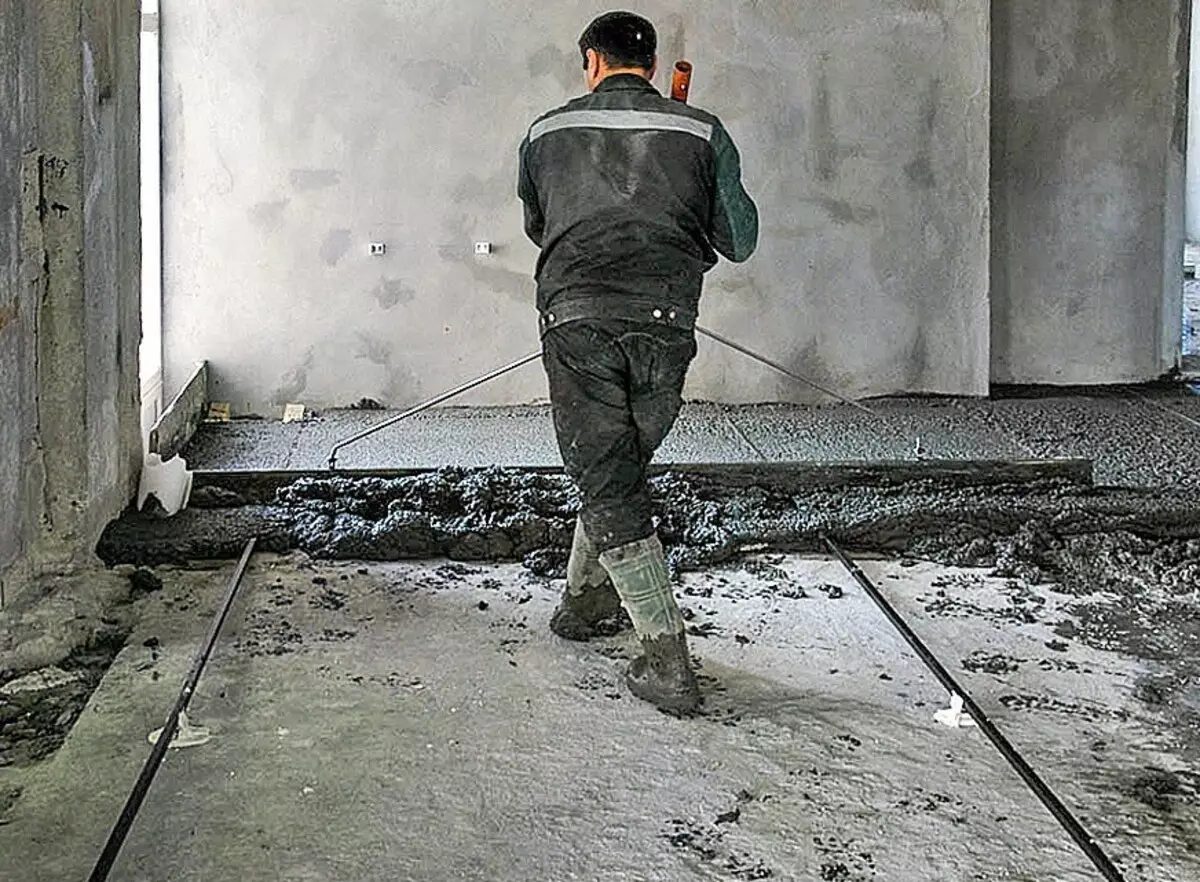
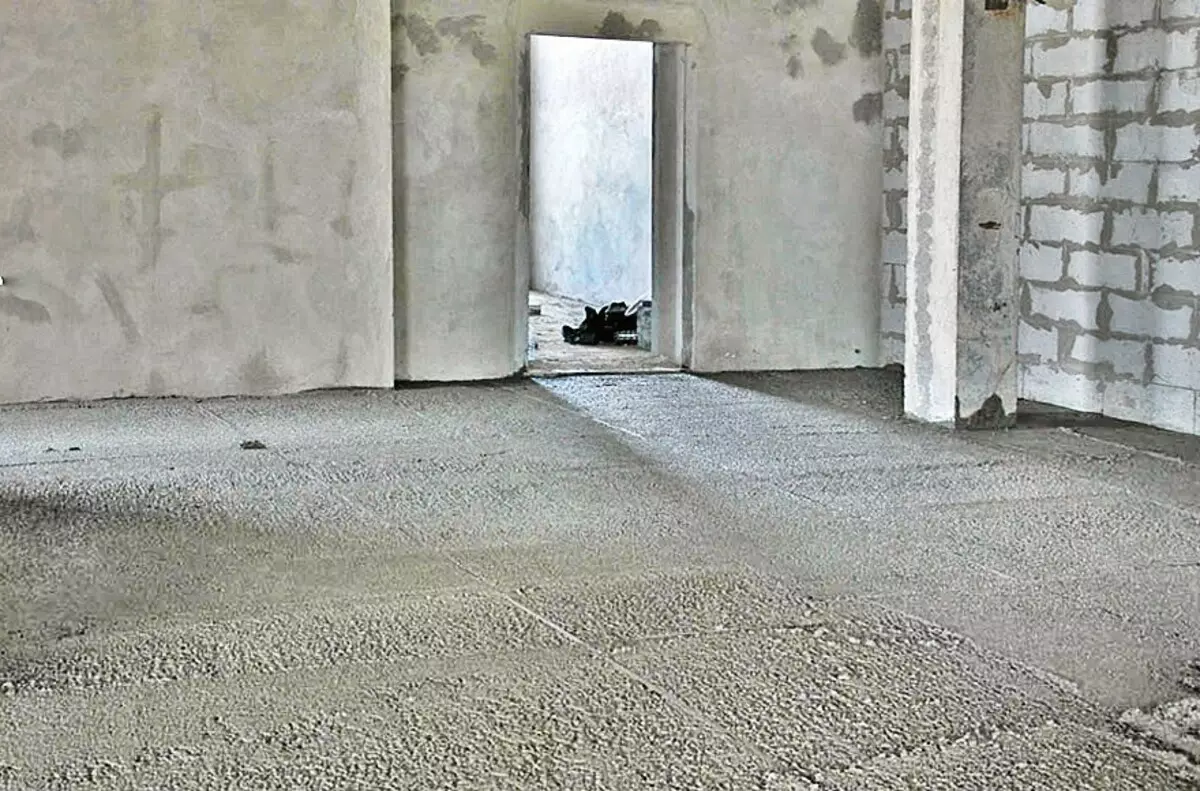
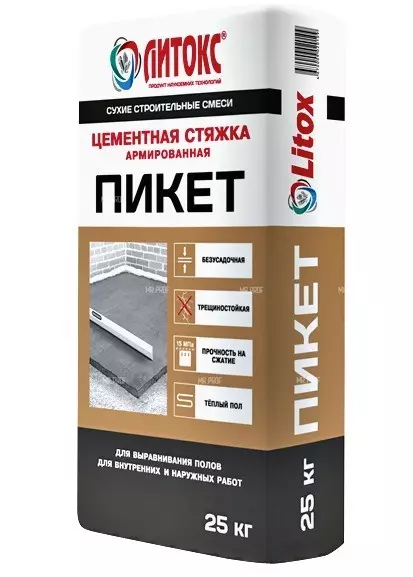
Floor screed
The process will take no more than three days. The composition on a cement basis is grasted for 12-24 hours, on the plaster - 3-4 hours. On the gypsum screed, the tile can be laid after 3 days, and linoleum, laminate, carpet or parquet - in a week. At the cement-sand tie, the floor covering is put no earlier than in 2 weeks.
There are dry screed tagging technologies on a slab based. The name itself suggests that the time for curing and drying will not need, and therefore, the timing is reduced. By cons specialists include sensitivity to flooding.
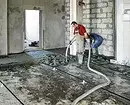


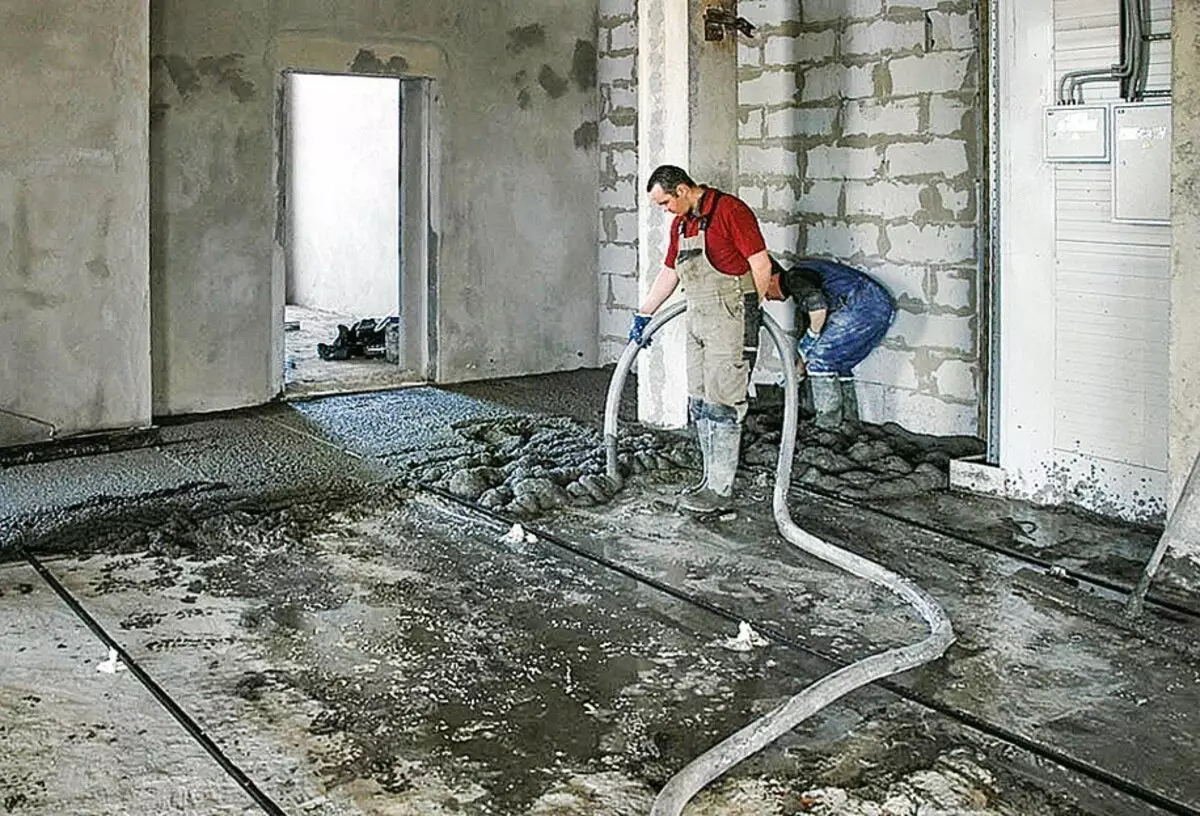
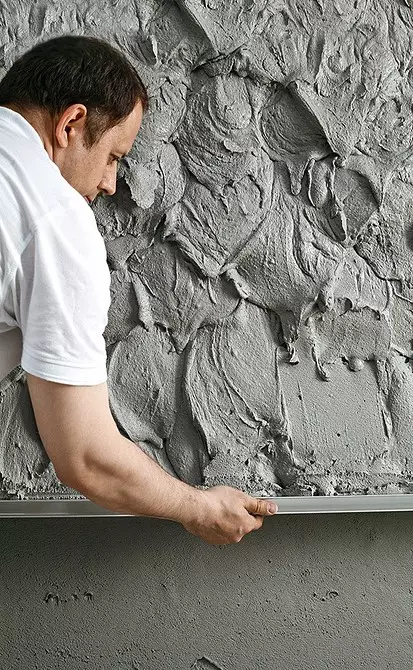
With a semi-drying screed, a polystyrene break solution is supplied with a pneumon pump.
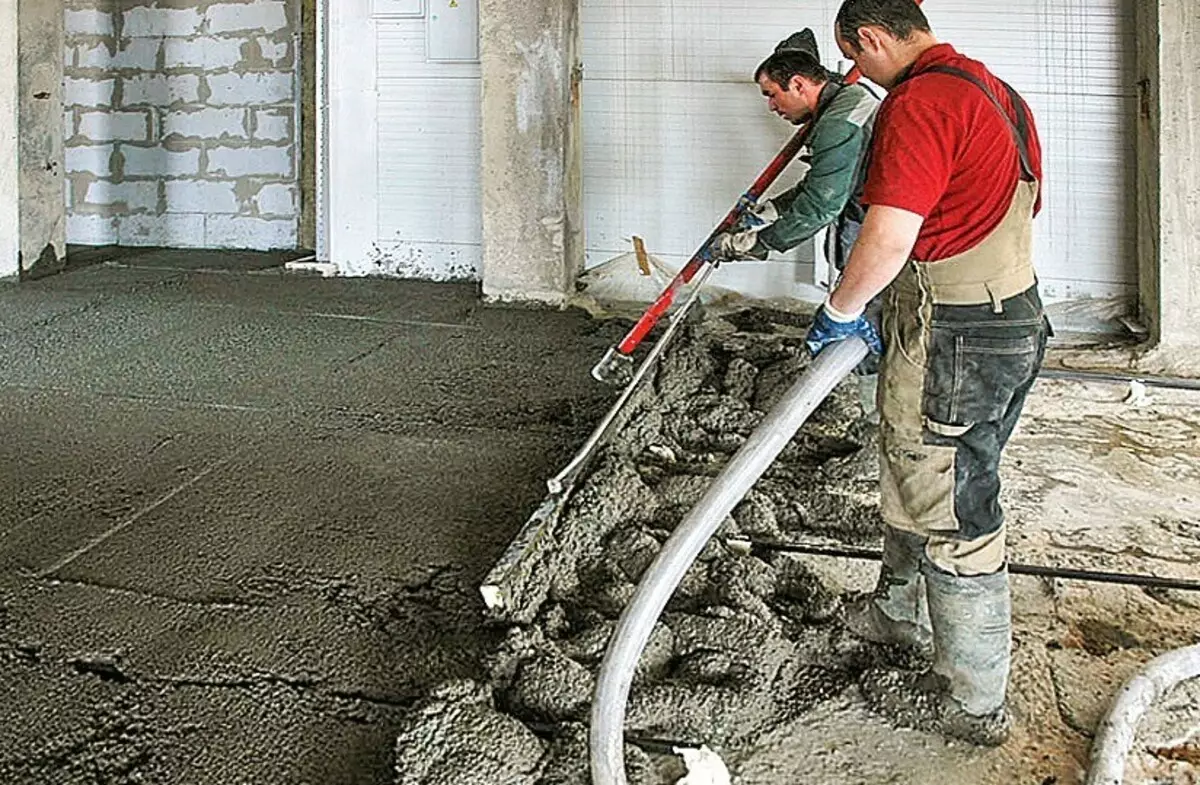
And smash the rules.

Installation of a warm floor
A warm floor system is laid on an even base. Only the electrical system is allowed in the apartments. It may take 30-45 days to its arrangement. There is also a heating system based on mats - it is mounted in 8-10 days. Film the film heaters that can be installed in 1-2 days are mounted.

Electric warm floors are becoming increasingly popular. For their installation, it is not necessary to obtain permission from the administrative bodies of housing and public utilities.
Continuation of electrical work
Installation of peasants and inner parts of sockets, switches usually occur within two days or weeks. This step is not recommended earlier, since when aligning the surface it will be difficult to guess the depth to which you want to plant a socket or switch.
When should you take out the garbage?
First of all, the garbage must be stored. Slices of old wallpaper can be collected in conventional plastic bags. For tiles, plaster and fragments of partitions, durable bags will be required. They can be purchased in any construction supermarket. But where are you what you have collected? In some new buildings, this task assumes the management company. It concludes a subcontract contract with a transport company that exports waste. The cost of its services is distributed between the tenants. However, more often the question has to be solved on its own.
The easiest option is to directly contact the company that deports garbage. In this case, you get rid of any trouble related to disposal, but it should be borne in mind that it has to pay for this service. And since it will be possible to call a car because of every two or three bags, it will have to be provided in the apartment a place for construction waste in order to bring them all time.

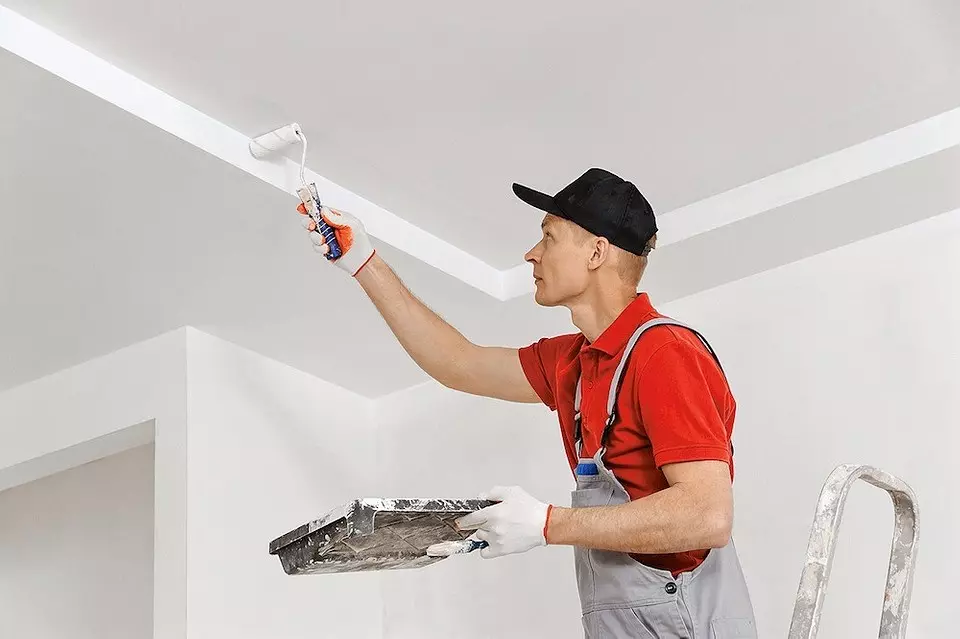
Finishing ceiling
It usually takes three to four days. Paint only flat plates are recommended, with small drops. You can install the suspension or stretch design in one or two days, provided that it will be several people. Pre-install mortgages under the lamps. At the same stage, ceiling plinths are mounted, stucco.With a long break in the work, the paint on tassels or rollers does not dry, if you place them in high water container.
Chistay wall covering
You can bring beauty both in ten days and for 1.5 months. The term depends on the selected materials. Use paint, decorative plaster, porcelain stoneware, metal or wooden mosaic, glass tiles, tile. Popular Wallpaper. So that they are not deformed, after their stickers do not open the windows within two to five days.
Wallpaper glued at temperatures above 10 ° C and humidity no more than 65%, with closed windows and doors to avoid drafts. Glue the cloth starts from the window.
Installation of radiators
Batteries are installed when the walls are ready. Otherwise, to paint the space behind them or you can not get it with wallpaper. The work will require 1 day. Do not forget to apply in advance to the management company with a statement about the disconnection of the heating system.Installation of plumbing
Baths are installed, shower, toilet, washbasin, mixers, washing machine (if you plan to place it in the bathroom). Term: three to five days.
Field finishing
It is extremely important that at least 14 days passed since the fill of the screed. Better - 28. It is so much necessary that moisture evaporated from concrete. Otherwise, water vapors, climbing, will penetrate the materials and destroy them. And if the ceramic tile will withstand such tests, the parquet or laminate will be spoiled. Laying outdoor coatings (parquet, laminate, tiles, etc.) takes an average of 2 weeks.If you laid outdoor coating before finishing the ceiling and walls, cover them with a film so as not to be swap.
Installing interroom doors
Before ordering them, you need to know the height of the floor covering. Otherwise, under the cannol, a large gap can turn out either the box will not get up in the opening. The term will be one to three days.
If you do not change the old interior doors to new, then at the time of work the canvas is better to remove and put it in the room where it is not so wet. Otherwise, they can wake up.
Arrangement headset and household appliances
Within one or two days, the collectors will install furniture modules, a tabletop, a stove, extractor, dishwasher and washing machine, washing, which is stipulated while ordering the headset and fixed in the contract.Completion of electrical work
Installing the outer parts of switches and sockets, hanging the lamps and an electric lion. Term - two to three days.
Installation of an indoor unit of air conditioner
It will take no more than 1-3 hours.Hanging curtains curtains
Term - 1 day.
Laying plinths
They are placed after the interior doors are installed. The mounting process will take an average of 1 day.

Embedding thermostators of a warm floor
We recommend paying attention to devices managed from smartphones and tablets.
The sequence of bath repair, kitchen, any other room is the same. First, dismantling the coatings, if there are. Then - wiring of communications, alignment of surfaces and at the very end - finishing finish.
Stages of cosmetic repair
- Buying materials
- Liberation of space
- Disassembly electricians
- Removing the old finish
- Aligning surfaces
- Finish finish
Buying materials
In order not to occupy a place in the apartment, order them gradually. If you do everything with your own hands and in a small composition, it will be more convenient. After all, it will not work simultaneously engage in several rooms or affairs. In this case, you need to pre-draw a procurement plan with dates - so you will avoid downtime.
Liberation of space
Start better from long-distance premises or in which the most ambitious transformations are planned.- Free it from all things. In the studio they can be transferred to the center of the room.
- Cover furniture, interior doors with film. Paul, if it does not need to be changed, also close.
Disassembly electricians
At this stage, the chandeliers are removed, the facial part of the sockets and switches. Internal elements are stuck with a painting ribbon.
Removing old materials
This process may take several days, and even weeks. Depending on the number of square meters. You need to remove everything that you decide to update.Aligning surfaces
Now it is necessary to eliminate irregularities - to sharpen them. After smooth surfaces are applied primer and plaster. You always need to start with the ceiling. Then go walls and gender.
The final stage
Painting, pasting and laying of new materials in the same sequence as in the previous stage. At the very end, the electrician is placed back, furniture and household appliances are set.
The video shows a sequence of wall repair.
- Stripping and putty chosel.
- Laying wires and picklers.
- Primer and pasting.
Now you know everything about the repair sequence: where to start, how to reduce it and speed up. We will tell about how to protect yourself from force majeures that may arise during large-scale alterations of housing.

Bonus: Repair Insurance
Few people think that the installation of new communications can harm the neighbors. But it is enough to recall the stories of experienced about the bays that occurred during the project, and damaged not one apartment, as the question immediately arises, is it possible to protect yourself from the scandals with residents and payments of material compensation.
The saving agent is - this is insurance of civil liability at the time of repair. Such a program suggests that if the damage to the property of neighbors is caused, the commission of damages will take on an insurance company. When it comes to a lightweight cosmetic finish, such a policy will not be so relevant.
If the plans have a reconstruction, replacement of pipes and other serious reorganization, insurance should be one of the first obligatory items in your program. By the way, a similar agreement is made at the end of redevelopment - who knows which force majeor will happen.