
Wardrobe - option convenient, practical and relevant in any room of furniture. We tell how to collect it yourself.
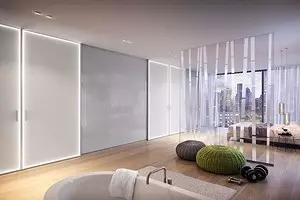

Photo: Instagram modamebel.com.ua
Construction cabinets
Sliding wardrobes differ from other storage systems with a special design of the door. Folds do not break down, but move away, opening the inner part of the furniture. Constructive cabinets can be divided into several groups.Built in furniture
Mounted in niche, which serves as the inside of the cabinet. Therefore, it is impossible to move the built-in design to another place. Built-in systems are made to order. Their advantage is that the dimensions can be very different, and the assembly is extremely simplified and, if necessary, may well be produced independently.

Photo: Instagram Alyance_Naydi_KZN
Separately standing cabinet
Furniture is a standard cabinet with retractable doors. The product is simply installed. A certain difficulty represents only the assembly of retractable doors. The cabinet can be rearranged to another place because it is not tied to a certain niche. An independent assembly of such furniture is a bit more complicated than the built-in.Corner construction
It can be built-in or separate. In the first case embedded in the angular part of the room. The main advantage is compact, but at the same time a very good room. Doors can be straight or radial, which makes it difficult to build. An independent manufacture of such a design is possible, but it is quite difficult.
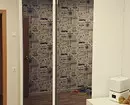

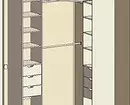
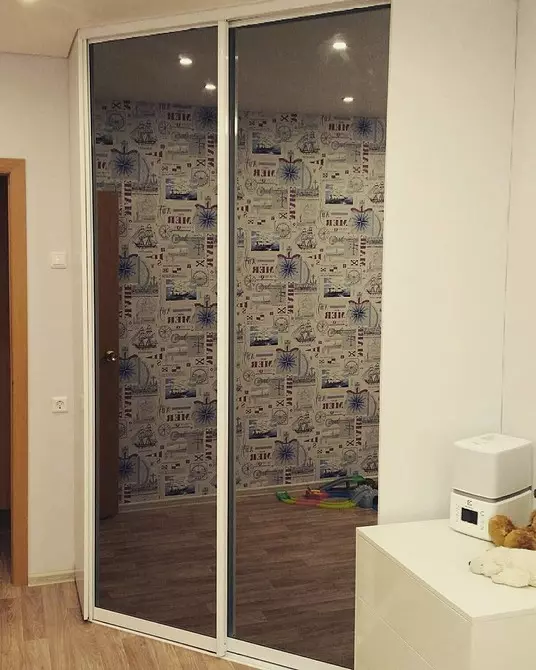
Photo: Instagram Elenachmebel
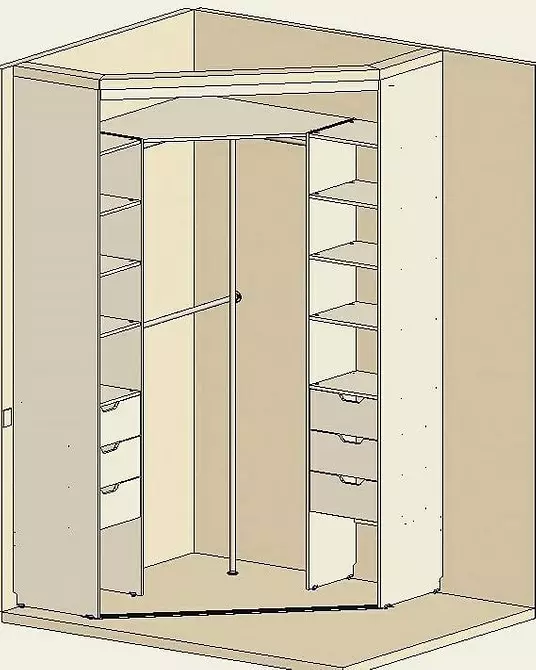
Photo: Instagram Elenachmebel
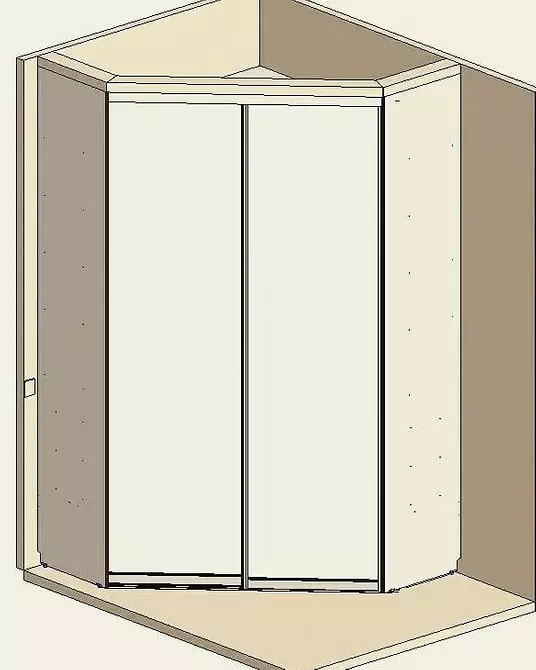
Photo: Instagram Elenachmebel
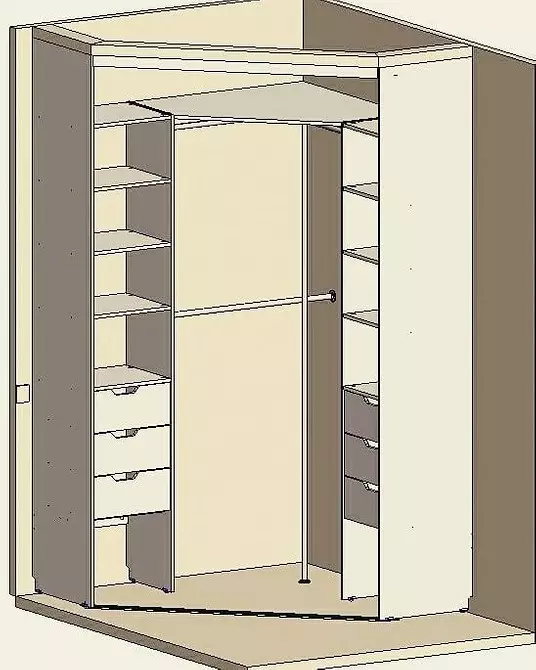
Photo: Instagram Elenachmebel
Pros and cons of the wardrobes
Such furniture of any type is considered very practical and comfortable. Its main advantages:
- compactness;
- capacity;
- the possibility of accommodation even in a small room;
- variety of models;
- The possibility of self-assembly.
From the disadvantages it should be noted the need for regular maintenance of the sliding mechanism, otherwise it will quickly fail. In addition, it is desirable to acquire high-quality sliding systems. Otherwise, the cabinet will not last long.

Photo: Instagram Alyance_Naydi_KZN
What to collect a wardrobe
For the manufacture of furniture, you can choose different material. But it is necessary to make it before designing, since the assembly process can change somewhat.Natural wood
This is a traditional material used for the manufacture of furniture. In this case, not the best choice. The cabinet assembly boards must be carefully dried and saturated with special systems: a water-based polymer emulsion is either hot oil. In addition, any defects should be missing on their surface: bitch, cracks, etc. Given that the wooden surface is hygroscopic, it is not recommended to use it for the manufacture of built-in furniture. Wood will be sworn due to moisture drops inside the niche.

Photo: Instagram almaty.mebel.kz
Lining
You can use various options: MDF, PVC or wood. It is necessary to consider that the planks that make up the sash are inserted into the wooden frame. Wood from which the frame is collected, only the rich, without defects, is selected. The lining is adjusted in size, the planks are glued together. This somewhat complicates the assembly process. In general, such a solution is quite appropriate, but only for the cabinet doors. It is often used for embedded structures.

Photo: Instagram Alyance_Naydi_KZN
Wood slabs: MDF, LDSP, Fiberboard
Perhaps the best choice for self-installation of the cabinet. Materials possess all the advantages of the tree, but at the same time are completely insensitive to the jumps of humidity. To work, choose high and medium density plates, they are best suited for this. The stoves are easy enough to cut on the details of the desired size. Optimally use for this serving services.

Photo: Instagram good_wood_shop
Plywood
You can use standard or laminated sheets. The latter differ in attractive species and are considered more environmentally friendly. The material is produced in the form of plates of various thickness. When working should take into account some softness of sheets, when installing sacriforms of plywood may be deformed. Therefore, it is recommended to use special gaskets.How best to locate
Before proceeding with the design of furniture, you need to determine exactly where it will be installed. There are many interesting options for placing such cabinets. For example, if it is supposed to install it along the wall, then it is best to make furniture with a height of almost to the ceiling. So it will be visually perceived as a wall, and the mirrored doors in this case will help to visually enlarge the room.
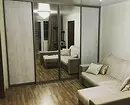
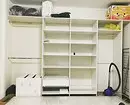
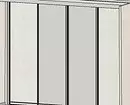
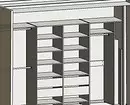
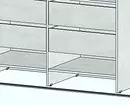
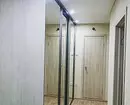
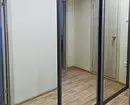
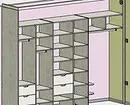
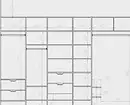
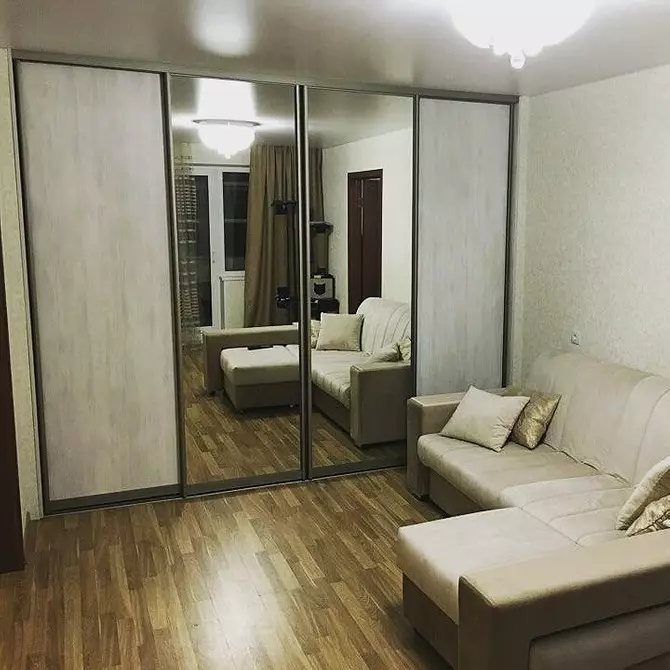
Photo: Instagram Elenachmebel
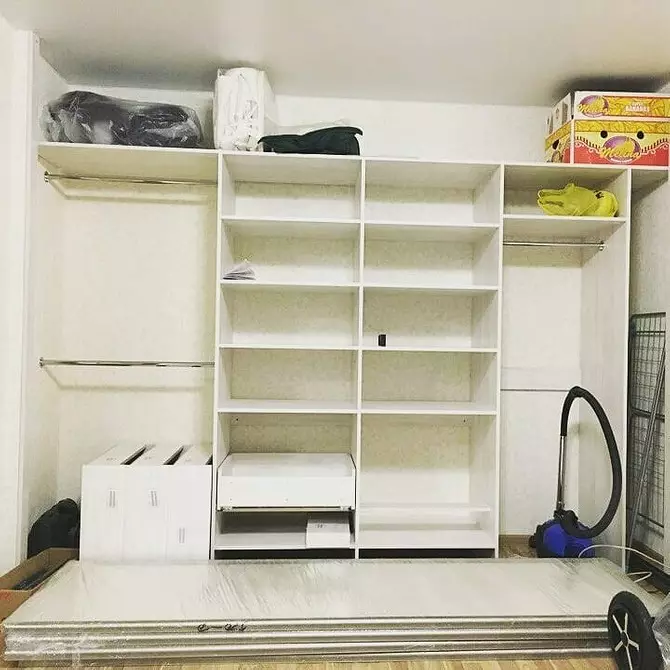
Photo: Instagram Elenachmebel
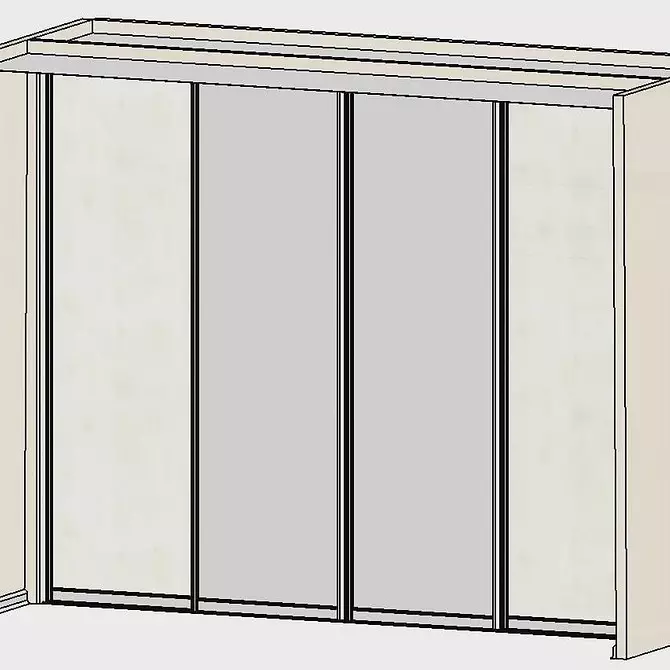
Photo: Instagram Elenachmebel
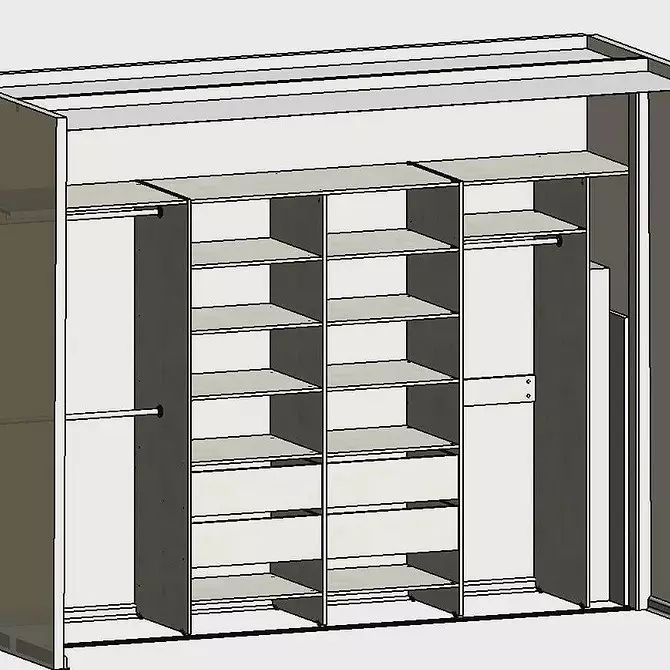
Photo: Instagram Elenachmebel
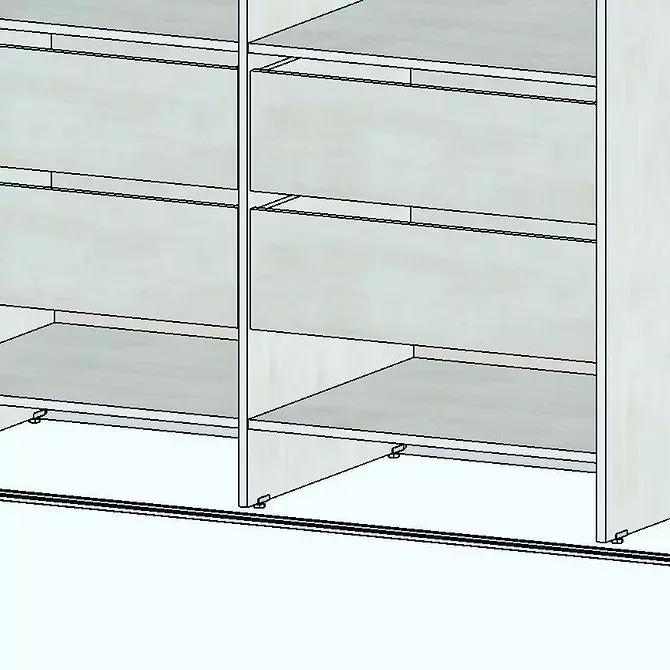
Photo: Instagram Elenachmebel
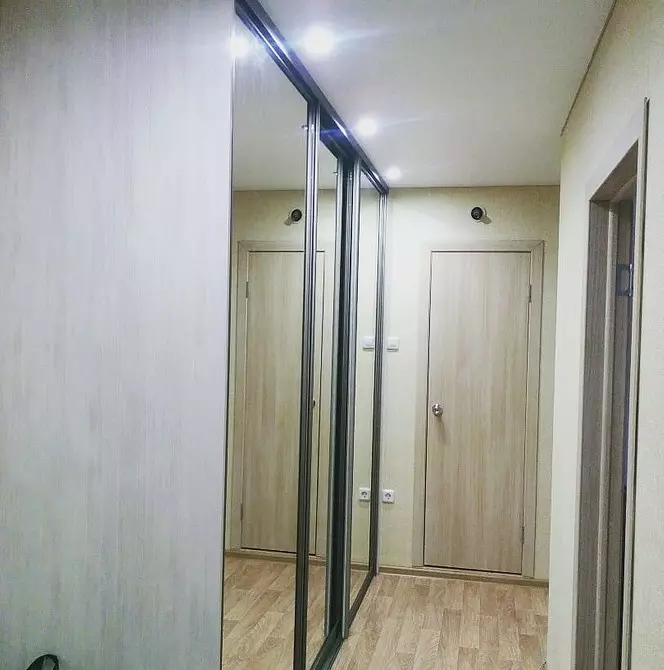
Photo: Instagram Elenachmebel
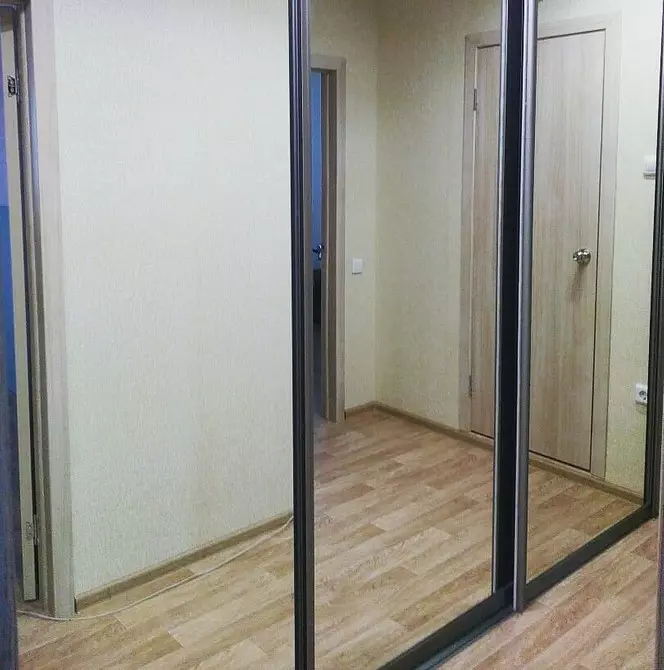
Photo: Instagram Elenachmebel
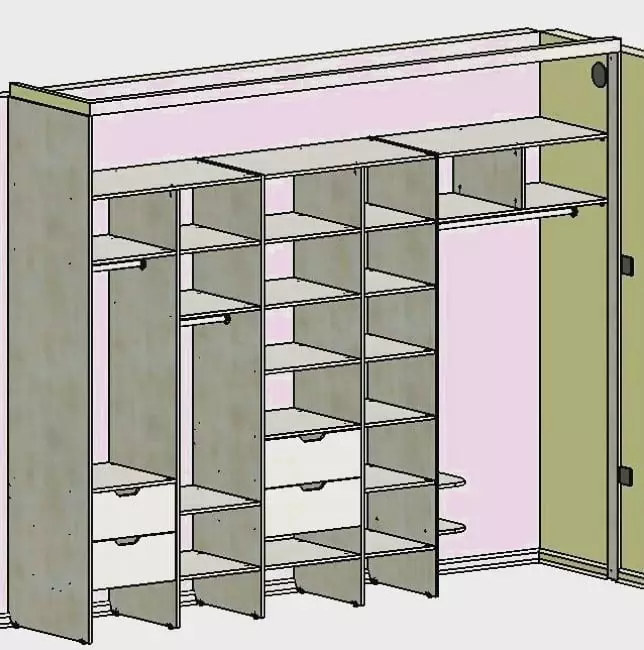
Photo: Instagram Elenachmebel
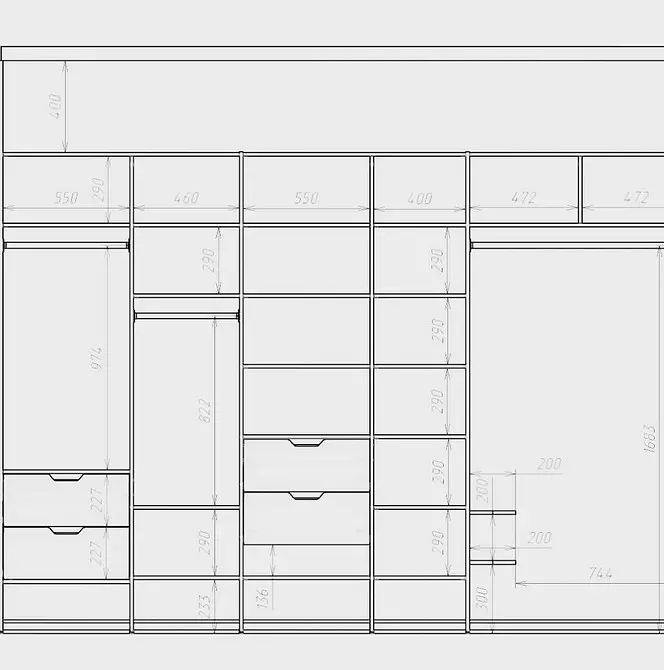
Photo: Instagram Elenachmebel
The original solution is the two cabinets of the coupe along the long wall. Between them it is worth leaving a certain distance and a kind of niche will turn out. It can be used as a headboard or as a place for the equipment of the false fireplace. Installing the cabinet near the door or window opening is possible. In this embodiment, the furniture can be successfully complemented by the antleesol placed above the opening.

Photo: Instagram uyut_shkaf
The cabinet of the built-in type can have a variety of dimensions. They depend on the area of the niche in which it will be equipped. Sometimes it is even a small room or the fenced part of the room, which allows you to equip the wardrobe on the principle of the built-in wardrobe. It is very practical and convenient. Built-in design does not necessarily have a straight form, corner or radial options are possible.

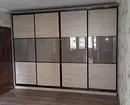
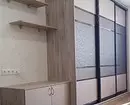
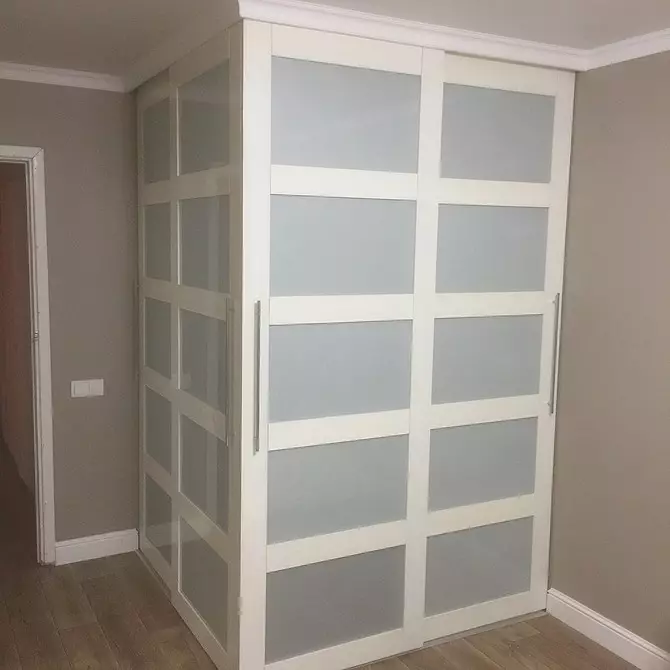
Photo: Instagram nizamov.robert
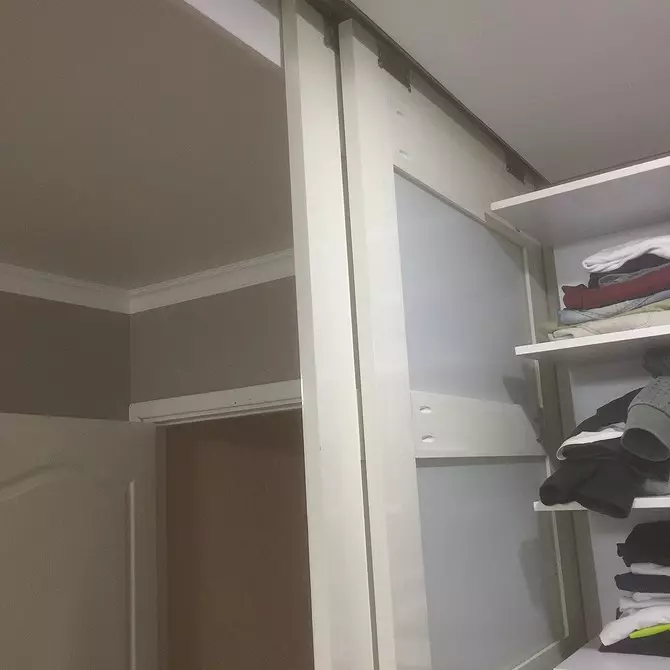
Photo: Instagram nizamov.robert

Photo: Instagram nizamov.robert
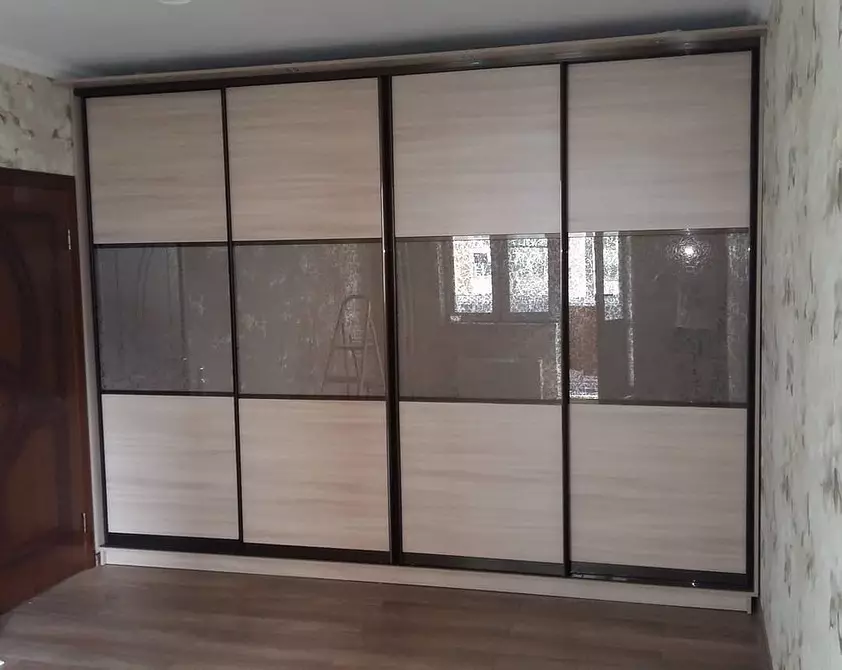
Photo: Instagram Iskander_mebel777
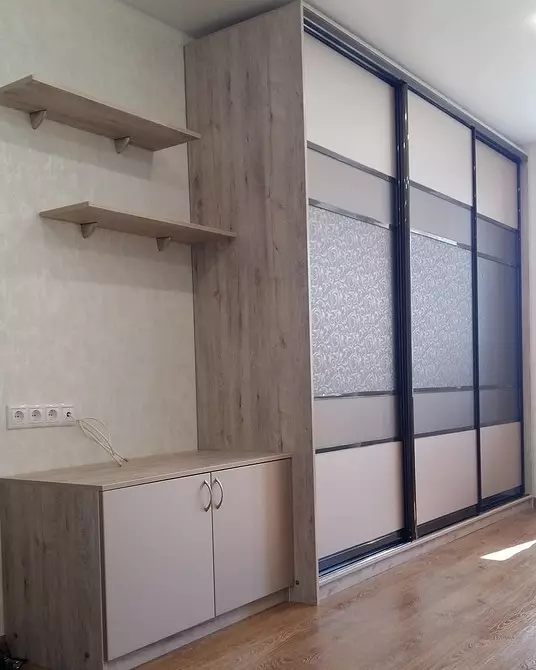
Photo: Instagram Iskander_mebel777
Design and detail of a wardrobe
One of the most responsible stages is to create a cabinet project. To begin with, it is necessary to determine its dimensions. If the furniture is built-in, they will determine the dimensions of the niche. For cabinets standing separately, permissible dimensions are selected. For example, the optimal closet length is three meters, the maximum is five. But the width of the sash should not be more than a meter, otherwise problems with the sliding mechanism will appear.

Photo: Instagram Elenacherkozianova
Determining the size, proceed to the design of the cabinet filling. From it will depend on the form, the number of doors, etc. It is advisable to divide the inside of the product on the section, each of which will be intended for certain purposes and have the appropriate location. For example, a compartment for storing upper clothes should not be placed in the center of the cabinet. It is placed from the edge, so as not to spread the dampness from clothes.
After the internal space is distributed, the number of sash determines. Than they are less, the more convenient to use furniture. However, the risk of jamming or skewing of large doors increases. The optimal width of the sash is 60-70 cm. The magnitude of their overhearsow must be in the range from 50 to 70 mm. A smaller overheet involves the presence of a slot, larger makes uncomfortable use of the cabinet.
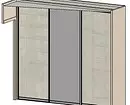
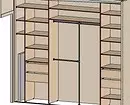
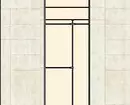
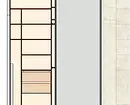
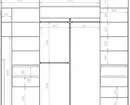
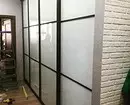
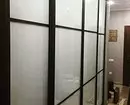
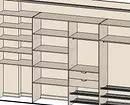

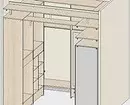
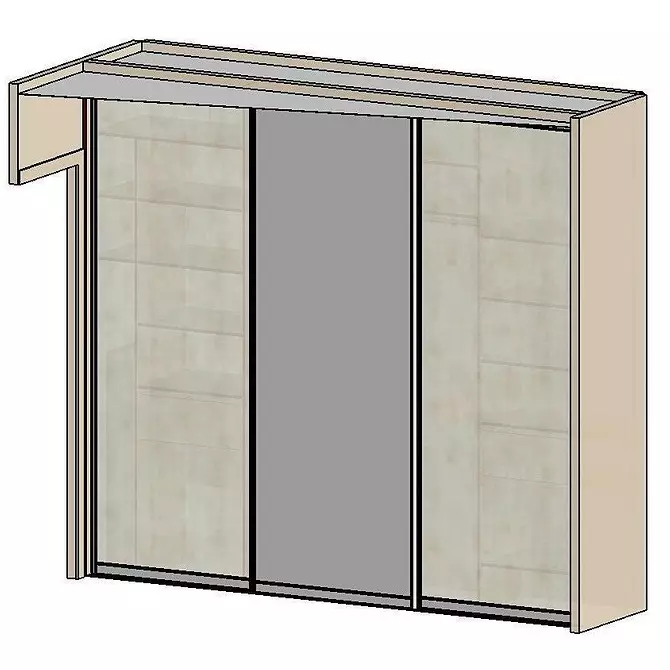
Photo: Instagram Elenacherkozianova
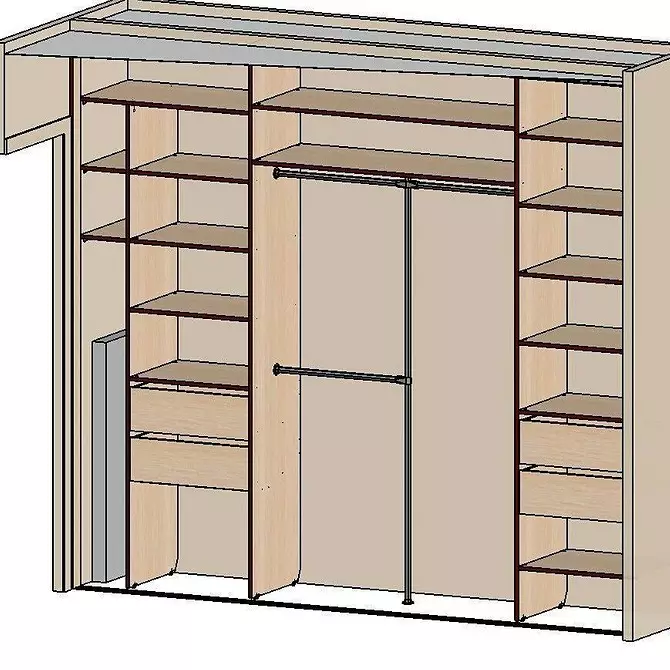
Photo: Instagram Elenacherkozianova
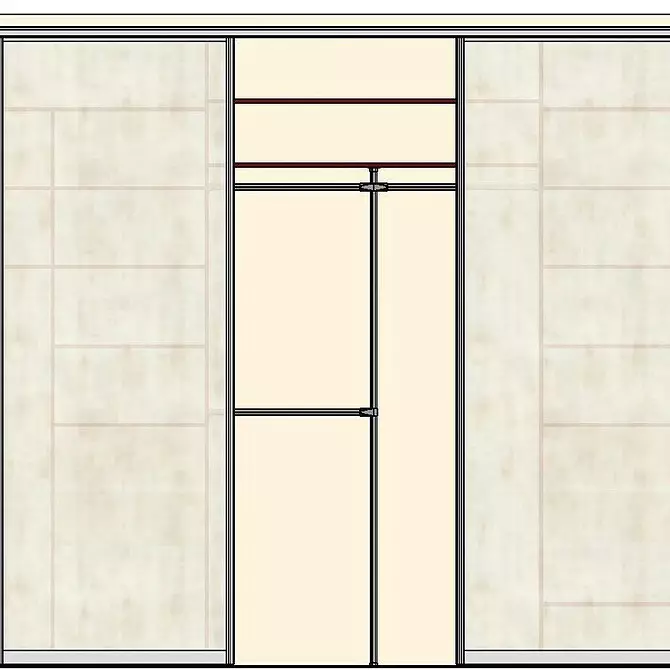
Photo: Instagram Elenacherkozianova
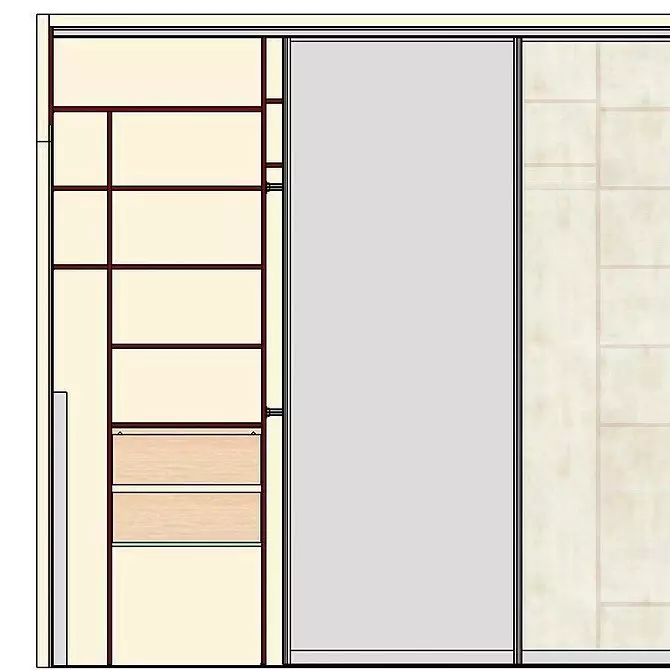
Photo: Instagram Elenacherkozianova
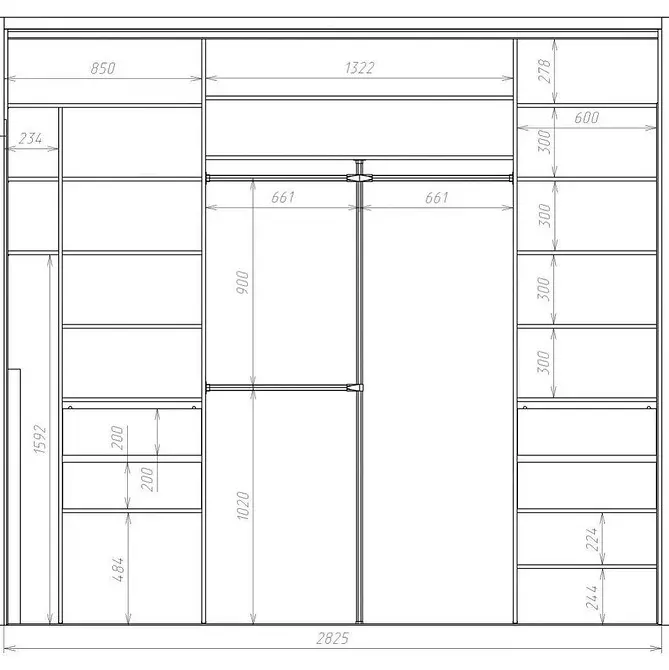
Photo: Instagram Elenacherkozianova
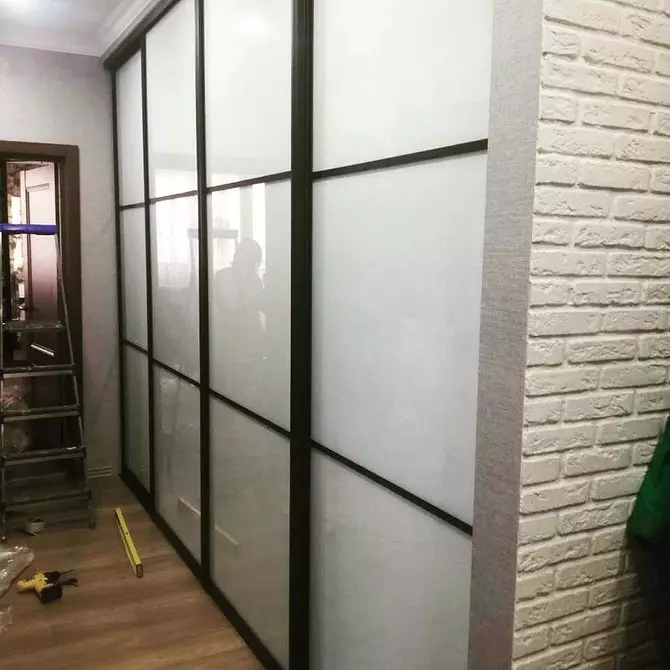
Photo: Instagram Elenachmebel
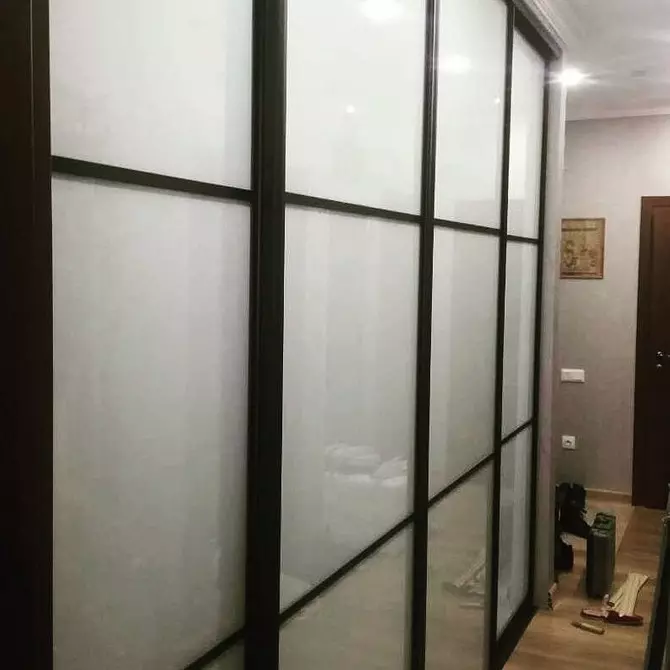
Photo: Instagram Elenachmebel
Photo: Instagram Elenachmebel
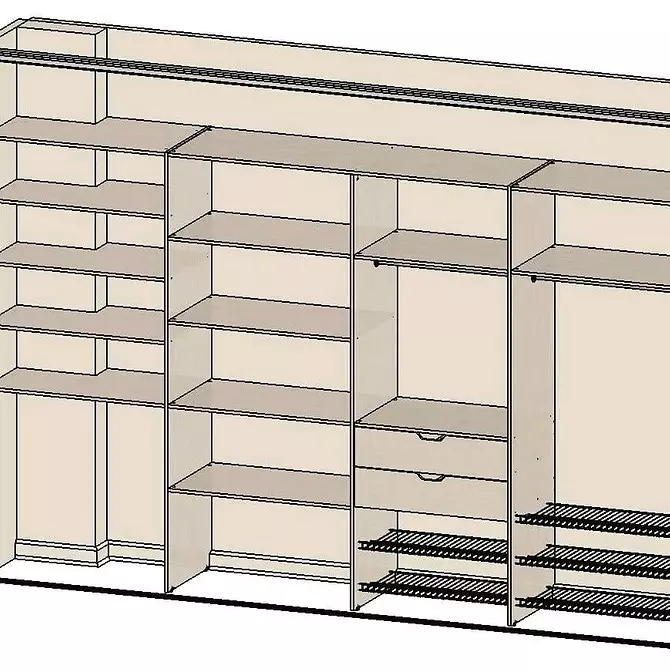
Photo: Instagram Elenachmebel
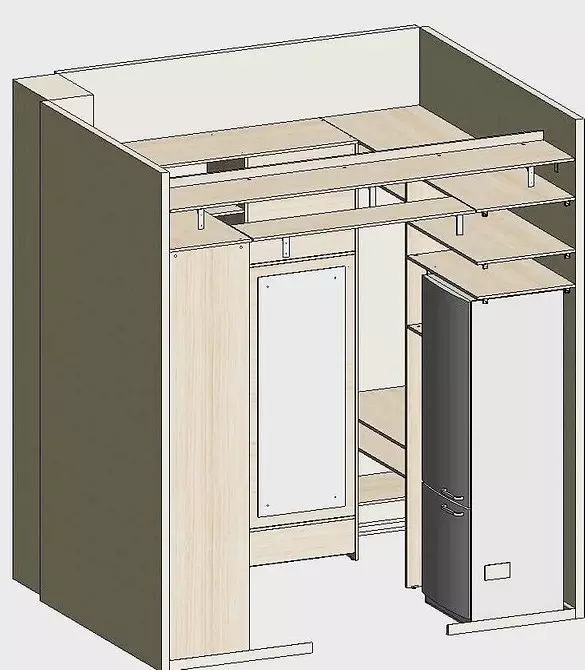
Photo: Instagram Elenachmebel
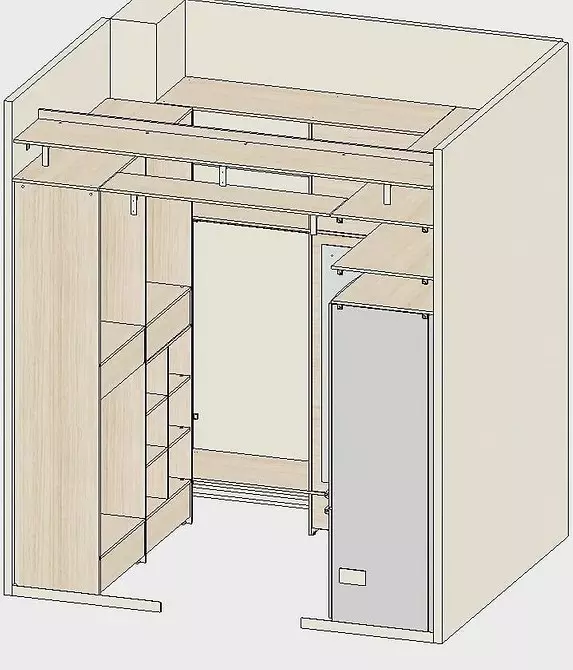
Photo: Instagram Elenachmebel
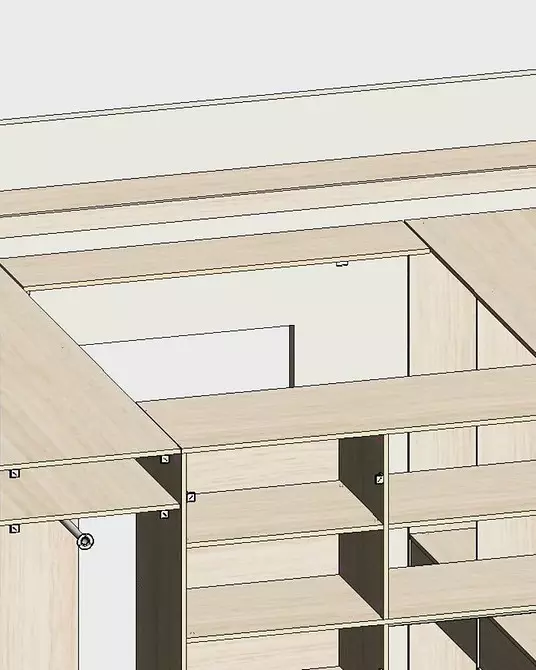
Photo: Instagram Elenachmebel
The finished project is made in the form of drawing. If there is such an opportunity, it is best to fulfill it in a special designer program, which will greatly facilitate work. If not, you have to draw all sketches with a detailed indication of the size. It takes into account all: depth, width, thickness of partitions and shelves, height of racks and rods, their length, etc. Studying the future cabinet will make it possible to determine the materials.
Suspension selection for a wardrobe
Another important point is the definition of the suspension type for the sliding mechanism. Select suitable from three options presented in the table.
| Dignity | disadvantages | |
|---|---|---|
| Tworally system, lower support | Reliable in operation: doors do not fall out, do not hurt each other, do not hurt. Simple accessories and installation. | Sensitive to sending outdoor coverage, which leads to a breakdown of the system. Dust and contamination accumulates inside the lower rail, which interferes with the normal operation of the mechanism. Requires regular cleaning. |
| Two-link system, support top | The lack of sending and other base deformations ensures the reliability of the structure, located on top of the rail pollutes much less, so it takes it less frequently. Simple accessories and easy installation. | When installing, it is necessary to align the ceiling on the mounting section of the suspension. With a pressure on the sash, the roller can exit the groove, and the door falls into the closet. Requires the lower guide, otherwise the sash can fight each other. |
| Monorail | Paired rollers located in each carriage and individual guide for sash. Due to this, the guide is not needed below. High suspension strength allows you to mount wide sash. There is no need to level the ceiling before mounting the suspension. | Complex installation, after which it is required to properly adjust the sash. Furnitura is complex and expensive. Between the rail and the sash, a wide clearance, which requires installing a decorative lining. |
It is necessary to know that the effectiveness of the operation of the mechanism determines not only the type of suspension, but also the material from which it is manufactured. The most short-lived plastic. The guides made from it cause the largest number of complaints.

Photo: Instagram Kompania_Krslon.ru
Build the cabinet coupe with your own hands: Preparation of material and cut
If there are tools and a great desire to perform all the work on your own, then you can independently cut the prepared material. But faster and easier to perform this with the help of cutting. Any major building supermarket provides this service. After buying a material, it will be revealed and, if necessary, the edges will be treated. Consultants will help with the selection of fittings and fasteners.
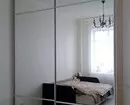

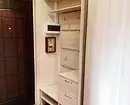
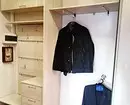

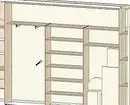

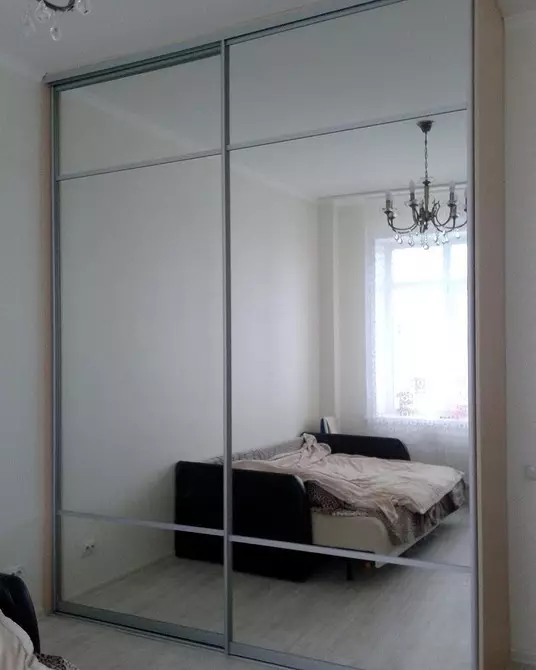
Photo: Instagram Mebel_slavenitsa
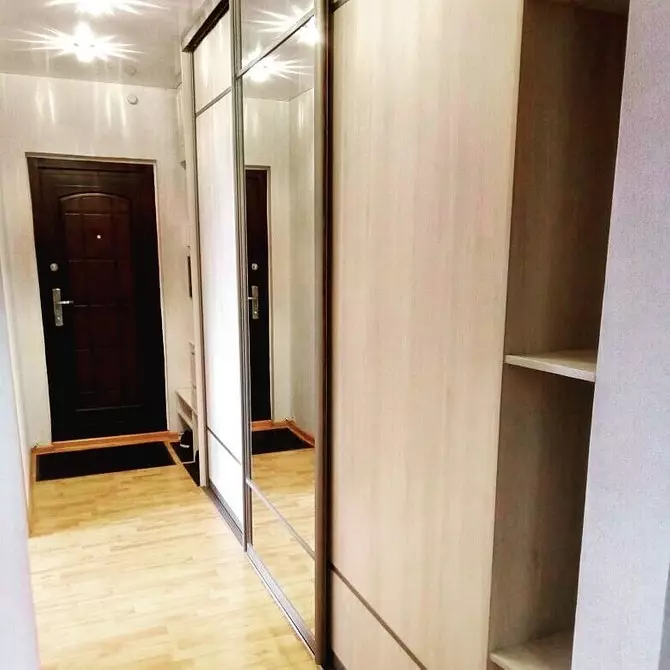
Photo: Instagram Elenachmebel
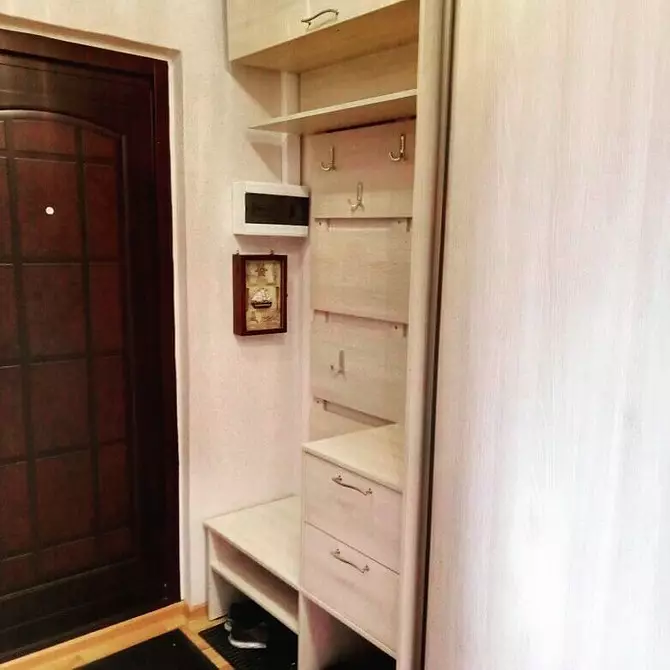
Photo: Instagram Elenachmebel
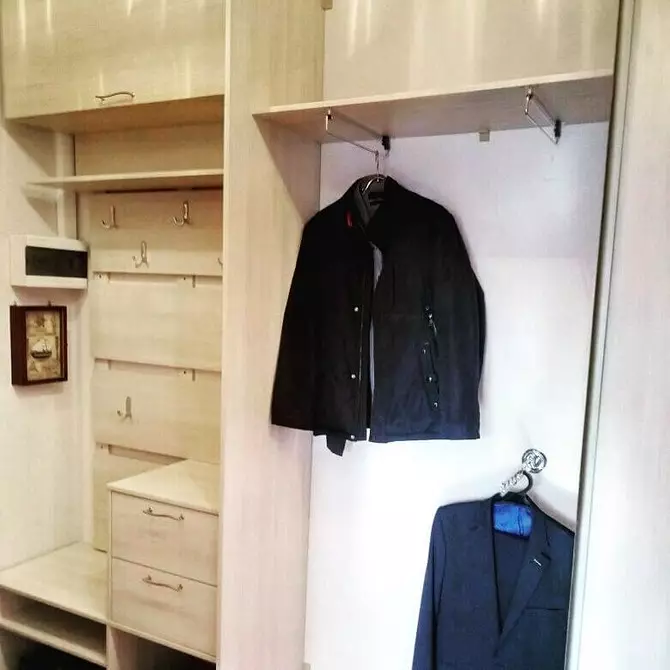
Photo: Instagram Elenachmebel
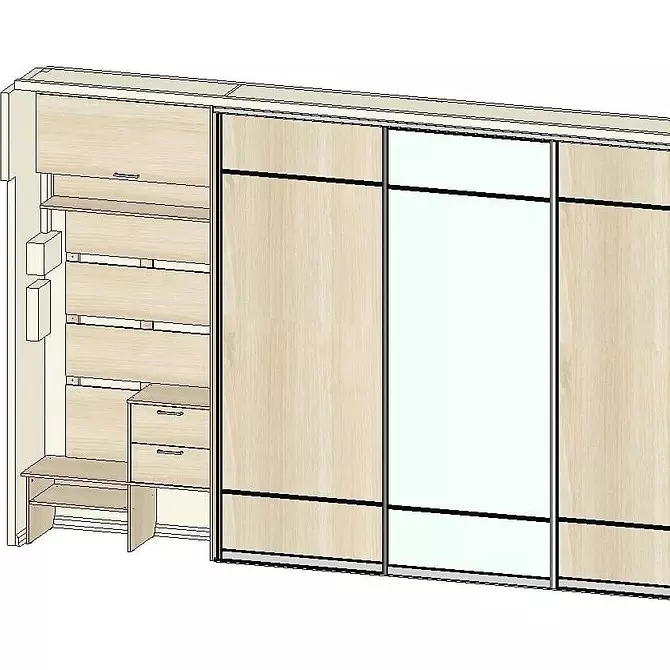
Photo: Instagram Elenachmebel
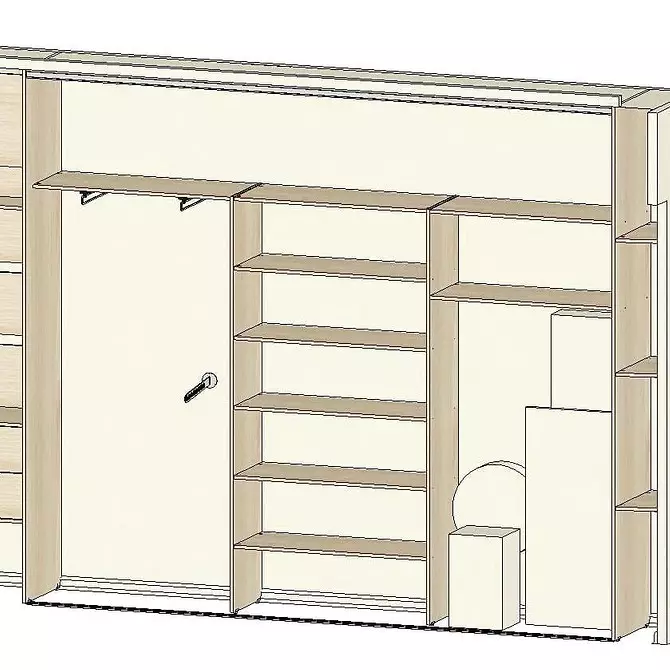
Photo: Instagram Elenachmebel
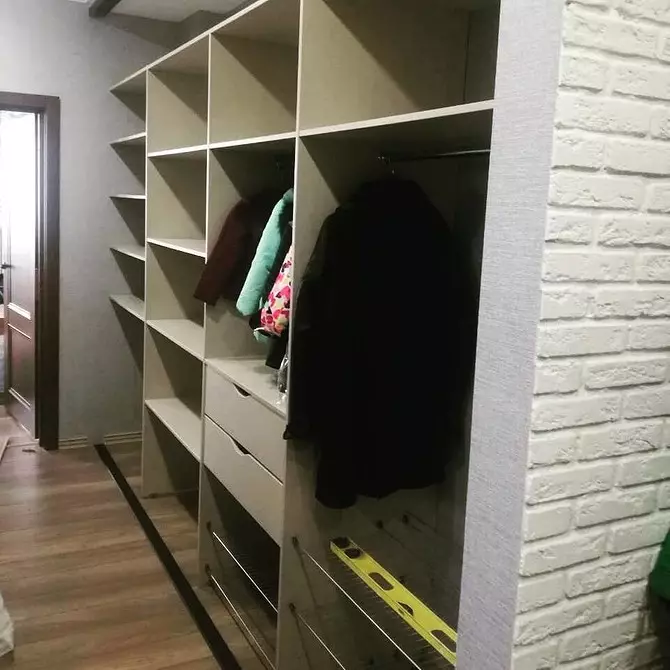
Photo: Instagram Elenachmebel
Step-by-step instructions for assembling a wardrobe
Consider the process of assembling the design installed near the wall, which will perform the role of the back wall. Work is performed in several stages.1. We carry out markup
First you need to definitely apply the wall markup line. We do it like this:
- From the corner, I refue the length of the cabinet, we put the mark. We do it in several places at different levels of height, which guarantees smooth straight. Connect the marks by spending a vertical line. It will be the edge of the cabinet.
- Similarly, place the location of all vertical sections within the future cabinet.
- We plan the location of horizontal shelves.

Photo: Instagram Elenacherkozianova
2. Install fasteners
At this stage, you need to place mounts for shelves and partitions on the placed lines. We perform it like this:
- We take fasteners, try on it to the markup line, determine and mark the plots where the dowels should be.
- We drill holes at the outlined points, insert plastic liners into them.
- We put fastenings on the place intended for them and fix the self-drawing.

Photo: Instagram Zodych
3. Mount the filling of the cabinet
You need to install all shelves and vertically located racks. We do it like this:
- We put the side wall of our cabinet. We try using the workpiece, if necessary, be customized. Install and fix.
- Each dividing rack is set near the mounts and fix the screws.
- We proceed to the installation of shelves. I try each other, if necessary, install additional fasteners, put the item in place and fix it.
- Round racks and hung up in special attachments and fix.

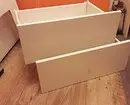
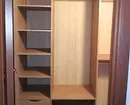
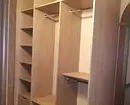


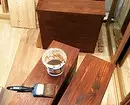
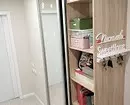
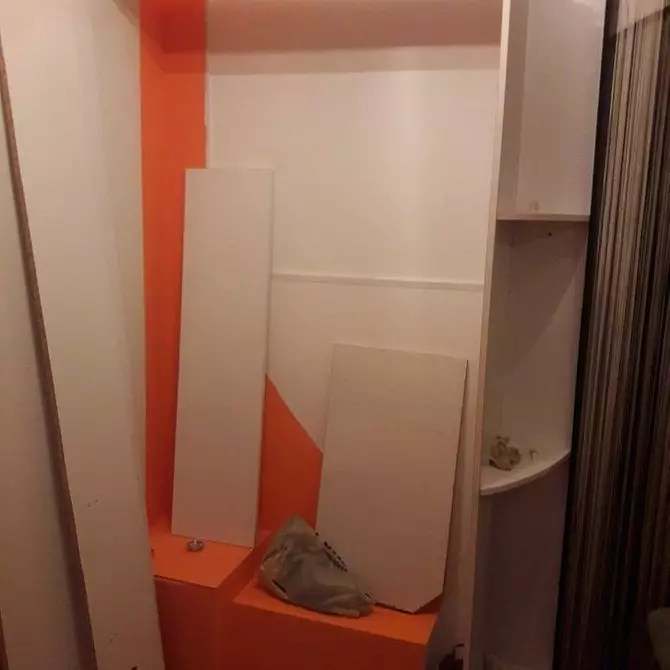
Photo: Instagram Belayaani
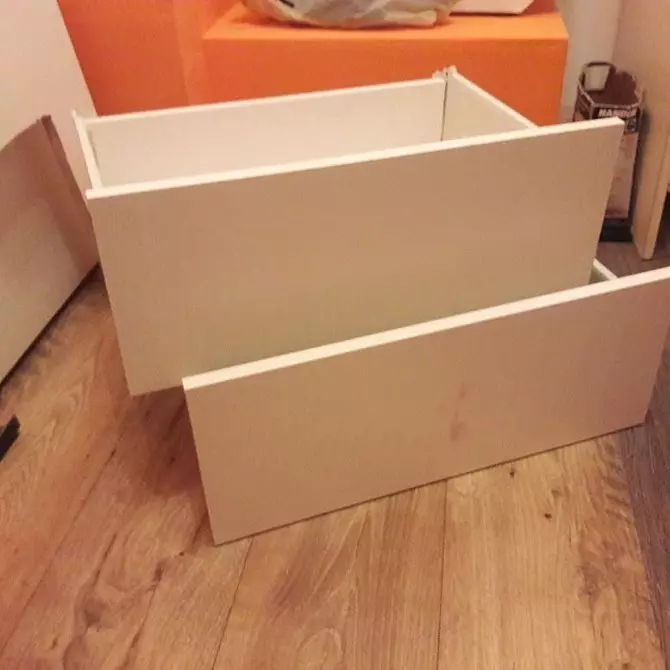
Photo: Instagram Belayaani
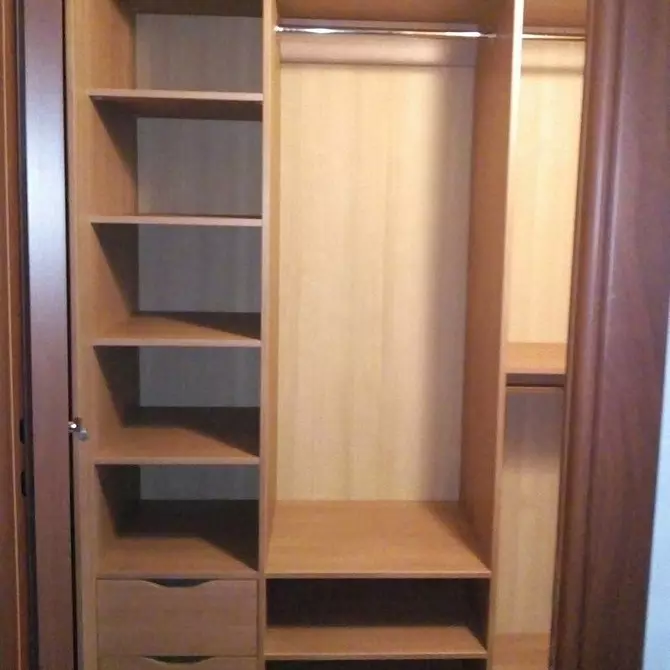
Photo: Instagram Elenacherkozianova
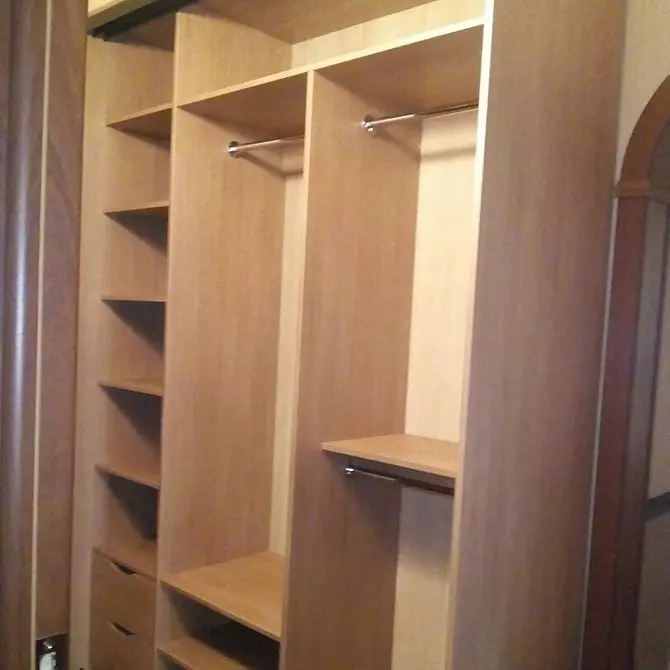
Photo: Instagram Elenacherkozianova
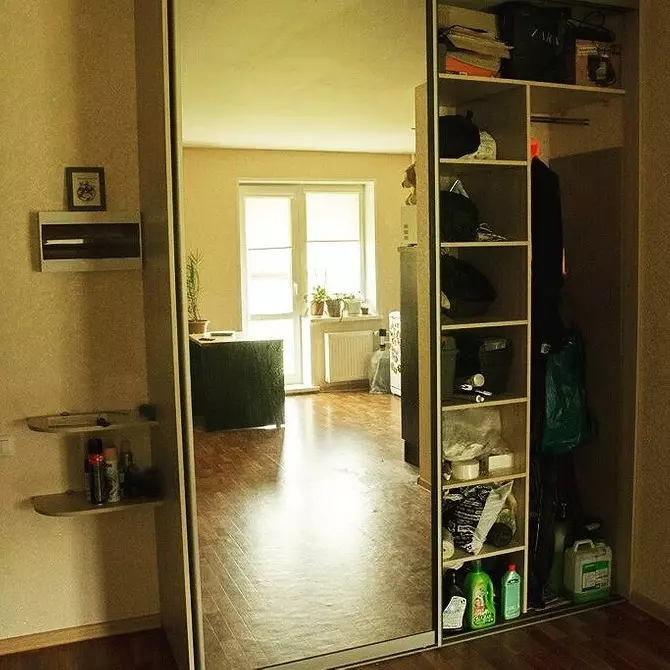
Photo: Instagram Elenacherkozianova
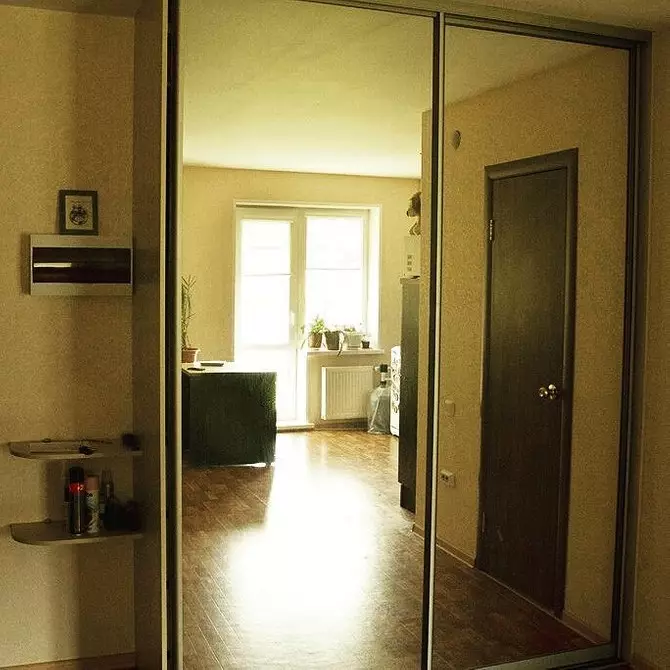
Photo: Instagram Elenacherkozianova

Photo: Instagram SVET_LAYA.YA
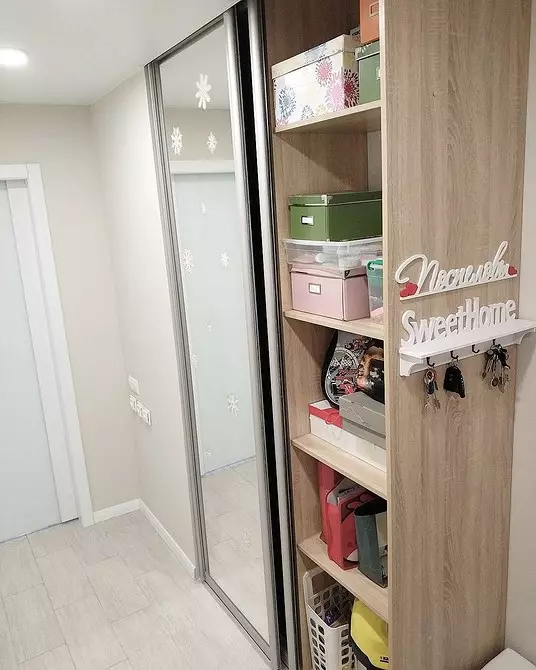
Photo: Instagram Zzzzverek
4. Install the walls of the cabinet
We mount the side, upper and, if necessary, the bottom wall of the cabinet. We do it like this:
- We plan and drill on every part of the holes in which the fasteners will be located.
- We try on the panel to the wall, outlook the holes for the installation of fasteners.
- We drill holes, install plastic liners in them.
- We put the item in place and fix it with fasteners.
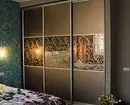
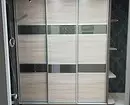
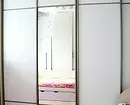
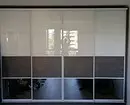

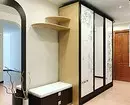
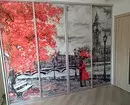
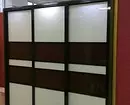
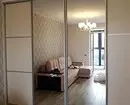
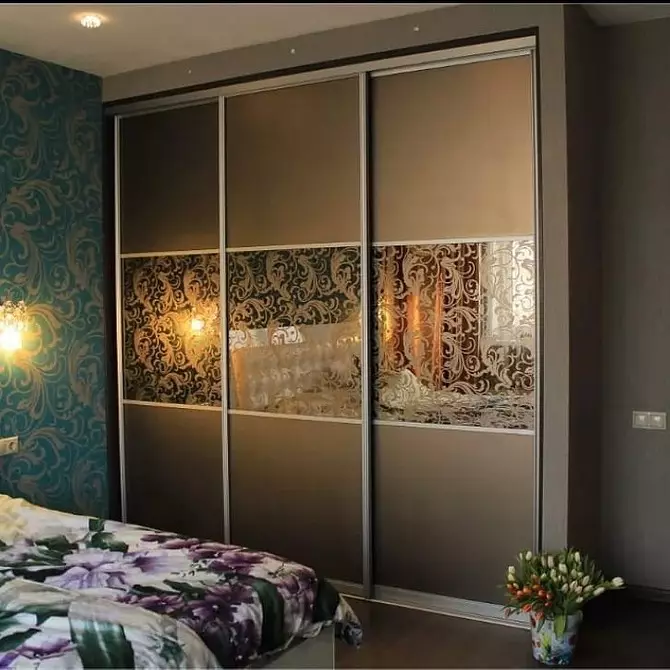
Photo: Instagram Alyance_Naydi_KZN
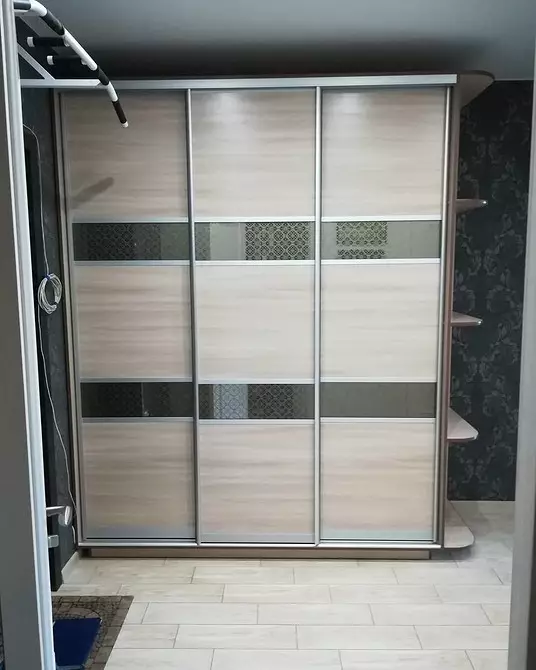
Photo: Instagram DVERI_KYPE
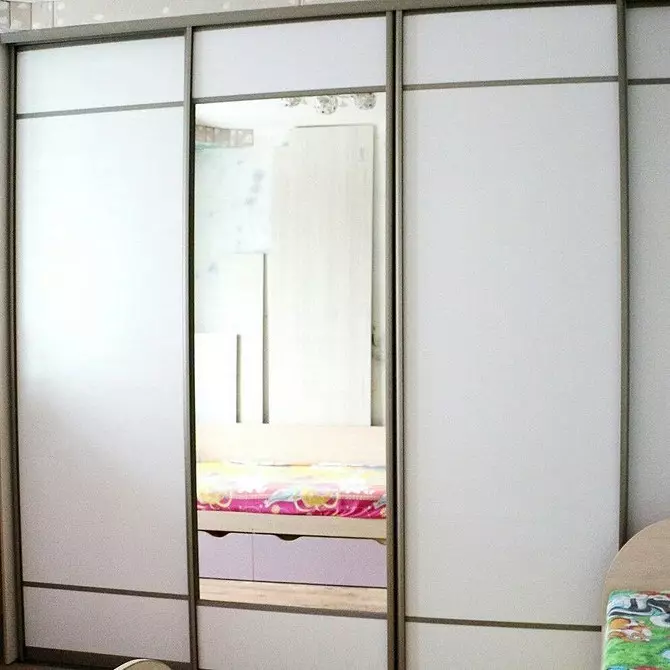
Photo: Instagram Elenacherkozianova
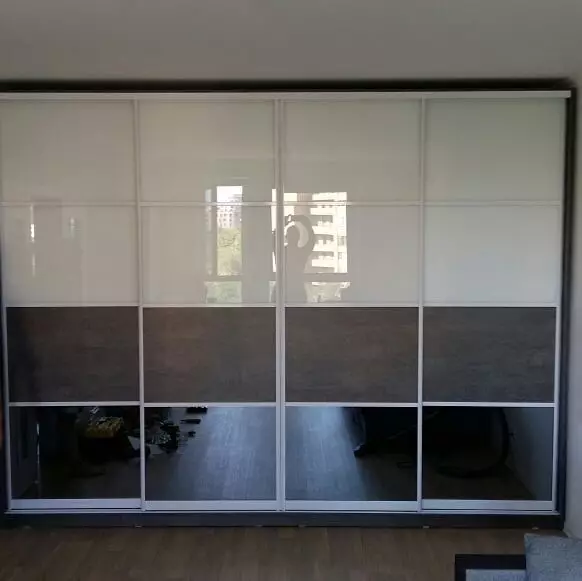
Photo: Instagram Iskander_mebel777
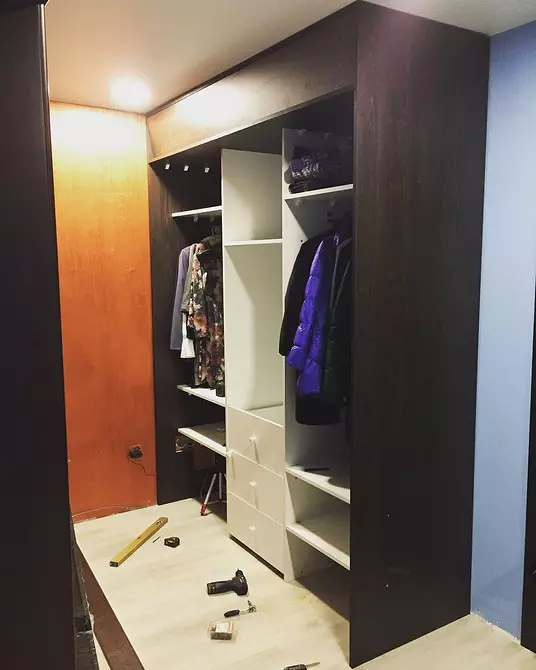
Photo: Instagram Kostiapolenichkin
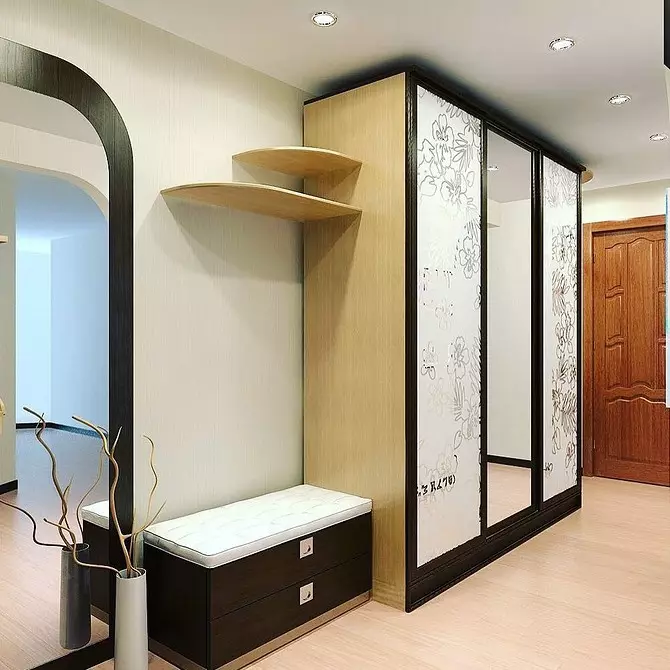
Photo: Instagram Mebel_Kubani.ru
Photo: Instagram Mebel_slavenitsa
Photo: Instagram Moskalenko
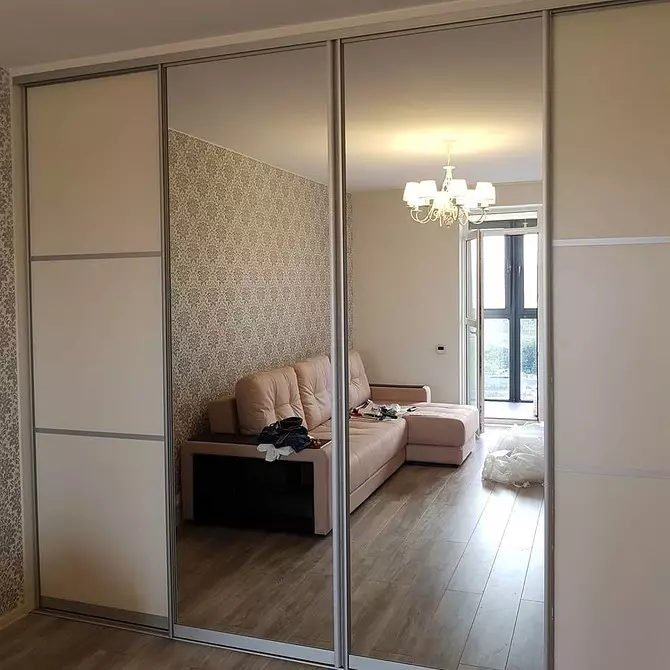
Photo: Instagram Schkafnoi_Master
5. Installation of guides and doors
By this time, door flaps must be ready. If it is assumed that they are collected, for example, out of the clap, then the work must be already executed. Installation is carried out in such a sequence:
- We perform measurements of the upper and lower wall of the cabinet. We measuring the guides, if necessary, cut them.
- Fix the guides on the walls of the product.
- Fix on the sash details of the sliding mechanism.
- We establish the prepared flaps on the rails. Depending on the suspension type, the procedure will be somewhat different.
- Adjust the movement of the sash, achieving a smooth silent move.

Photo: Instagram Mebel_Na_Zakaz_stav
Once again, check the quality of the installation of each part, the work of the doors and the strength of the fixtures. The work is completed.
Self-assembly of the cabinet coupe is quite forces to the home master. Especially if you choose a simple model. Major will make it easier for the work of the material, then it will only be left to bring the details home and collect the cabinet from them.