
What room in the house is most important for you? For many, this is a living room, but for most of us it is a kitchen - a symbol of comfort, hospitality and family traditions. That is why its arrangement requires special attention and competent approach.
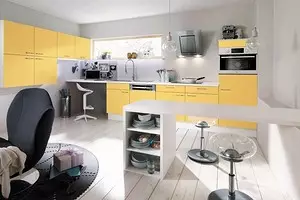
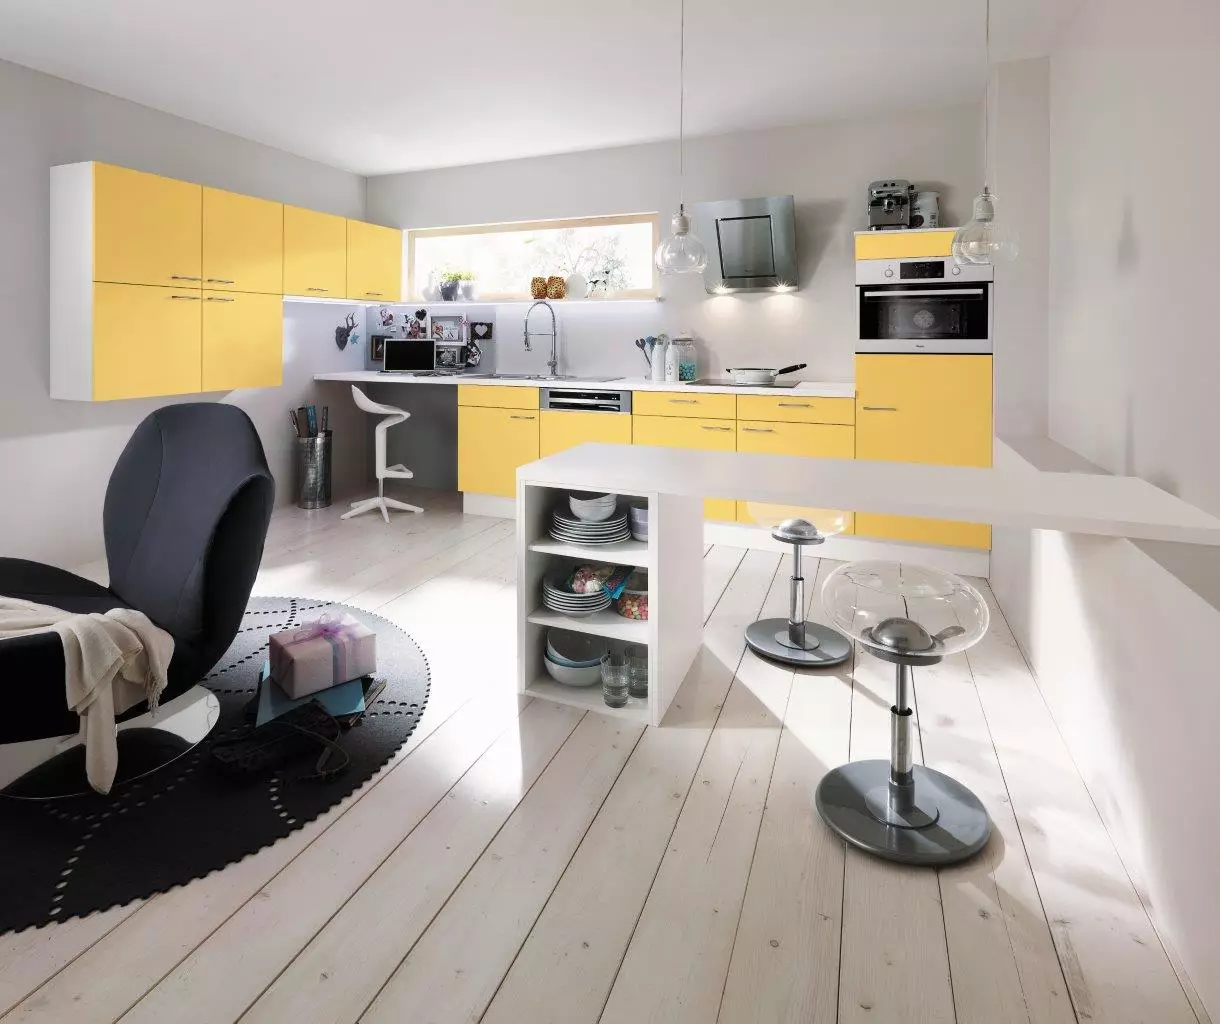
Photo: "First furniture factory"
Lesson 1. Triangle
Even a spacious kitchen will become uncomfortable in operation, if the location of furniture and equipment is not thought out in advance. With a competent layout, you can save about 30% of the time to prepare food and reduce up to 60% the distance passed by the kitchen!Creating a kitchen project, be sure to take into account the so-called working triangle. This is a space that is limited to three zones: storage of products (refrigerator, freezer), processing and cooking (stove, microwave), washing (sink, dishwasher). It is best when these zones are in the vertices of the equilateral triangle, and the distance between them is not more than 1.2-1.8 m.
The stove should not be installed under hinged cabinets, next to the door or launched windows, and even more so in the corner of the kitchen. From the slab to the window you need to provide for at least 30 cm.
The sink is better located in the center of the working triangle about 1.2-2 m from the refrigerator and 1-1.2 m from the plate. The most convenient option when the washing is located near the cabinet with dishes.
The refrigerator is away from heat sources, in place, inaccessible to sunlight. The best place is one of the corners of the kitchen, it will make it possible not to crush the work surface into small areas.
Lesson 2. Line
For small and narrow premises, a single-row layout is ideal, in which the headsets are located along one wall linearly (in a row). Such a solution is optimal at the length of the kitchen from 2 to 3.6 m, otherwise there will be too small or too long a long distance between the work zones. In this case, the refrigerator and plate are placed in the opposite ends of the row, and the washing is in the middle. Between the washing and stove, cover a cutting table. To create additional storage locations, headsets are equipped with high cabinets. The dining group in this case is installed at the opposite wall.
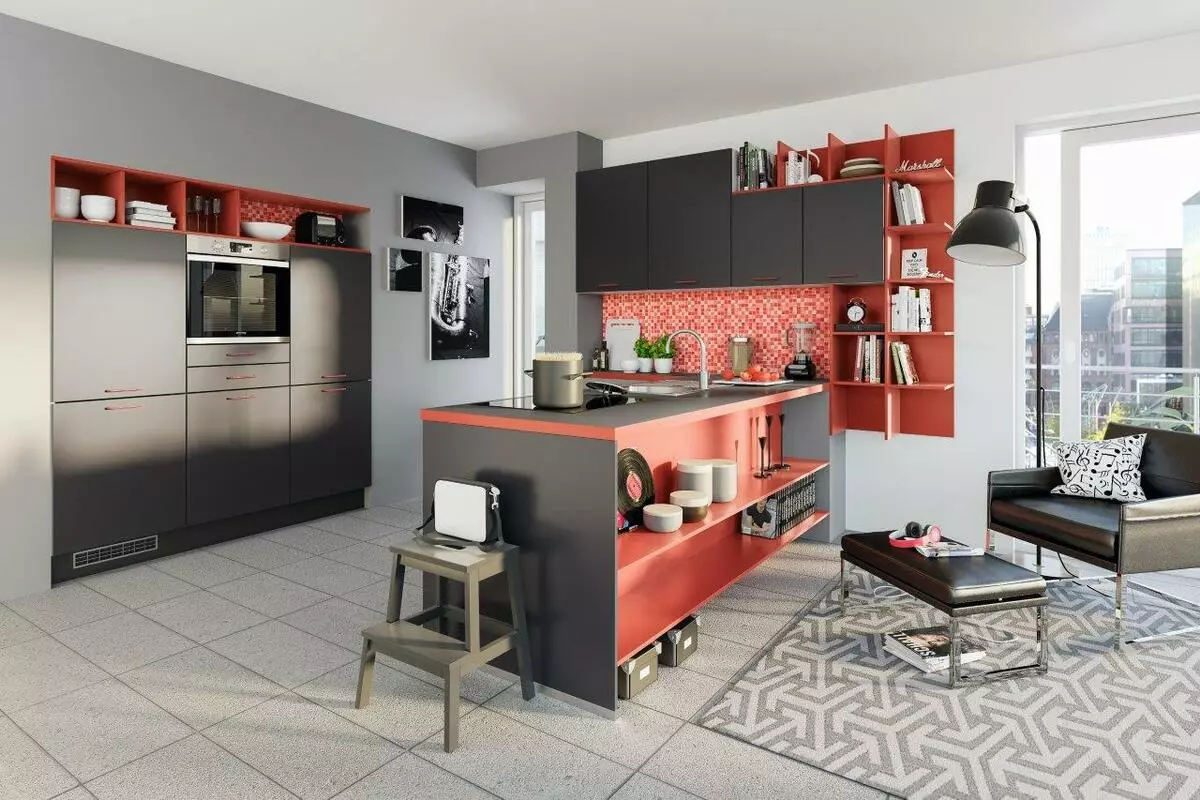
Photo: "First furniture factory"
Lesson 3. In the center
In the kitchen of 10-12 m2, the headsets are often installed P-shaped. This type of kitchen equipment is out of competition. Equipment and furniture in this case are located along three walls, while you can freely move from one zone to another and nothing prevents the kitchen moving. In addition, this layout allows you to observe the rule of the work triangle and organize the desired number of storage systems so that they visually do not overload the space. The distance between the rows of furniture should be from 1.2 to 2.8 m.Lesson 4. Parallel straight
In the spacious kitchen, the modules are better to install along two parallel walls (double-row arrangement) at a distance of at least 120 cm. The refrigerator and cabinets in this case are better to position along the same wall, the stove and sink along the other. Consider the door of the refrigerator in an open state should not overlap free space.
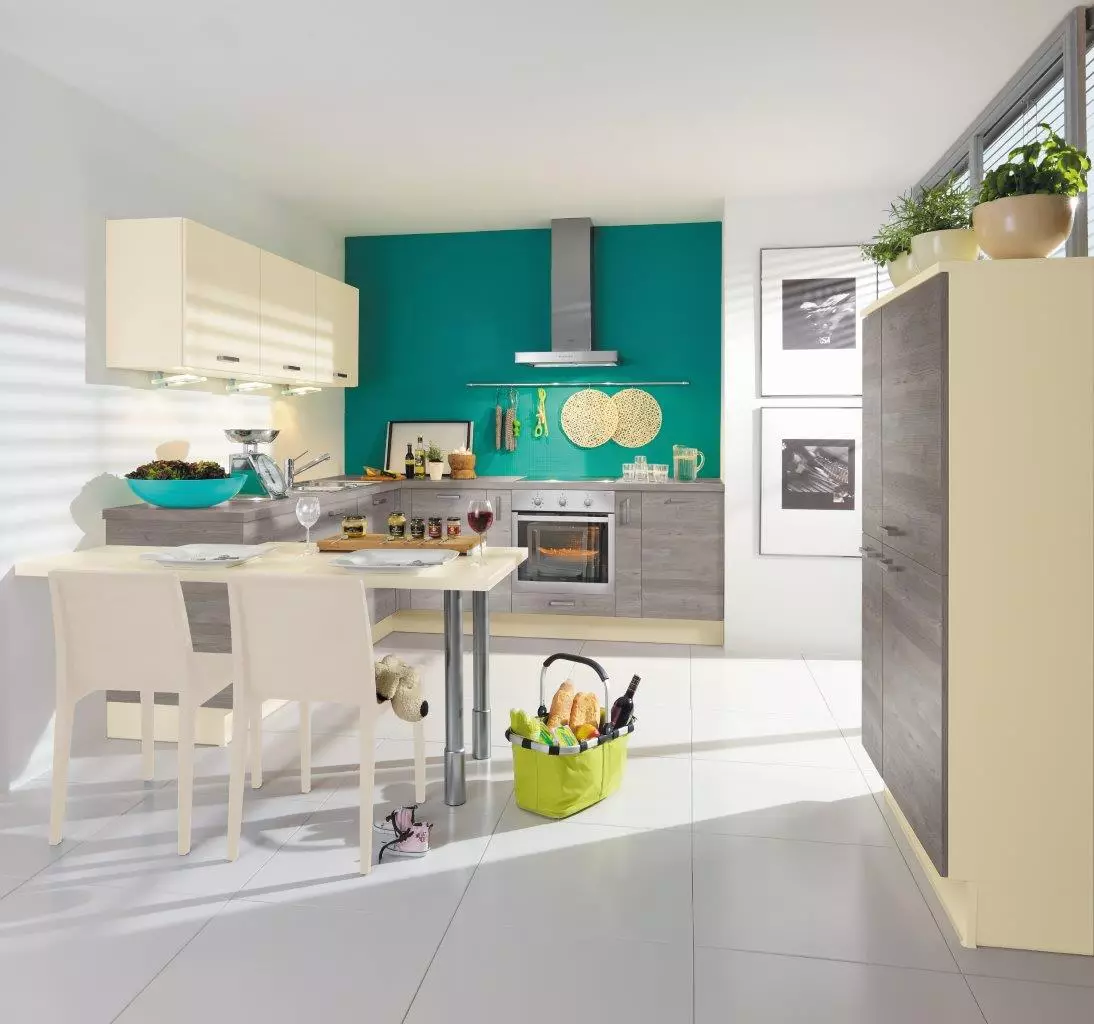
Photo: "First furniture factory"
"The length of the headset taking into account the washing and the cooking panel should be at least 2.5 m. Then the length of the working surface for cutting and preparation of products will be about 60 cm. If you plan to put the dishes on the tabletop and other accessories, increase the length of the furniture set up to 3 m . Do you want to install additional household appliances or sink with multiple bowls? In this case, the size of the headset should still be increased. In the angular sets, the short part must be at least 1 m. Standard kitchen modules have a height that take into account the average growth, but the furniture makers are recommended to select the headset height individually. It will provide more comfortable operation of the kitchen. "
Alexey Ories.
Lead Designer "First Furniture Factory"
Lesson 5. at right angles
In a square room, a G-shaped layout is suitable. Thanks to such a layout, it turns out an isolated working triangle, while there is enough space for the dining group. The refrigerator and stove are not recommended to be placed in the opposite corners of the room, from the point of view of ergonomics it is better to move closer to the center.Lesson 6. On the large area
Island layout is essentially single-row, P- or M-shaped furniture, complemented by a module in the center of the room (the optimal dimensions of the "Island" - 120 × 120 cm). "Island", as a rule, is a cutting table with a cookbook and washing. The remaining elements are installed along the walls. The implementation of this layout is possible only in the kitchen of 18 m2 and more.
Lesson 7. We carry out the borders
Finally, the peninsular version. It assumes a linear or M-shaped placement of furniture with perpendicular to it outdoor modules. This option is suitable for both compact and large cuisine. "Peninsula" will be an excellent solution if the kitchen needs to be integrated into the studio space that requires zoning. As a rule, it separates the cooking zone from the recreation area and performs the function of the bar rack or an additional working surface.
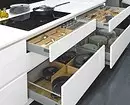
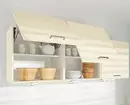
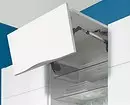
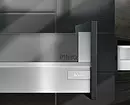
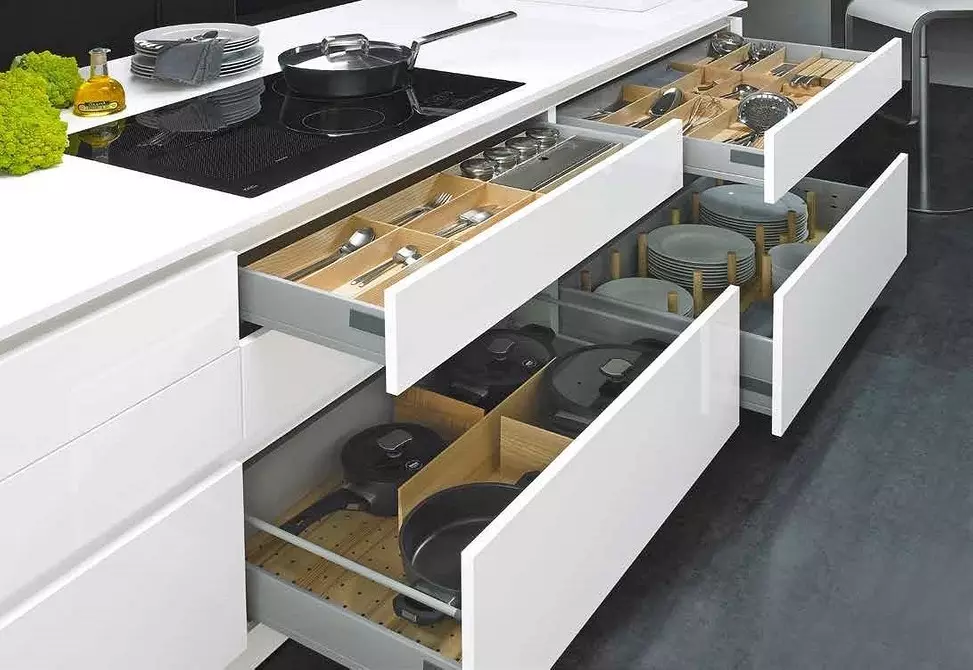
Photo: "First furniture factory"
Photo: "First furniture factory"
Photo: "First furniture factory"
Photo: "First furniture factory"
Photo: "First furniture factory"